
15 DIY Fall Decor Ideas

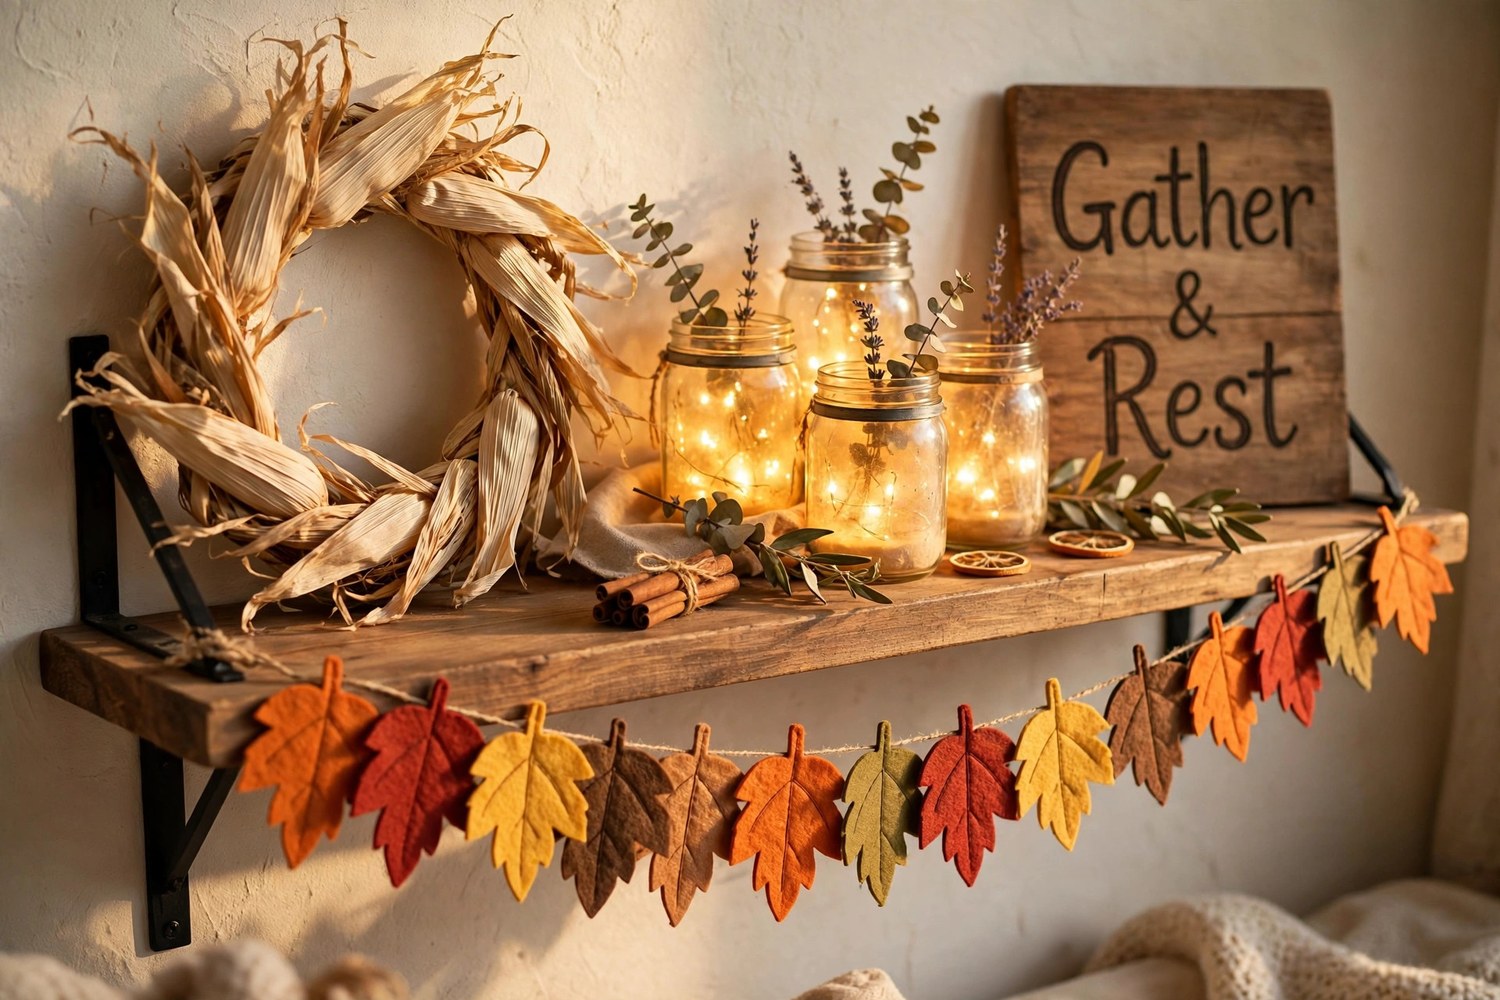
The best fall decor is the kind you make with your own hands, and every project below follows the one-technique rule: each craft uses a single simple skill, either gather, glue, wrap, or fill. No complicated methods, no expensive tools, no craft-store mastery required. Just warm wood, crackling dried leaves, cinnamon simmering on the stove, and candlelight glowing through amber glass. Pick the project that catches your eye and check out the ideas ahead.
Key Takeaways
- Every project here uses one simple technique: gather, glue, wrap, or fill. Mastering one skill per craft keeps results clean and frustration low.
- Most DIY fall decor costs under $10 per project when you shop Dollar Tree, thrift stores, and your own yard first.
- The 2026 fall palette favors chocolate brown, burgundy, olive, and warm neutrals over bright pumpkin orange.
- Foraged materials like pinecones, acorns, wheat, and branches are free and make every project look more expensive.
- Batch your crafting: cut, paint, or glue all pieces for several projects in one session instead of starting from zero each time.
1. Corn Husk Wreath
A corn husk wreath looks like it came from a pricey boutique, but it starts with a styrofoam wreath form and faux corn husks from the dollar store. The layered husks create a full, textured look that reads as natural and harvest-fresh, and the neutral tones fit the 2026 move toward warm, muted fall palettes.
How to make it: wrap the foam form with husks, layering and overlapping as you go, securing each with hot glue. Add dried berries and a raffia bow to finish. Work in sections so the glue sets before you move on, and keep the husks pointing in one direction for a polished look.
Styling twist: hang it on an interior door or above the mantel instead of the front door. Corn husk wreaths are delicate enough that sheltered spots keep them looking fresh all season.
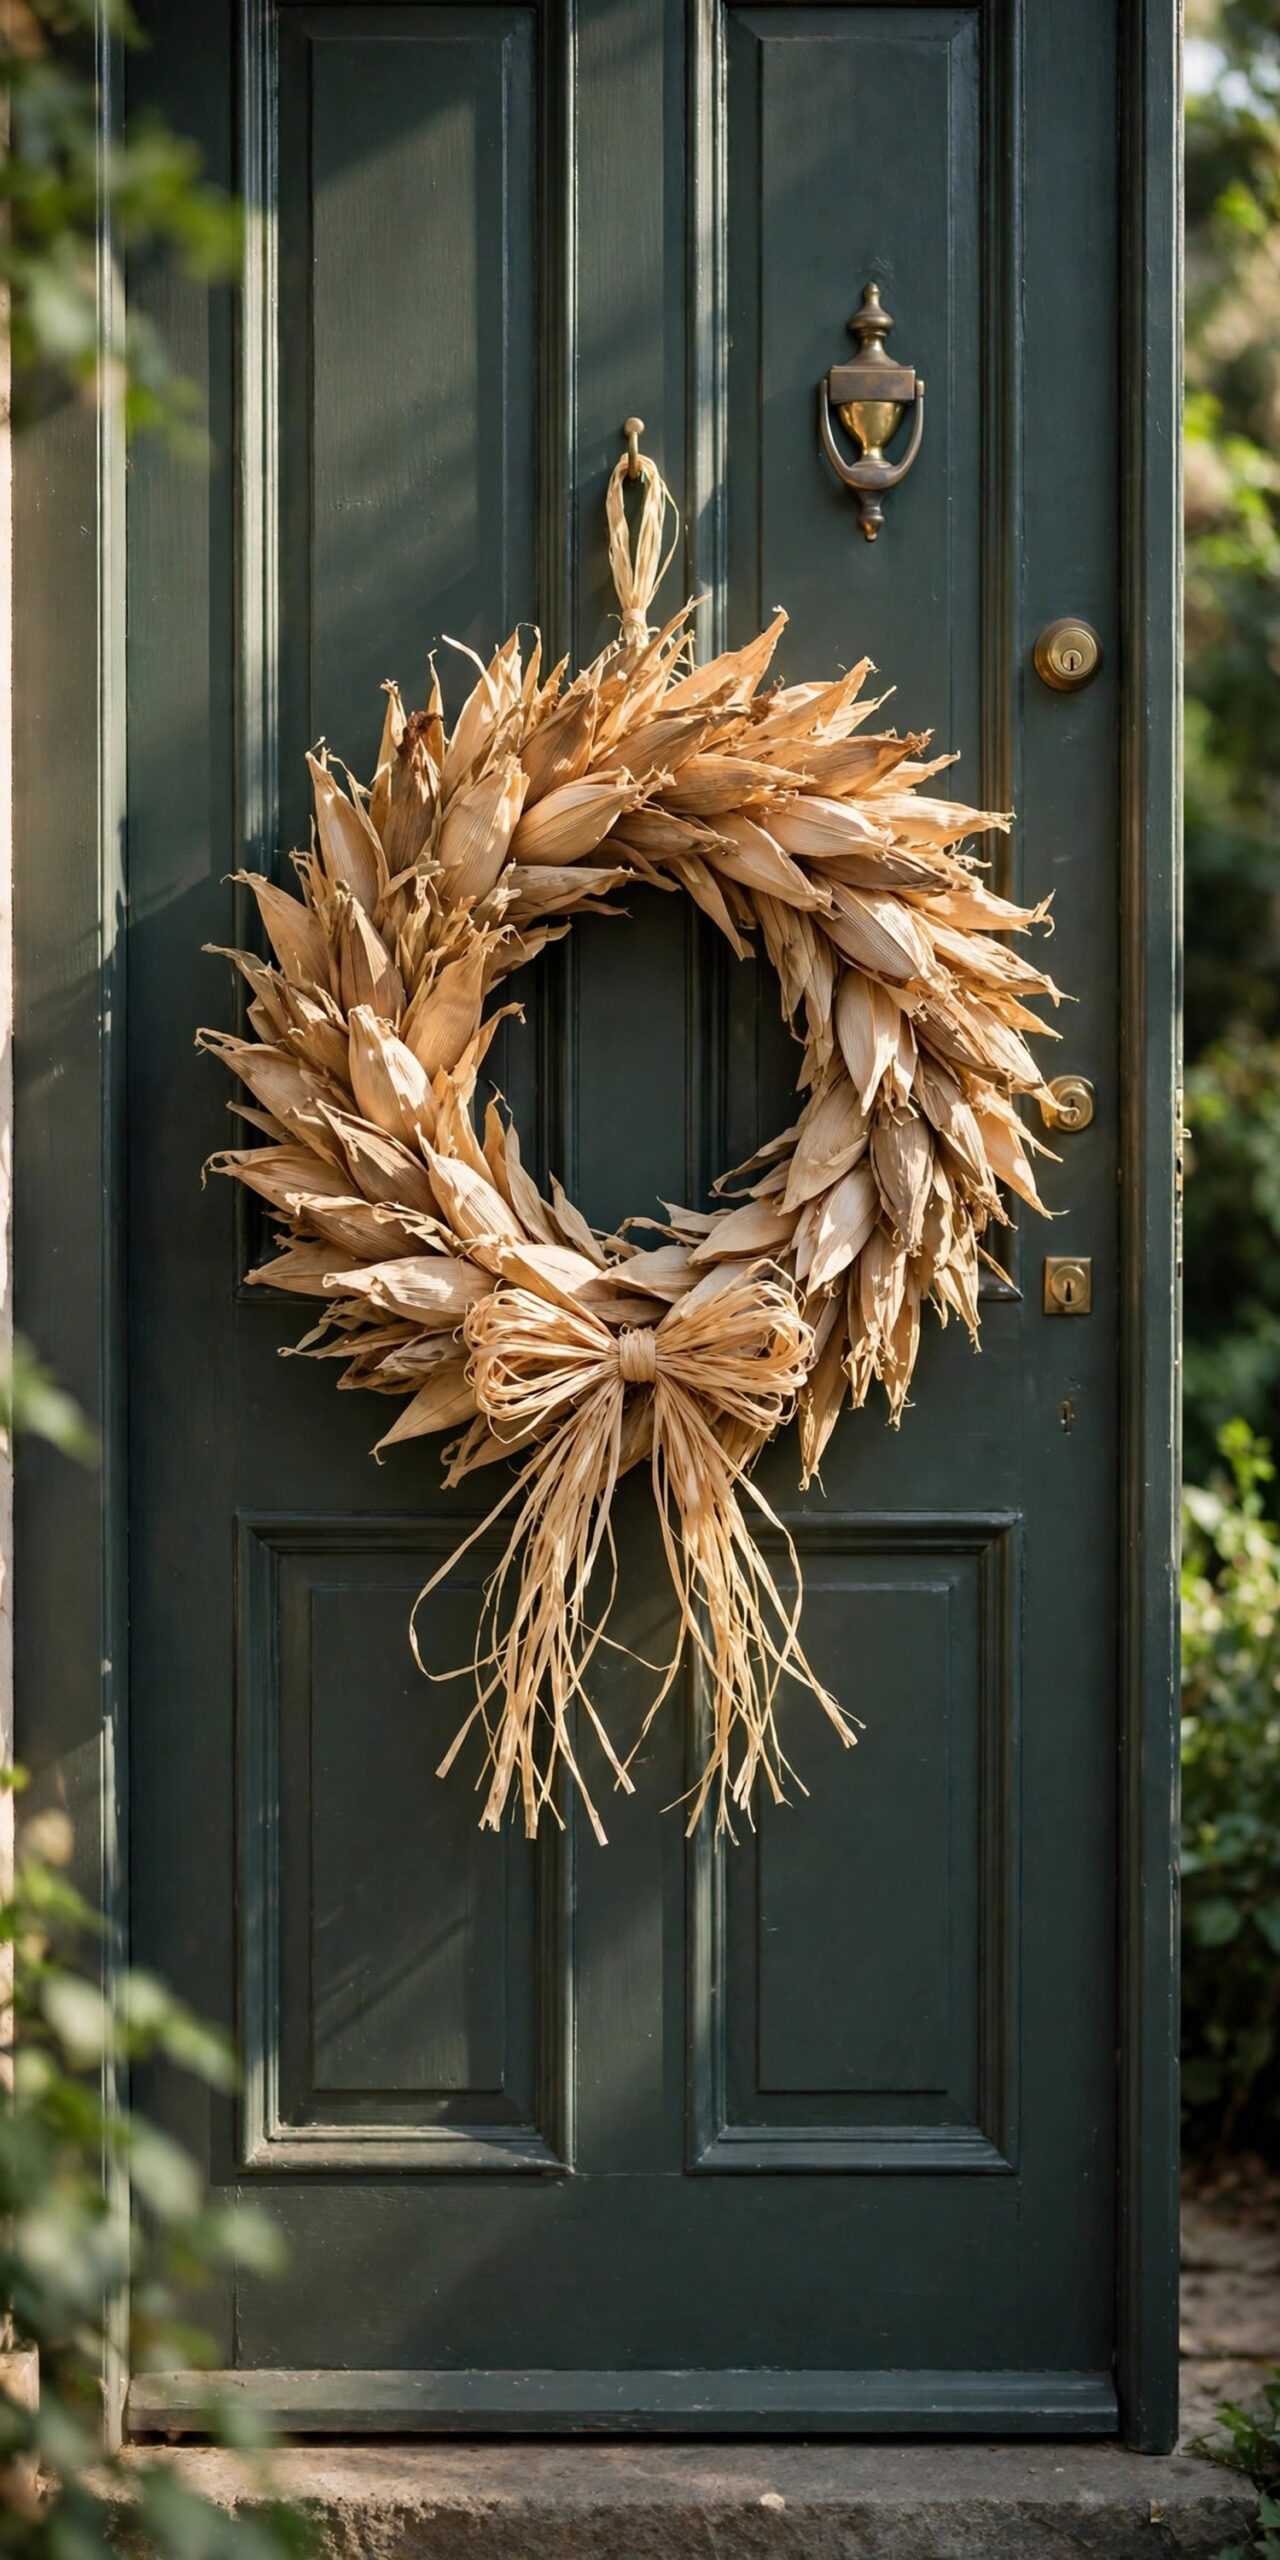
Tip: Fluff the husks outward after gluing. A flat wreath looks sparse; a fluffed one looks full and expensive.
2. Gathered Fabric Pumpkins
Fabric pumpkins are the gateway fall craft for a reason: no sewing machine needed. Cut a circle of fall fabric, run a gathering stitch around the edge, pull it tight around stuffing, and finish with a cinnamon stick stem. Fifteen minutes per pumpkin once you find the rhythm.
How to make them:
- Cut fabric circles in two sizes, about 10 and 14 inches across.
- Gather the edge with needle and thread, stuff firmly, and pull closed.
- Hot-glue a cinnamon stick stem on top and tie a ribbon bow.
Budget saver: cut up old flannel shirts, placemats, or fat quarters. The stuffing from one old pillow fills half a dozen pumpkins, so a whole set can cost under $5.
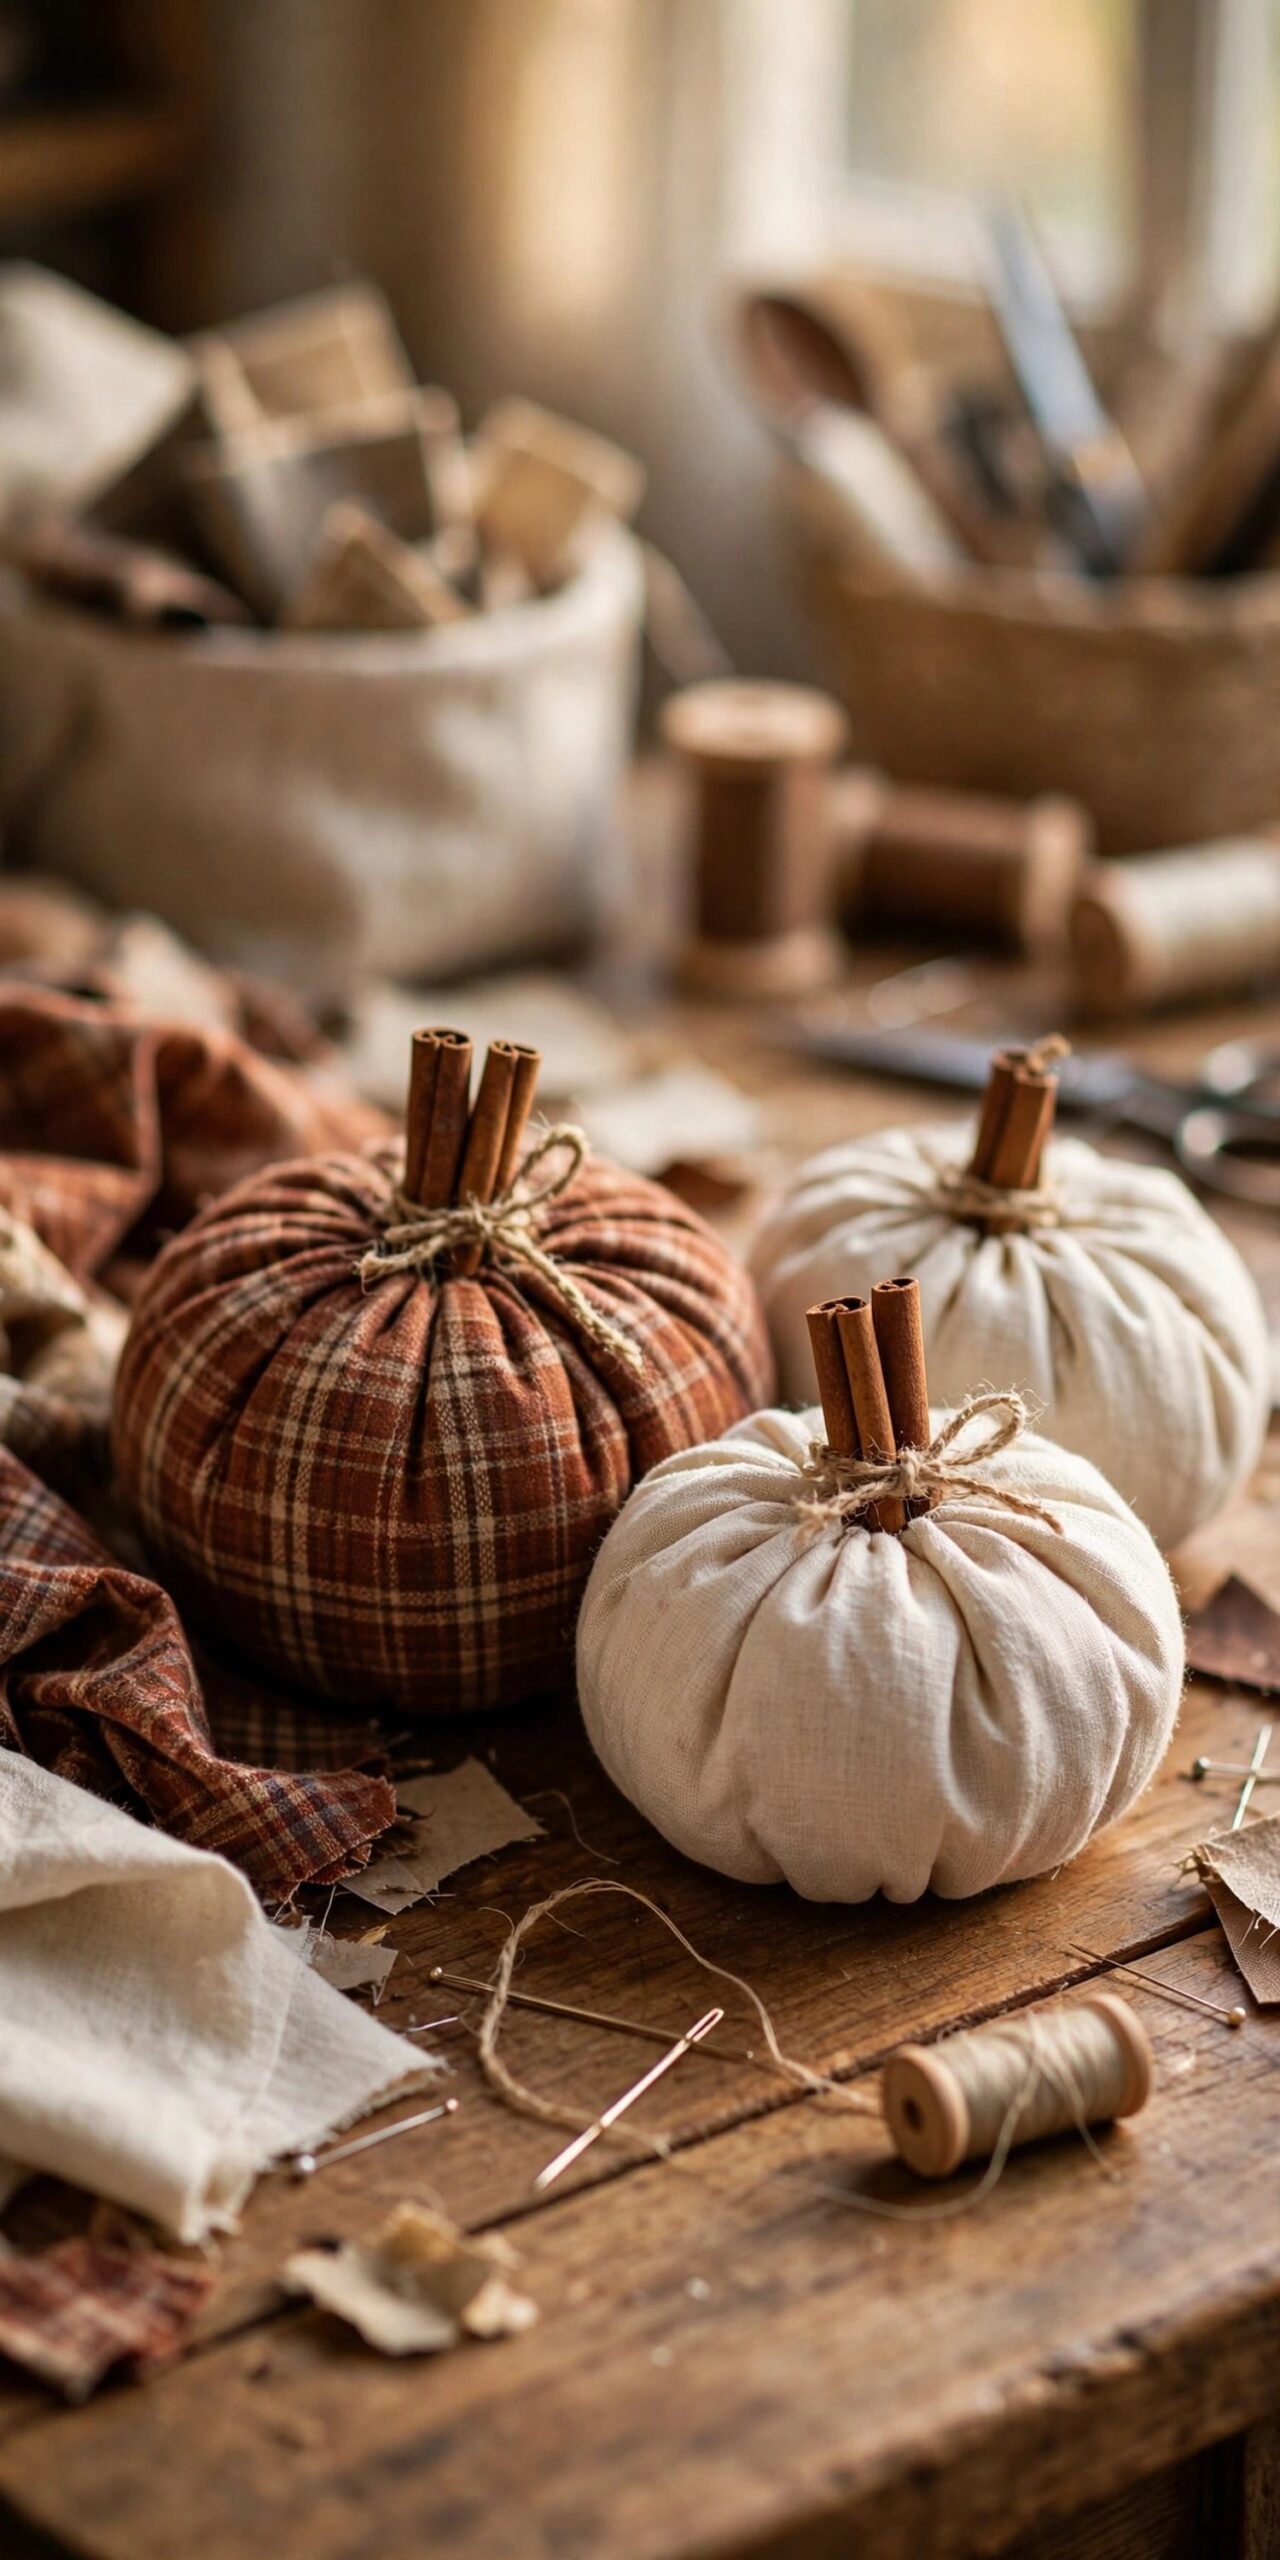
Tip: Mix three fabrics in one color story, like plaid, solid, and floral in rust tones. Matching sets look store-bought; mixed sets look collected.
3. Hand-Lettered Wood Sign
Wood sign crafts continue to dominate fall decor because wood feels timeless and handmade. A reclaimed-look board painted with “Hello Fall” or “Harvest Blessings” in cream paint costs about $3 in supplies and works on mantels, entryways, and porches alike.
No lettering confidence? Print your word in a favorite font, shade the back of the paper with pencil, trace it onto the wood, and paint inside the lines. Sand the board lightly first so the paint grips, and stain with strong-brewed coffee instead of wood stain for a free aged tone.
Variation: use a wood round instead of a rectangle, or add a small painted leaf beside the lettering for a softer look.
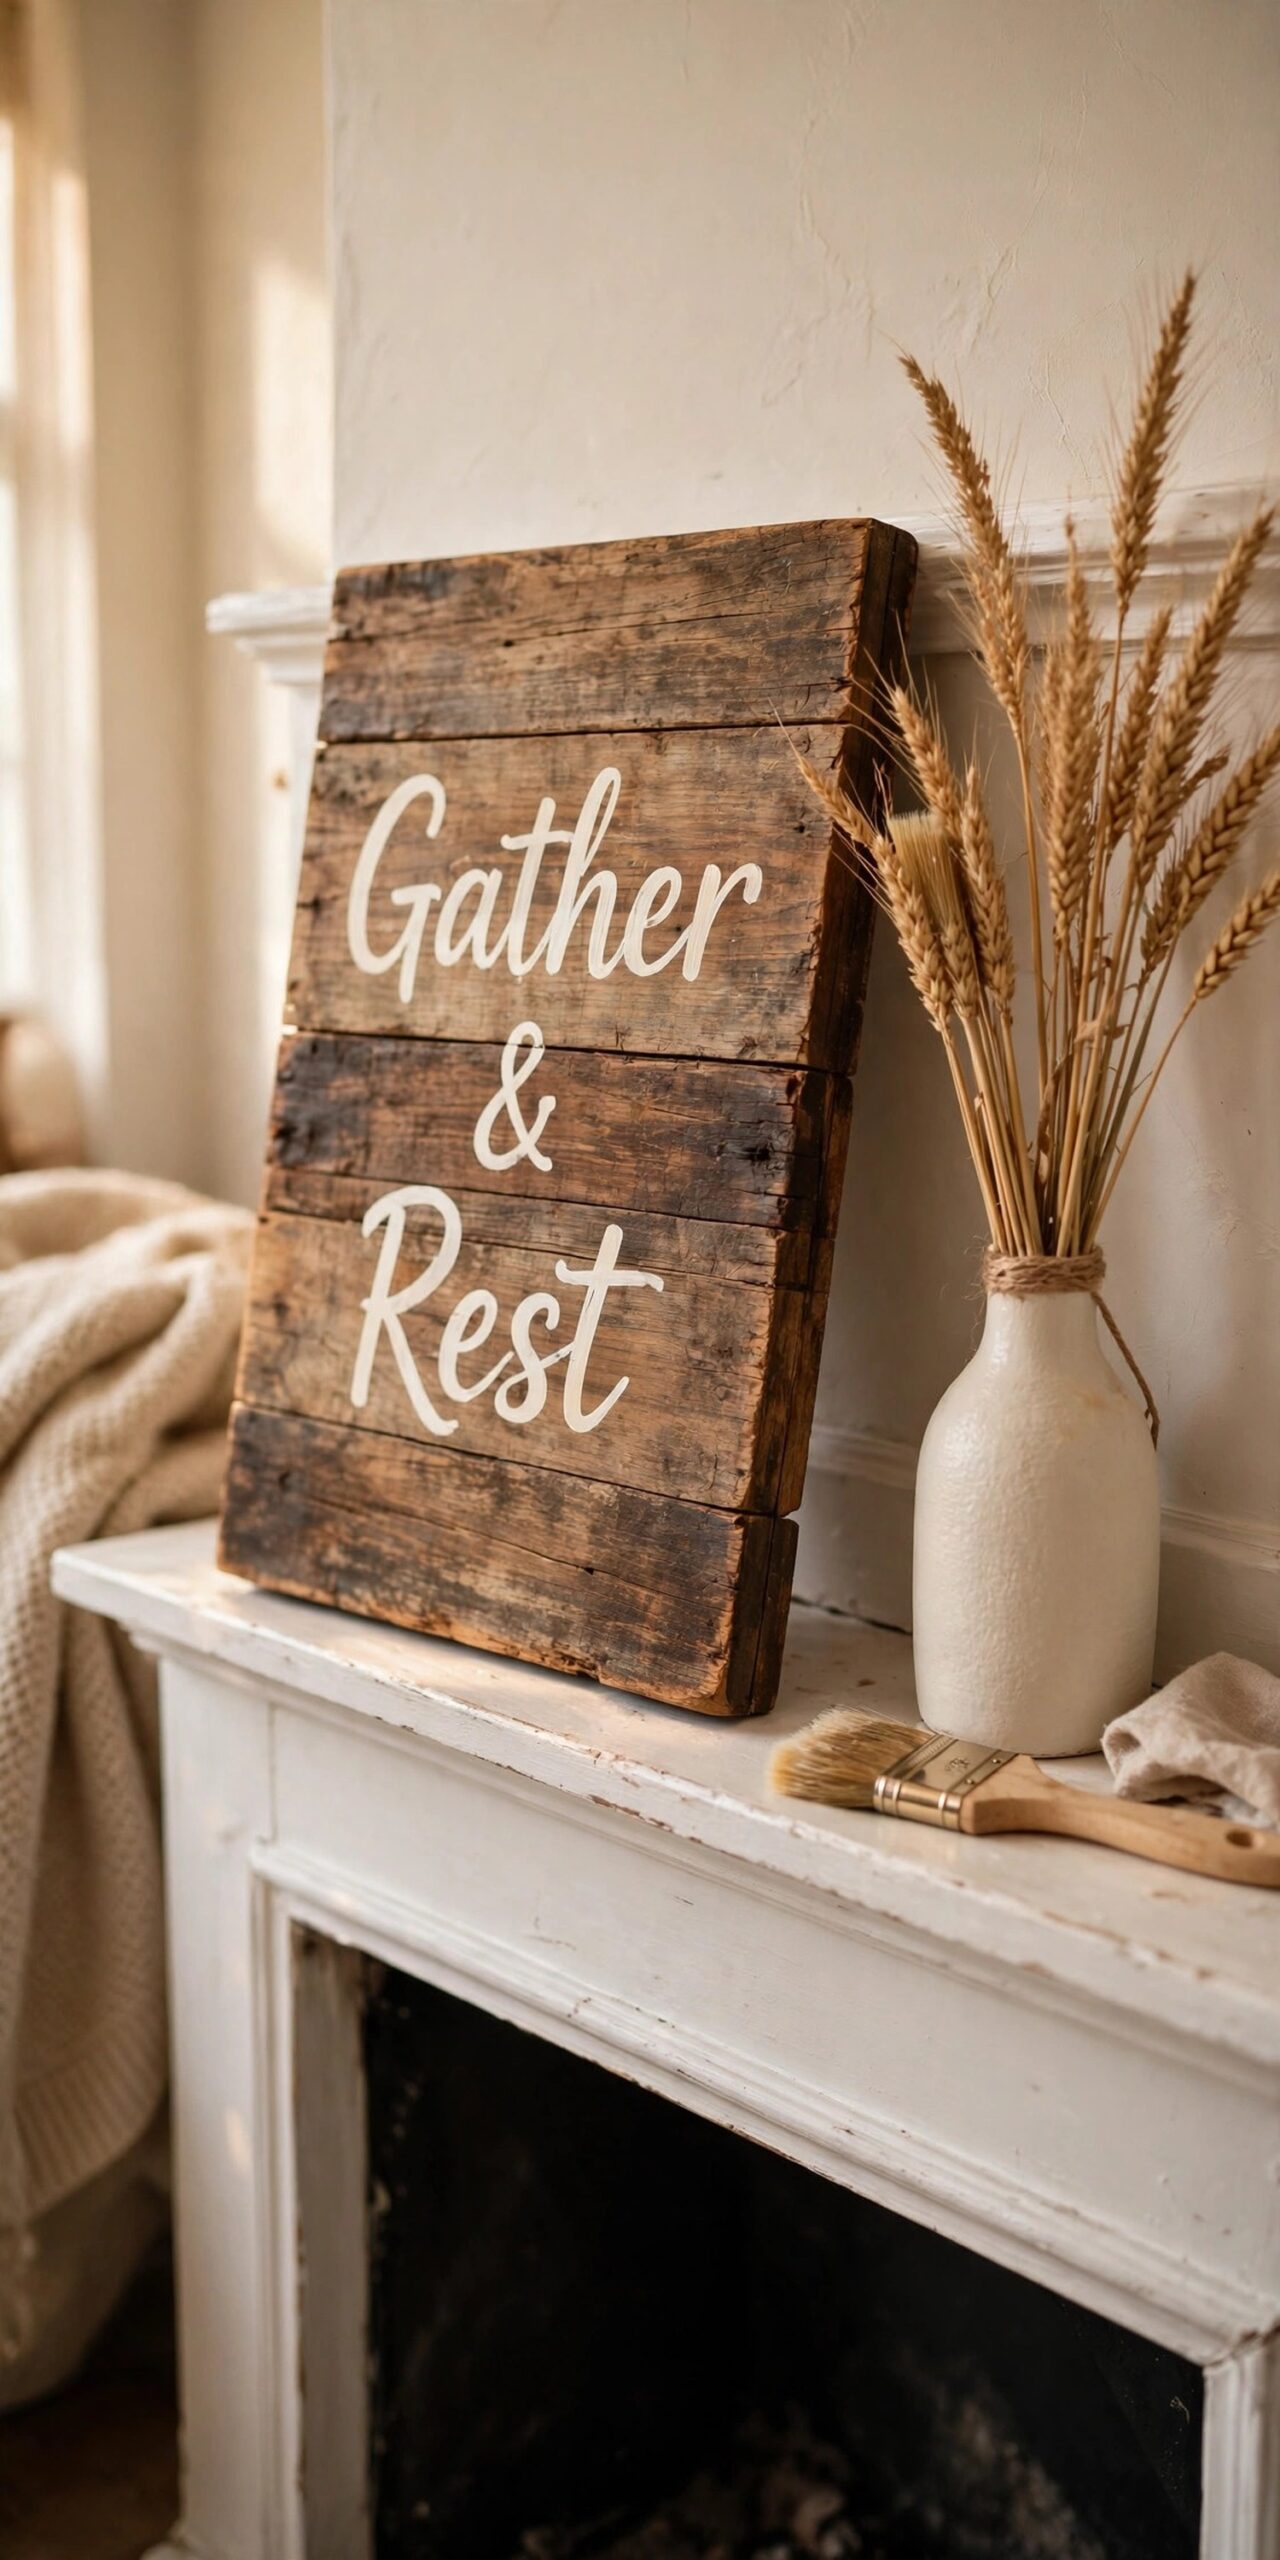
Tip: Two thin coats of paint beat one thick coat. Thick paint bleeds under stencils and peels when handled.
The one-technique rule is the whole secret: pick gather, glue, wrap, or fill, and let one simple skill carry the entire project.
4. Pressed-Leaf Mason Jar Luminaries
Clear mason jars become glowing fall lanterns when you glue pressed autumn leaves to the outside and drop in a battery candle. Light shining through real leaves throws beautiful shadows, and a row of three down a mantel looks truly elegant for about $1 per jar.
Press leaves between heavy book pages for a week, or buy preserved leaves for a couple of dollars. Seal them to the glass with Mod Podge or watered-down white glue. Frost the jar first with a light coat of white spray paint if you want a softer, milk-glass glow.
Budget saver: use jars you already own. The only purchase is the leaves and LED tea lights, which cost less than a single store-bought candle.
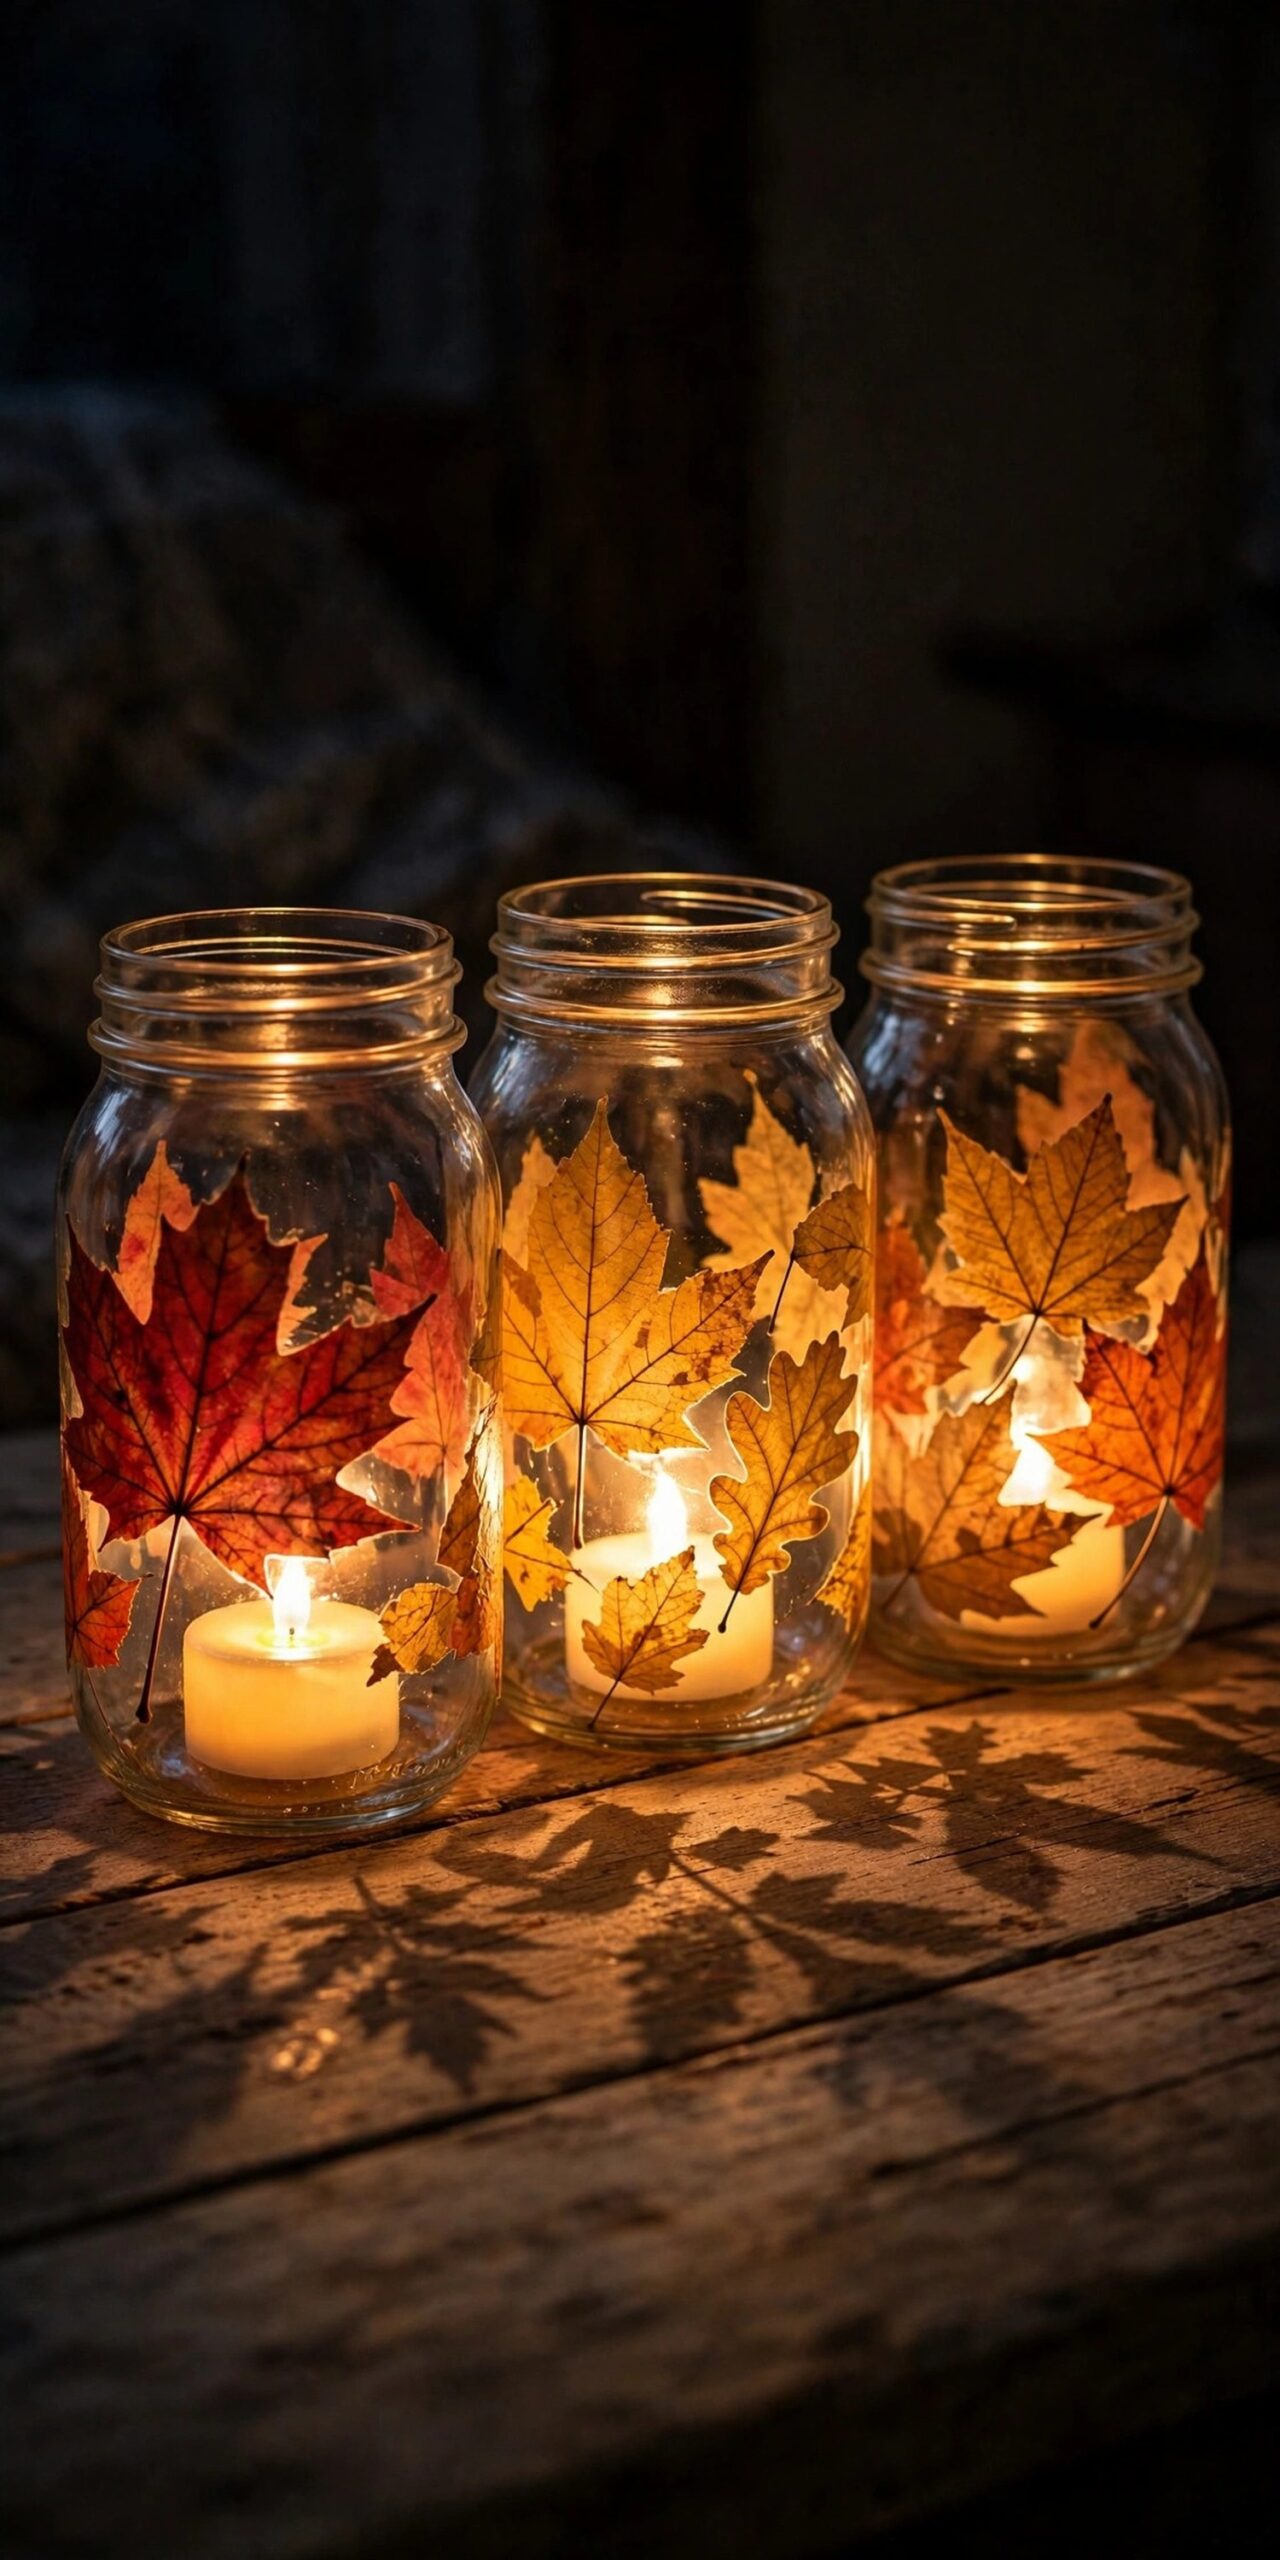
Tip: Use only LED candles inside. Real flames and dried leaves are a combination you do not want.
5. Wood Bead Pumpkins
One of the freshest 2026 craft ideas: thread wood beads onto pipe cleaners and shape them into mini pumpkins. The natural wood tones fit the warm minimalism trend perfectly, and the finished pumpkins suit tiered trays, shelves, and table settings all season.
How to make them: thread beads in orange, white, or neutral tones onto several pipe cleaners, bunch them into a round shape, twist the tops together, and add a brown pipe cleaner stem with a small green leaf. No glue, no paint, no drying time.
Styling twist: make them in all cream or all natural wood for a neutral set that works from September through Thanksgiving without looking holiday-specific.
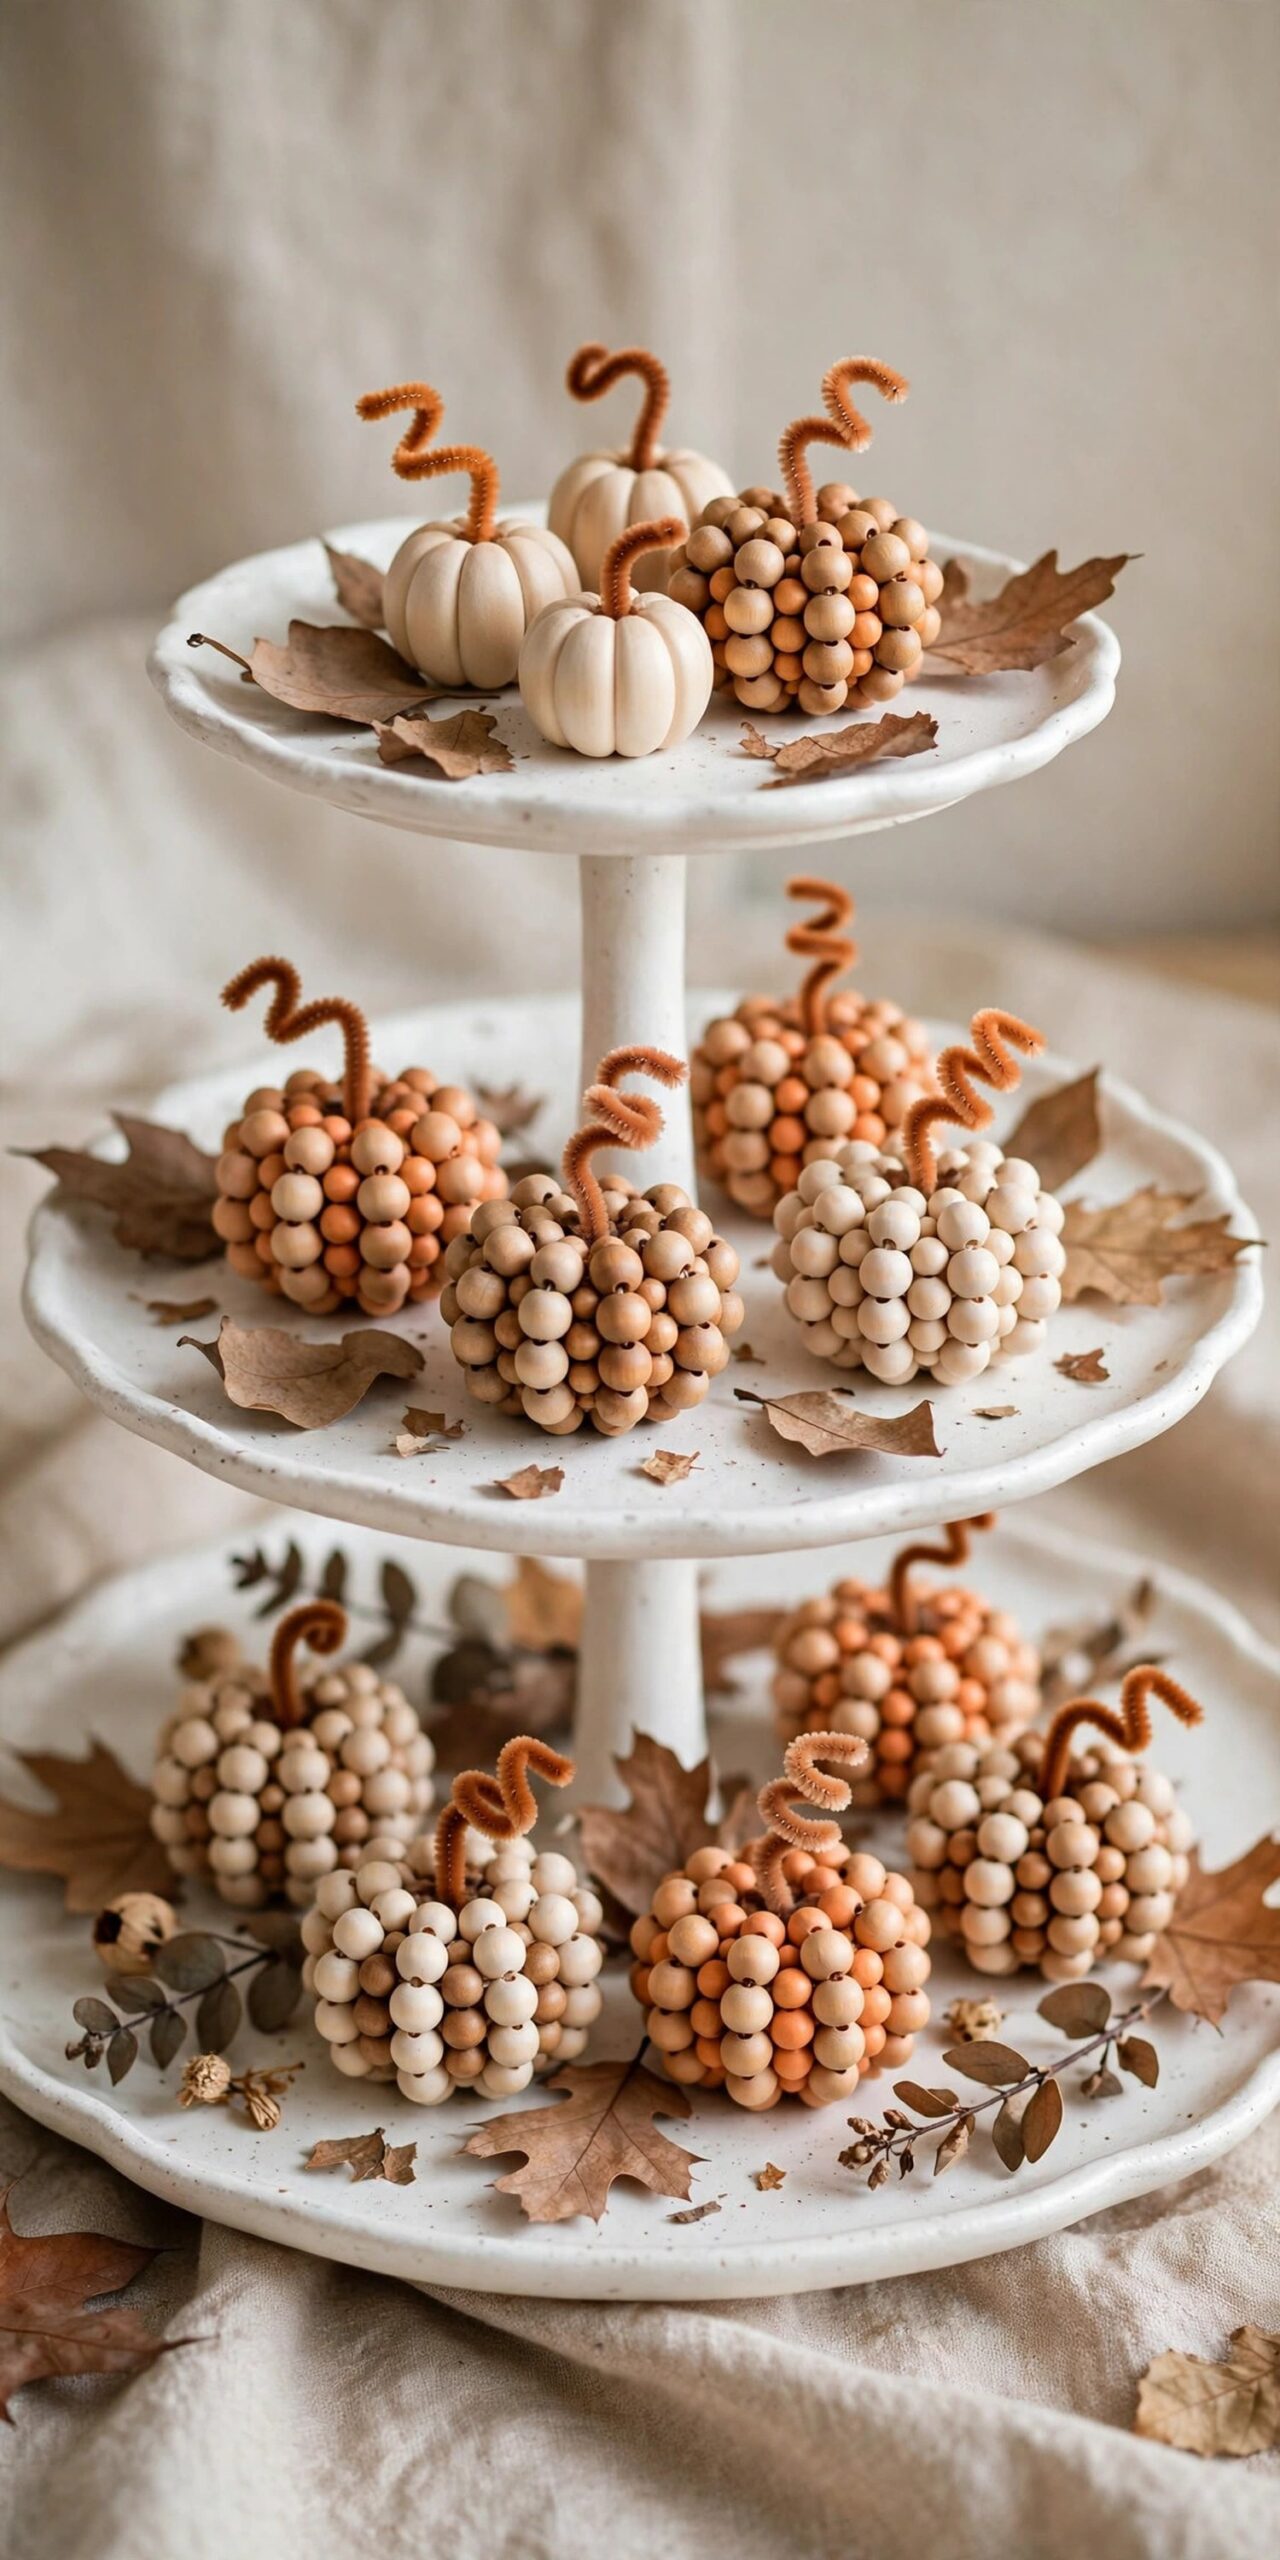
Tip: Keep the bead rows tight as you shape. Gaps make the pumpkin look deflated instead of plump.
6. Felt Leaf Garland
A handmade felt leaf garland is pure cozy craft joy and a genuine family project. Cut leaf shapes from felt sheets in rust, mustard, cream, and olive, the exact 2026 fall palette, then stitch or glue a simple vein and string them on yarn or twine.
Felt costs about $1.25 for several sheets at the dollar store, and one garland needs maybe six. Cut a cardboard leaf template first and trace it; consistent leaves make the garland look far more polished than freehand cutting. Kids can cut while adults handle the stringing.
Variation: alternate felt leaves with small wooden beads on the string. The beads add texture and enough weight that the garland hangs in a nice drape instead of floating.
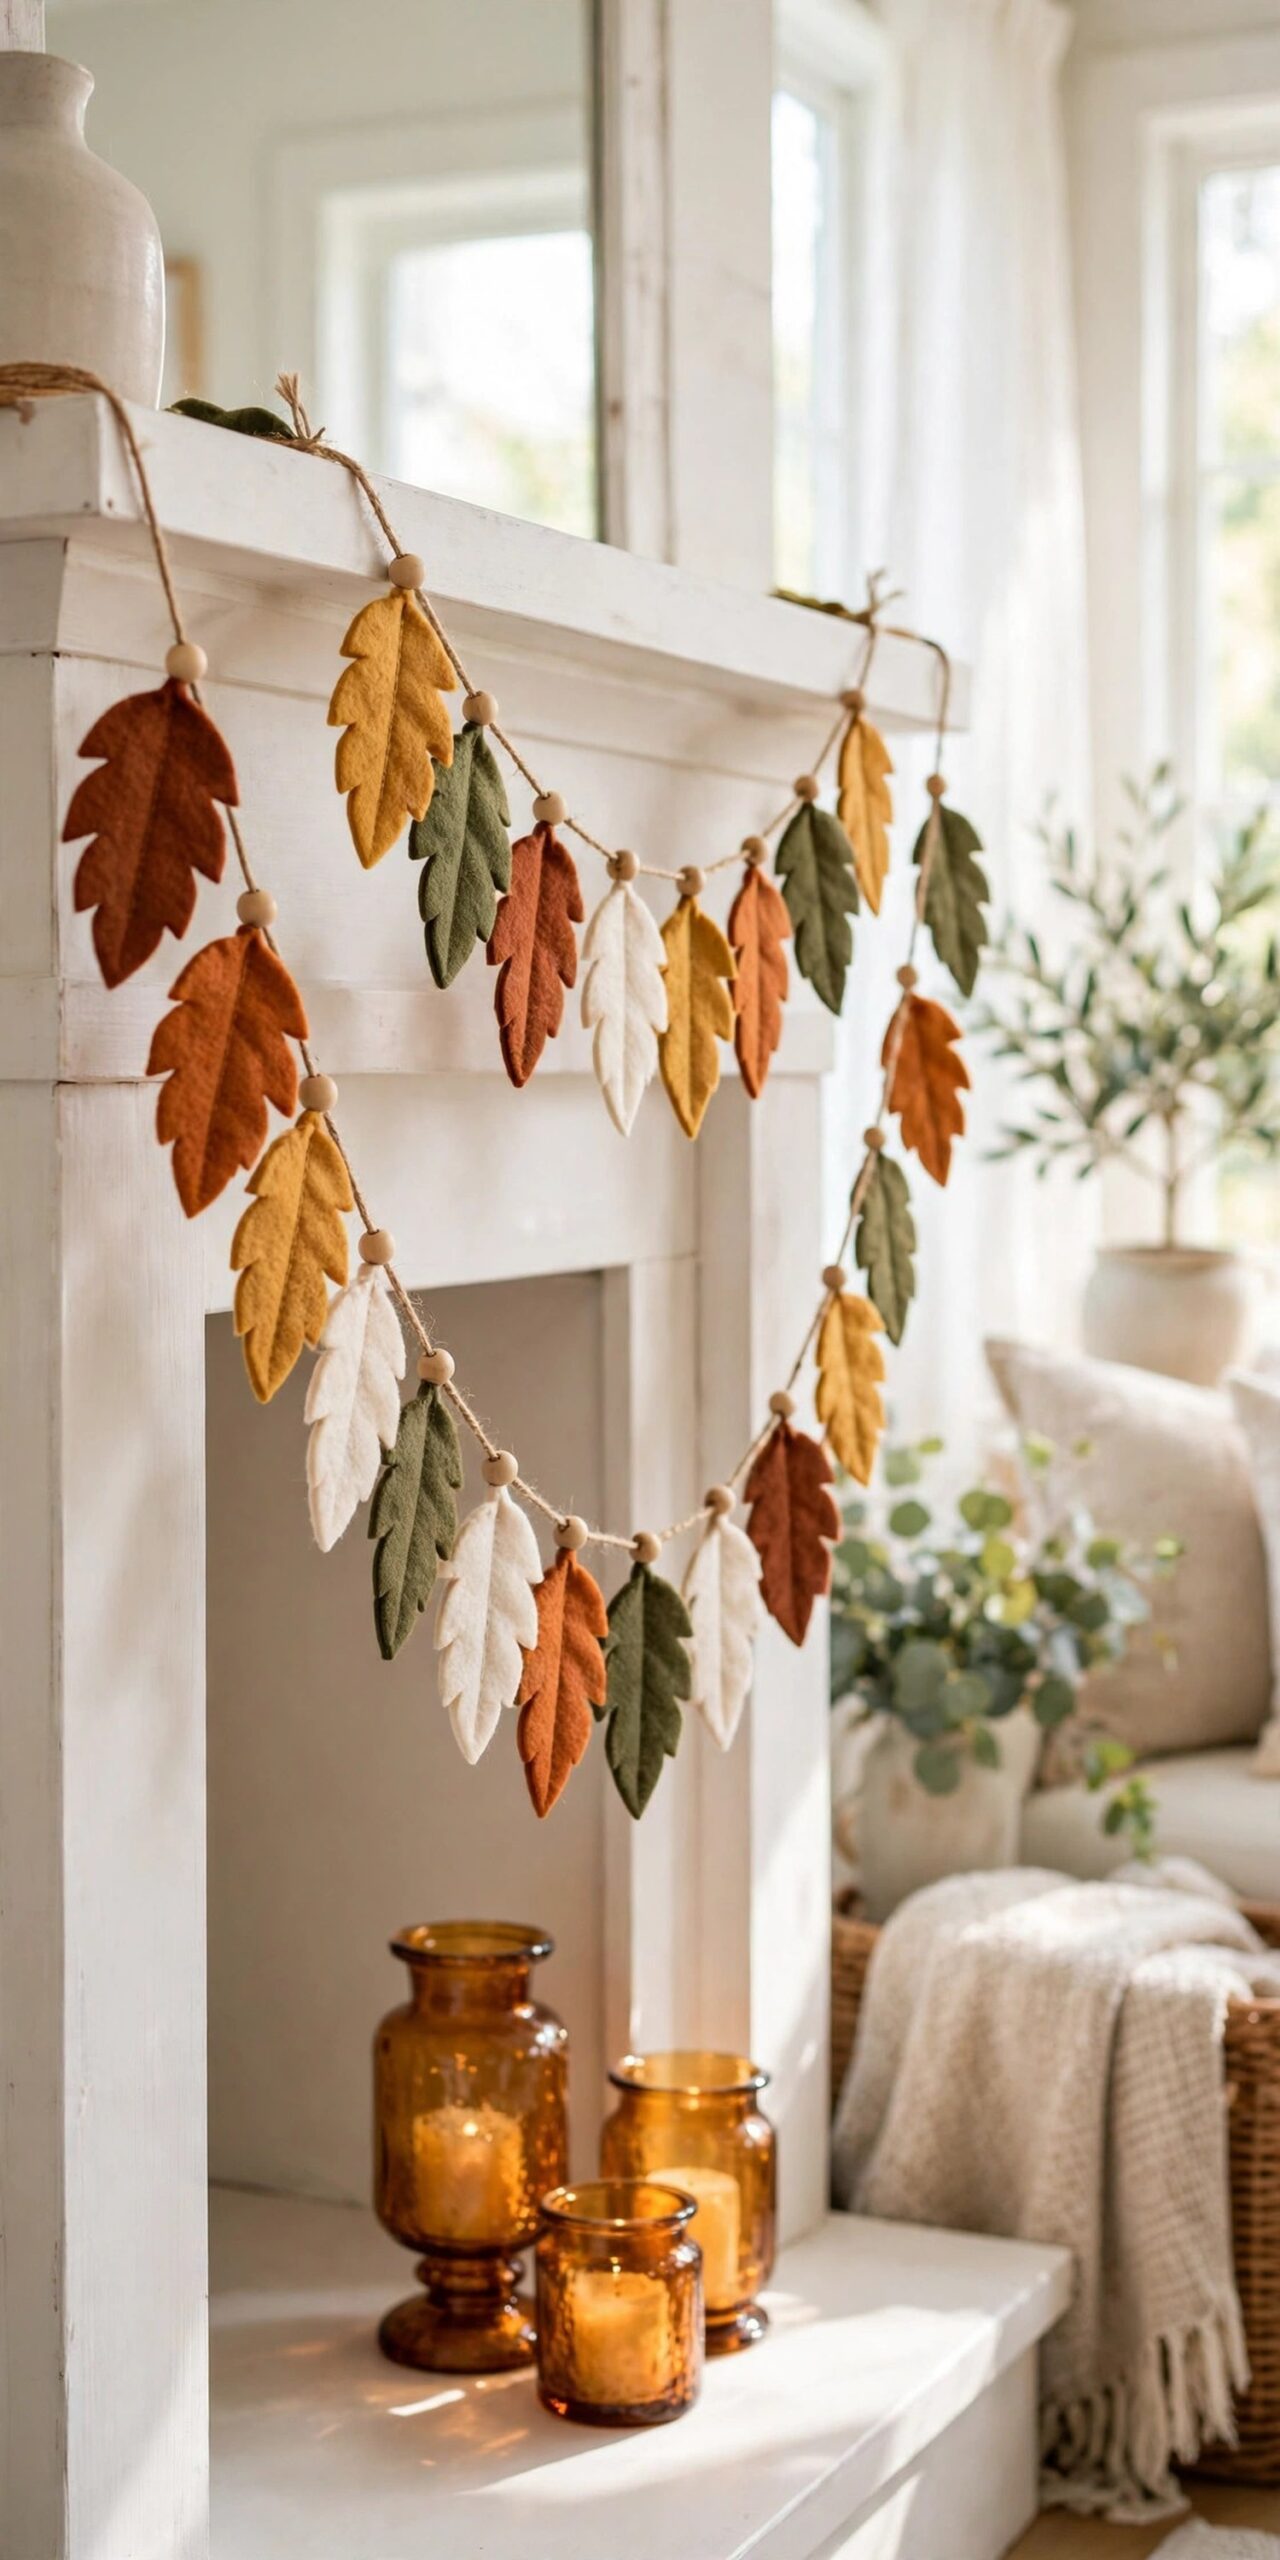
Tip: Drape the finished garland across a mantel, doorway, or mirror. One garland styled in three spots beats three garlands in one spot.
Warm minimalism is the 2026 move: fewer objects, better textures, and one perfect handmade piece beats a shelf of small ones.
7. Pumpkin Pillar Candle Holders
Carve the tops of foam pumpkins just enough to nestle a pillar candle inside, and you get one of the most elegant dollar-store fall projects for just a few dollars. Clustered on a wooden tray, they make a dramatic fall tablescape with almost no effort.
Trace the candle base on top of the pumpkin, cut slightly inside the line with a craft knife, and press the candle in snugly. Use battery-operated pillars for safety, especially on dining tables where they will burn for hours. Vary the pumpkin heights for a collected look.
Styling twist: paint the foam pumpkins cream or sage before cutting. Neutral candle holders blend with any table setting and last through Thanksgiving.
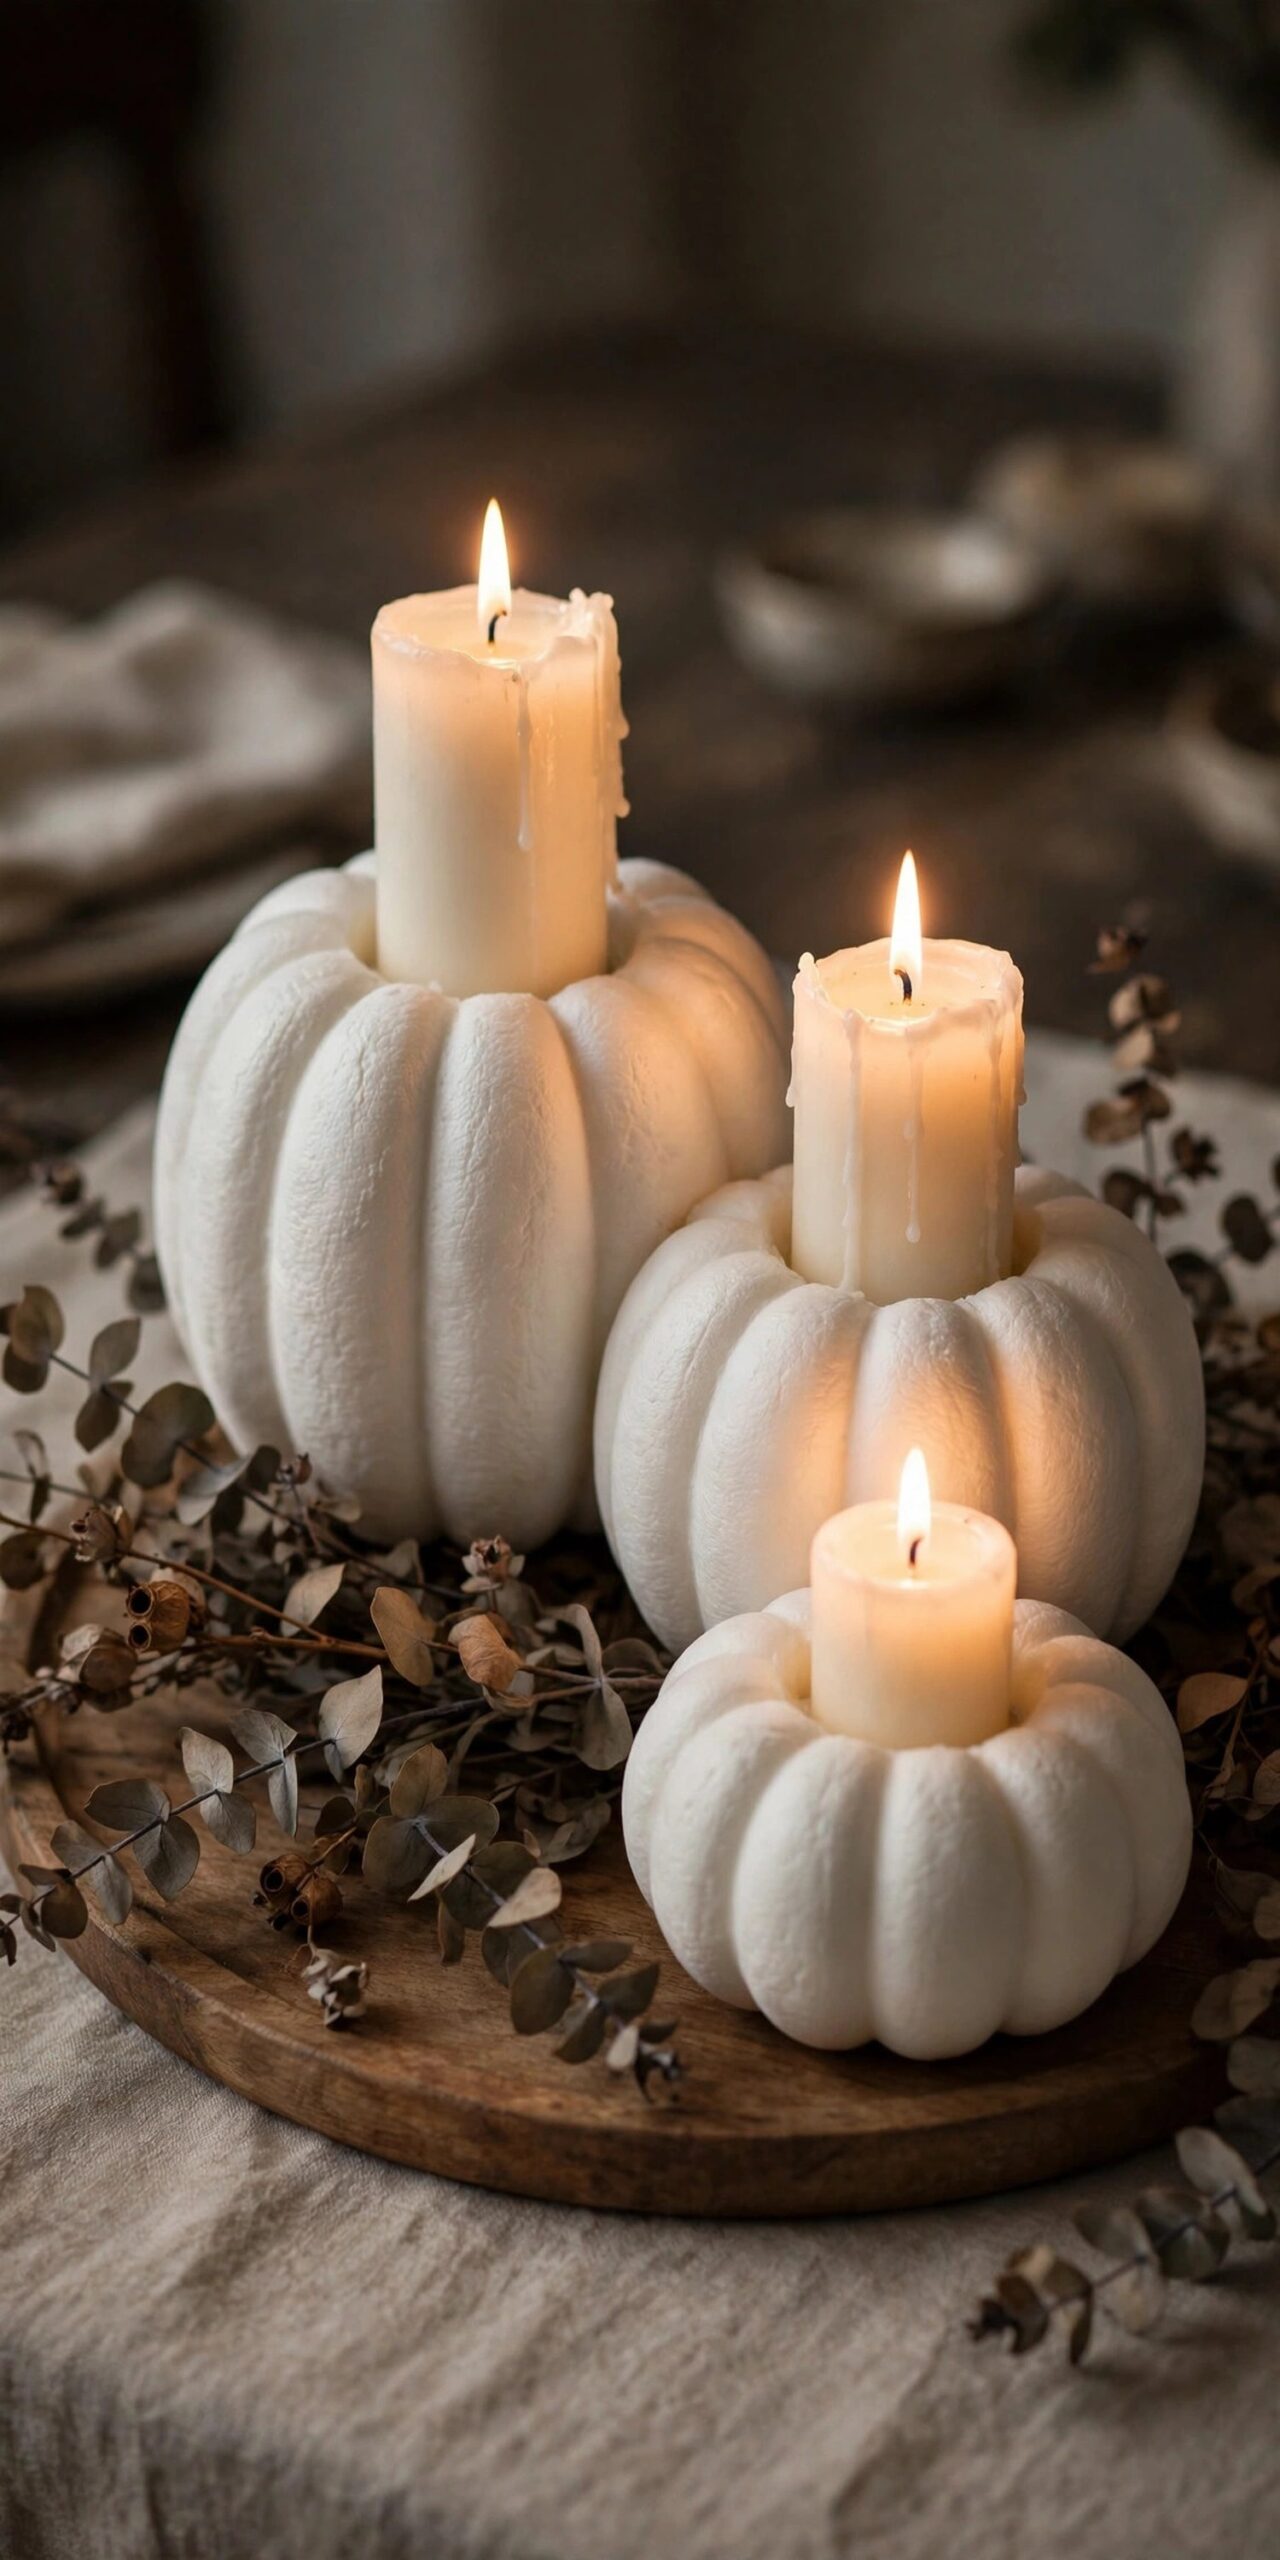
Tip: Cut the opening a hair smaller than the candle. Foam compresses, so a snug fit holds better than a loose one.
8. Stovetop Fall Simmer Pot
The cheapest fall atmosphere is not visual at all. Simmering water with orange slices, cinnamon sticks, and cloves makes the whole house smell like autumn within twenty minutes, and it costs about $3 in pantry items.
How to do it:
- Fill a pot halfway with water.
- Add one sliced orange, two cinnamon sticks, and a tablespoon of cloves.
- Simmer on the lowest heat, adding water as it evaporates. Never leave it unattended.
Make it a gift: layer the dry ingredients in a mason jar with a tag of instructions. A $4 hostess gift that feels thoughtful and personal.
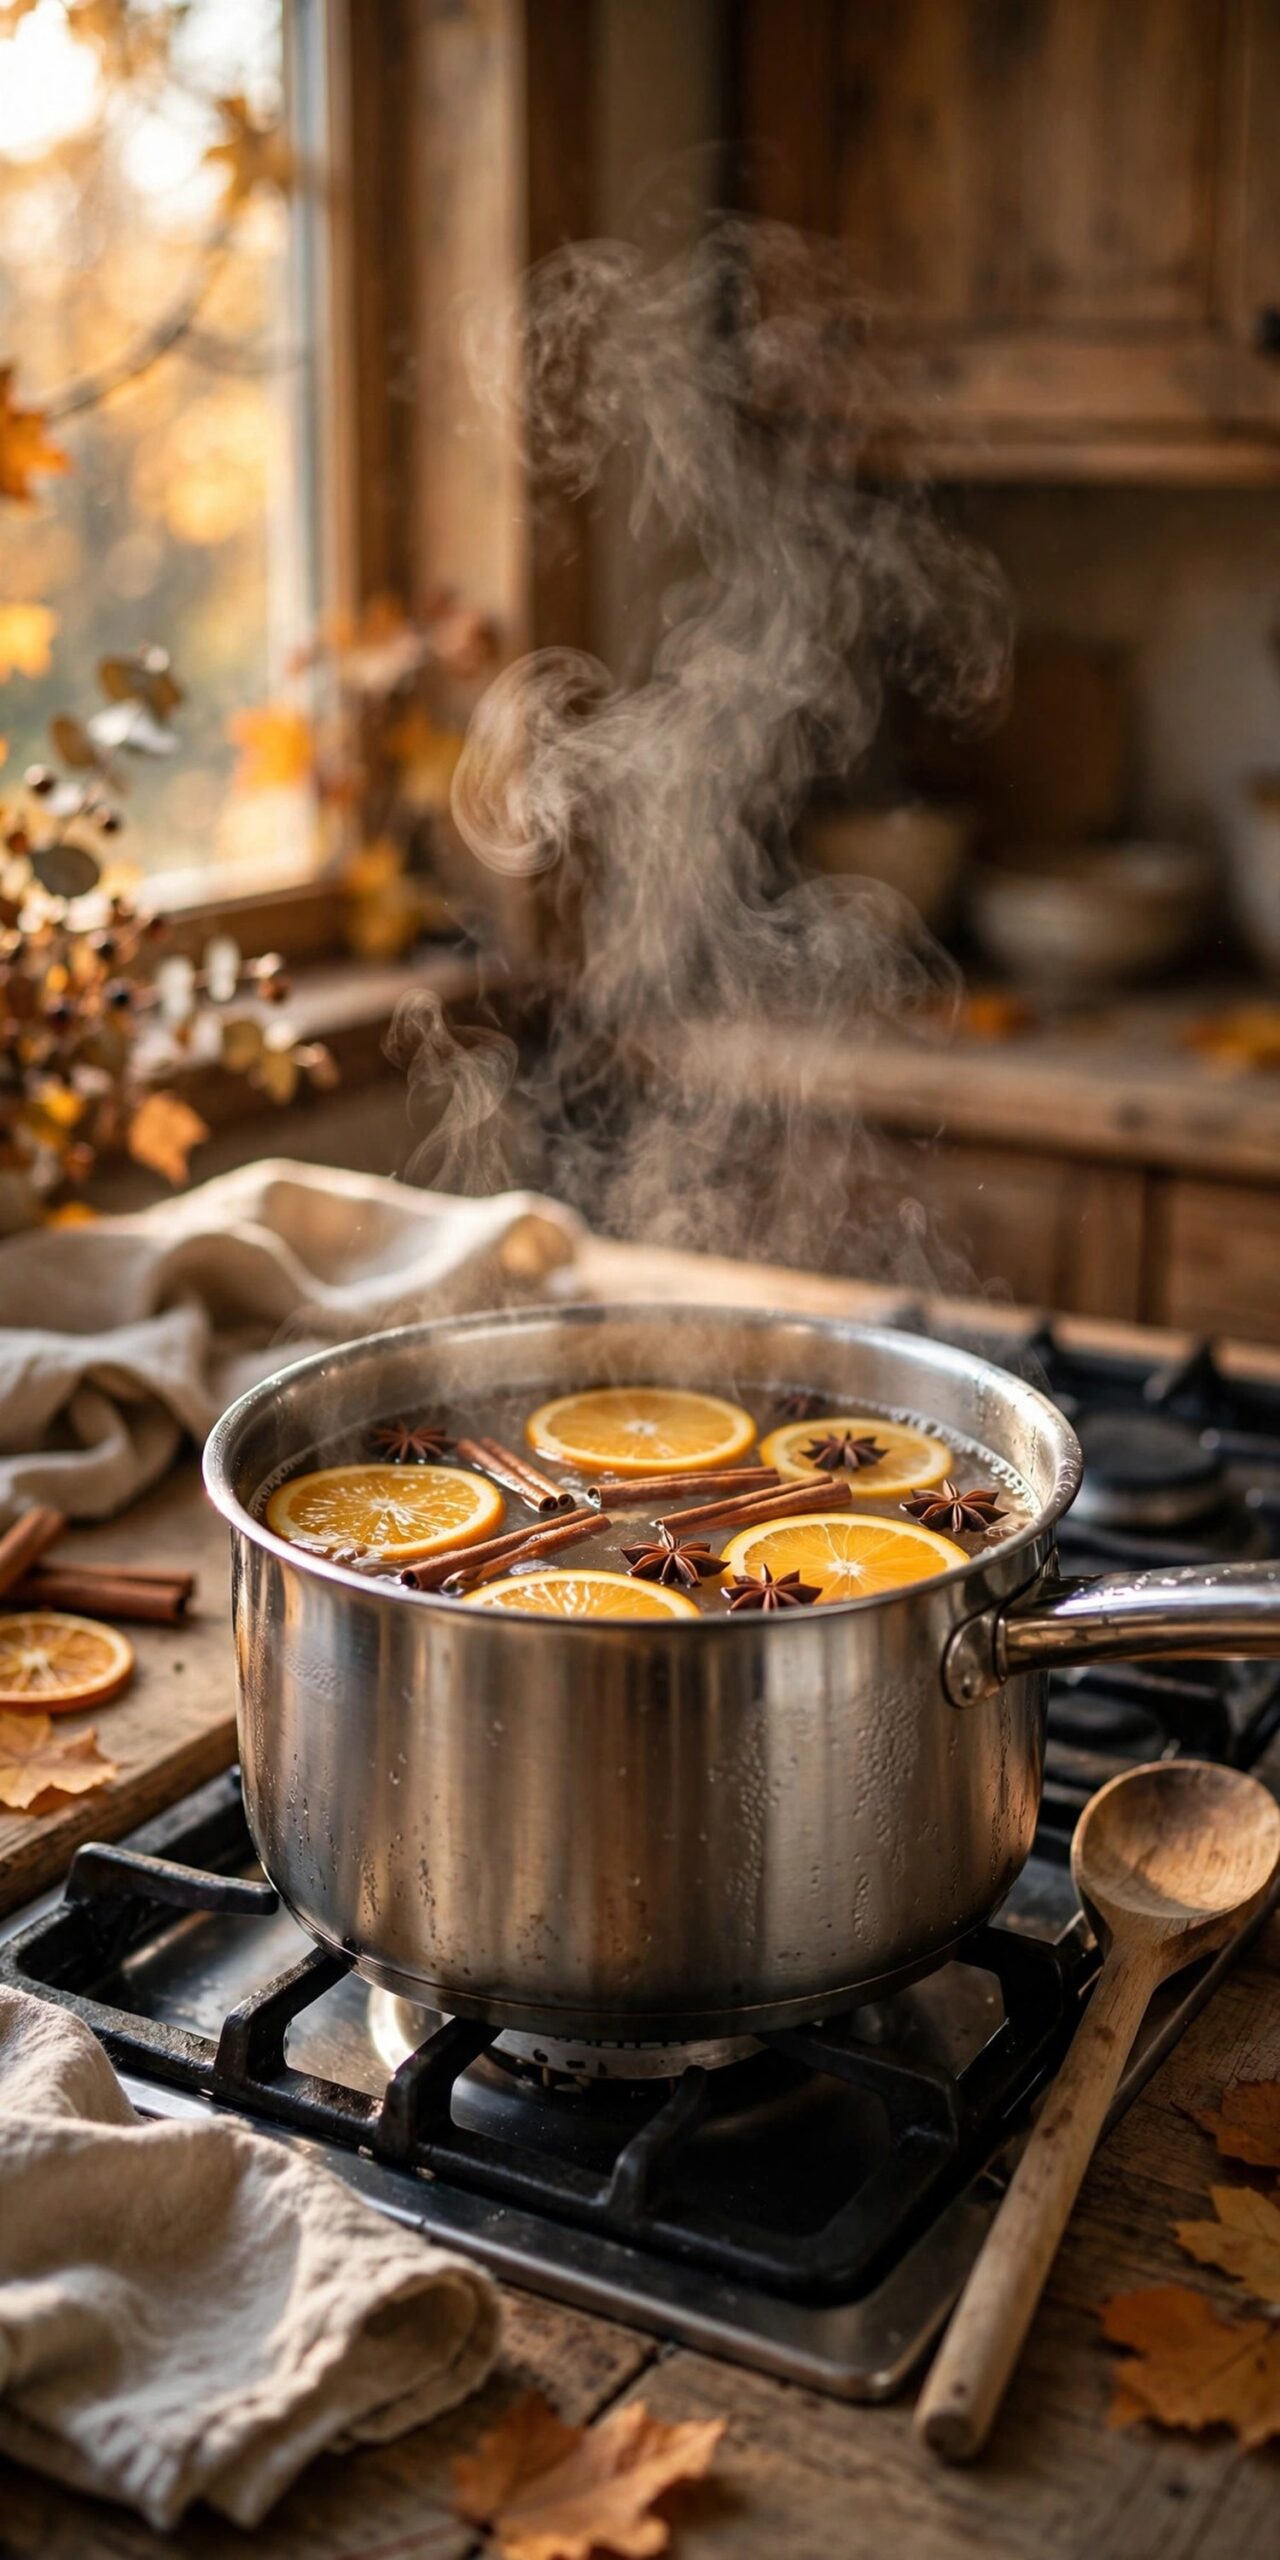
Tip: Add cranberries or apple peels for color and a slightly sweeter scent profile.
9. Wheat Sheaf Bundle
Sometimes the best DIY takes five minutes. A simple bundle of dried wheat or corn stalks tied with jute twine costs almost nothing from a farm stand and brings instant harvest texture to an entryway, mantel, or porch corner.
Gather the stalks into a full bunch, bind tightly with twine about a third of the way down, and trim the bottoms straight so the bundle stands in a tall vase or crock. Fan the tops slightly for a natural, just-gathered look.
Styling twist: pair the bundle with a vintage-style sign or lean it beside a bench. Wheat reads as harvest without a single pumpkin in sight.
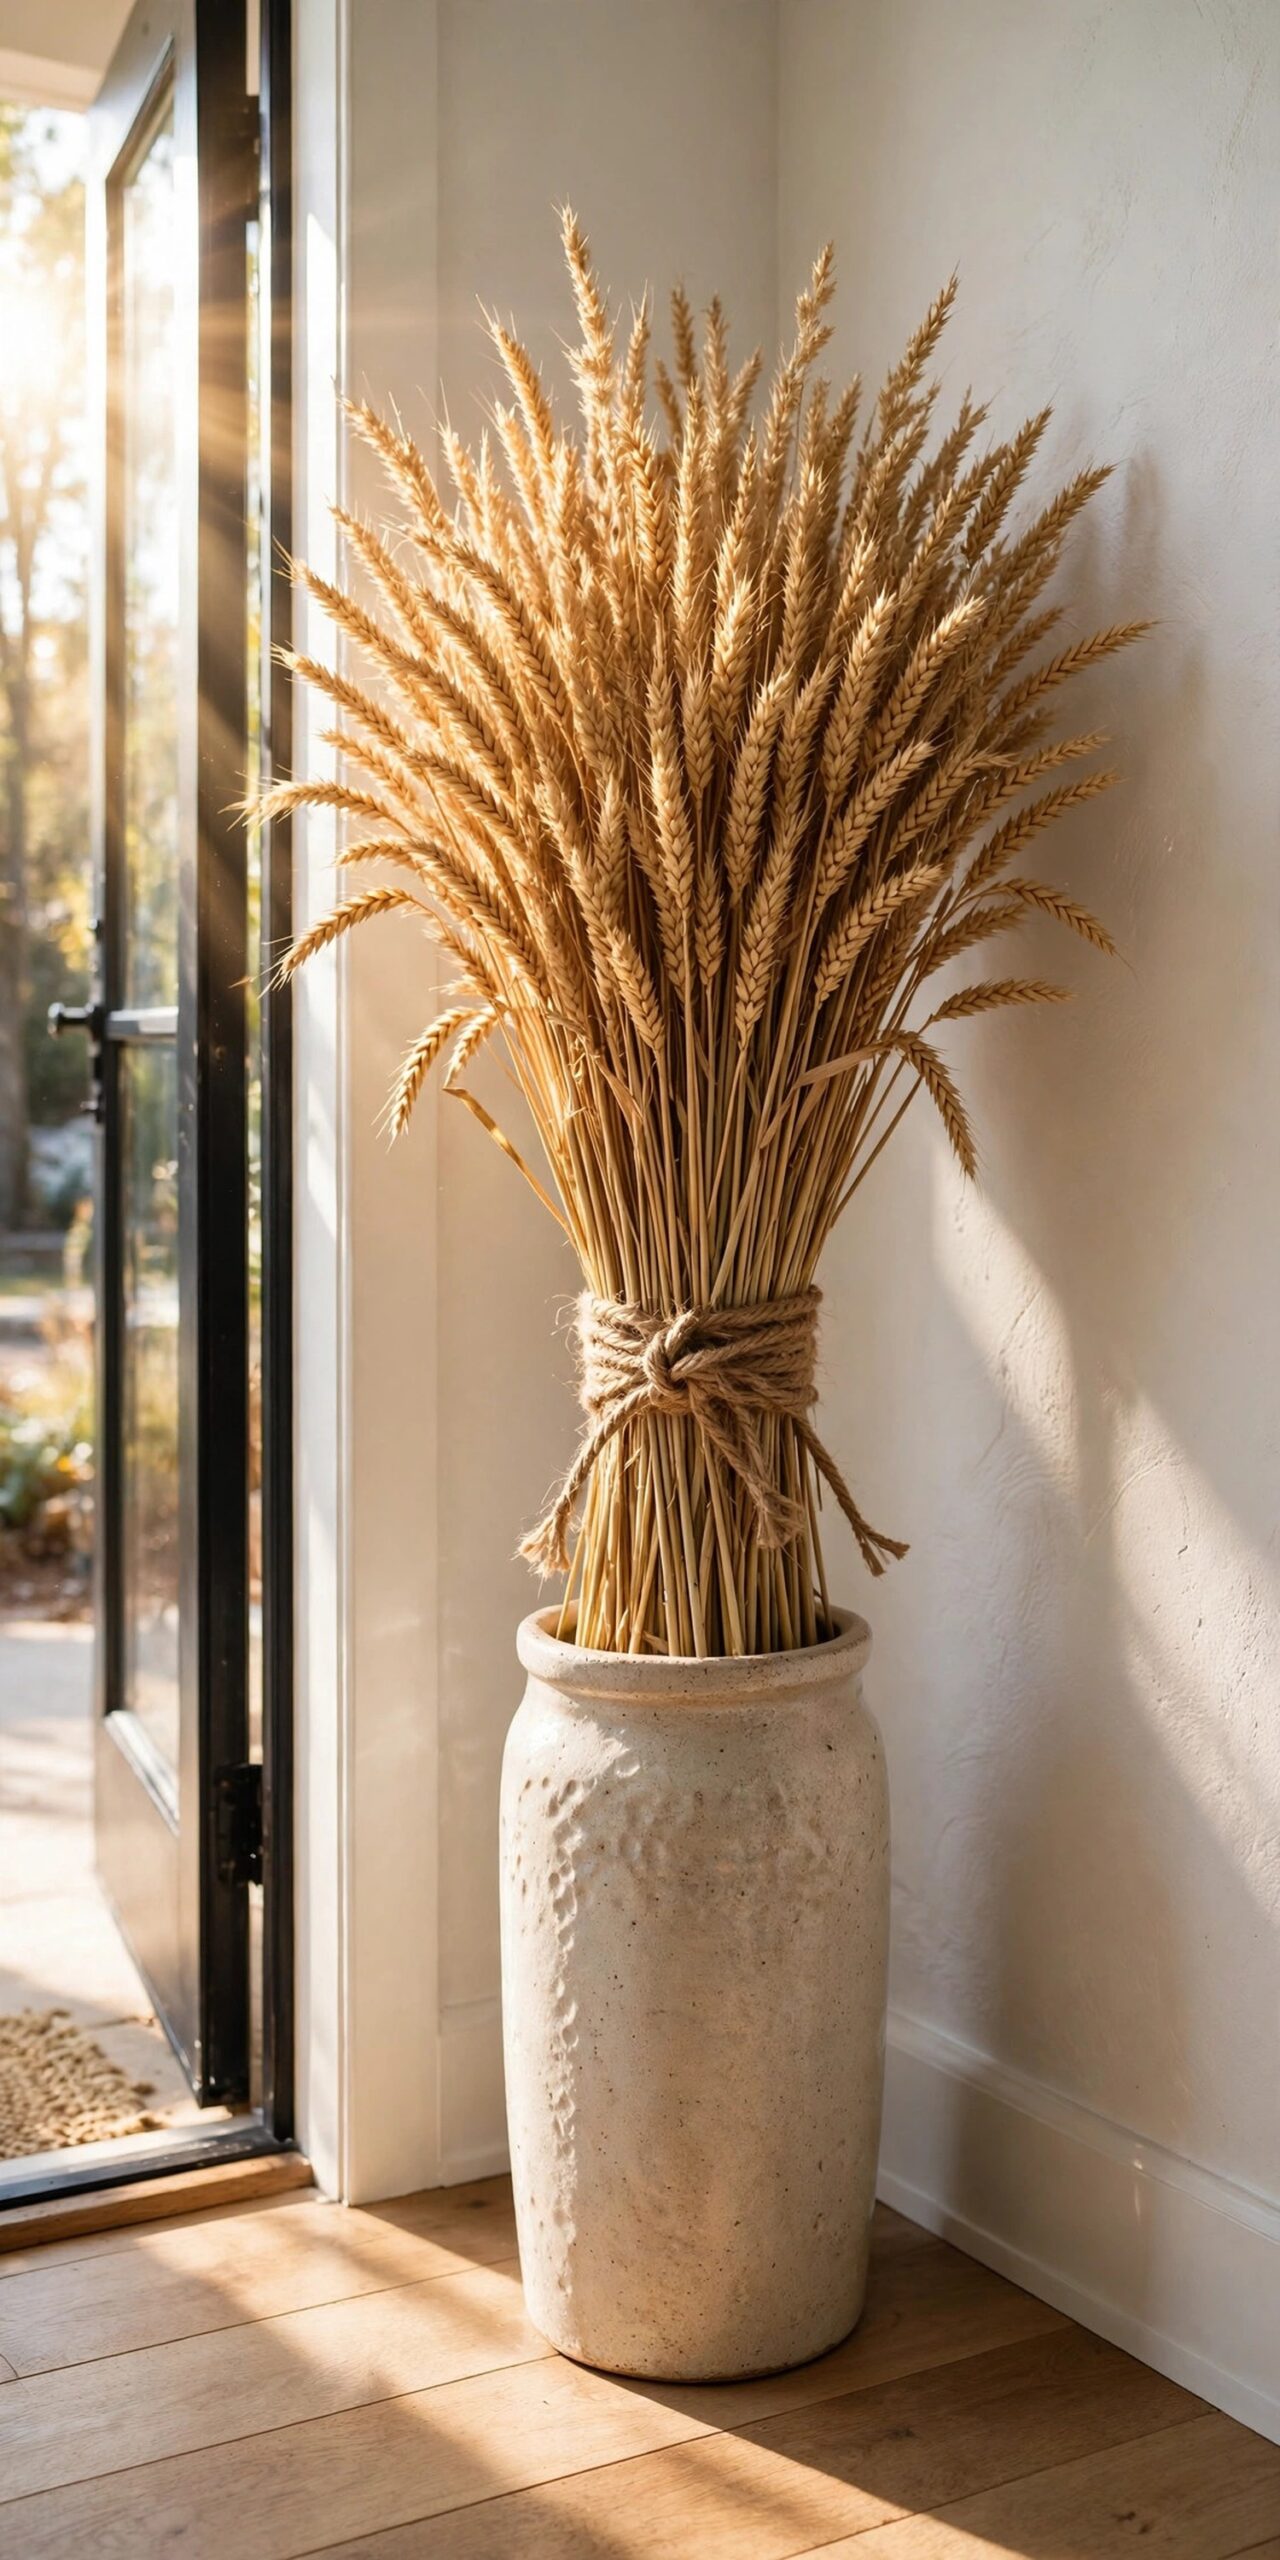
Tip: Buy wheat from farm stands or craft stores in late summer when it is cheapest and freshest.
| Project | Est. Cost | Time Needed |
|---|---|---|
| Corn husk wreath | $6–$10 | 45 min |
| Fabric pumpkins (set of 3) | $5–$8 | 45 min |
| Hand-lettered sign | $3–$5 | 40 min |
| Mason jar luminaries (set of 3) | $4–$6 | 30 min |
| Wood bead pumpkins (set of 3) | $4–$6 | 30 min |
| Simmer pot | $3 | 5 min |
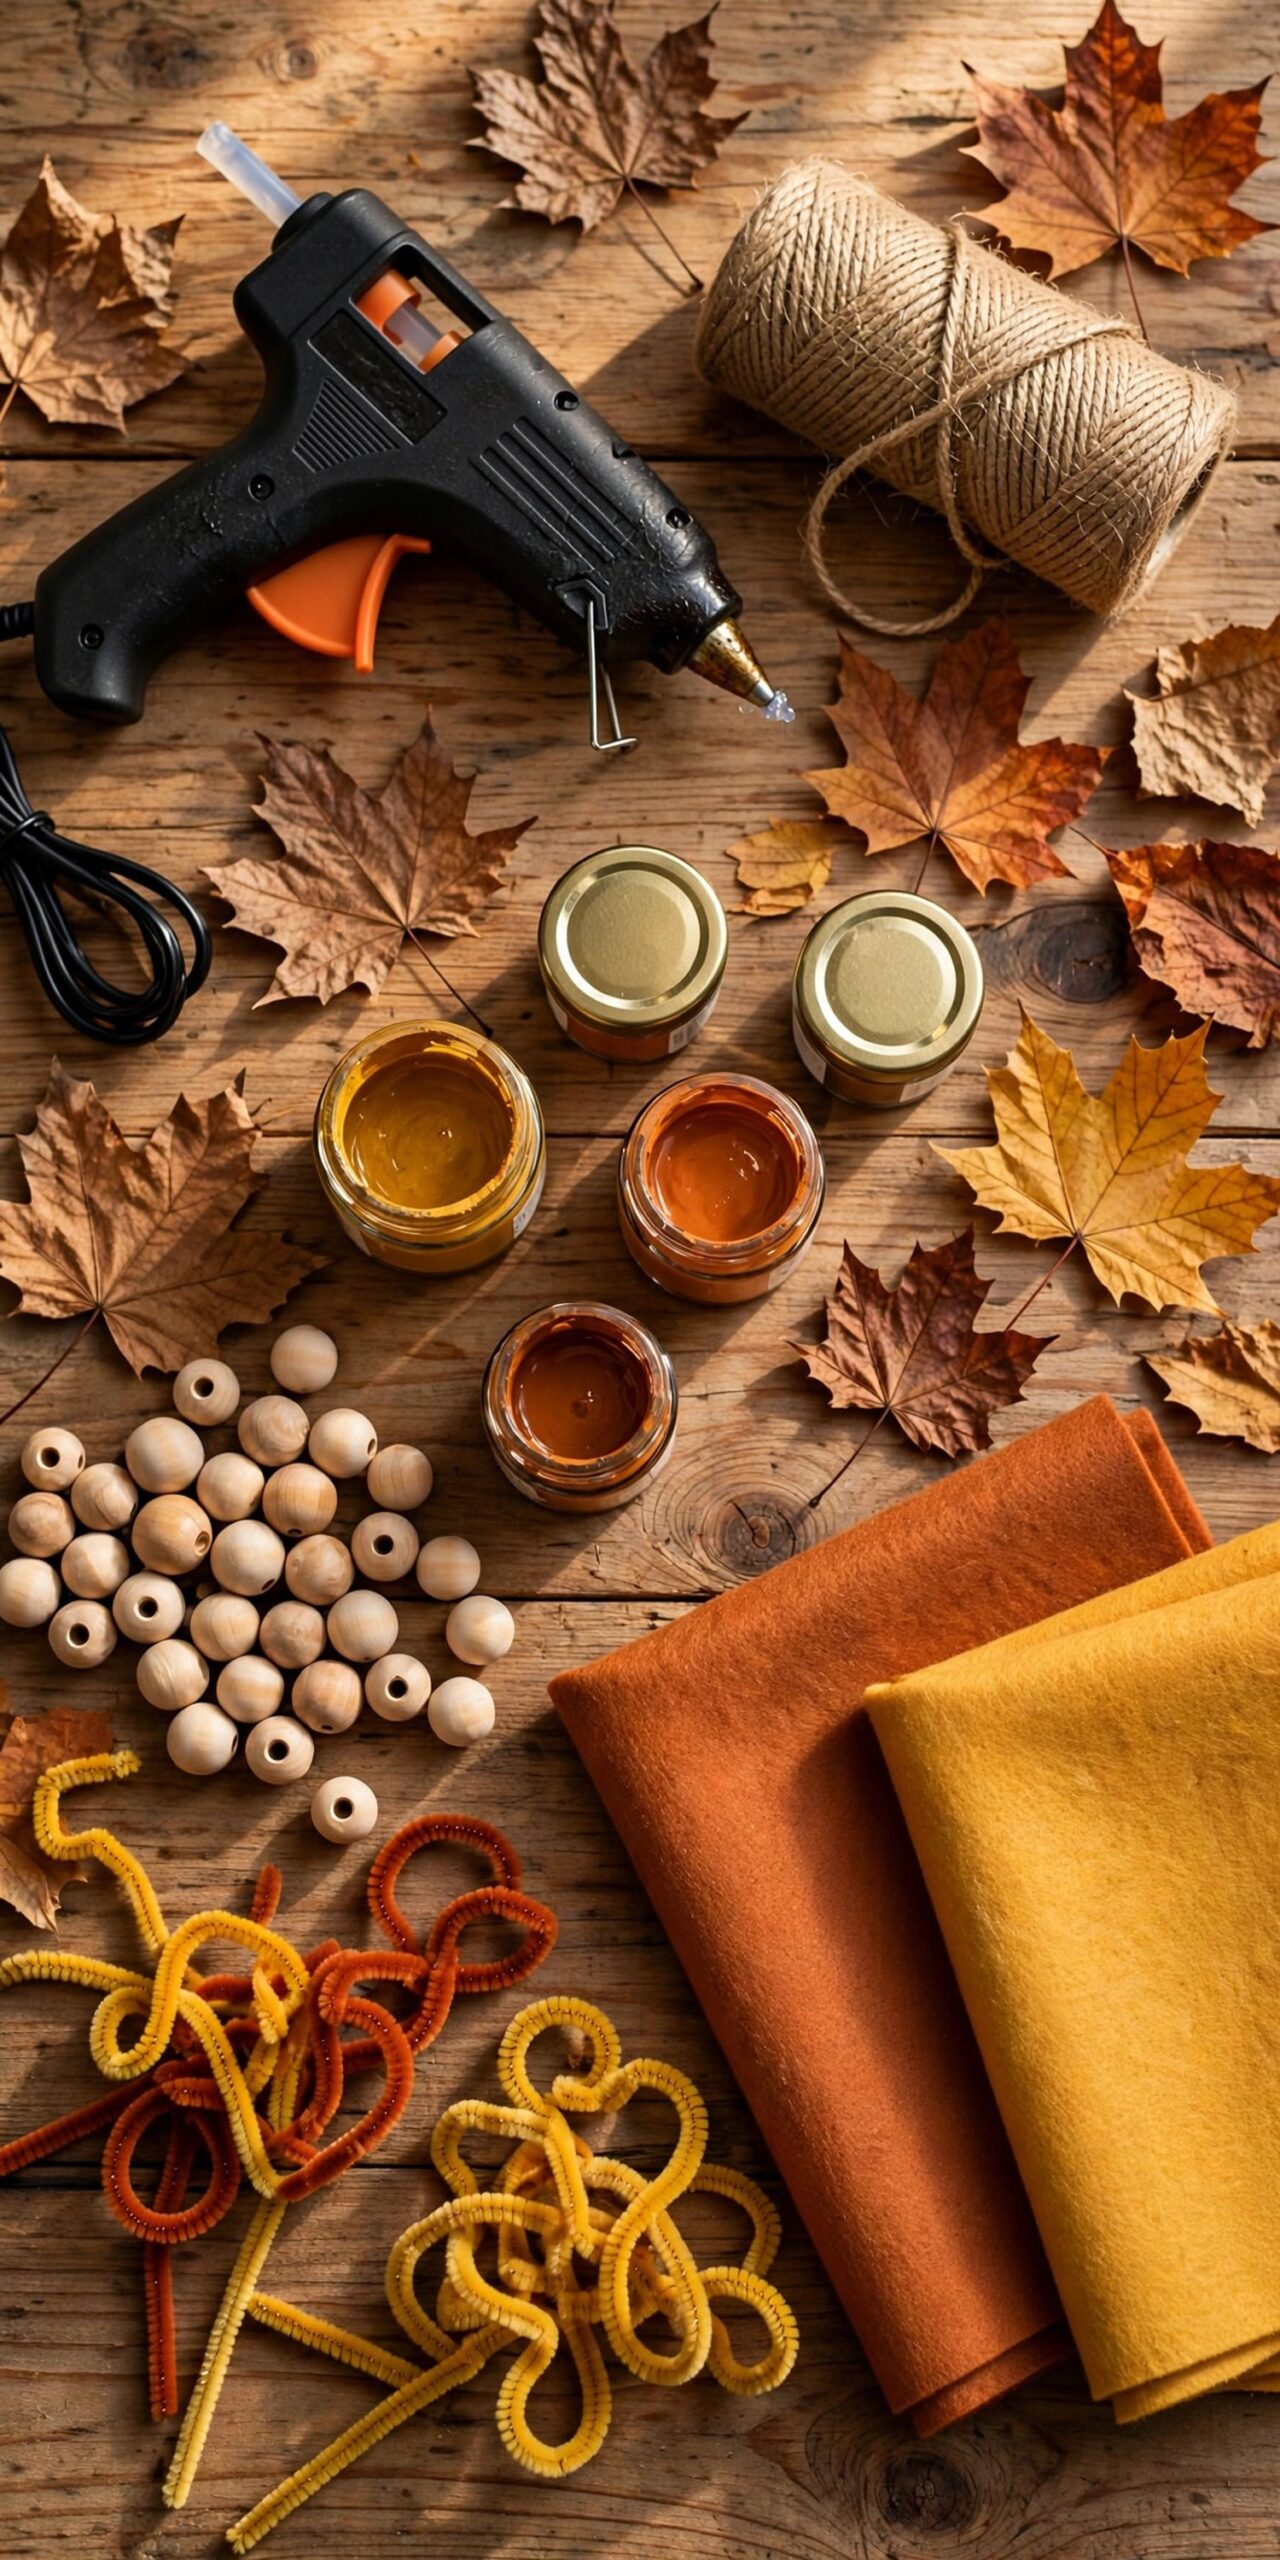
Batch your crafting: cut all fabric one day, paint everything the next, glue on the third. Assembly-line crafting finishes three projects in the time one used to take.
10. Pottery Barn Dupe Centerpiece
High-end fall centerpieces are shockingly easy to fake. One popular dupe recreates a $169 Pottery Barn mixed autumn centerpiece for under $20 using dollar-store supplies and a pool noodle as the hidden base. The noodle holds stems exactly where you put them, so you get a full, professional look with zero floral skills.
Cut the noodle to fit your container, poke stems in at angles, and cover the base edge with moss or leaves so the trick stays invisible. Photograph the store original before you shop and match its colors stem for stem; that is what sells the dupe.
Budget breakdown: pool noodle $1.25, fall stems $1.25 to $1.75 each for six to eight stems, container from home. Total stays under $20 against the $169 original.
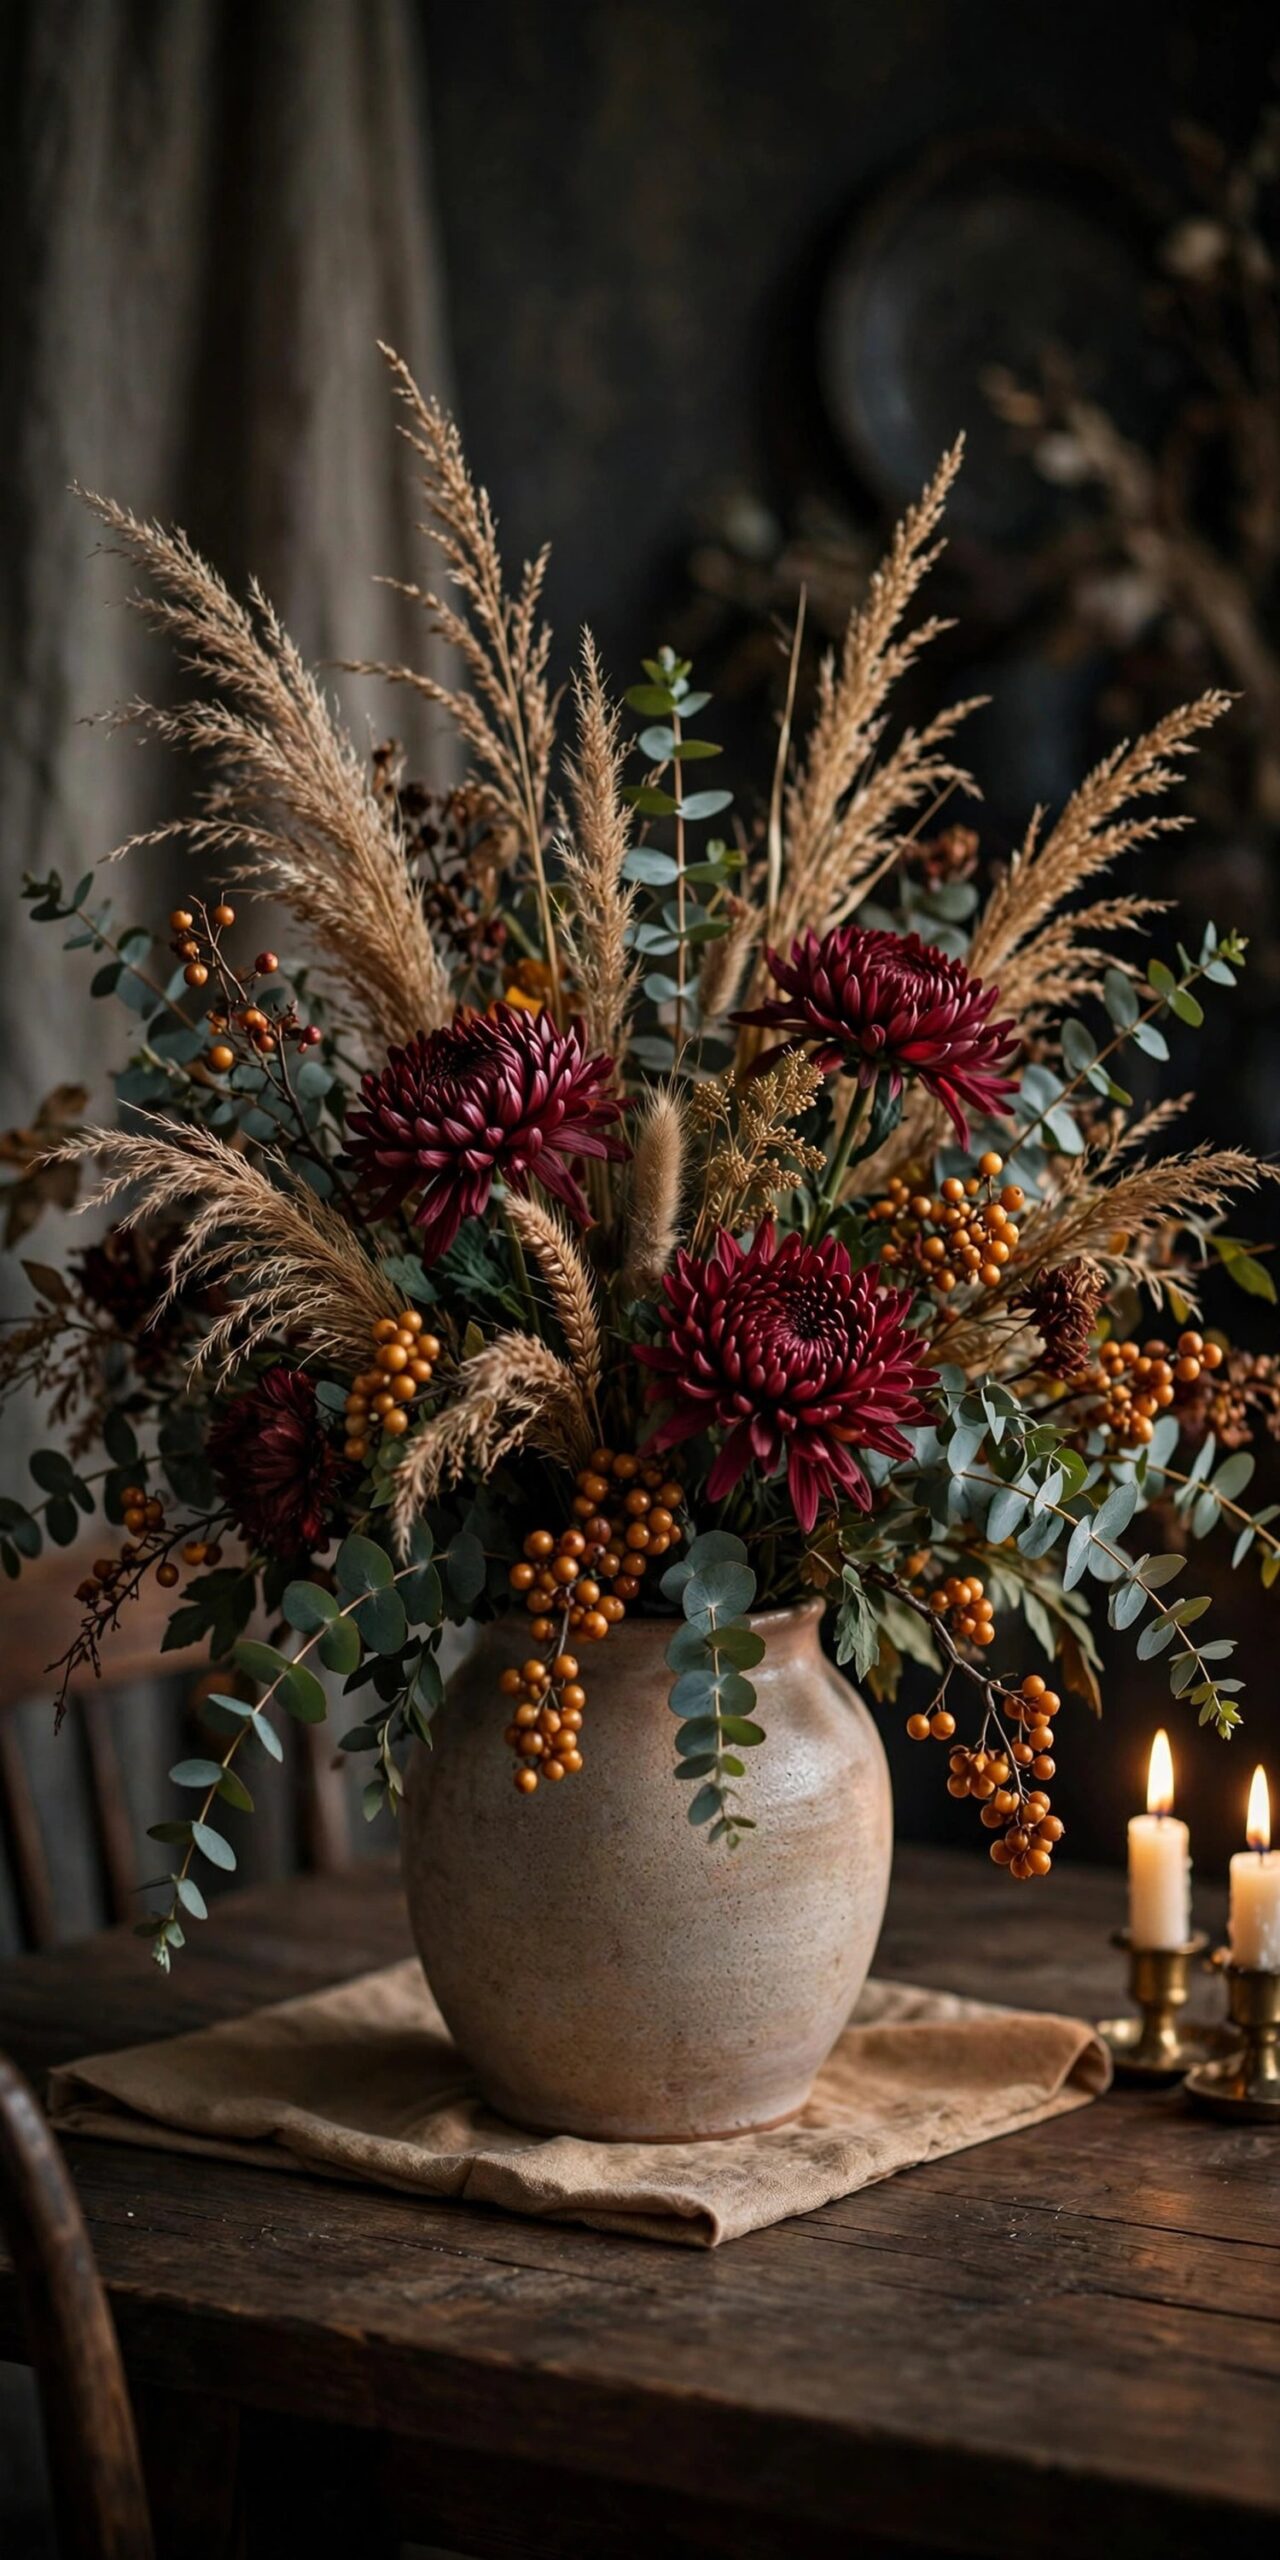
Tip: Dried grasses and seed pods from your yard fill gaps for free and make the arrangement look less craft-aisle.
11. Pinecone-Filled Glass Jars
Old glass jars become seasonal displays with nothing but pinecones. Fill vases, apothecary jars, or drinking glasses with pinecones, tie twine around the neck, and group them in threes. It is the simplest project on this list and somehow always looks intentional.
Bake gathered pinecones at 200°F for 30 minutes first and let them cool fully. Mix sizes in each jar for a natural look, and tuck a battery fairy light strand into one jar per group for evening glow.
Variation: spray a few pinecones gold or copper and mix them in. Metallic accents make the whole grouping look deliberate rather than gathered.
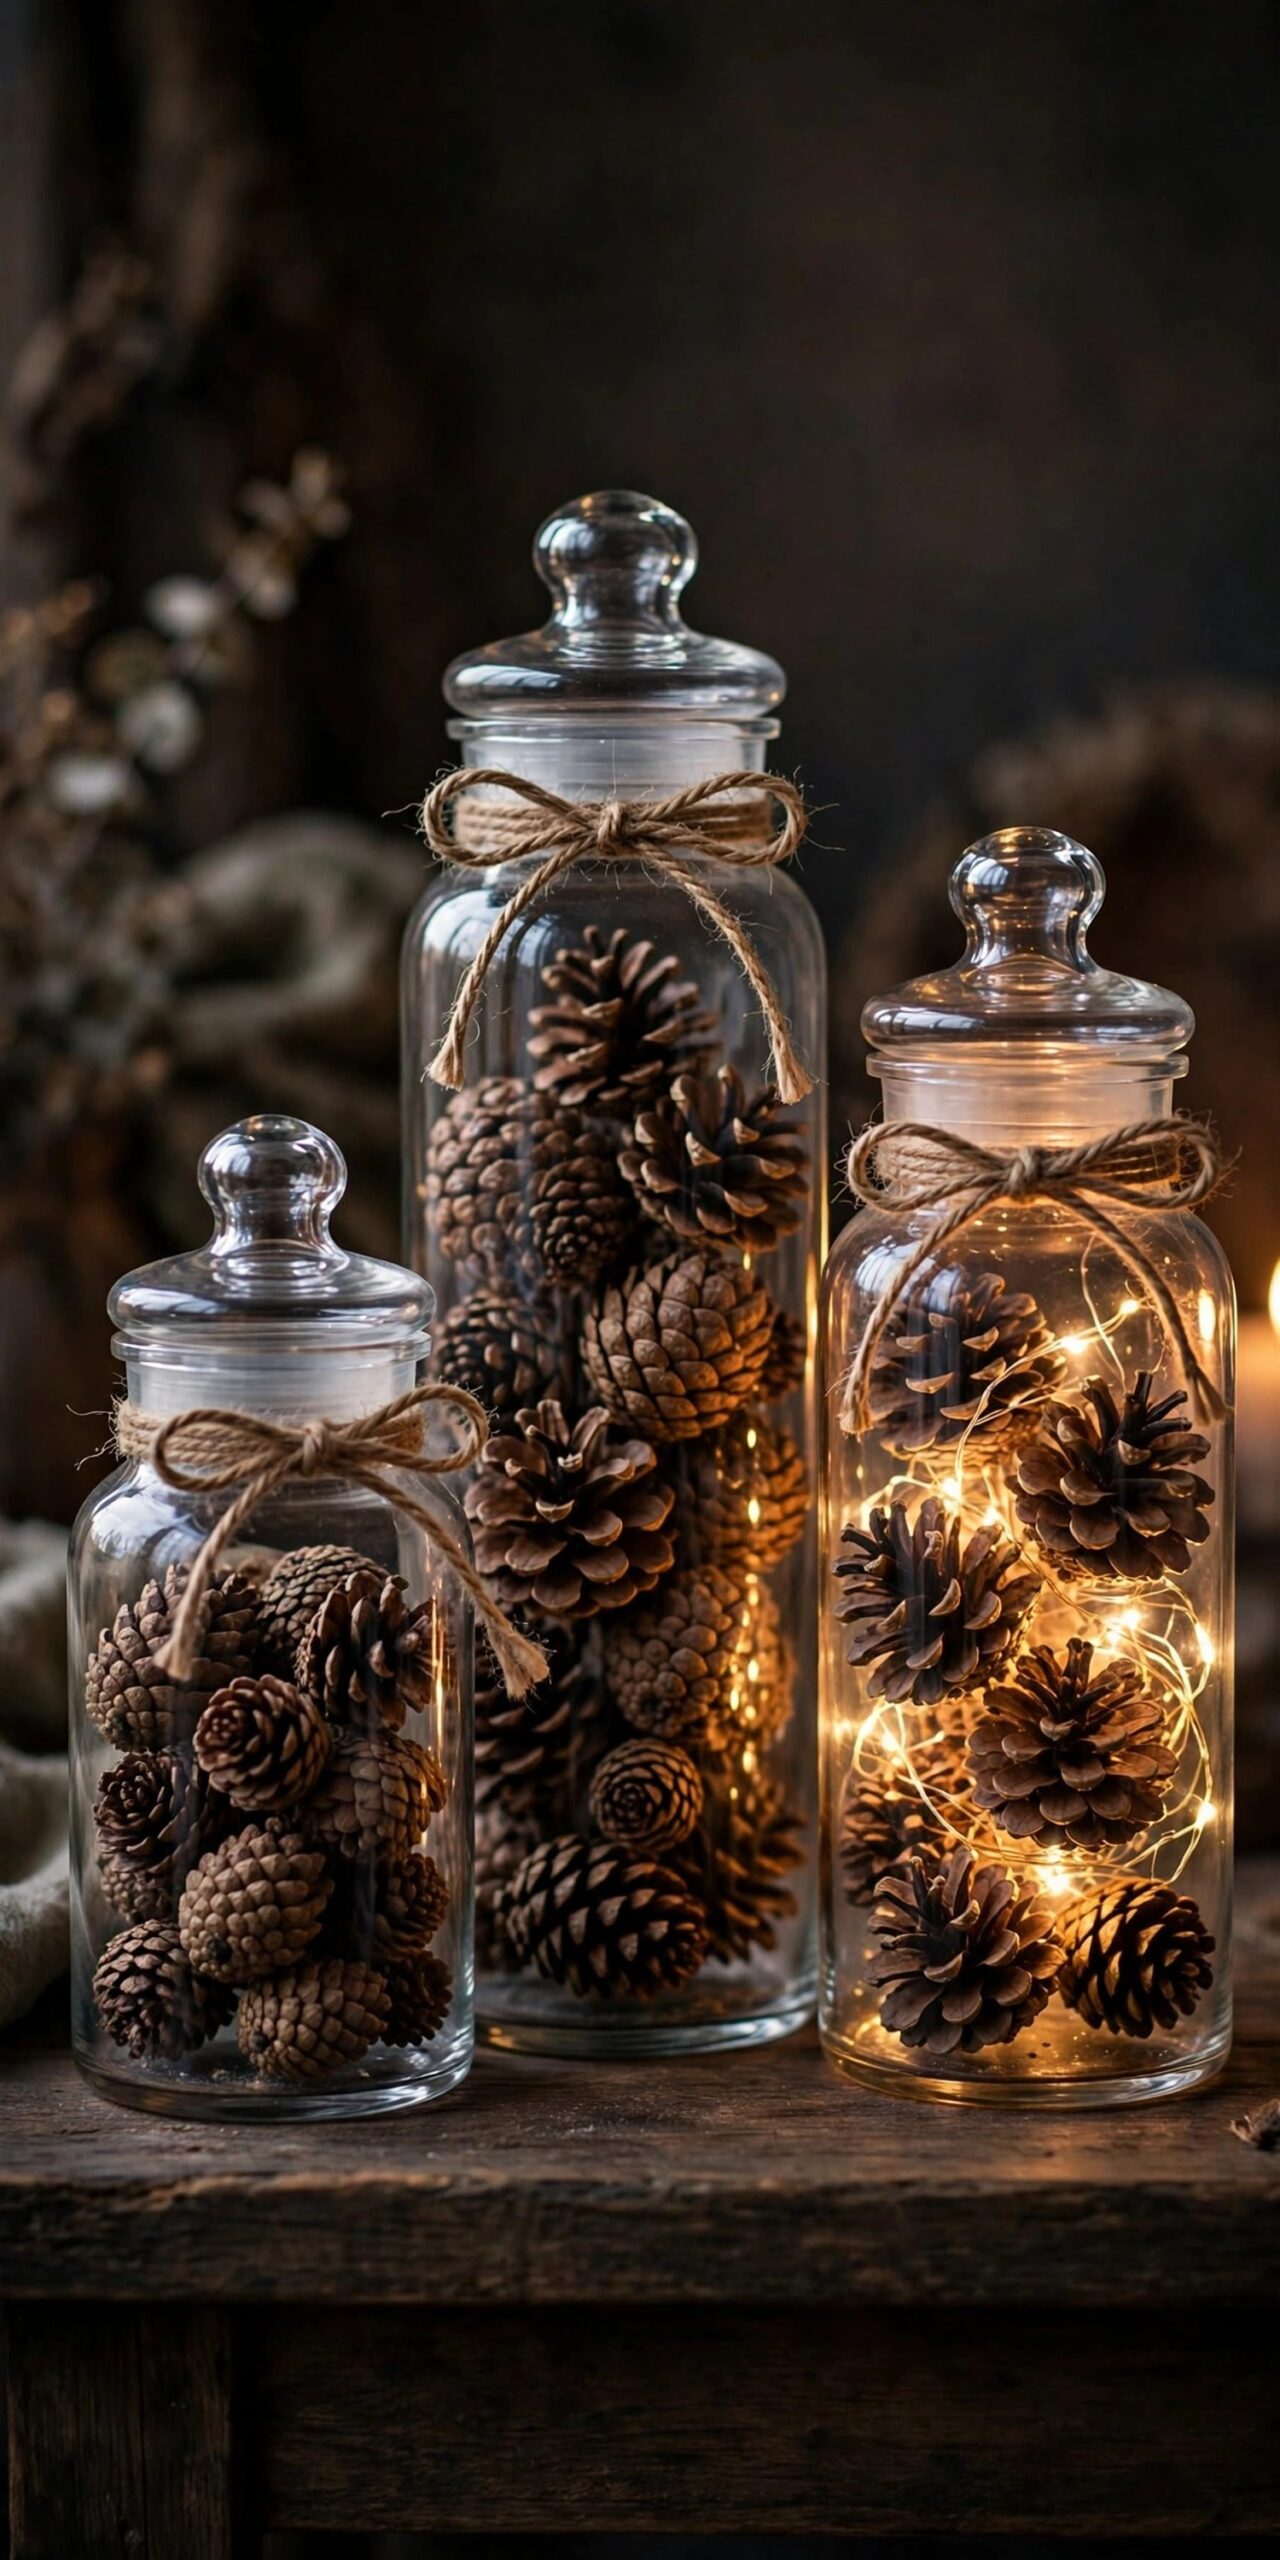
Tip: Thrift stores sell glass vases for a dollar or two. Mismatched vases in similar heights look curated, not chaotic.
12. Paper Leaf Garland
When you want garland fast, paper beats felt. Cut leaf shapes from scrapbook paper or brown kraft bags, crinkle them slightly for dimension, and glue or sew them onto twine. A six-foot garland costs about $2 and takes under half an hour.
Kraft grocery bags are free and their brown tone is perfectly autumnal. Layer two slightly different leaf sizes on the string for a fuller look, and seal with a light coat of clear sealer so the garland survives the season.
Styling twist: write grateful words or family names on a few leaves with a gold paint pen. Personalized garlands become keepsakes, not just decor.
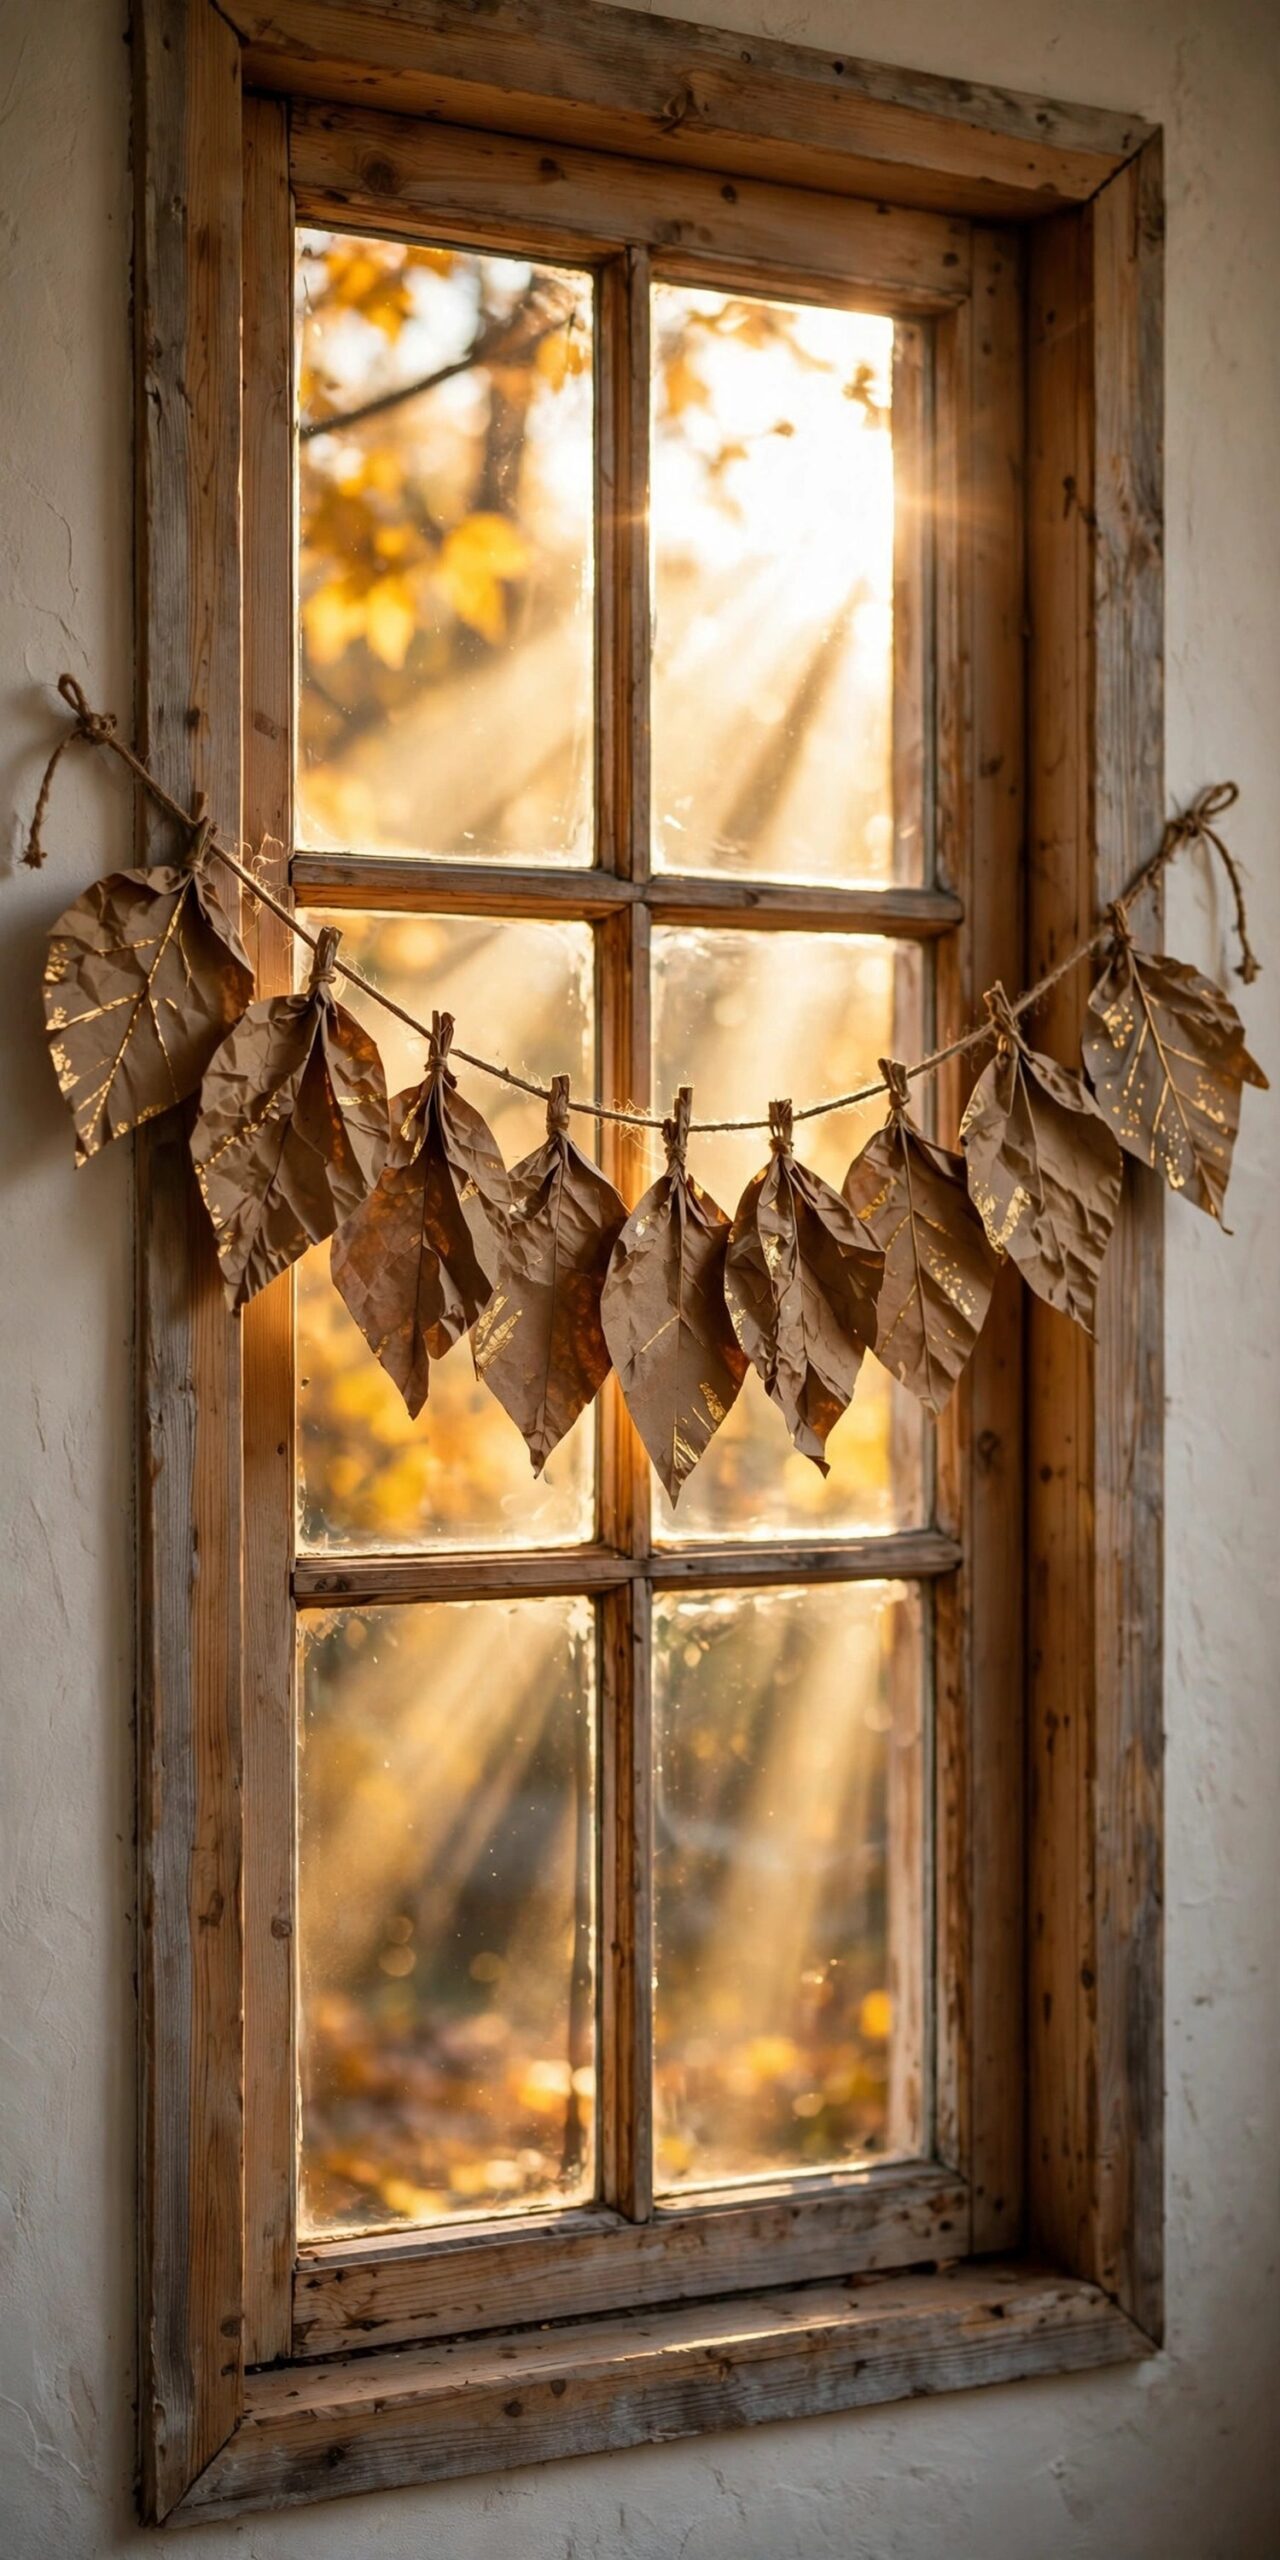
Tip: A dab of hot glue every few inches holds leaves on twine just as well as sewing, with no machine needed.
The dupe mindset changes everything: once you see a $169 centerpiece as $20 of supplies and an hour, store prices stop intimidating you.
13. Twine-Wrapped Vases
Plain glass vases get a farmhouse makeover with jute twine and a glue gun. Wrap tightly from base to neck, securing with dabs of hot glue every few rows, then fill with wheat stems or fall branches. One $1.25 roll of twine wraps three to four vases.
Keep the rows tight and even; gaps are what separate crafty from crafted. Group different vase heights together for the best look, and finish with a small bow or a dried flower tucked into the twine.
Variation: wrap only the bottom third of a tall vase for a dipped look, or alternate twine rows with burlap ribbon stripes.
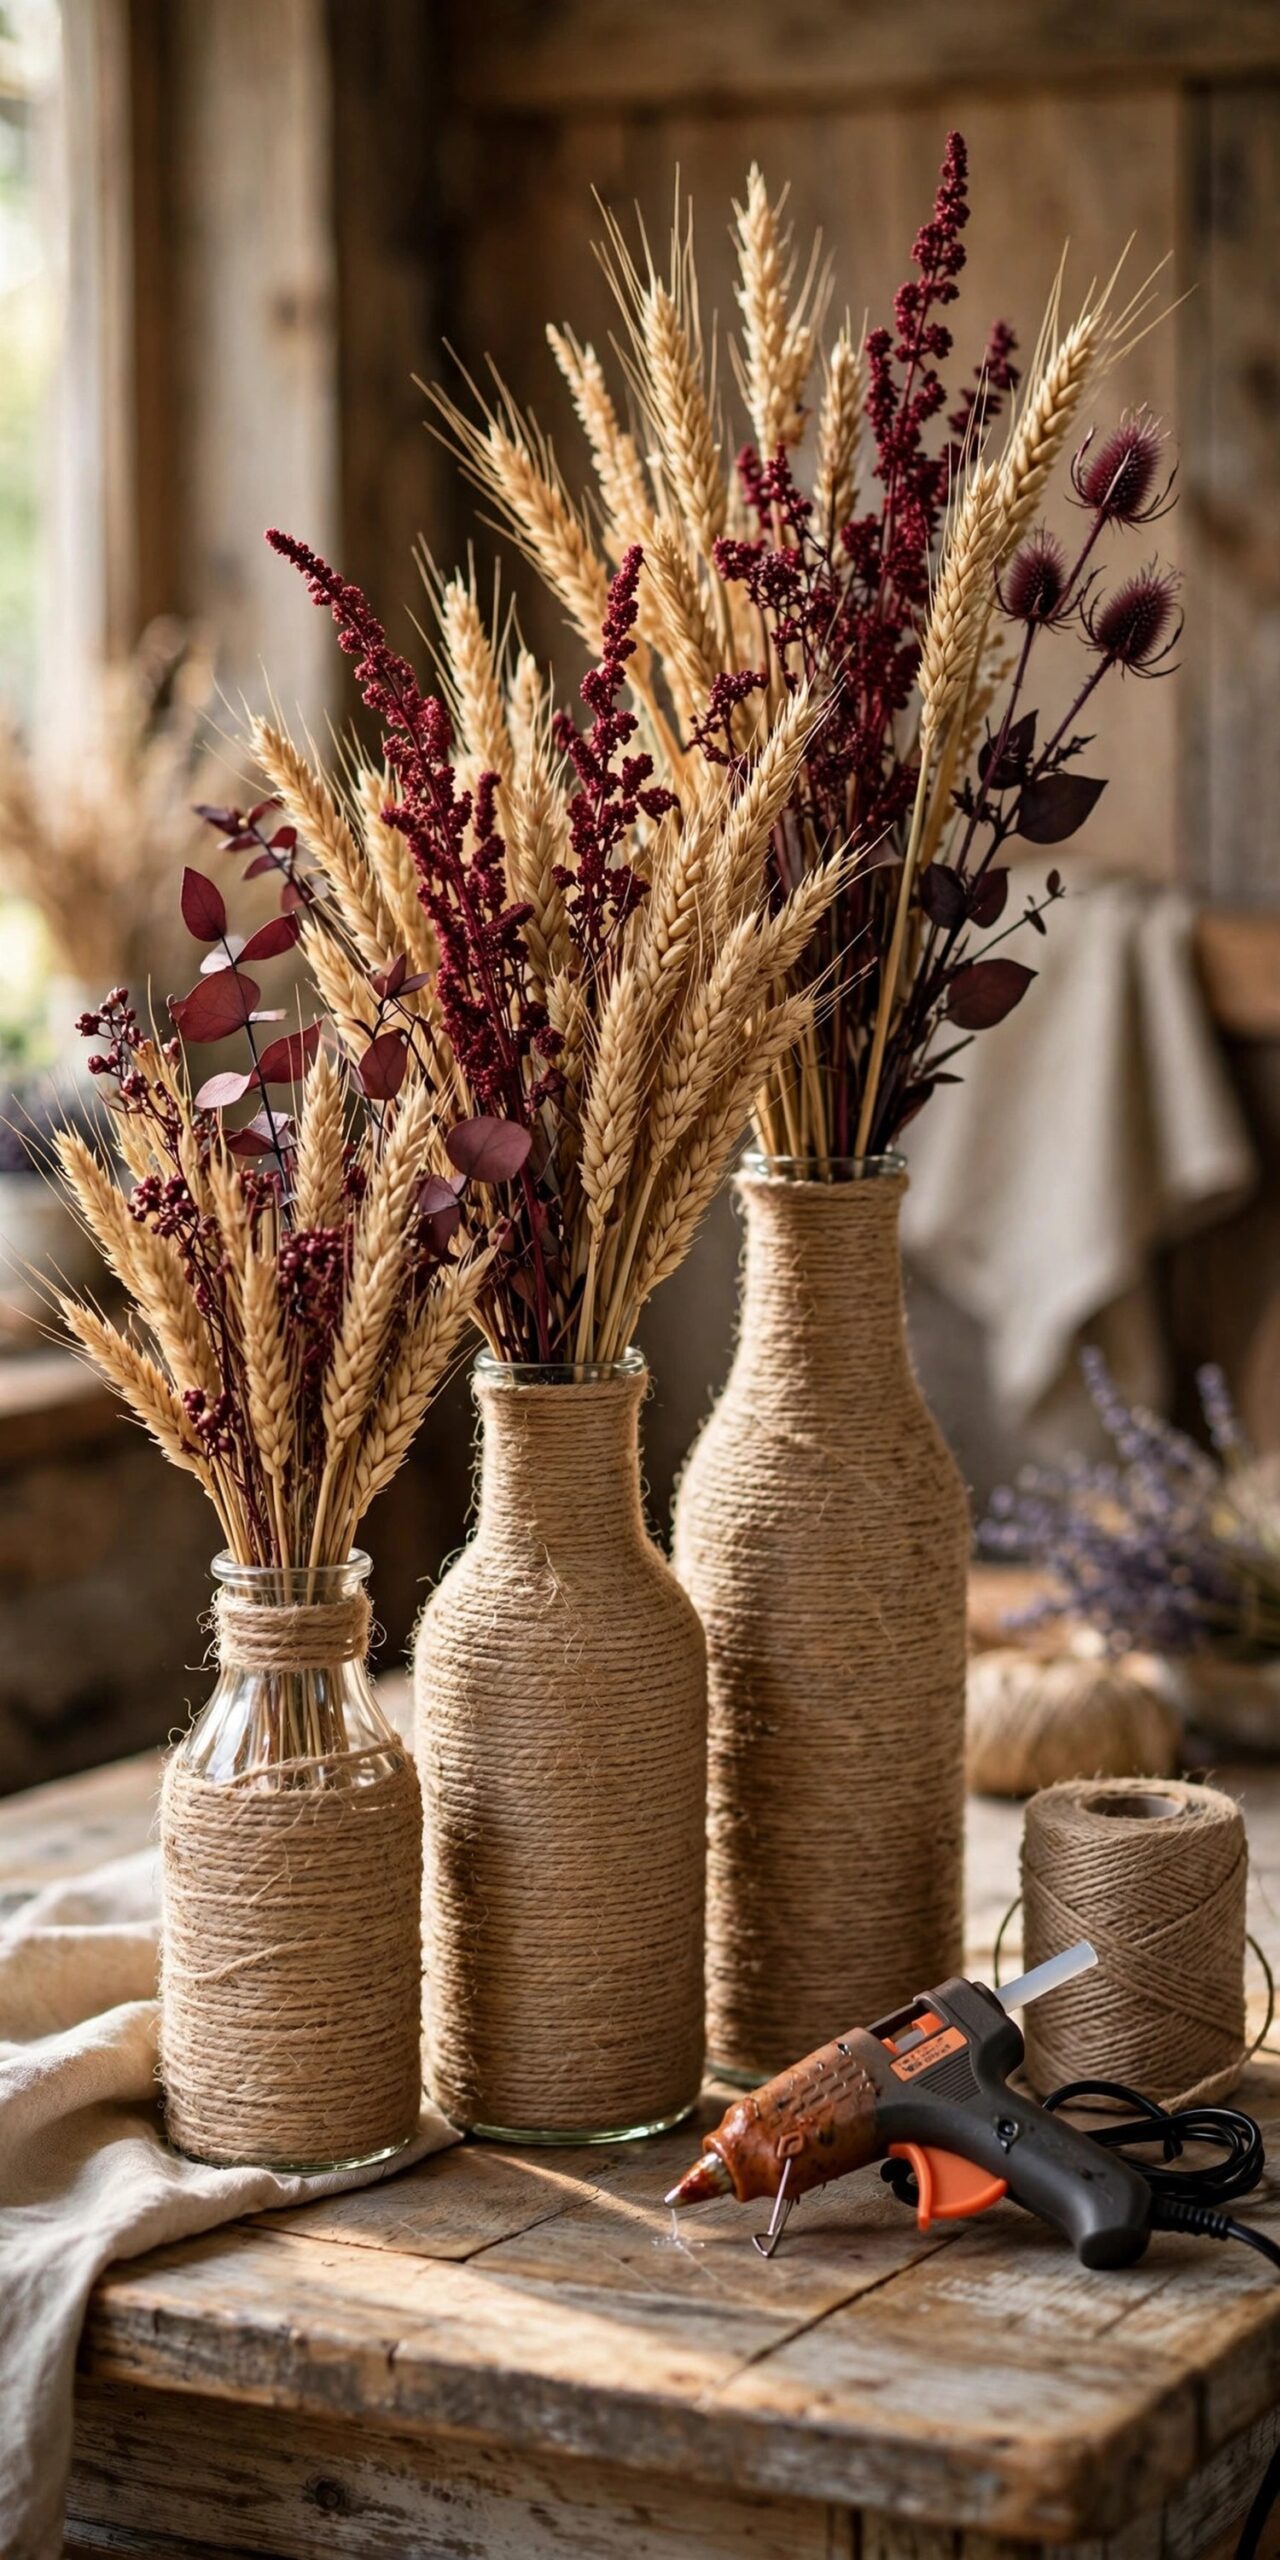
Tip: Wear a thin glove on your glue hand. Twine wrapping means a lot of fingertip contact with hot glue.
14. Dried Gourd Harvest Centerpiece
Skip the craft store and decorate with the farmers market. Dried gourds cost as little as $1 to $3 each at fall markets, and their organic shapes and muted colors bring an authenticity no faux piece can match. Pile them in a wooden bowl with pinecones and dried leaves.
Start with a low, wide bowl and place the largest gourds first, then fill gaps with nuts in the shell, acorns, and small pinecones. Mist with water before guests arrive for extra sheen. The whole centerpiece costs under $12 and lasts the entire season.
Styling twist: tuck in eucalyptus sprigs. The silvery green makes every warm tone beside it look richer.
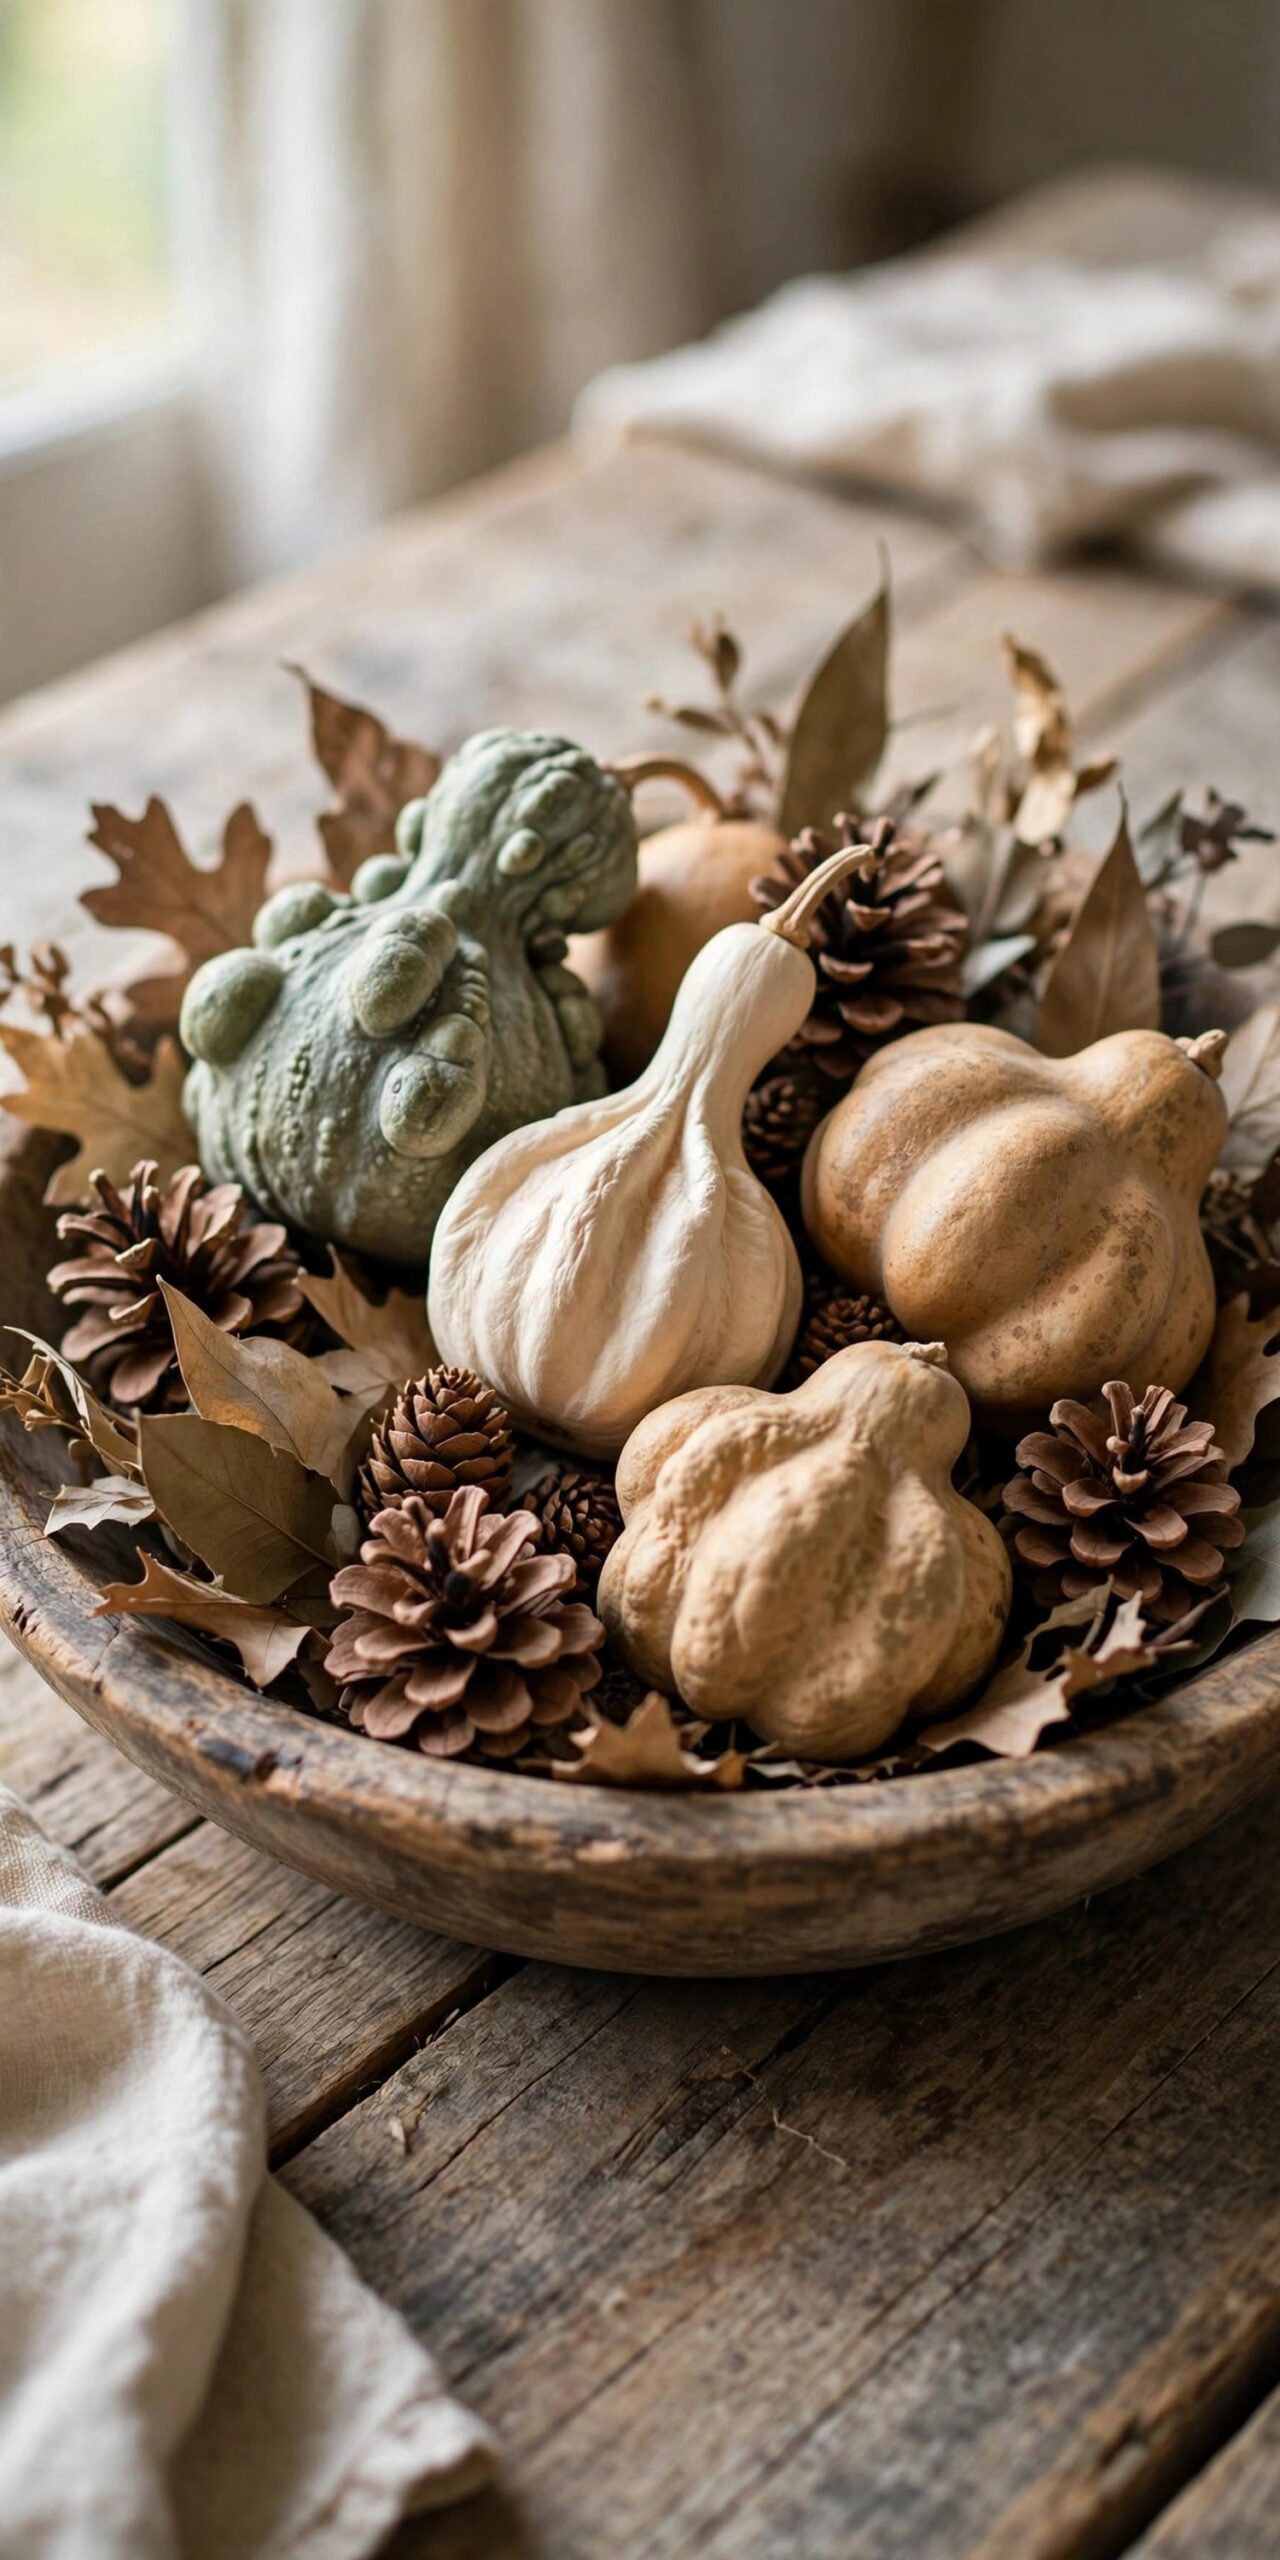
Tip: Shop farmers markets in early fall for the best gourd selection; the interesting shapes sell first.
15. Thrifted Crate Harvest Stand
Turn an old wooden crate into a mini harvest market stand for your porch or entryway. Thrifted crates cost a few dollars, and filled with apples, wheat, small baskets, and fall leaves, they bring old-fashioned roadside-stand charm home.
Leave the wood natural or lightly paint it in antique white or sage, then distress the edges for character. Arrange produce and florals inside, tie on jute twine, and add a small hand-lettered tag. When the season changes, the crate gets reused.
Budget saver: check your garage first. Old crates, baskets, and ribbon scraps you already own make this nearly free.
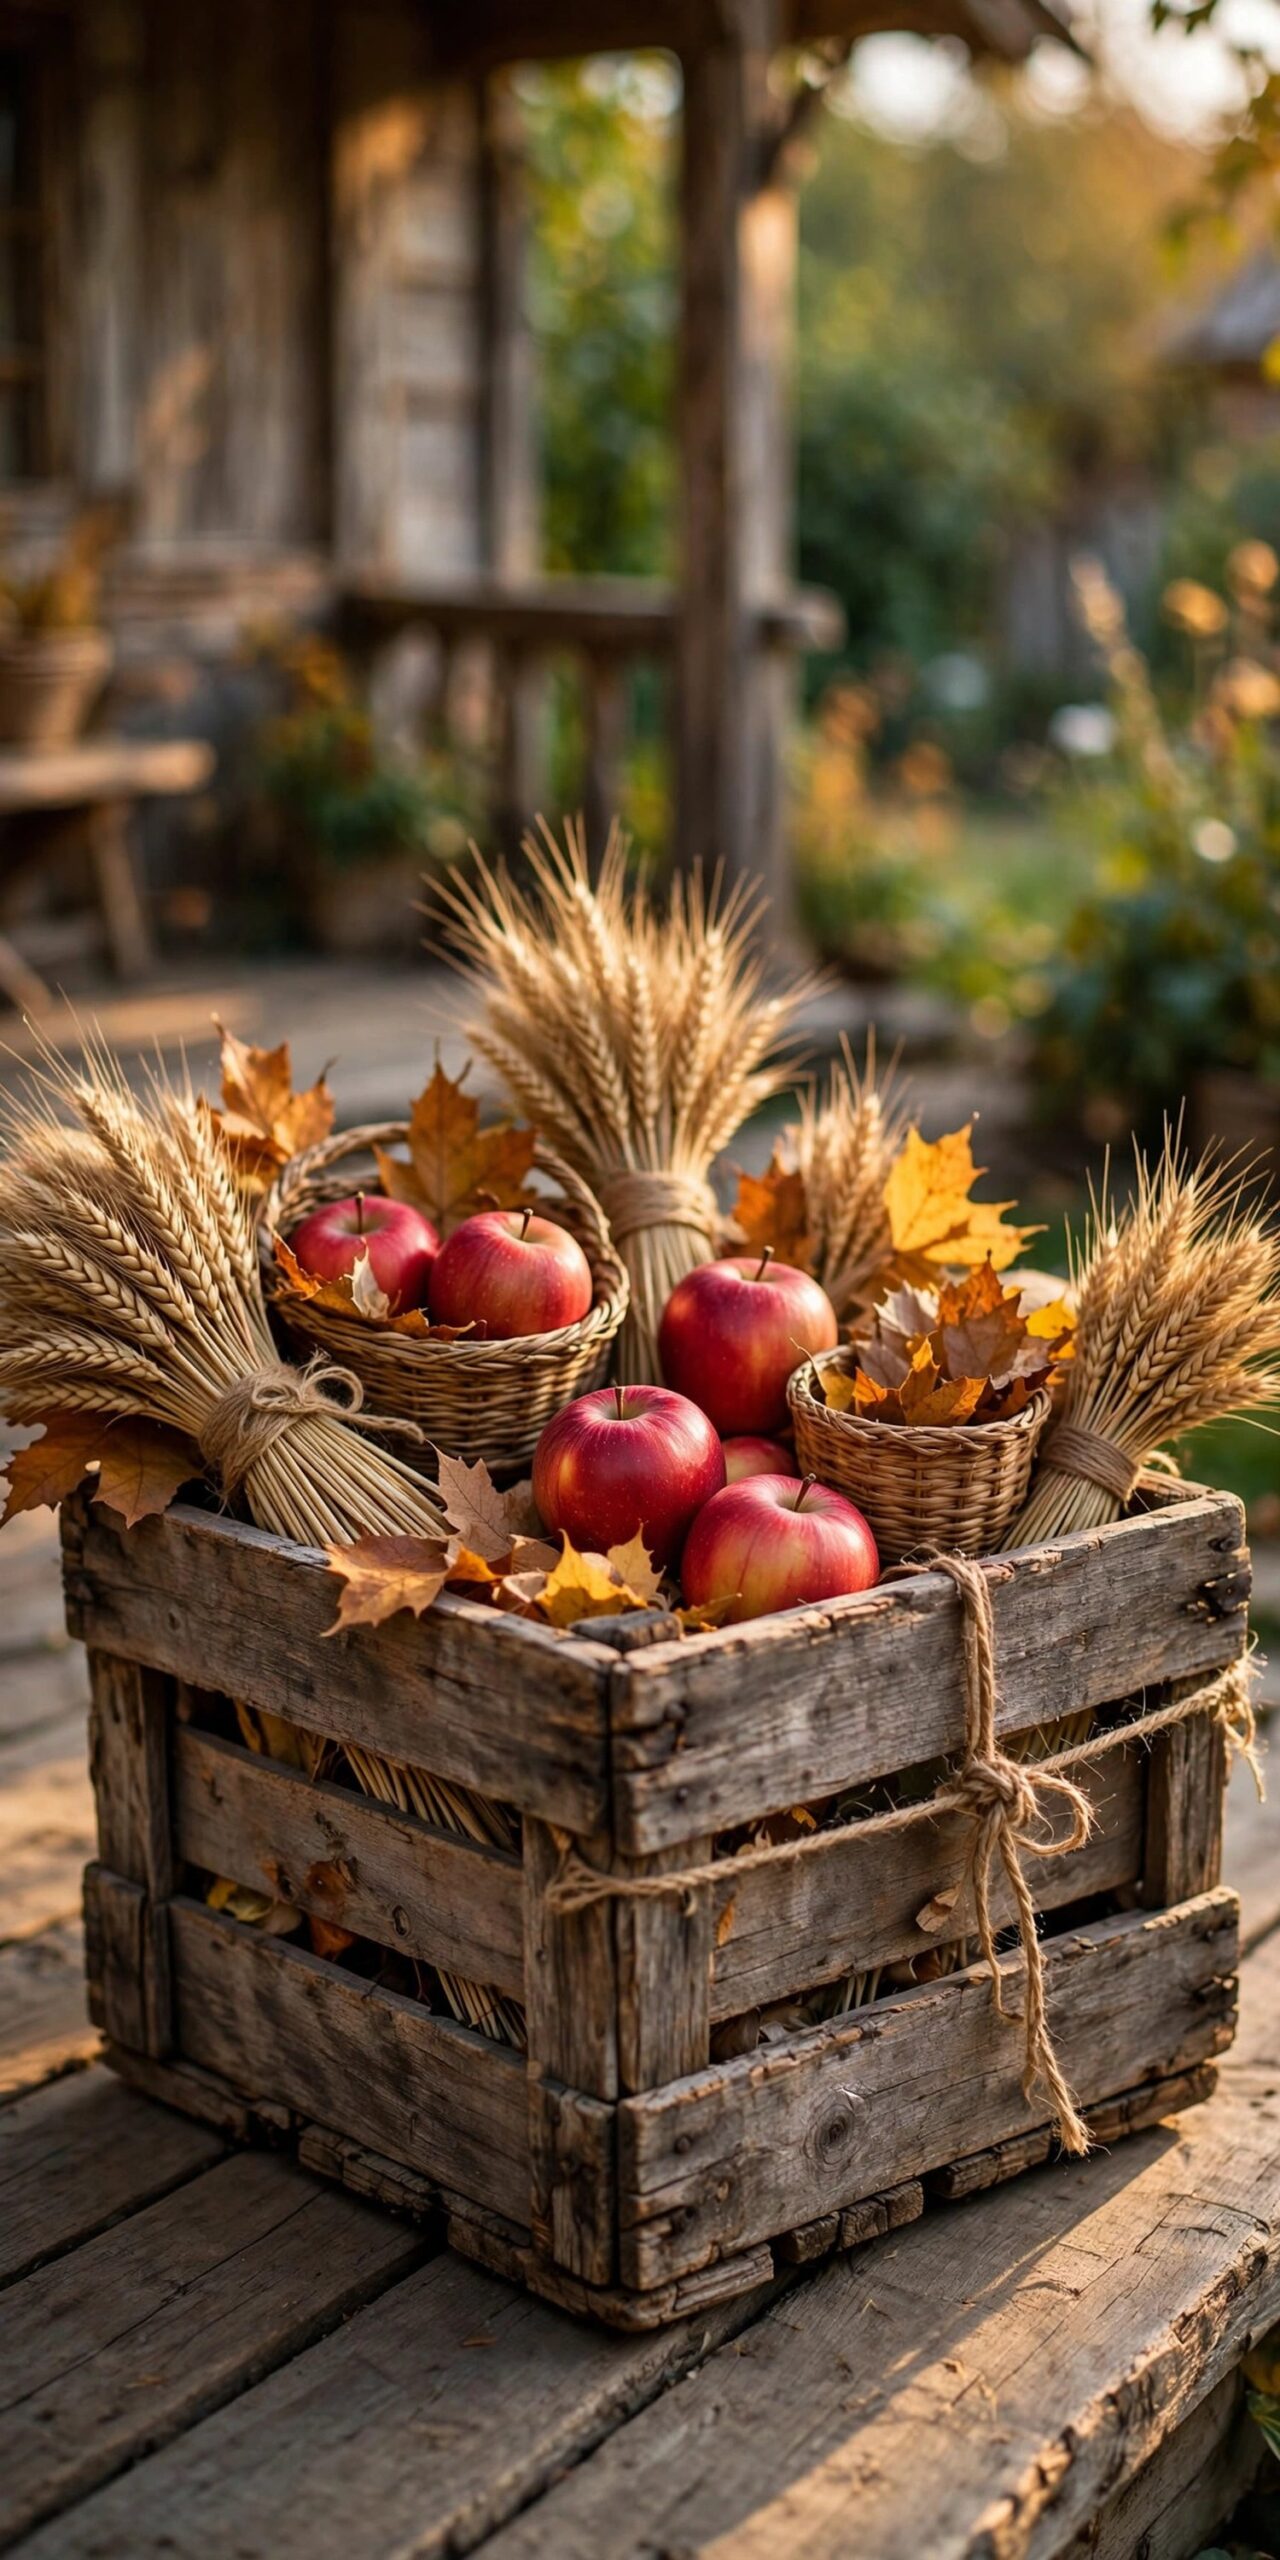
Tip: Do not worry about scratches or dents. A little age makes the market-stand look even better.
| Supply | Where to Buy | Typical Price |
|---|---|---|
| Foam wreath form | Dollar Tree | $1.25 |
| Faux corn husks / fall stems | Dollar Tree | $1.25–$1.75 |
| Wood beads + pipe cleaners | Dollar Tree / craft stores | $1.25–$3 |
| Hot glue sticks (pack) | Dollar Tree | $1.25 |
| Acrylic craft paint | Walmart / craft stores | $1–$3 |
| Jute twine roll | Dollar Tree | $1.25 |
What is the easiest DIY fall decor for beginners?
The wheat sheaf bundle and pinecone-filled jars. Both need almost no skill, cost under $5, and look good even when done imperfectly. Start there and work up to wreaths and signs.
How much should I budget for DIY fall decor?
Most single projects run $3 to $10 using dollar-store supplies. A full seasonal refresh across several rooms typically costs $30 to $50 total, compared to hundreds for store-bought equivalents.
Where is the cheapest place to buy fall craft supplies?
Dollar Tree for basics like wreath forms, stems, ribbon, paint, and glue. Thrift stores for crates, vases, and baskets. Farmers markets for dried gourds at $1 to $3 each. Your own yard for pinecones, acorns, twigs, and leaves, which are free.
What colors are trending for fall decor in 2026?
Chocolate brown, burgundy, olive, and warm neutrals are replacing bright pumpkin orange. Layer dark wood, wool, amber glass, and natural textures for the collected, moody look defining this season.
How long do DIY fall decorations last?
Faux-material projects last for years if stored in a dry bin. Natural-material projects like wheat bundles and gourd displays last the full season. Seal painted pieces and store fabric items clean and dry.
Can kids help with fall DIY projects?
Yes. Felt leaf cutting, pinecone gathering, wood bead threading, and paper garlands are all kid-friendly. Keep kids away from hot glue guns and craft knives; let adults handle those steps.
How do I make dollar-store crafts look expensive?
Three rules: layer textures like burlap, wood, and ribbon together, stick to a tight palette of two to three warm tones, and finish edges neatly. Most cheap-looking crafts fail on one of those three.
Final Thoughts
DIY fall decor is not about crafting talent. It is about cheap materials, one simple technique, and the confidence to start. Pick the project that made you think “I could do that,” gather $10 of supplies, and give yourself one afternoon. By dinner you will have something handmade on your mantel, and that feeling beats anything from a store shelf. For more seasonal inspiration, browse these fall mantel decor ideas to style around your new handmade pieces.