
12 Fall Kitchen Countertop Decor Ideas


The kitchen counter is the hardest-working surface in a fall home. It holds the coffee, the homework, the mail, and somehow the pumpkin you bought on impulse. Decorating it feels impossible until you learn the one trick that changes everything: the tray corral. Put every decorative item on a single tray, and the rest of the counter stays clear for actual cooking. Lift the tray to wipe down, set it back when guests arrive. It takes thirty seconds and it is the difference between a styled kitchen and a messy one. From there, think in warm, wipeable textures: wood, amber glass, dried stems, and candlelight. Check out the ideas ahead and pick three to try this weekend.
Key Takeaways
- Corral all countertop decor onto one tray so the rest of the surface stays clear for cooking and easy wipe-downs.
- Style in odd-numbered groups of three or five; it looks intentional where pairs look accidental.
- Choose wipeable materials (wood, glass, ceramic) within arm’s reach of the stove and sink.
- Repeat two or three warm tones across every vignette so separate clusters read as one design.
- Give every decorative cluster a job: the tray holds the coffee things, the stand lifts the fruit, the crock holds the tools.
1. Start With a Wooden Tray Corral
A wooden tray is the foundation of every good countertop vignette. It gathers small items into one visual unit, protects the counter from candle wax and plant water, and lifts away in one move when you need the space. Choose wood over metal for fall; the warm tone does half the seasonal work by itself. Round trays suit square counters and square trays suit long runs. Designers have long recommended the tray trick for exactly this reason: as The Spruce notes, a large tray hosting candles, fruit, or cookbooks pulls a whole countertop together while keeping it functional. If your tray is new wood, rub it with a little mineral oil first so water rings wipe off instead of soaking in.

Tip: The tray should hold everything with an inch to spare around the edges; a crowded tray looks like clutter. Wipe the tray itself weekly; it catches every drip the counter would have gotten.
2. Add a Small Pumpkin Cluster
Three small pumpkins beat one big pumpkin on a countertop every time. Odd numbers look styled, and small pumpkins tuck into corners without eating workspace. Mix real mini pumpkins with one or two faux ones in a different texture; nobody will know, and the faux ones survive until Thanksgiving. White pumpkins read modern, orange reads classic. Real mini pumpkins last about a month indoors away from heat, so buy them in early October and plan a second small batch for November if you want the look to carry through. Keep them off the tray’s wooden surface on a folded cloth if they are real, since any soft spot can weep onto wood. For the longest life, choose pumpkins with the stem intact and no bruises; a broken stem is where rot starts.
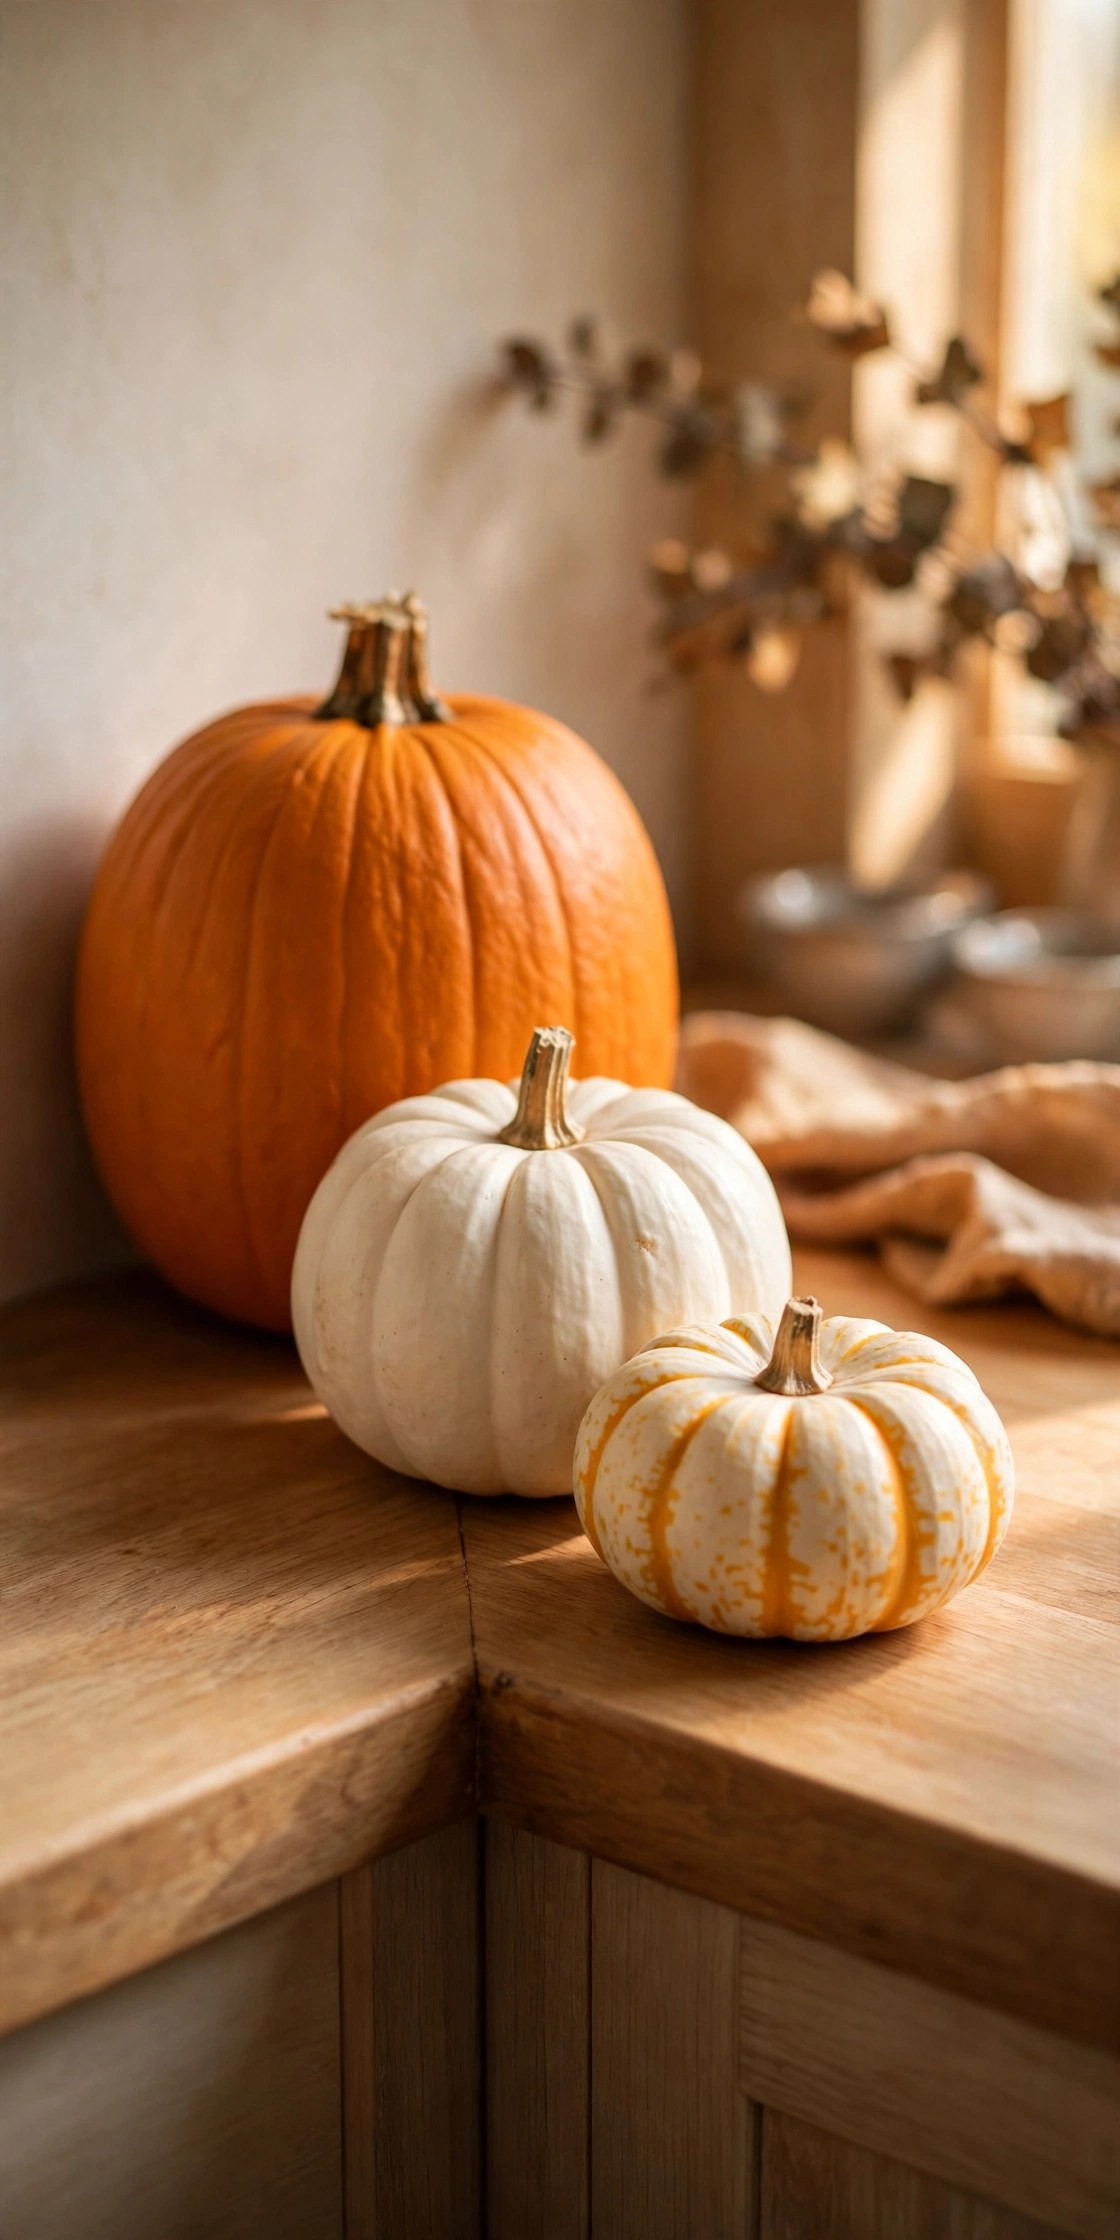
Tip: Put the tallest pumpkin in back and the smallest in front for a natural triangle that reads well from every angle.
3. Bring In Eucalyptus or Wheat
Dried stems are the countertop’s best friend: no water, no wilting, no mess. A bundle of dried wheat or eucalyptus in a simple vase adds height and the golden tones of fall without any upkeep. Eucalyptus keeps its scent for weeks, which is a bonus in a kitchen. Trim the bundle so it stands about one and a half times the vase height. Wheat is the sturdier choice near a busy prep area since it does not shed, while eucalyptus drops the occasional leaf. Either way, keep the vase narrow; a wide mouth lets the bundle splay into a shape that eats twice the counter space. A five-dollar bundle from the craft store usually fills two vases, so split it and style the second one on the dining table.

Tip: Dried stems near the stove are fine; keep them a full arm’s length from open flame.
The tray is the whole trick. If it is not on the tray, it does not live on the counter.

4. Style a Coffee Station for Fall
The fall coffee station earns its counter space by being used daily. Corral the machine, mugs, and sugar on a tray, then add the seasonal layer: a small pumpkin, a cinnamon-scented candle, a jar of biscotti. Everything has a job, so it never reads as clutter. Swap the summer iced-coffee gear for the French press and the station instantly feels like October. The seasonal swap is also practical: darker roasts and spiced syrups belong to fall, so decant them into small glass jars on the tray and put the summer bottles away. A station that changes with the season feels intentional instead of accumulated. Keep the whole station within arm’s reach of the outlet so no cords trail across the counter; a cord you see every morning is a cord that ruins the vignette.
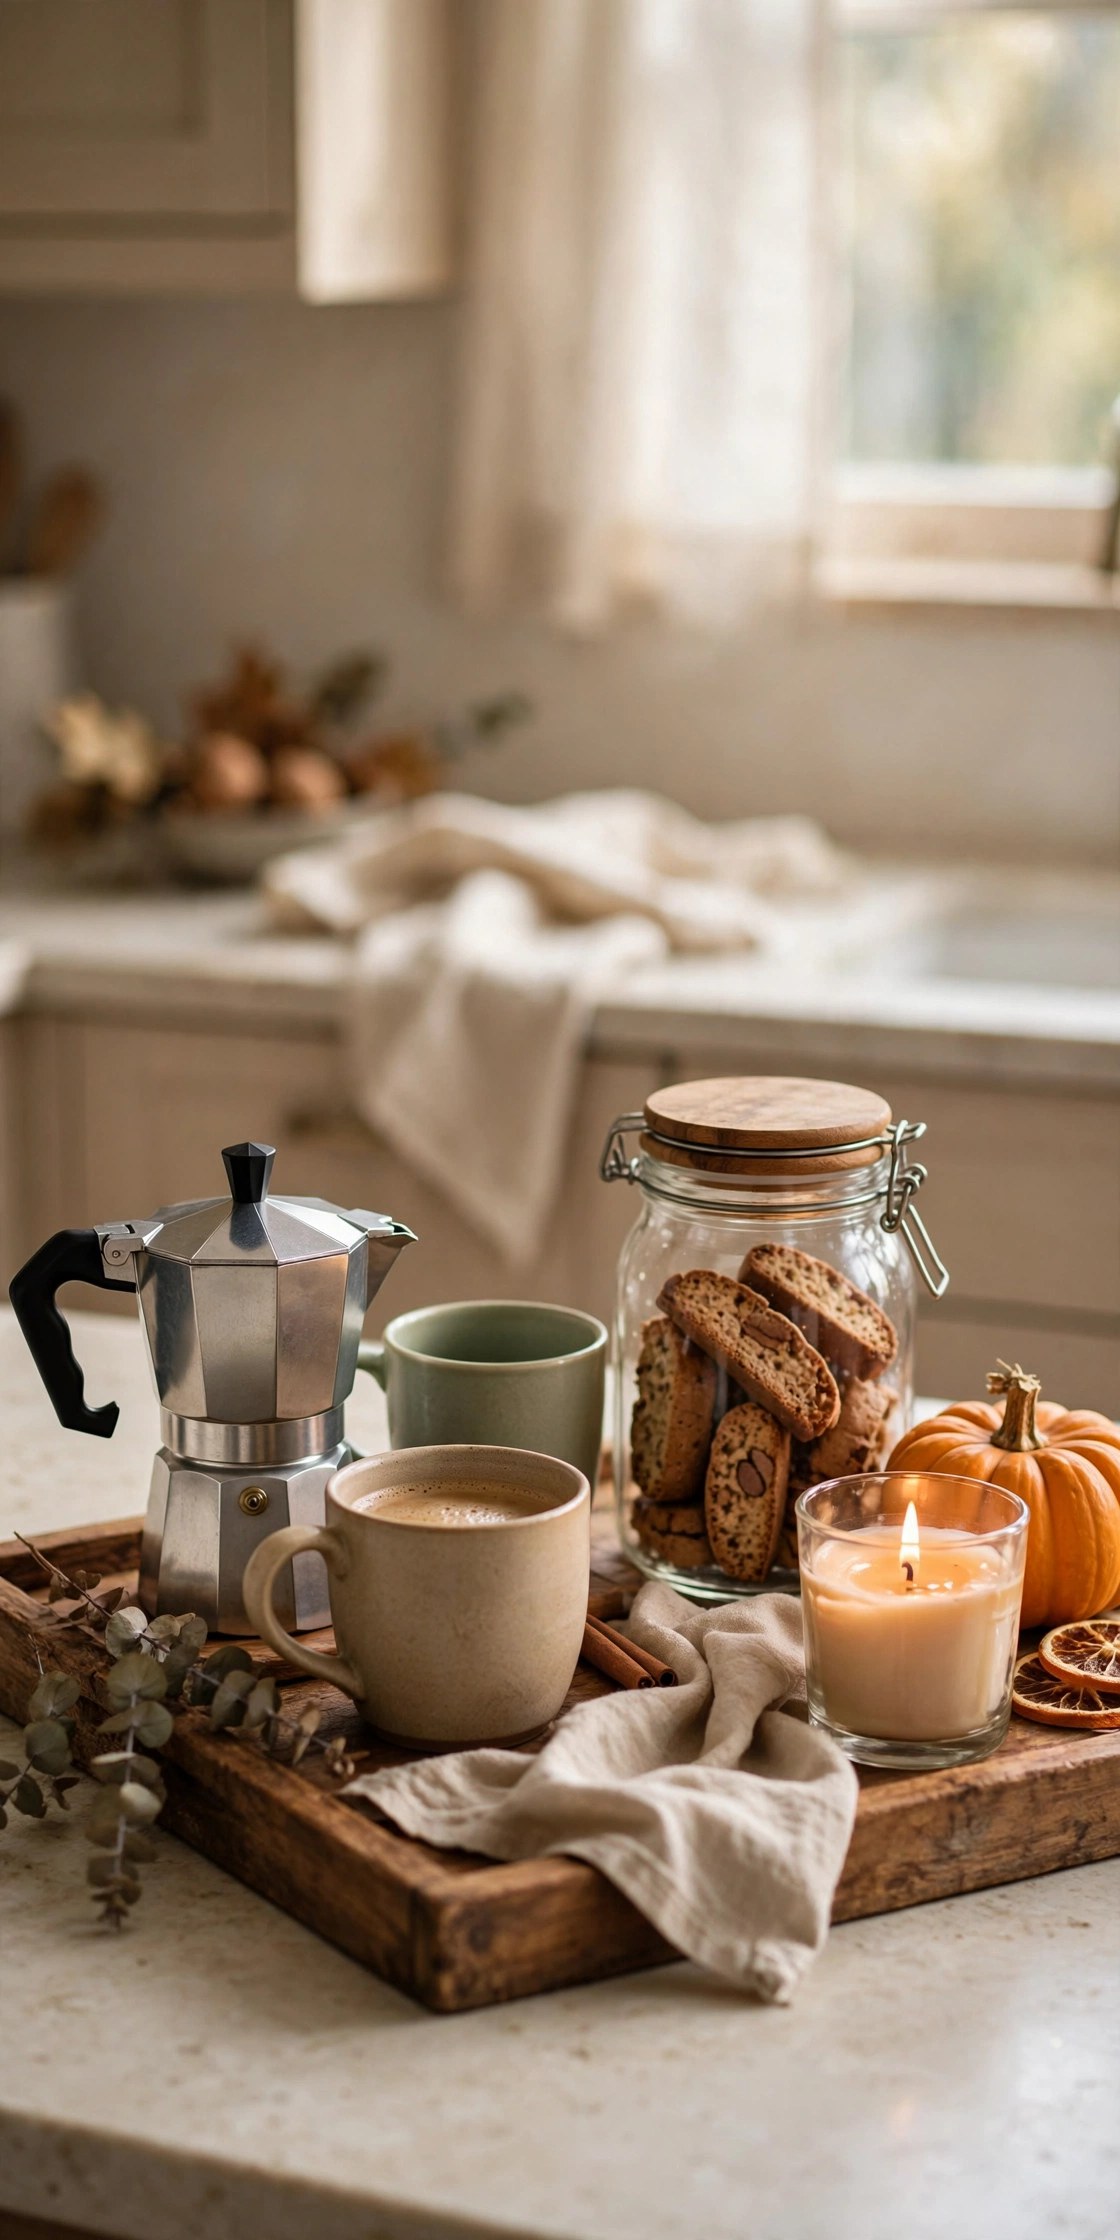
Tip: Hang two mugs on small hooks under the cabinet above to free tray space.
5. Add Amber Glass Bottles
Amber glass glows like nothing else in kitchen light. A cluster of amber bottles in different heights, some holding wheat stems and some empty, adds the warm golden layer that makes a kitchen feel like fall. Thrift stores sell them for a dollar or two, and they look intentional grouped in threes. As a bonus, amber glass actually blocks UV light, which is why apothecaries have used it for centuries. When hunting, look for real heft: genuine vintage amber glass feels noticeably heavier than modern thin reproductions, and slight bubbles in the glass are a good sign of age. Rinse thrifted bottles with hot water and a drop of dish soap before styling; old labels usually peel off after a ten-minute soak.
| Material | Near Stove? | Wipeable? | Fall Vibe |
|---|---|---|---|
| Wood tray | Yes, at distance | Yes | Warm and natural |
| Amber glass | Yes | Yes | Golden glow |
| Ceramic | Yes | Yes | Handmade feel |
| Dried stems | Keep back | Dust only | Harvest texture |
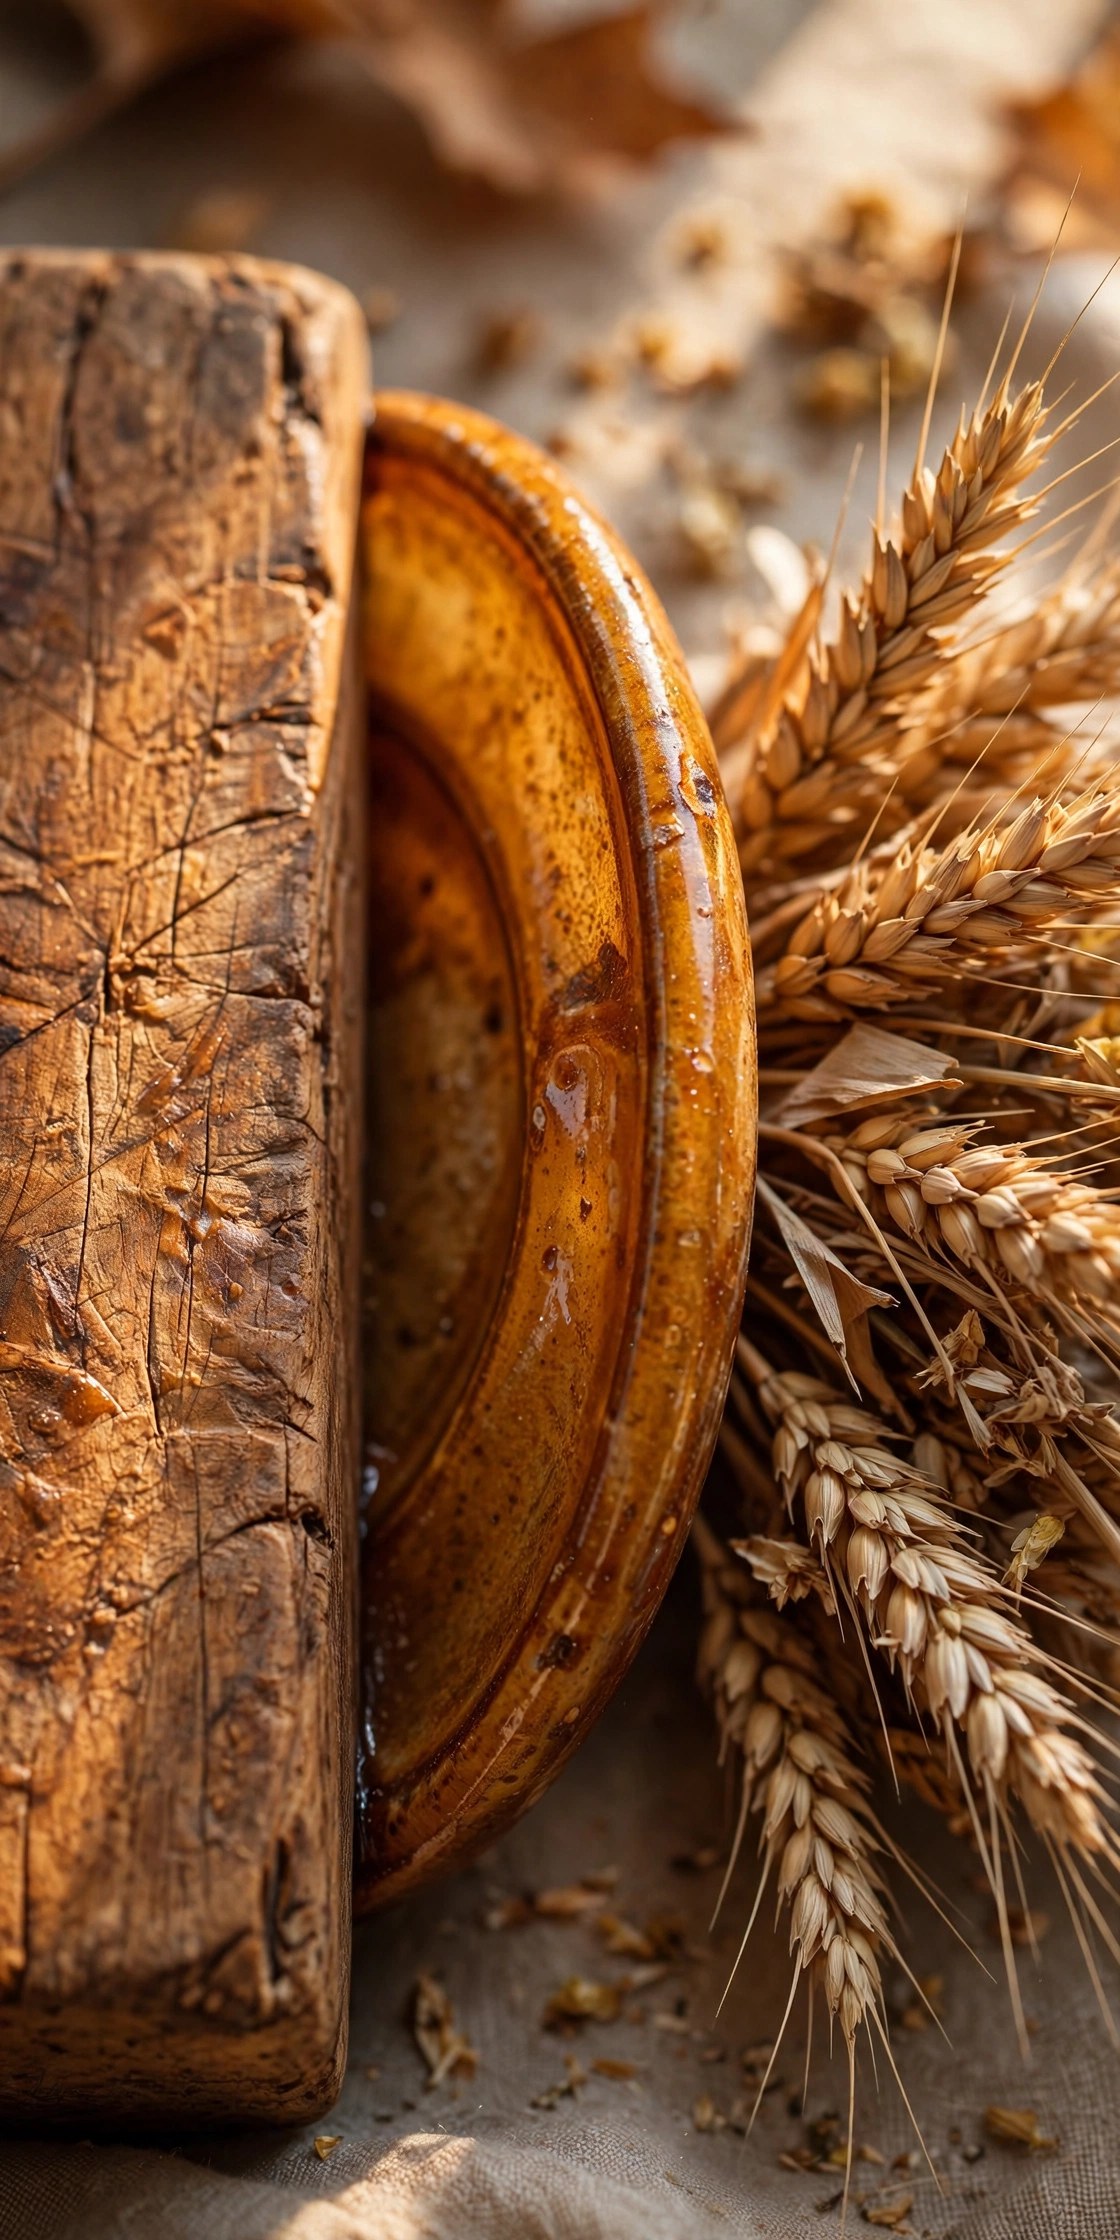
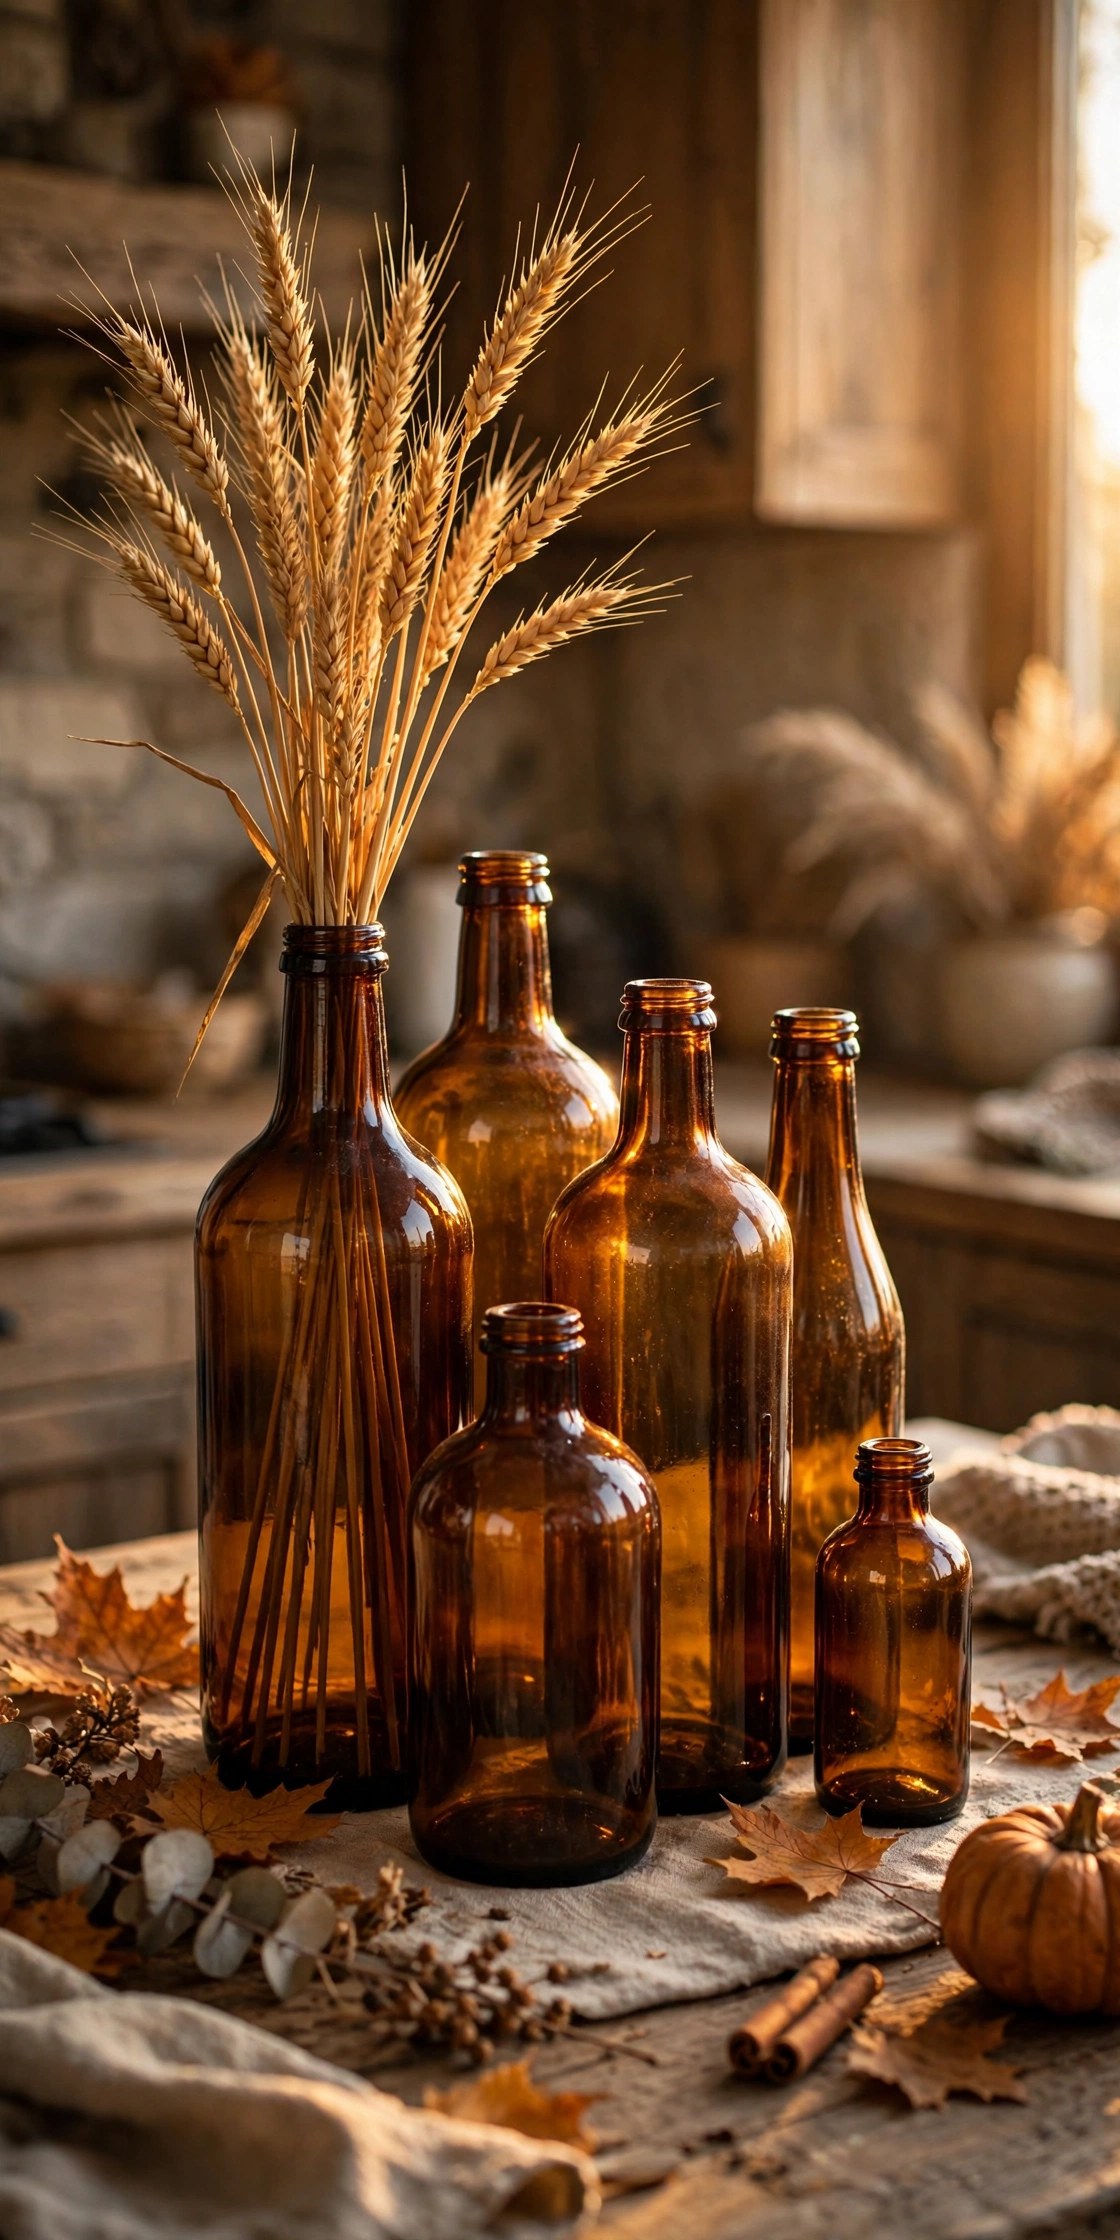
Tip: Fill one bottle with water and a single stem; the water magnifies the amber beautifully.
6. Layer a Runner or Placemats
A table runner down the center of a kitchen island, or a row of placemats along a counter run, defines the decor zone and protects the surface in one move. It gives every vignette a visual base to sit on, which makes separate clusters read as one design. Choose washable cotton or jute; anything that cannot handle a spill does not belong in a kitchen. A runner also solves the “floating decor” problem, where small items scattered on a big expanse of stone look lost. The fabric underneath groups them visually even before you arrange anything, so the styling practically does itself.

Tip: Let the runner hang an inch or two over the counter edge for a styled, intentional look.
Every cluster needs a job. The tray holds the coffee things, the stand lifts the fruit, the crock holds the tools.
7. Display Wooden Cutting Boards
Wooden cutting boards leaned against the backsplash are decor that works for a living. The layered wood tones add exactly the warmth a fall kitchen needs, and you grab one every time you chop. Mix shapes: one round, one rectangular, one with a handle. Three boards in graduated sizes look styled; one lone board looks forgotten. Acacia and walnut are the prettiest leaners because their grain stays interesting even from across the room, while pale bamboo can look washed out against a light backsplash. Lean the largest board in back at a slight angle so it does not slide, and let the smaller ones overlap its front edge.
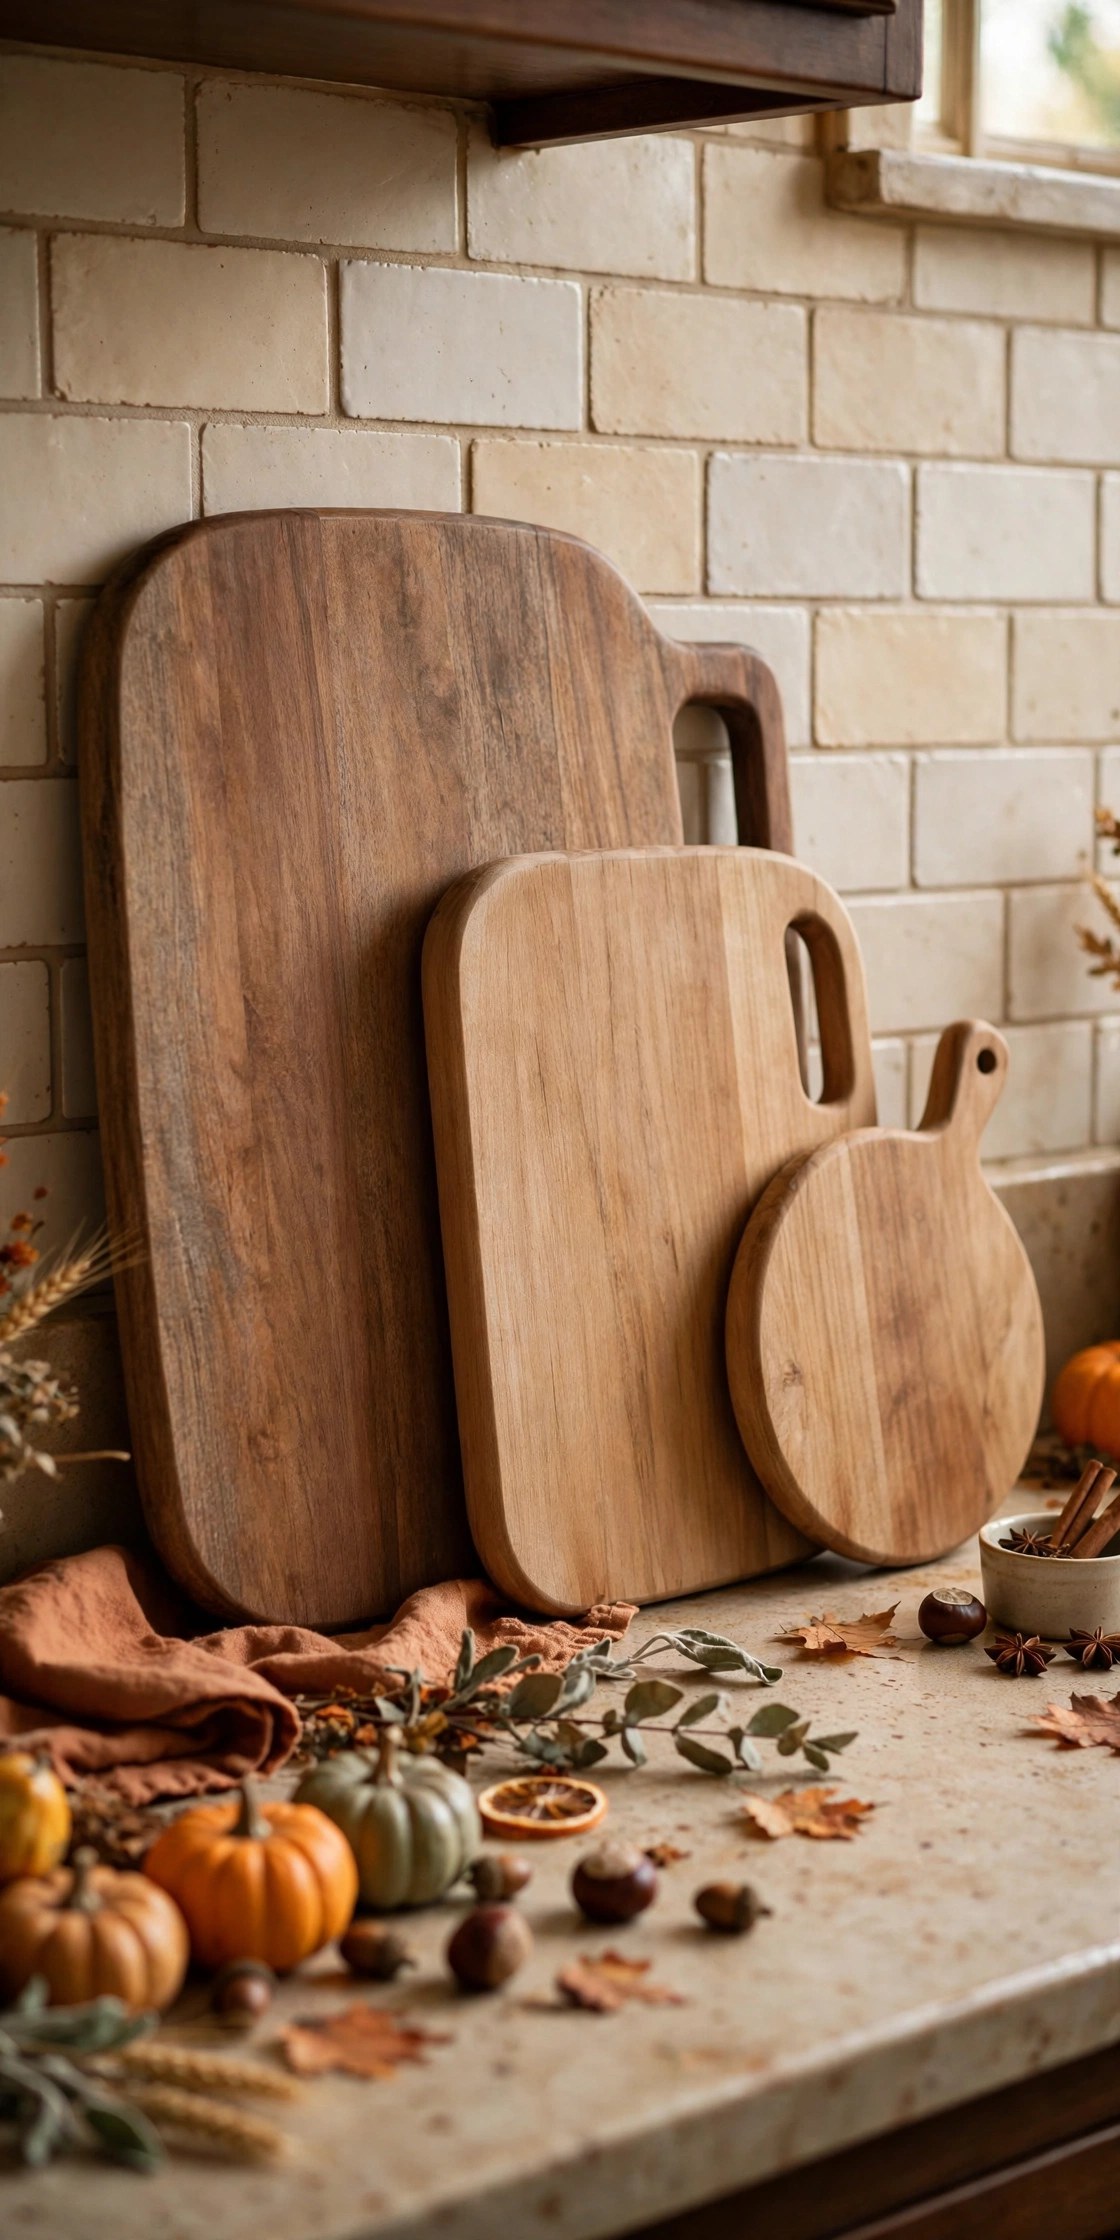
Tip: Oil boards monthly with food-safe mineral oil so they stay rich instead of going gray.
8. Add a Candle Trio
Candlelight is what makes a kitchen feel like fall after dark. A trio of candles in different heights, one pillar, one taper, one tea light cluster, gives you layered glow without a big footprint. Stick to one scent family across the kitchen; competing fragrances near food are worse than no scent at all. Battery tapers are the safe pick near curtains or low cabinets. If you burn real candles on the counter, set each one on a small ceramic coaster or lid; even “dripless” candles weep in a warm kitchen, and wax on stone is a miserable cleanup. Never leave them burning when you leave the kitchen, no matter how cozy it looks.

Tip: Trim wicks to a quarter inch before lighting; it doubles the candle’s clean burn time.
9. Bring In a Mini Mum or Fall Plant
One living thing keeps a styled counter from feeling like a store display. A mini mum in a ceramic pot, or a small potted herb like rosemary, adds life and color that nothing faux can match. Mums bloom for weeks with basic watering, and rosemary pulls double duty in fall cooking. Set the pot on a small saucer or folded cloth to protect the counter. Mums are heavy drinkers, so check the soil every couple of days; a wilted mum usually just needs water, not replacing. Rosemary wants the brightest spot you have and soil that dries between waterings, which makes it the better pick for a sunny window counter.
| Plant | Light Needs | Kitchen Bonus |
|---|---|---|
| Mini mum | Bright indirect | Weeks of blooms |
| Rosemary | Bright direct | Cook with it |
| Pothos | Low to bright | Nearly unkillable |

Tip: Slip the nursery pot inside a prettier ceramic one; repotting stresses the plant for no visual gain.
Style in threes, corral on trays, and never decorate the two feet of counter where you actually chop.

10. Add a Ceramic Utensil Crock in Fall Tones
The utensil crock is already on your counter, so make it part of the design. Swap the stainless holder for a handmade-look ceramic crock in rust, cream, or speckled stoneware, and suddenly a necessity is a vignette. Keep only the tools you reach for weekly; the turkey baster can live in a drawer eleven months a year. A crock that is too tall tips when you grab a spoon, and one that is too wide lets everything splay; about seven inches tall and five wide is the sweet spot for a standard tool set. If the crock slides on the counter, stick three small clear bumper pads underneath.

Tip: Wooden spoons with the handles up add height and warmth for free.
11. Use a Cake Stand for Height
Flat counters need height variation, and a cake stand is the easiest lift in the kitchen. Put pumpkins on it in October, a bowl of apples in November, cookies in December; the stand stays, the styling rotates. The elevation also keeps decor away from splashes and crumbs, which means less cleaning. Wooden stands fit the fall palette best, but a simple white ceramic stand disappears under whatever you put on it, which is useful when the styling changes monthly. Make sure the stand’s footprint is smaller than the tray or runner beneath it so the whole thing reads as one deliberate stack.
| Stand Height | Best For | Styling |
|---|---|---|
| Low (3–4 in) | Everyday counters | Fruit, small pumpkins |
| Medium (5–7 in) | Islands | Candle + greenery |
| Tall (8+ in) | Open corners | Statement pumpkin stack |

Tip: A footed wooden bowl works the same way if you do not own a cake stand.
12. Finish With the Rule of Three
Step back and count. The rule of three is the oldest styling trick because it works: group decor in threes, vary the heights (tall, medium, short), and leave breathing room between groups. Walk your counter like a guest would see it, remove one thing from every cluster, and you are done. Restraint is what makes the remaining pieces look deliberate. The rule works because odd groupings force the eye to move, while pairs sit static. If a cluster still feels off after editing, the problem is usually height: add something tall behind or remove the tallest piece and watch the group settle.

Tip: Photograph the counter; the camera shows crowding your eyes forgive in person.
For the rest of the kitchen, these kitchen fall decor ideas carry the palette beyond the countertop, and these fall dining table centerpiece ideas keep the next room just as warm.
How do I decorate my counters without losing workspace?
Keep decor to the back third of the counter and the corners, and corral everything onto trays. Never decorate the roughly two feet of counter in front of the stove or sink where you actually work.
How do I keep countertop decor clean while cooking?
Choose wipeable materials near the stove, and make every cluster liftable: trays, stands, and boards move in one motion. Wipe the decor itself weekly with a damp cloth; grease travels farther than you think.
What are the best fall colors for a kitchen?
Rust, amber, warm wood tones, and creamy whites work in almost every kitchen. They flatter both white and dark cabinets, and they read as fall without any Halloween-specific items.
How do I style a very small counter?
Pick one vignette, not three. A single tray with a candle, a small pumpkin, and a stem is plenty. Go vertical with cutting boards against the backsplash instead of spreading outward.
Real or faux plants for the kitchen counter?
One real plant (a mum or rosemary) plus faux or dried stems elsewhere is the sweet spot. Real plants near a sunny window thrive; faux ones survive the dim corner by the coffee maker.
When should I switch from fall to holiday decor?
The week of Thanksgiving is the natural pivot. Pack the pumpkins, keep the amber glass, wood, and candles, and add the holiday layer on top; half your fall styling already works for December.
How do I keep decorated counters from looking cluttered?
Give every item a visual job and a physical boundary. If something is not on a tray, runner, or stand, it does not belong on the counter. When in doubt, remove one item from each cluster; the remaining pieces will look more deliberate, not emptier.
What should I avoid putting on kitchen counters in fall?
Anything that cannot handle heat, moisture, or a splash: paper decorations near the stove, unwaxed textiles that stain, and tall dried arrangements under low cabinets. Keep the two feet of counter where you chop completely clear, no matter how pretty the styling.
A fall countertop is not about more stuff; it is about the right stuff, corralled where it belongs. Start with the tray, add one cluster you love, and let the kitchen earn its cozy reputation one pumpkin at a time. By Thanksgiving your counters will look like the heart of the home they are, and you will not have sacrificed a single inch of workspace to get there. That is the whole secret, and it works in every kitchen.