
DIY Thanksgiving Centerpiece Ideas

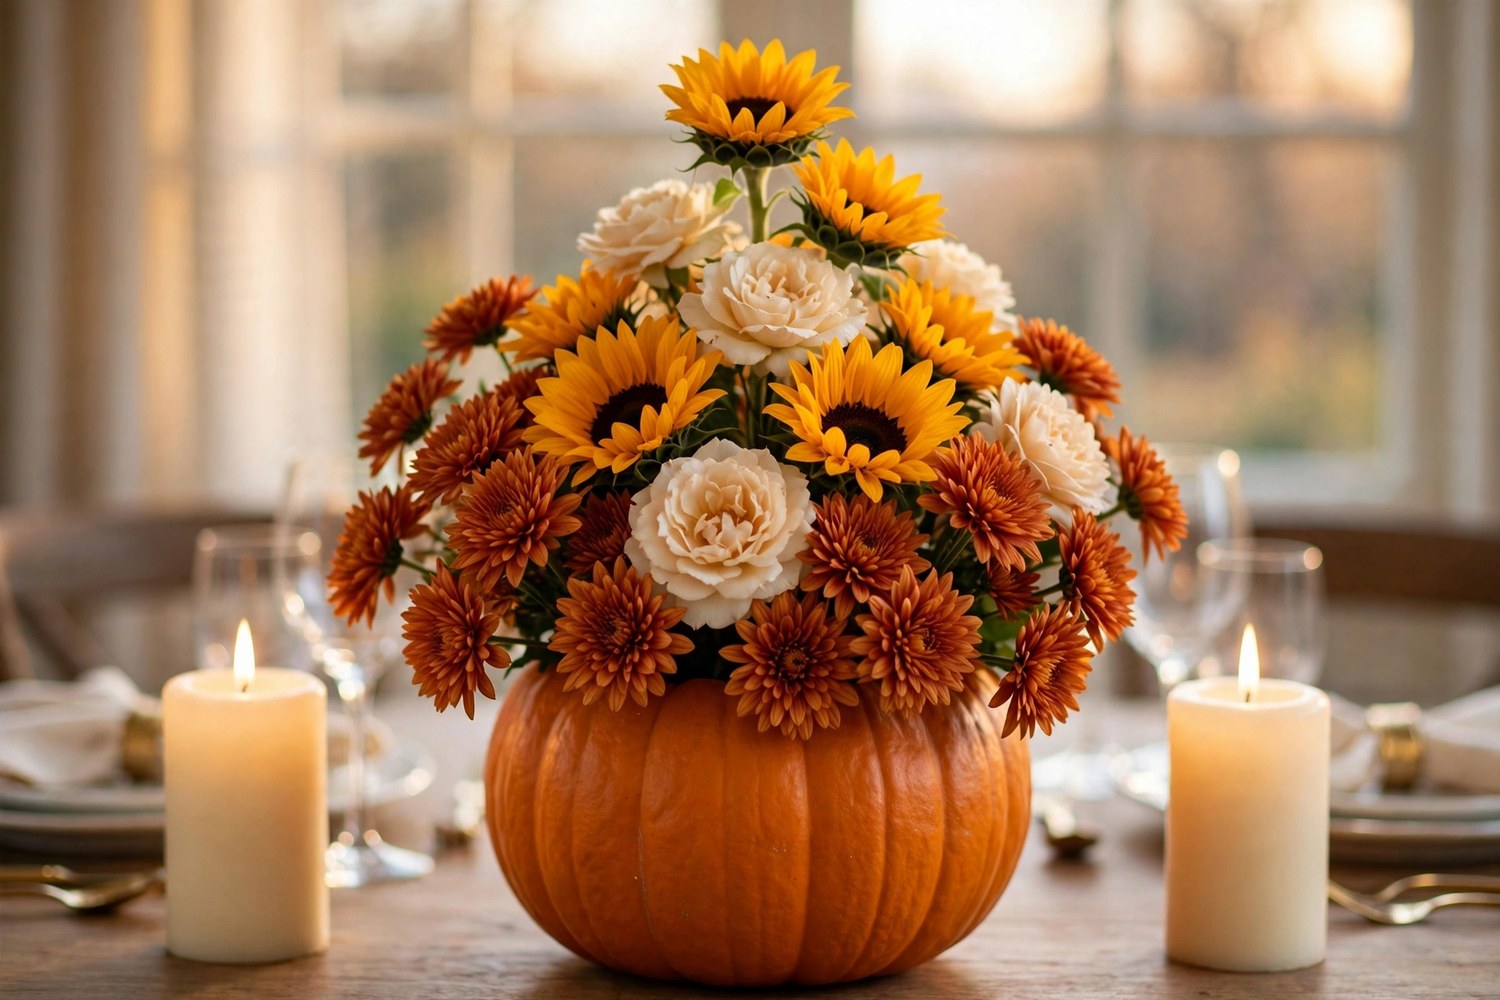
The centerpiece is the hardest-working decoration on your Thanksgiving table. It sets the mood, fills the middle, and gives guests something beautiful to look at between courses. The best part is that the most charming centerpieces are the ones you make yourself. The fifteen-minute test is my rule: if the base idea takes longer than fifteen minutes to assemble, simplify it, because handmade should feel joyful, not like a second job. These seventeen DIY centerpieces are all beginner-friendly, budget-conscious, and proven to look far more expensive than they are.
Key Takeaways
- Build every centerpiece low and narrow so guests can see each other across the table.
- A wooden tray, dough bowl, or crate as the base instantly makes scattered items look like one intentional arrangement.
- Odd numbers win: group pumpkins, candles, or jars in threes and fives, never twos and fours.
- Forage first and shop second; pinecones, branches, and leaves from the yard are free and look the most natural.
- Make fresh-material centerpieces the day before or morning of; dried and faux ones can be built weeks ahead.
1. Popsicle Stick Flower Crate
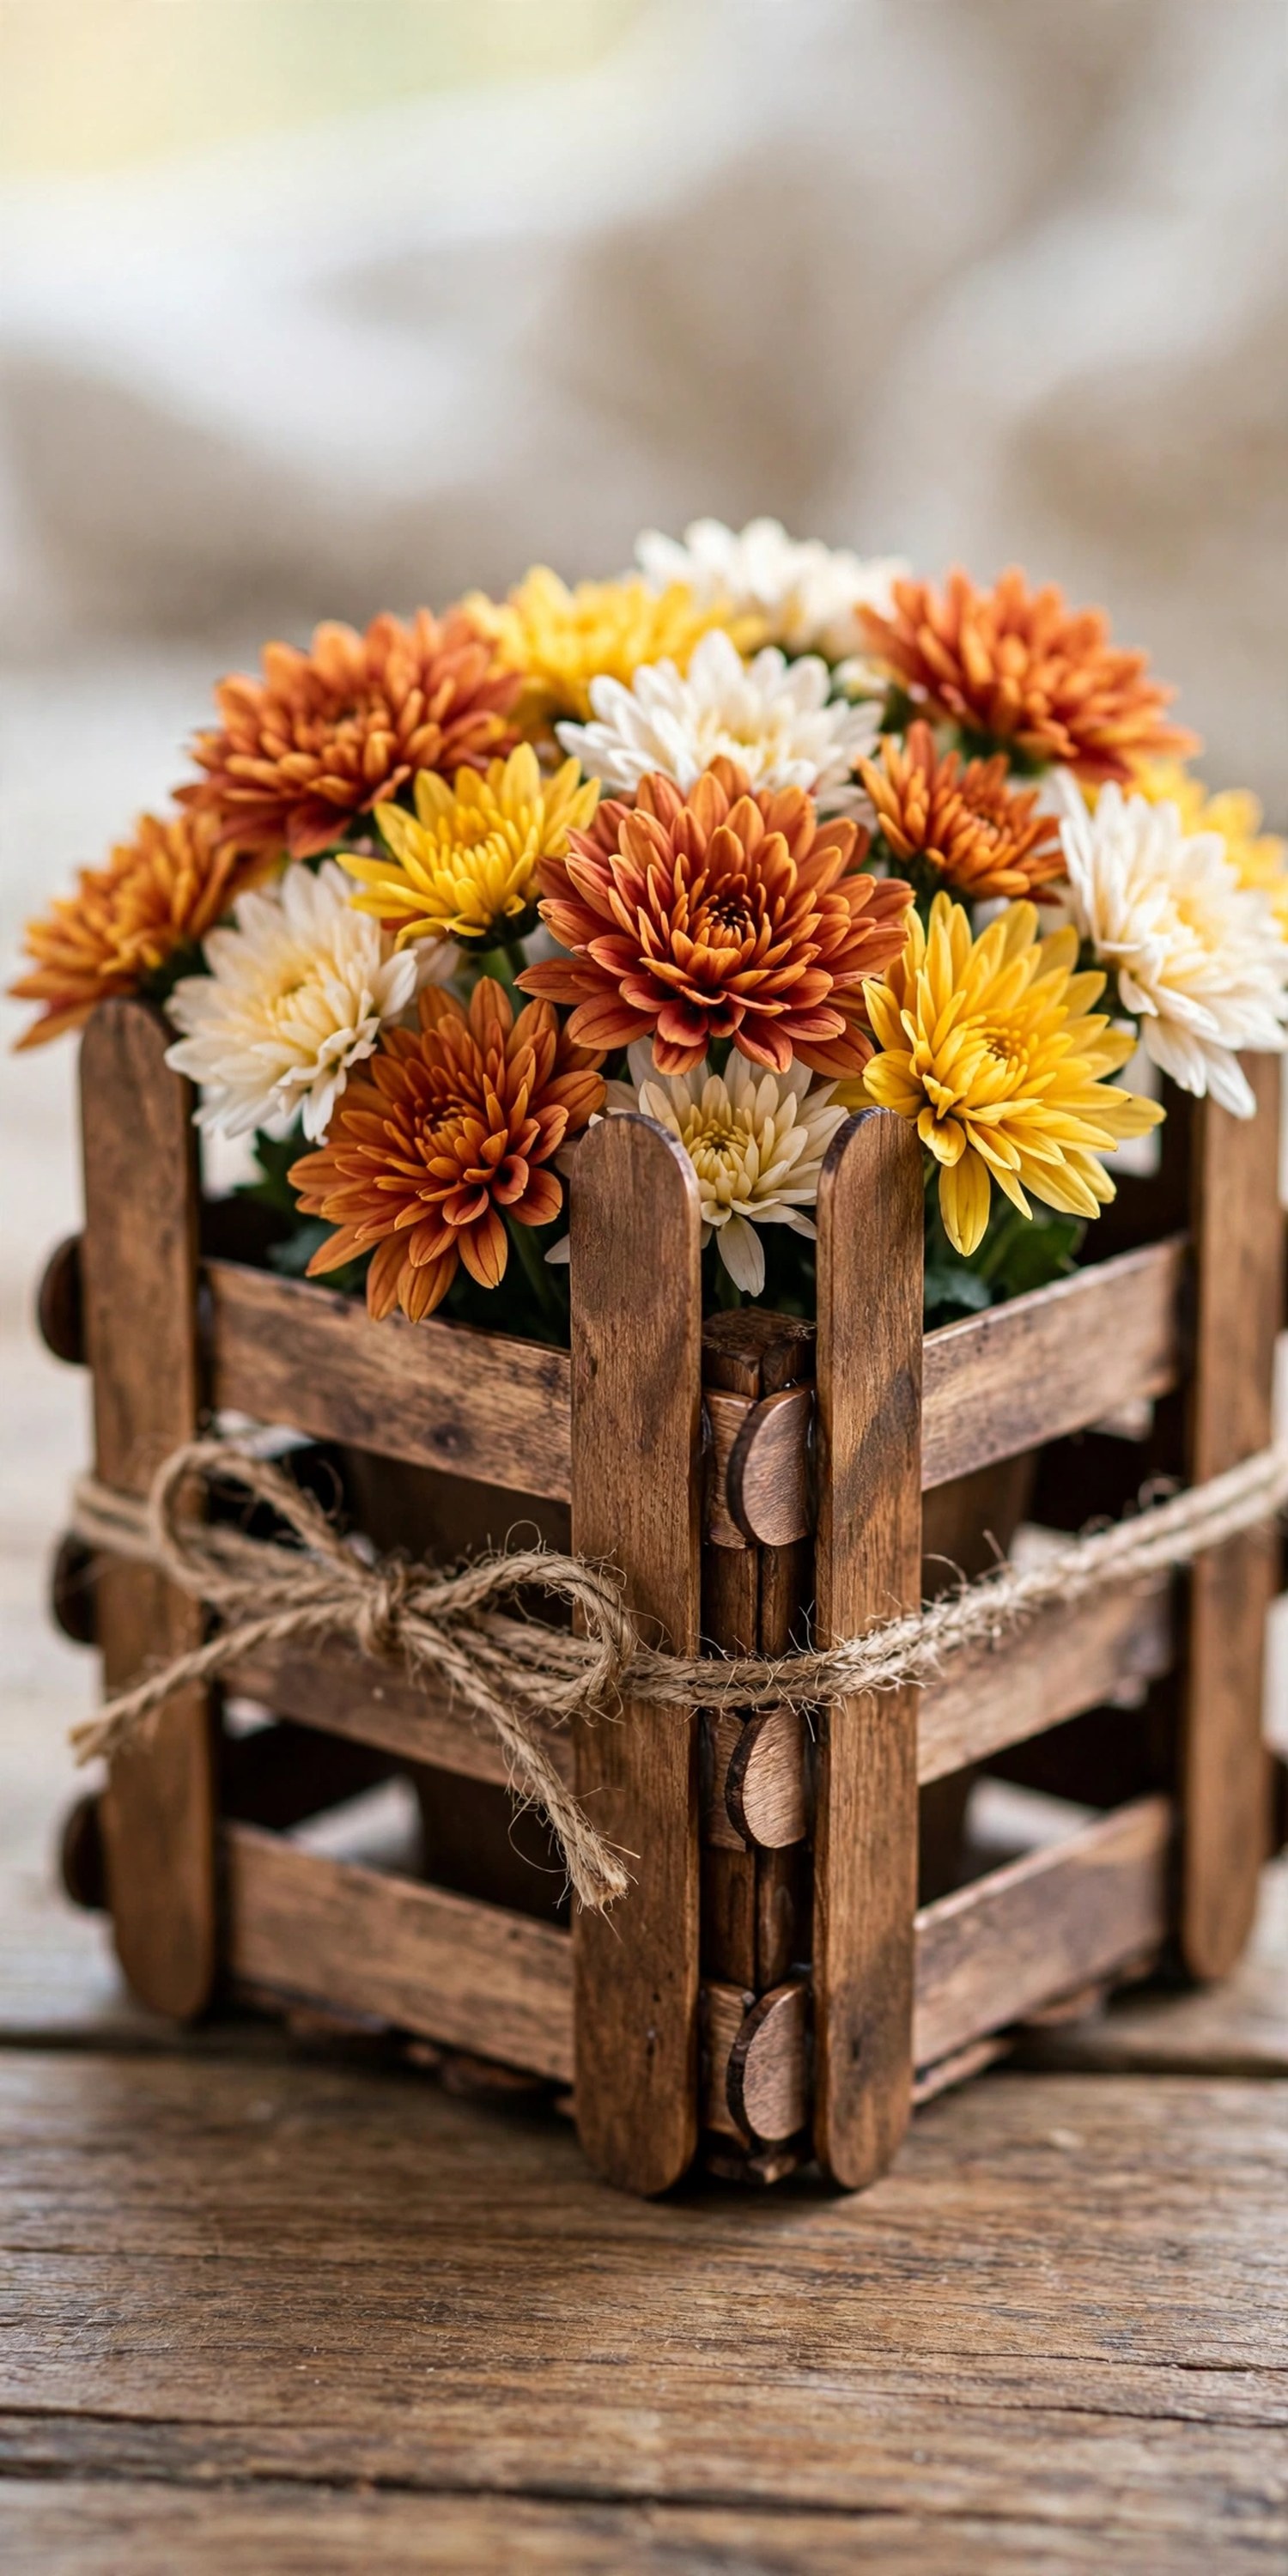
Twenty-odd popsicle sticks, a hot glue gun, and some fall flowers become a mini wooden crate centerpiece with genuine rustic charm. This is a real tutorial project with a satisfying build, and the finished crate looks like something from a farmhouse shop.
Glue sticks into four side panels, stain or paint them if you like, and line the inside with plastic wrap before adding floral foam. Fill with fresh mums, faux fall stems, or dried flowers. A length of jute ribbon tied around the crate finishes it. For the full step-by-step method, The Crafting Nook’s popsicle stick centerpiece tutorial walks through every cut and glue line.
Tip: Sand the stick ends lightly before gluing; smooth wood bonds far better than rough cuts.
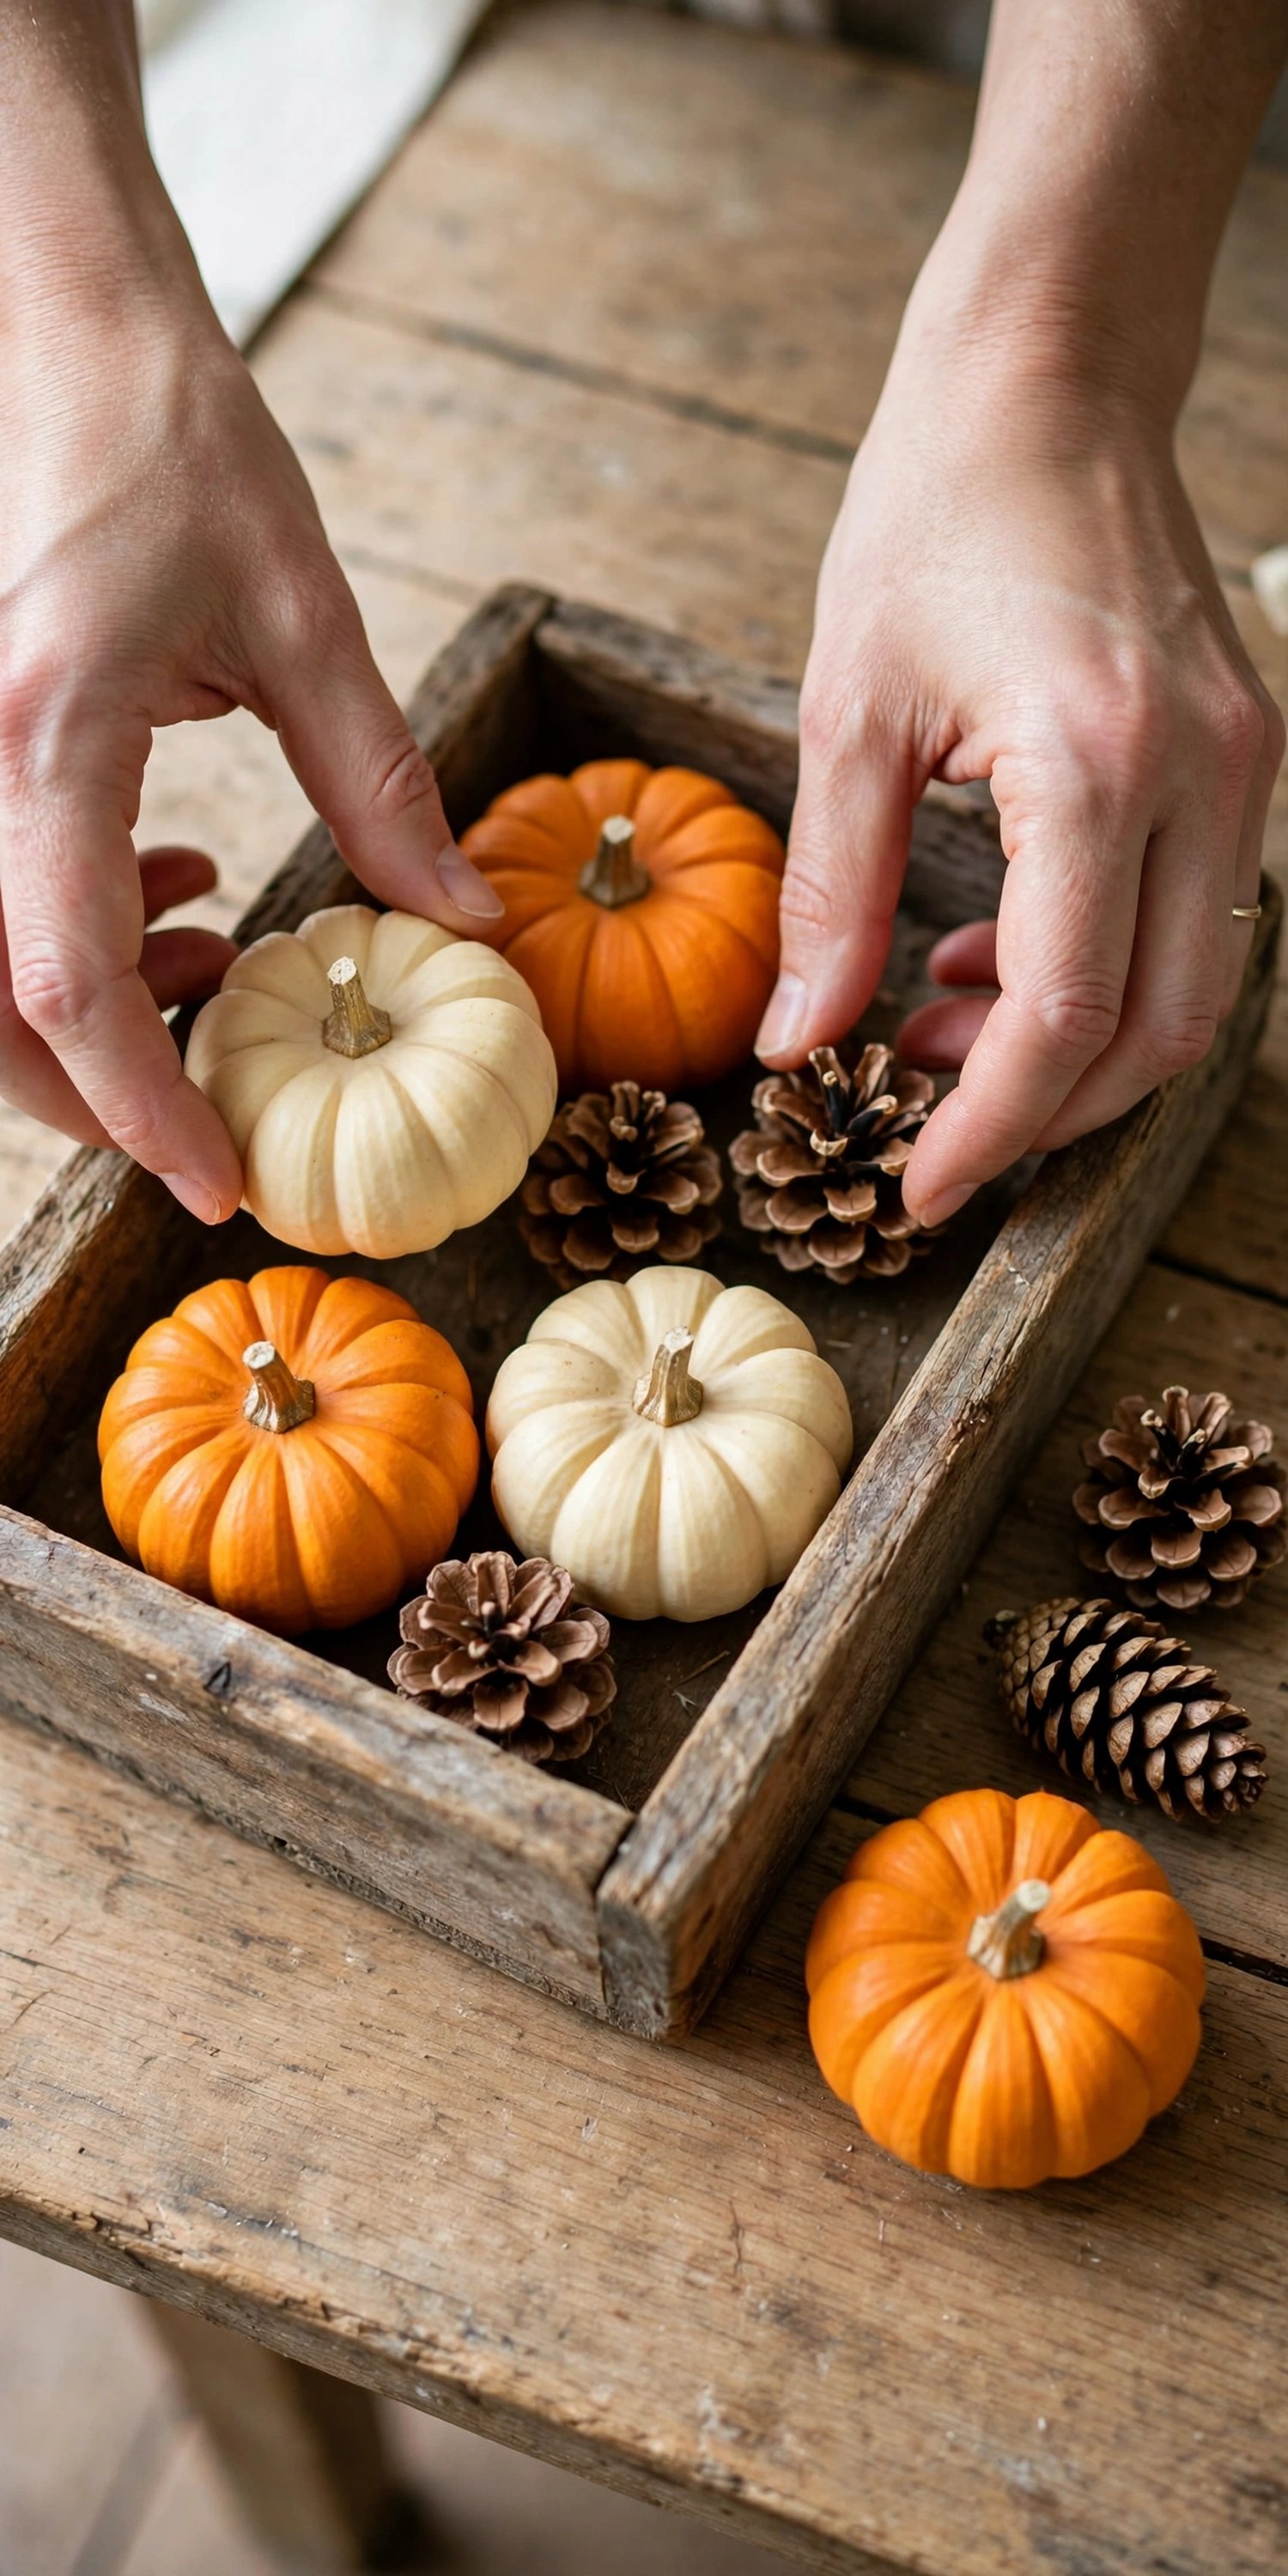
2. Wooden Tray Harvest Collection
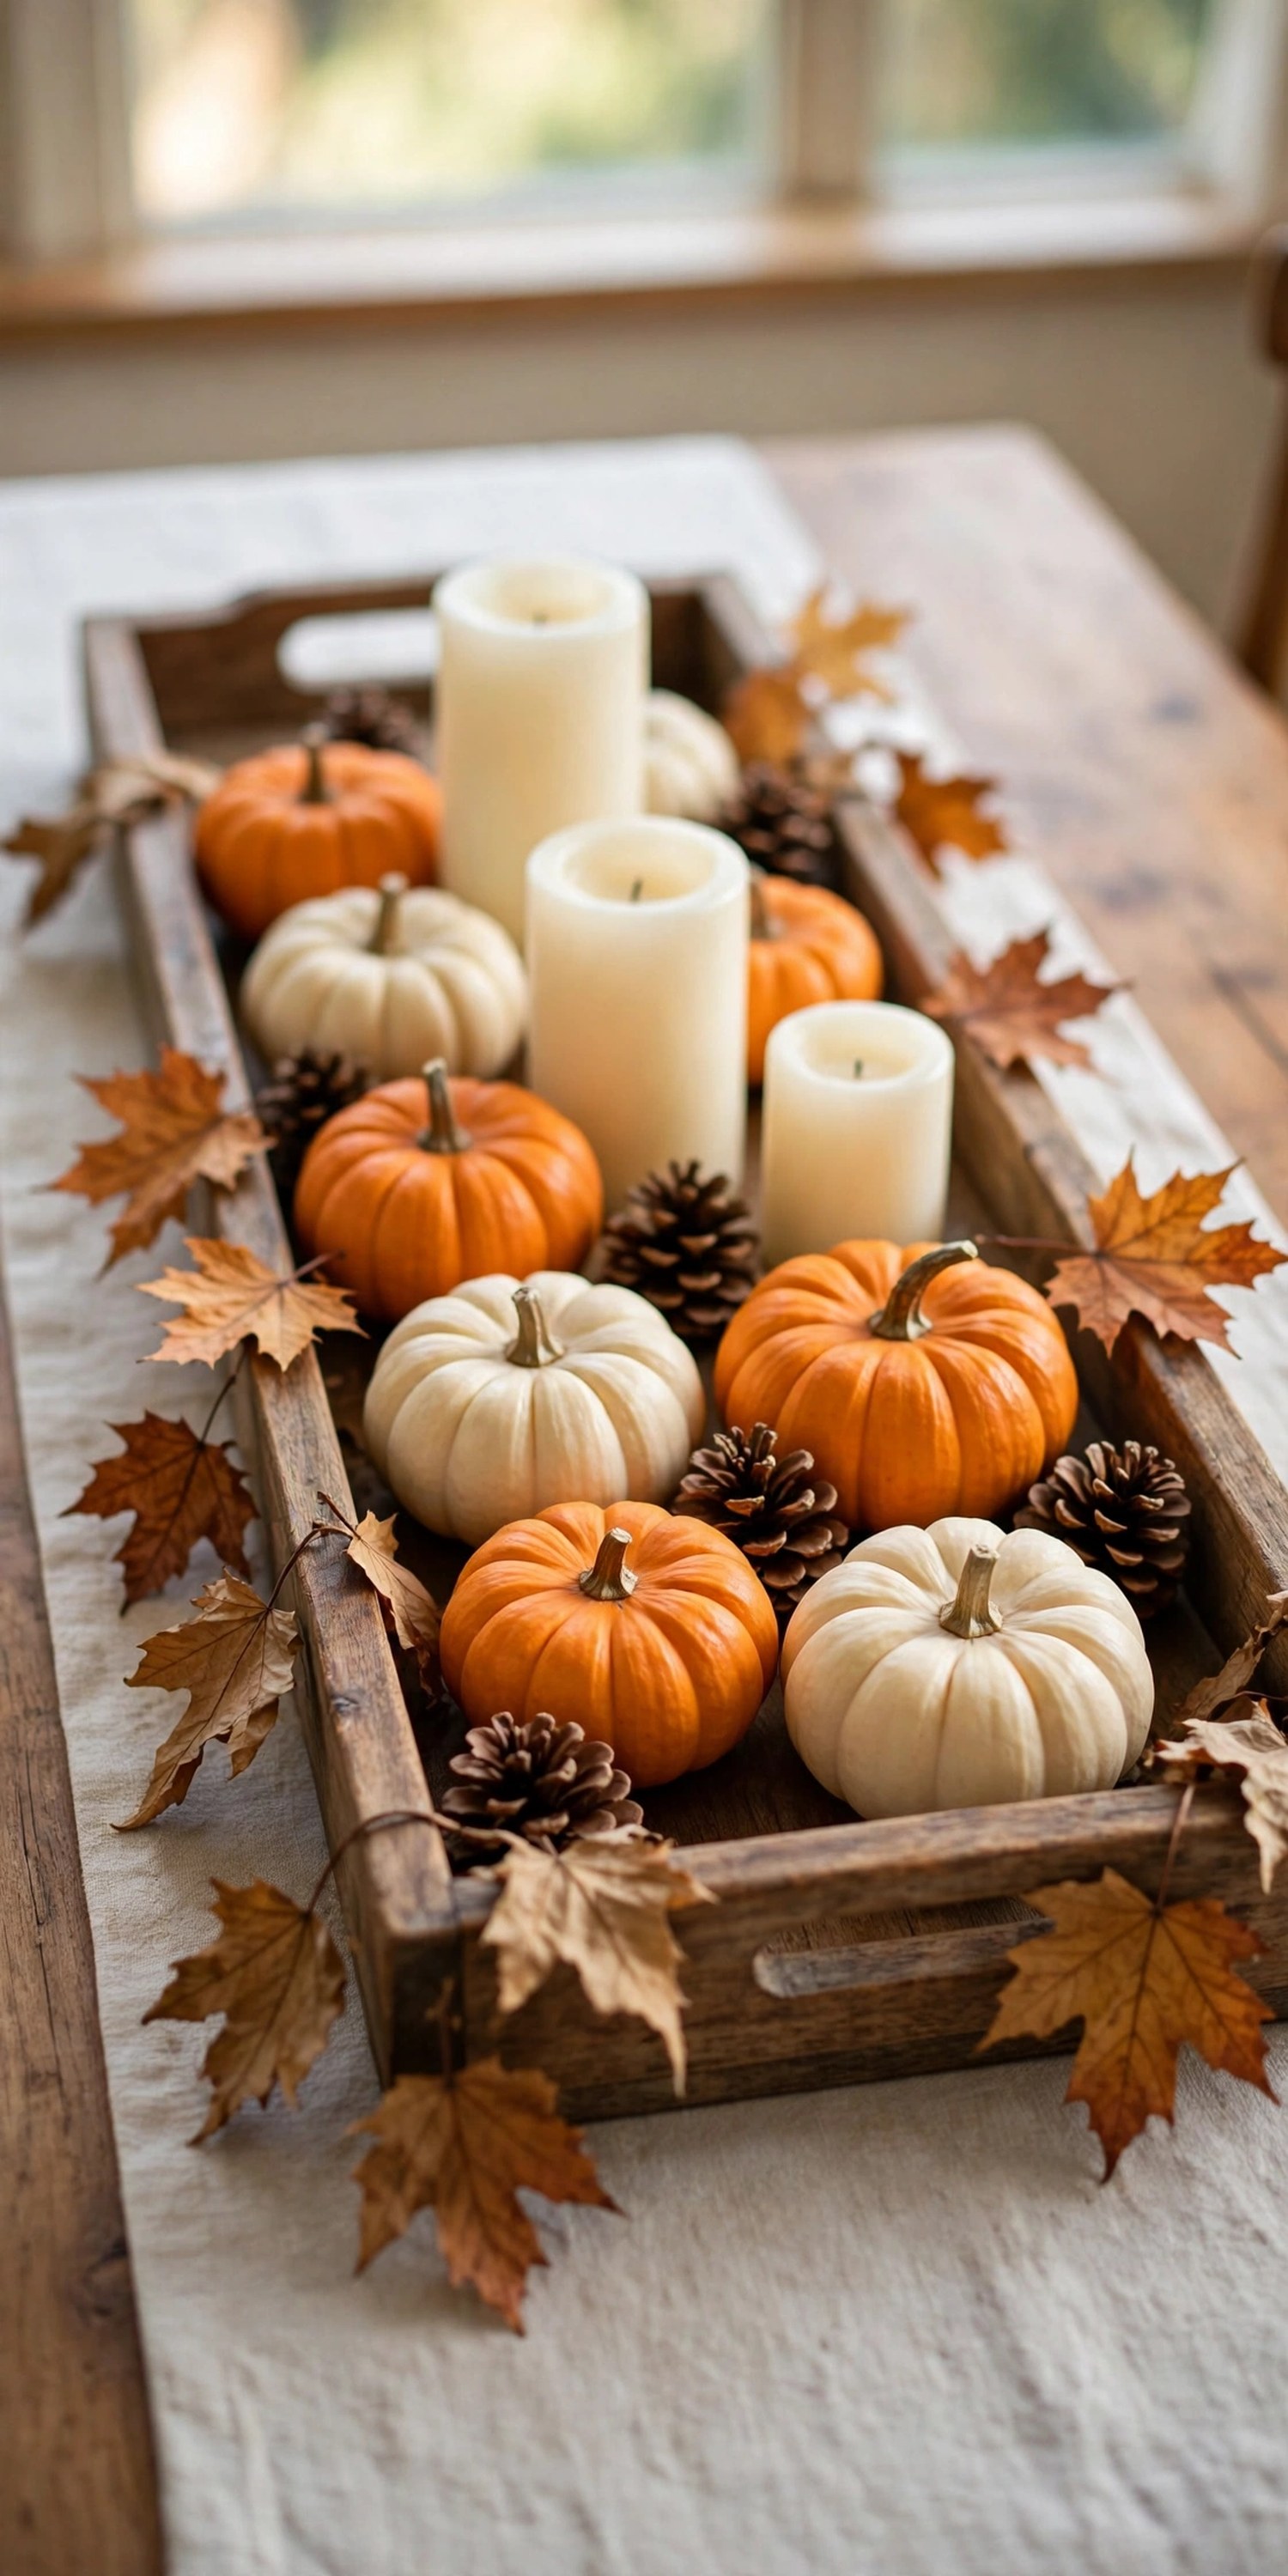
The easiest impressive centerpiece starts with a wooden tray as a stage. Set a long tray or shallow crate down the table’s center and fill it with mini pumpkins, pinecones, and clusters of autumn leaves, then add unscented pillar candles for glow.
Work in layers: largest pumpkins first, then pinecones tucked into gaps, then leaves draped over edges. Keep everything inside the tray’s footprint so the arrangement reads as one piece. A tray from a thrift store plus grocery-store minis keeps the whole project under $15.
Tip: Choose a tray with handles; you can lift the whole centerpiece away when it’s time to serve.
3. Cornucopia with a Handmade Bow
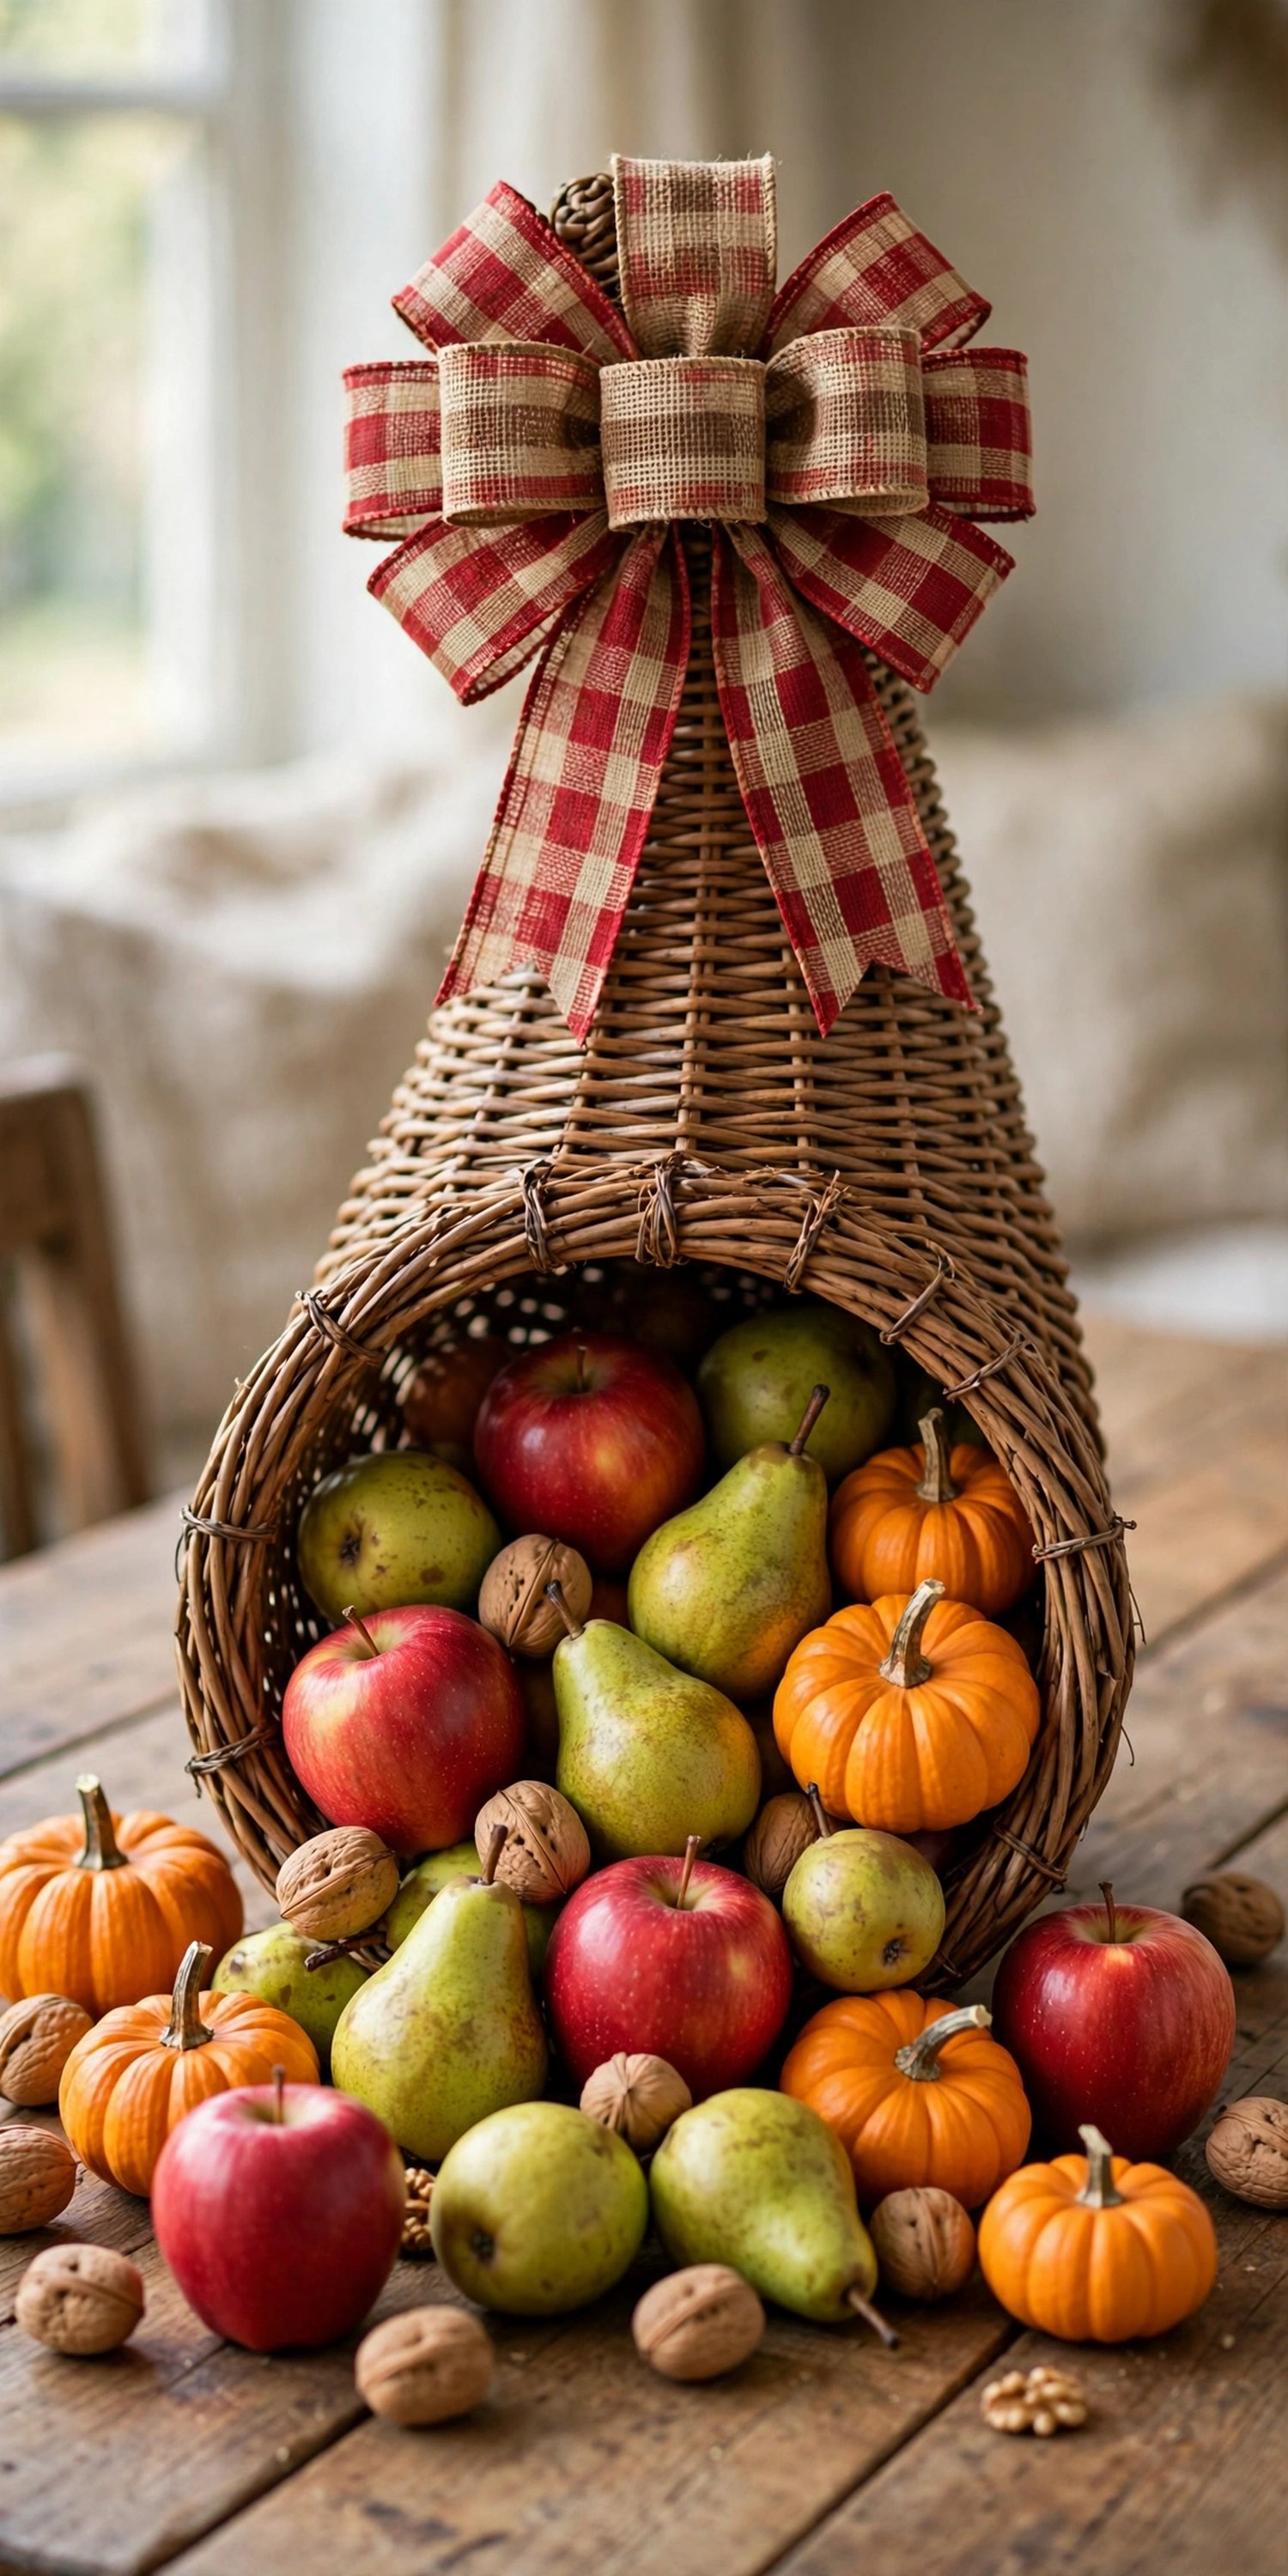
The horn of plenty is Thanksgiving’s most traditional centerpiece, and making the bow yourself is what makes it yours. A full layered bow from plaid burlap and pumpkin-pattern ribbon wired to a woven cornucopia basket looks professionally styled.
Layer loops of 2.5-inch burlap ribbon with narrower accent ribbons, secure the bundle with wire, and hot-glue fall picks into the center. Fill the horn with apples, pears, walnuts, and mini pumpkins spilling onto the table. This cornucopia bow tutorial shows the looping technique that gives the bow its full, even shape.
A handmade bow is the difference between a basket of fruit and a centerpiece.
Tip: Pack the horn’s narrow end with crumpled paper so fruit stays put instead of sliding out.
4. Pumpkin Flower Vase
A hollowed pumpkin holding fresh flowers is the quintessential Thanksgiving DIY. It takes twenty minutes, costs little, and never fails to get compliments.
Cut the top off a medium pumpkin, scoop it clean, and set a water-filled jar inside. Arrange mums, sunflowers, or a grocery-store fall bouquet with the tallest stems centered. Mist daily and it lasts about five days. Rub cut edges with petroleum jelly to slow browning.
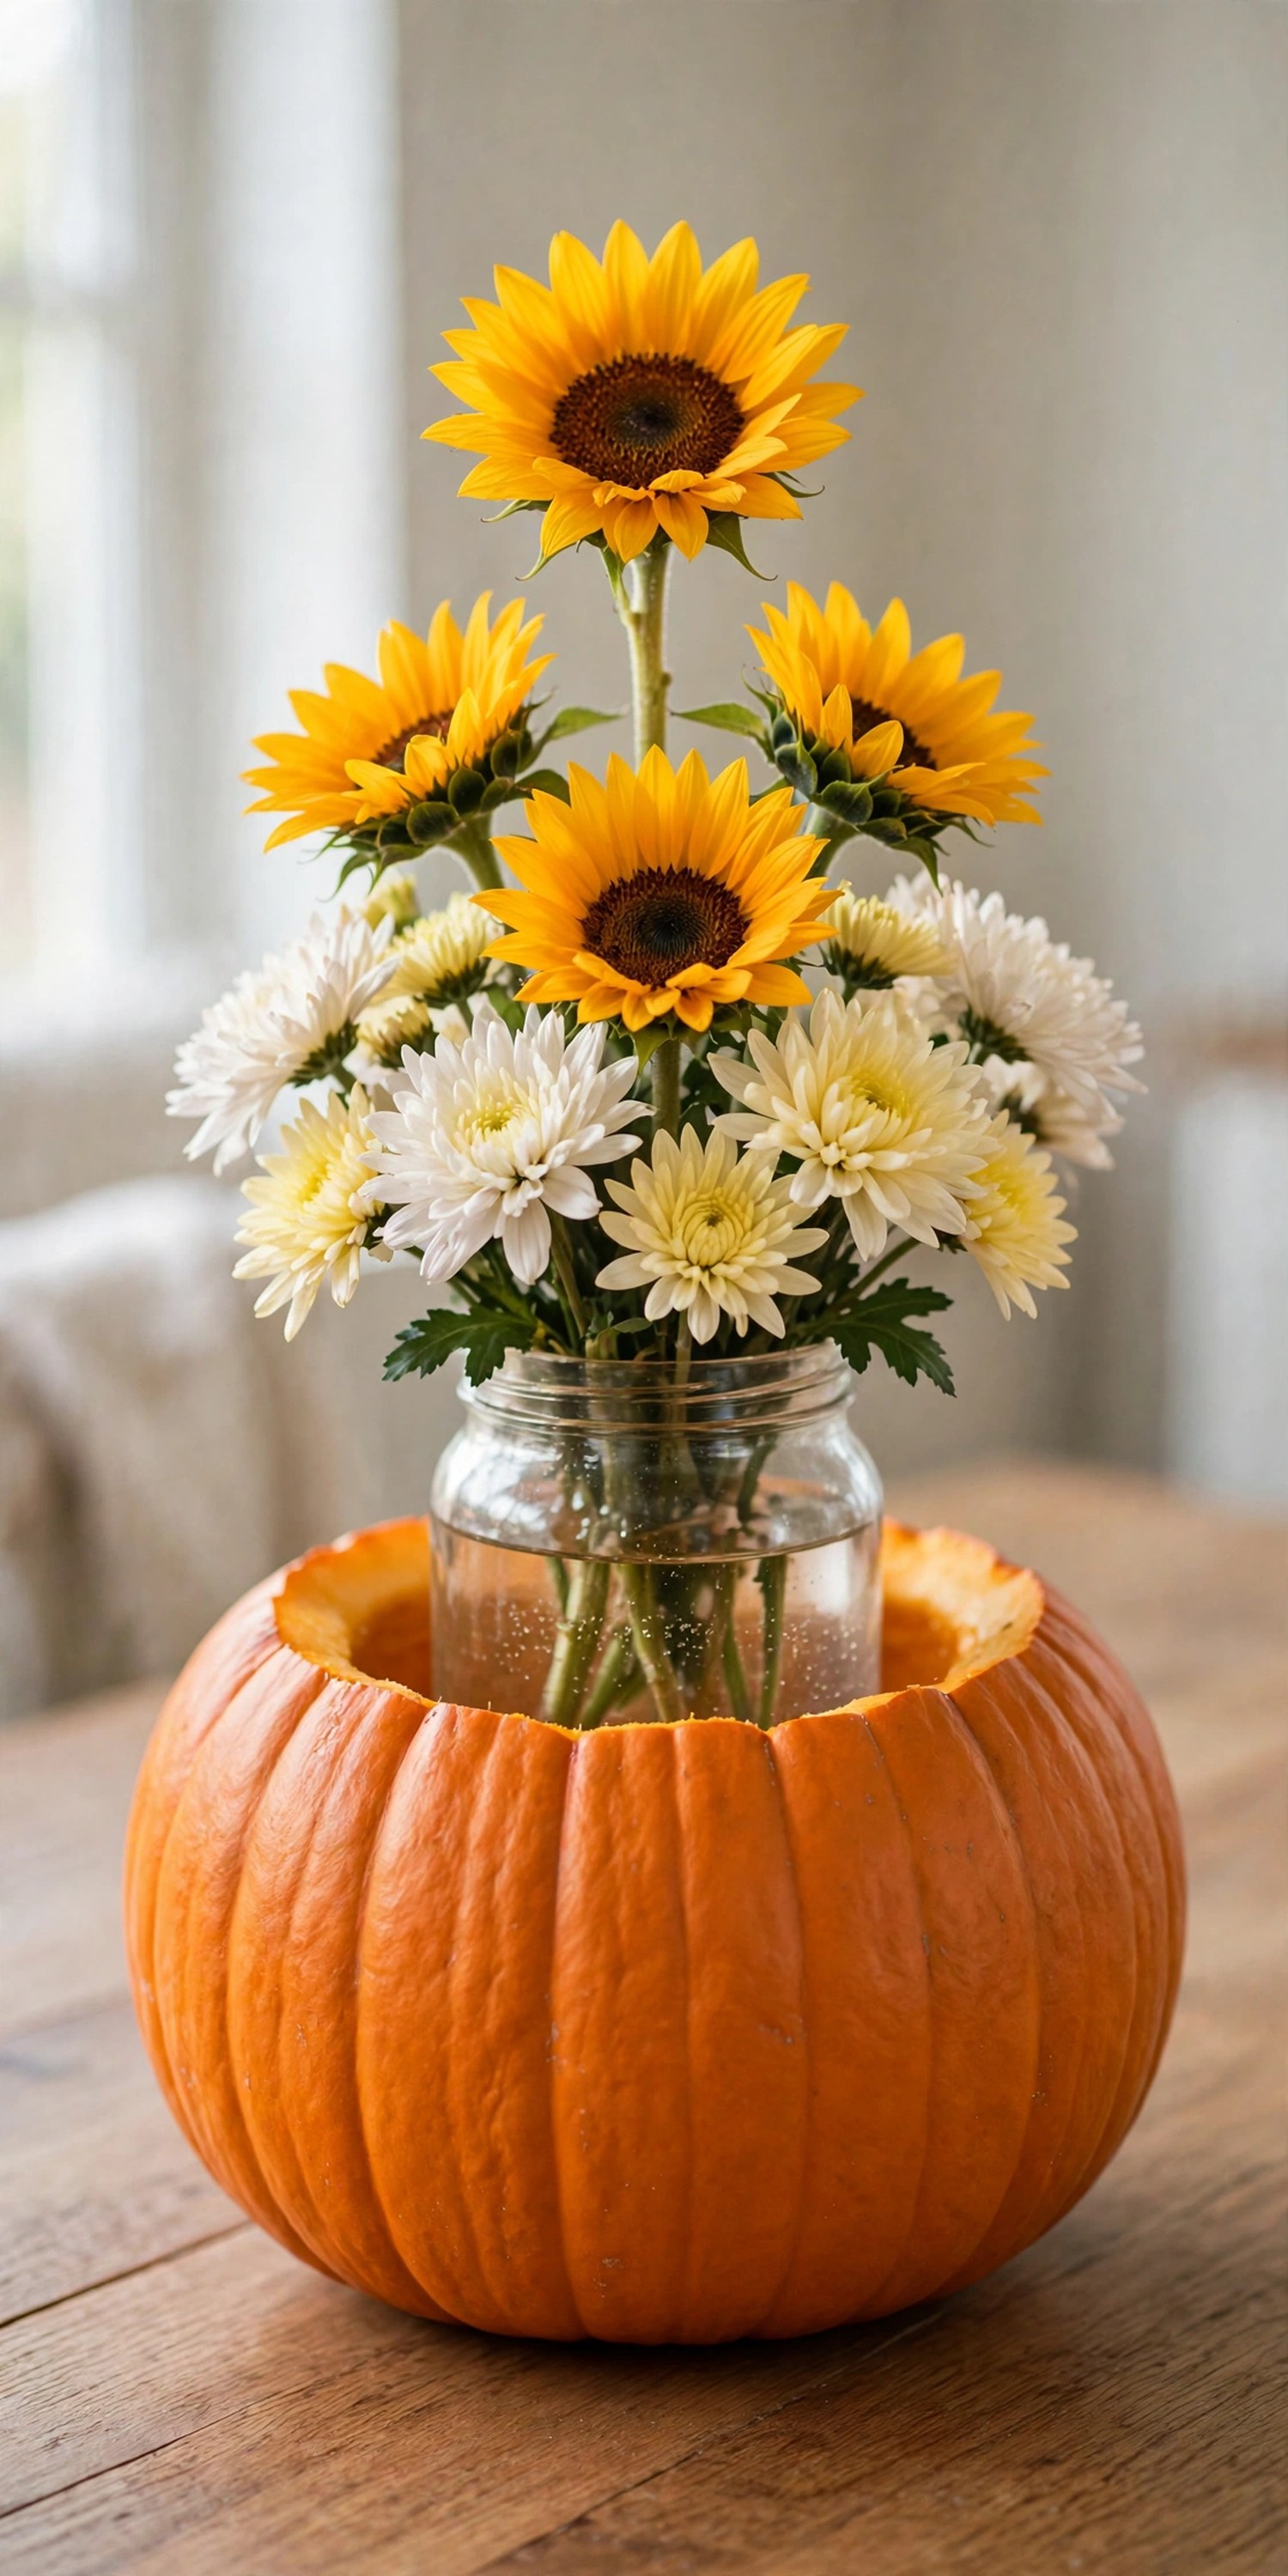
Tip: Choose a pumpkin with a flat bottom that sits steady; wobbly centerpieces and full tables don’t mix.
5. Mason Jar Candle Cluster
Three mason jars, three candles, endless charm. A cluster of mason jar candles in mixed heights gives warm, flickering light exactly where the table needs it.
Wrap twine around each jar’s neck, drop in a tea light or short pillar, and group the jars on a wood slice or small tray. Fill jar bottoms with cranberries, acorns, or faux leaves for color. Use battery tea lights if the table will be crowded or kids are near.
| Jar size | Candle | Filler |
|---|---|---|
| Pint | Tea light | Cranberries |
| Quart | Short pillar | Mini pinecones |
| Half-gallon | Three tea lights | Fall leaves |
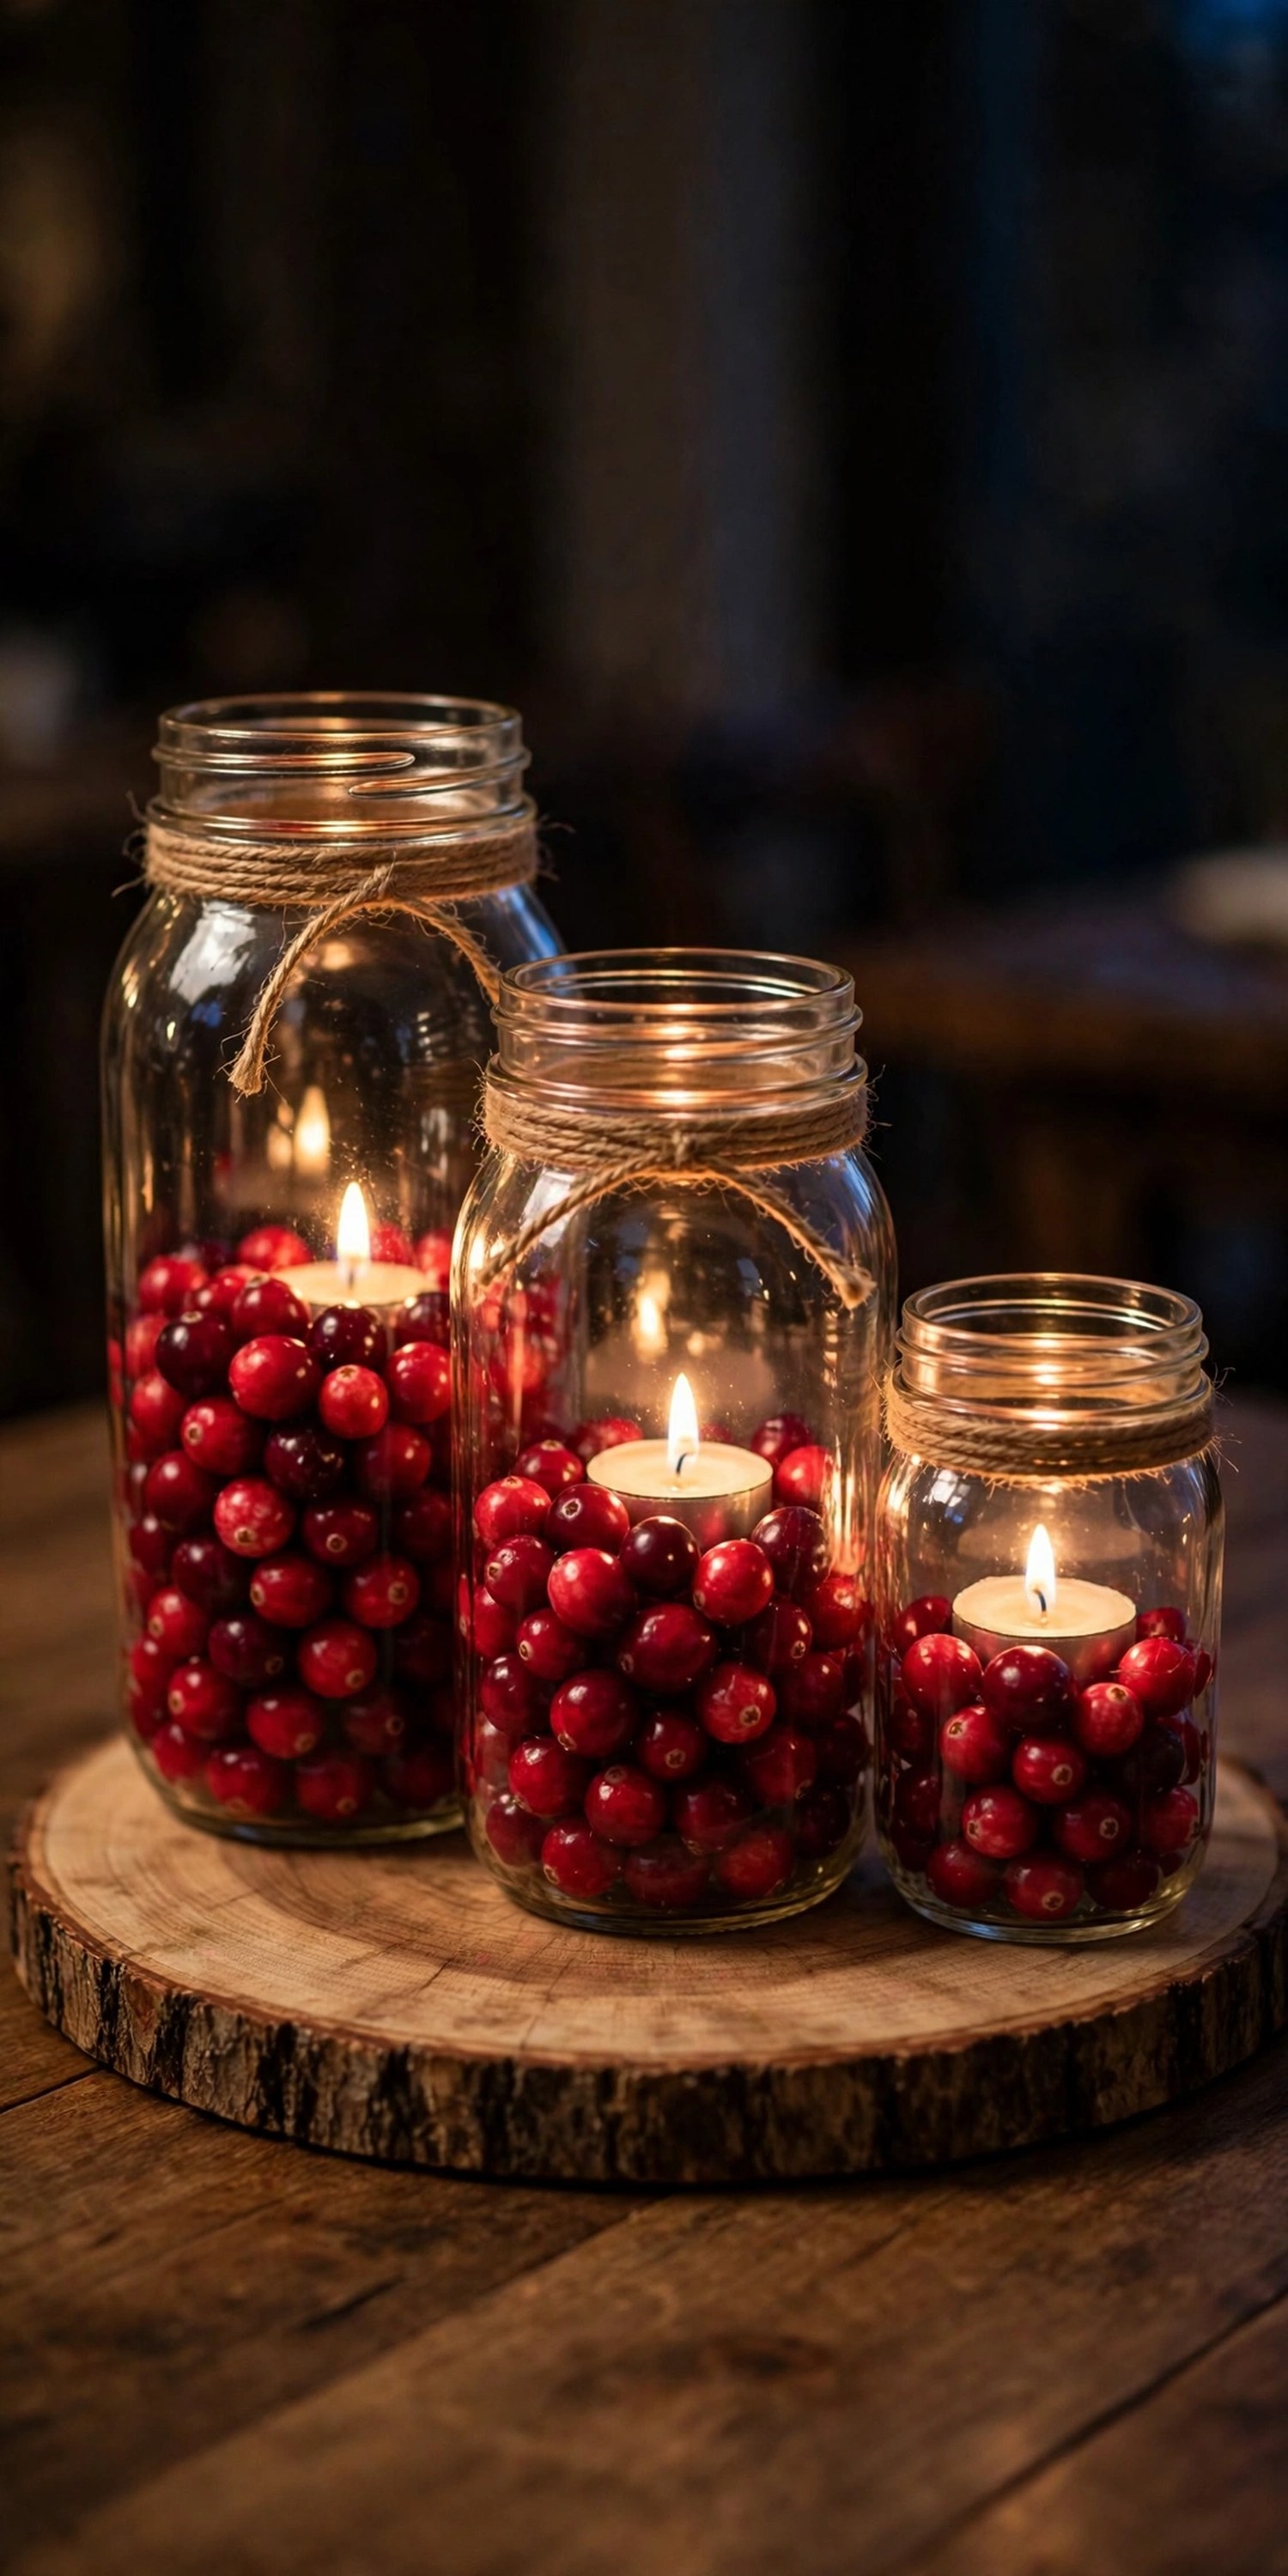
Tip: Odd numbers of jars (three or five) always look more natural than even groupings.
6. Dough Bowl with Pinecones and Berries
A long wooden dough bowl filled with pinecones, red berry sprays, and a few mini pumpkins is the definition of effortless. There is no arranging skill required, just layering.
Start with the largest pinecones, add berry sprays for color pops, and nestle mini pumpkins into the gaps. Drape a few faux leaves over the bowl’s rim so the arrangement spills naturally. Dough bowls show up at thrift stores constantly for a few dollars.
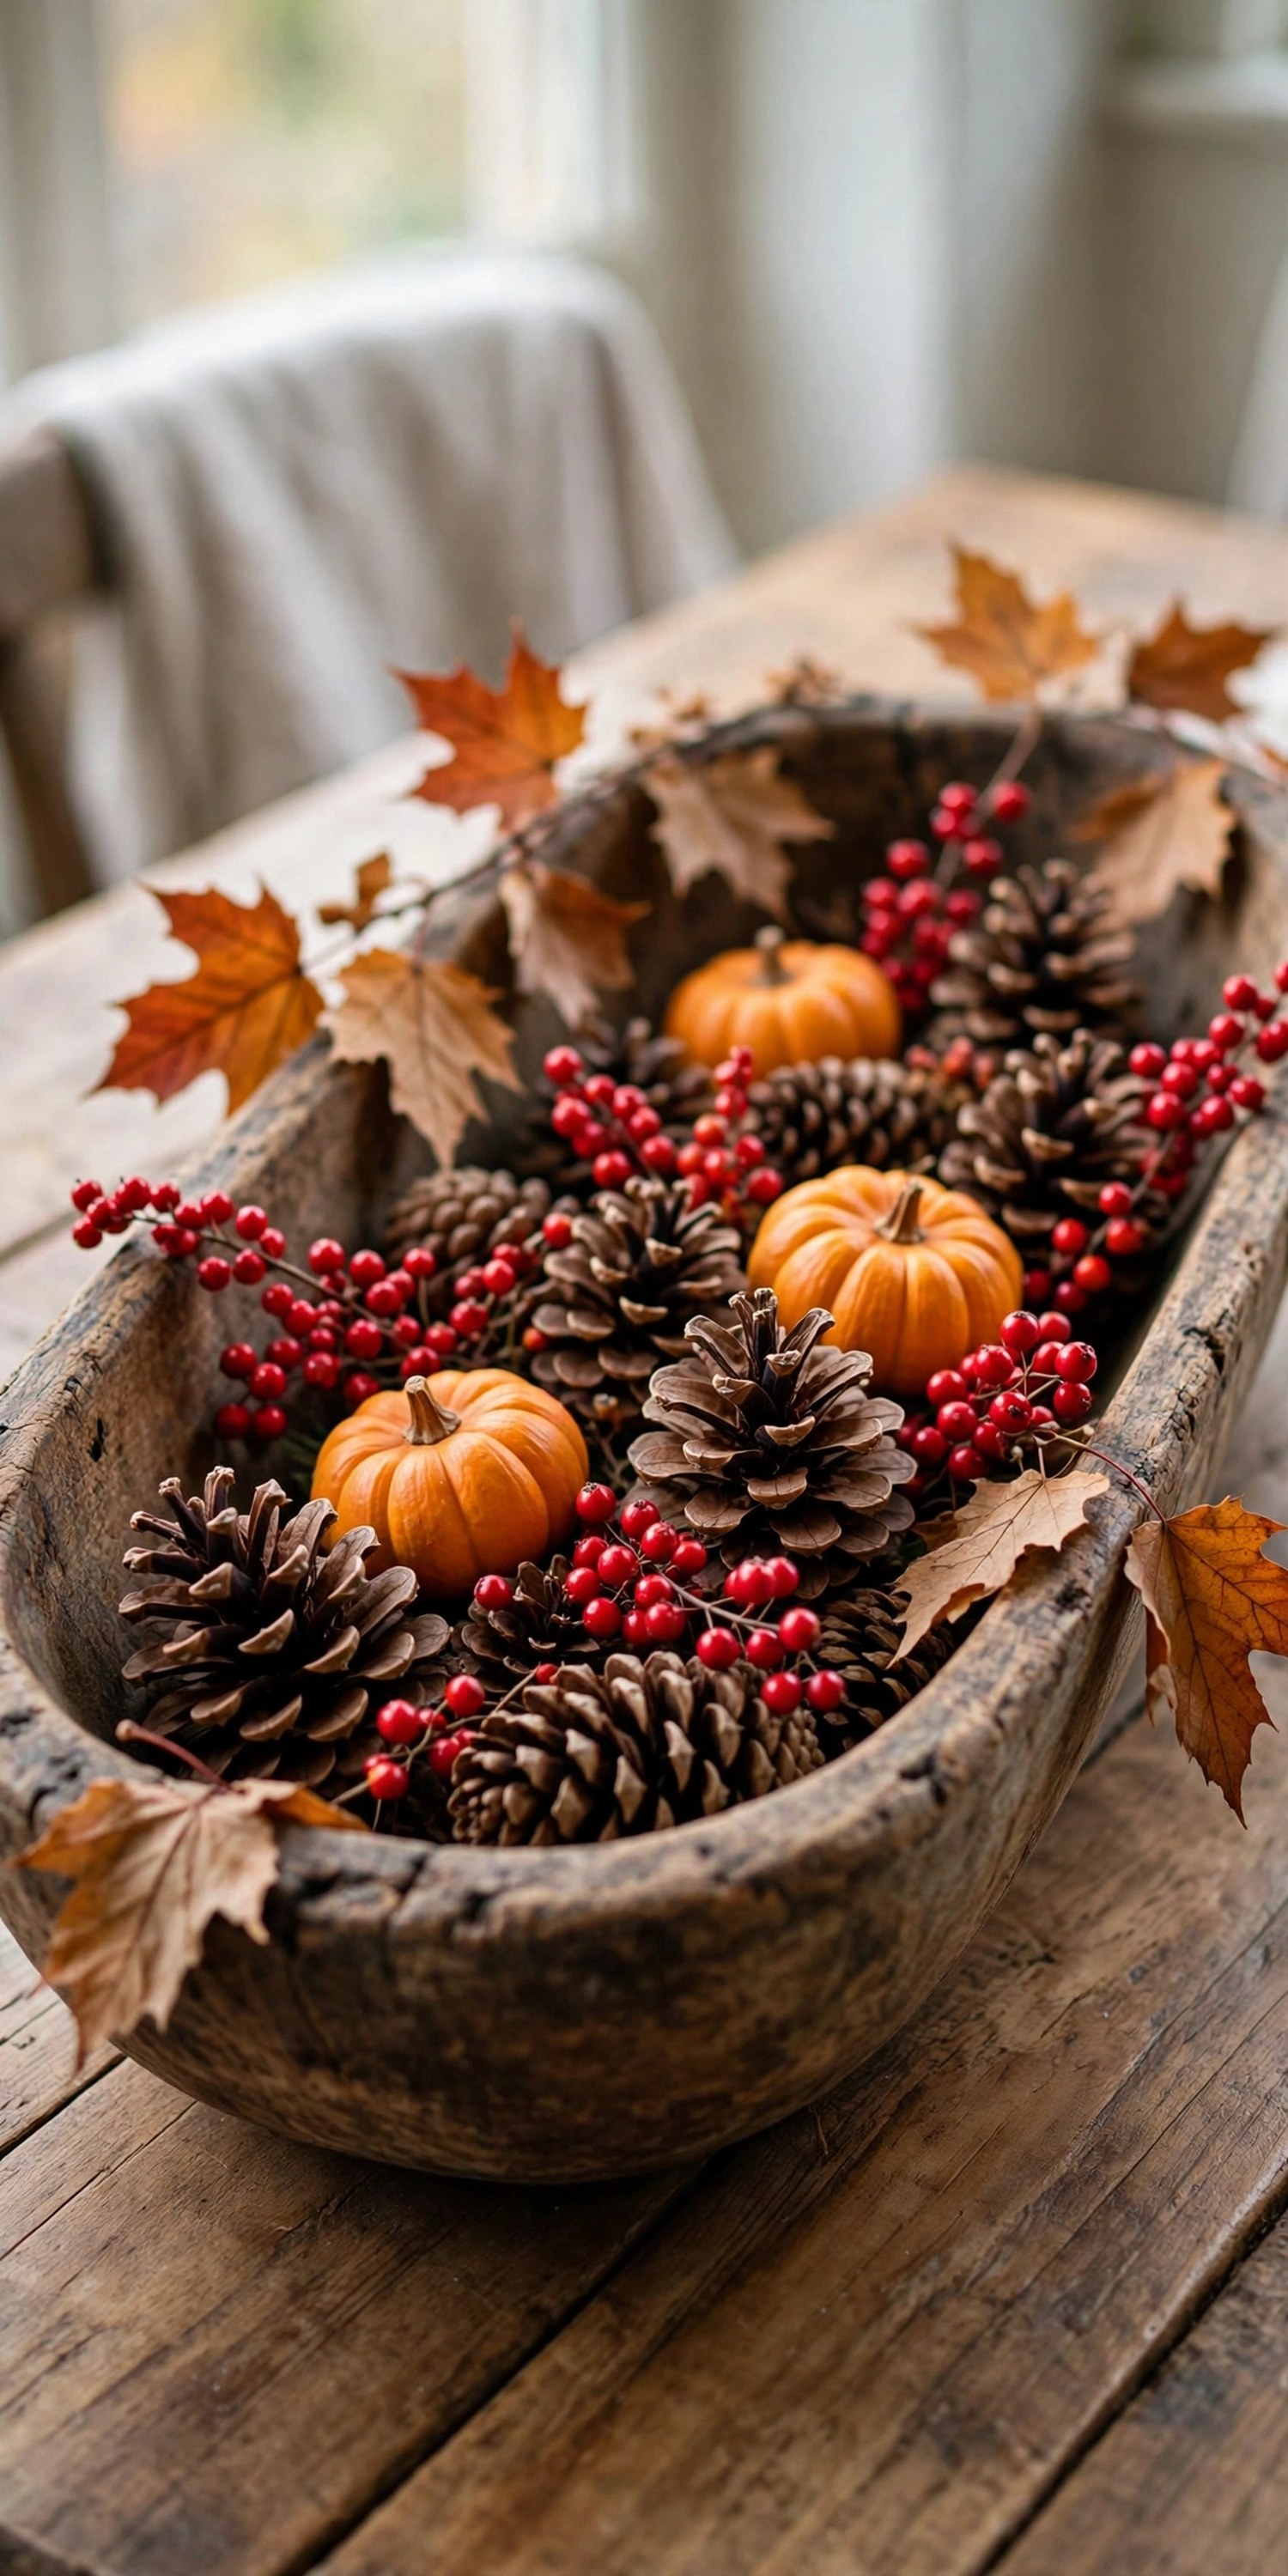
Tip: Bake foraged pinecones at 200°F for 30 minutes first; it kills bugs and opens the scales beautifully.
7. Painted Wine Bottle Vases
Don’t recycle those wine bottles yet. Painted bottles holding wheat or dried stems make a tall, elegant centerpiece for almost no money.
Soak bottles to remove labels, then spray paint in matte cream, sage, or metallic gold. Group three bottles of different heights and add dried wheat, pampas stems, or eucalyptus-free dried grasses. Keep the arrangement narrow so it fits a crowded table.
Trash-to-treasure projects are the most satisfying ones to show off.
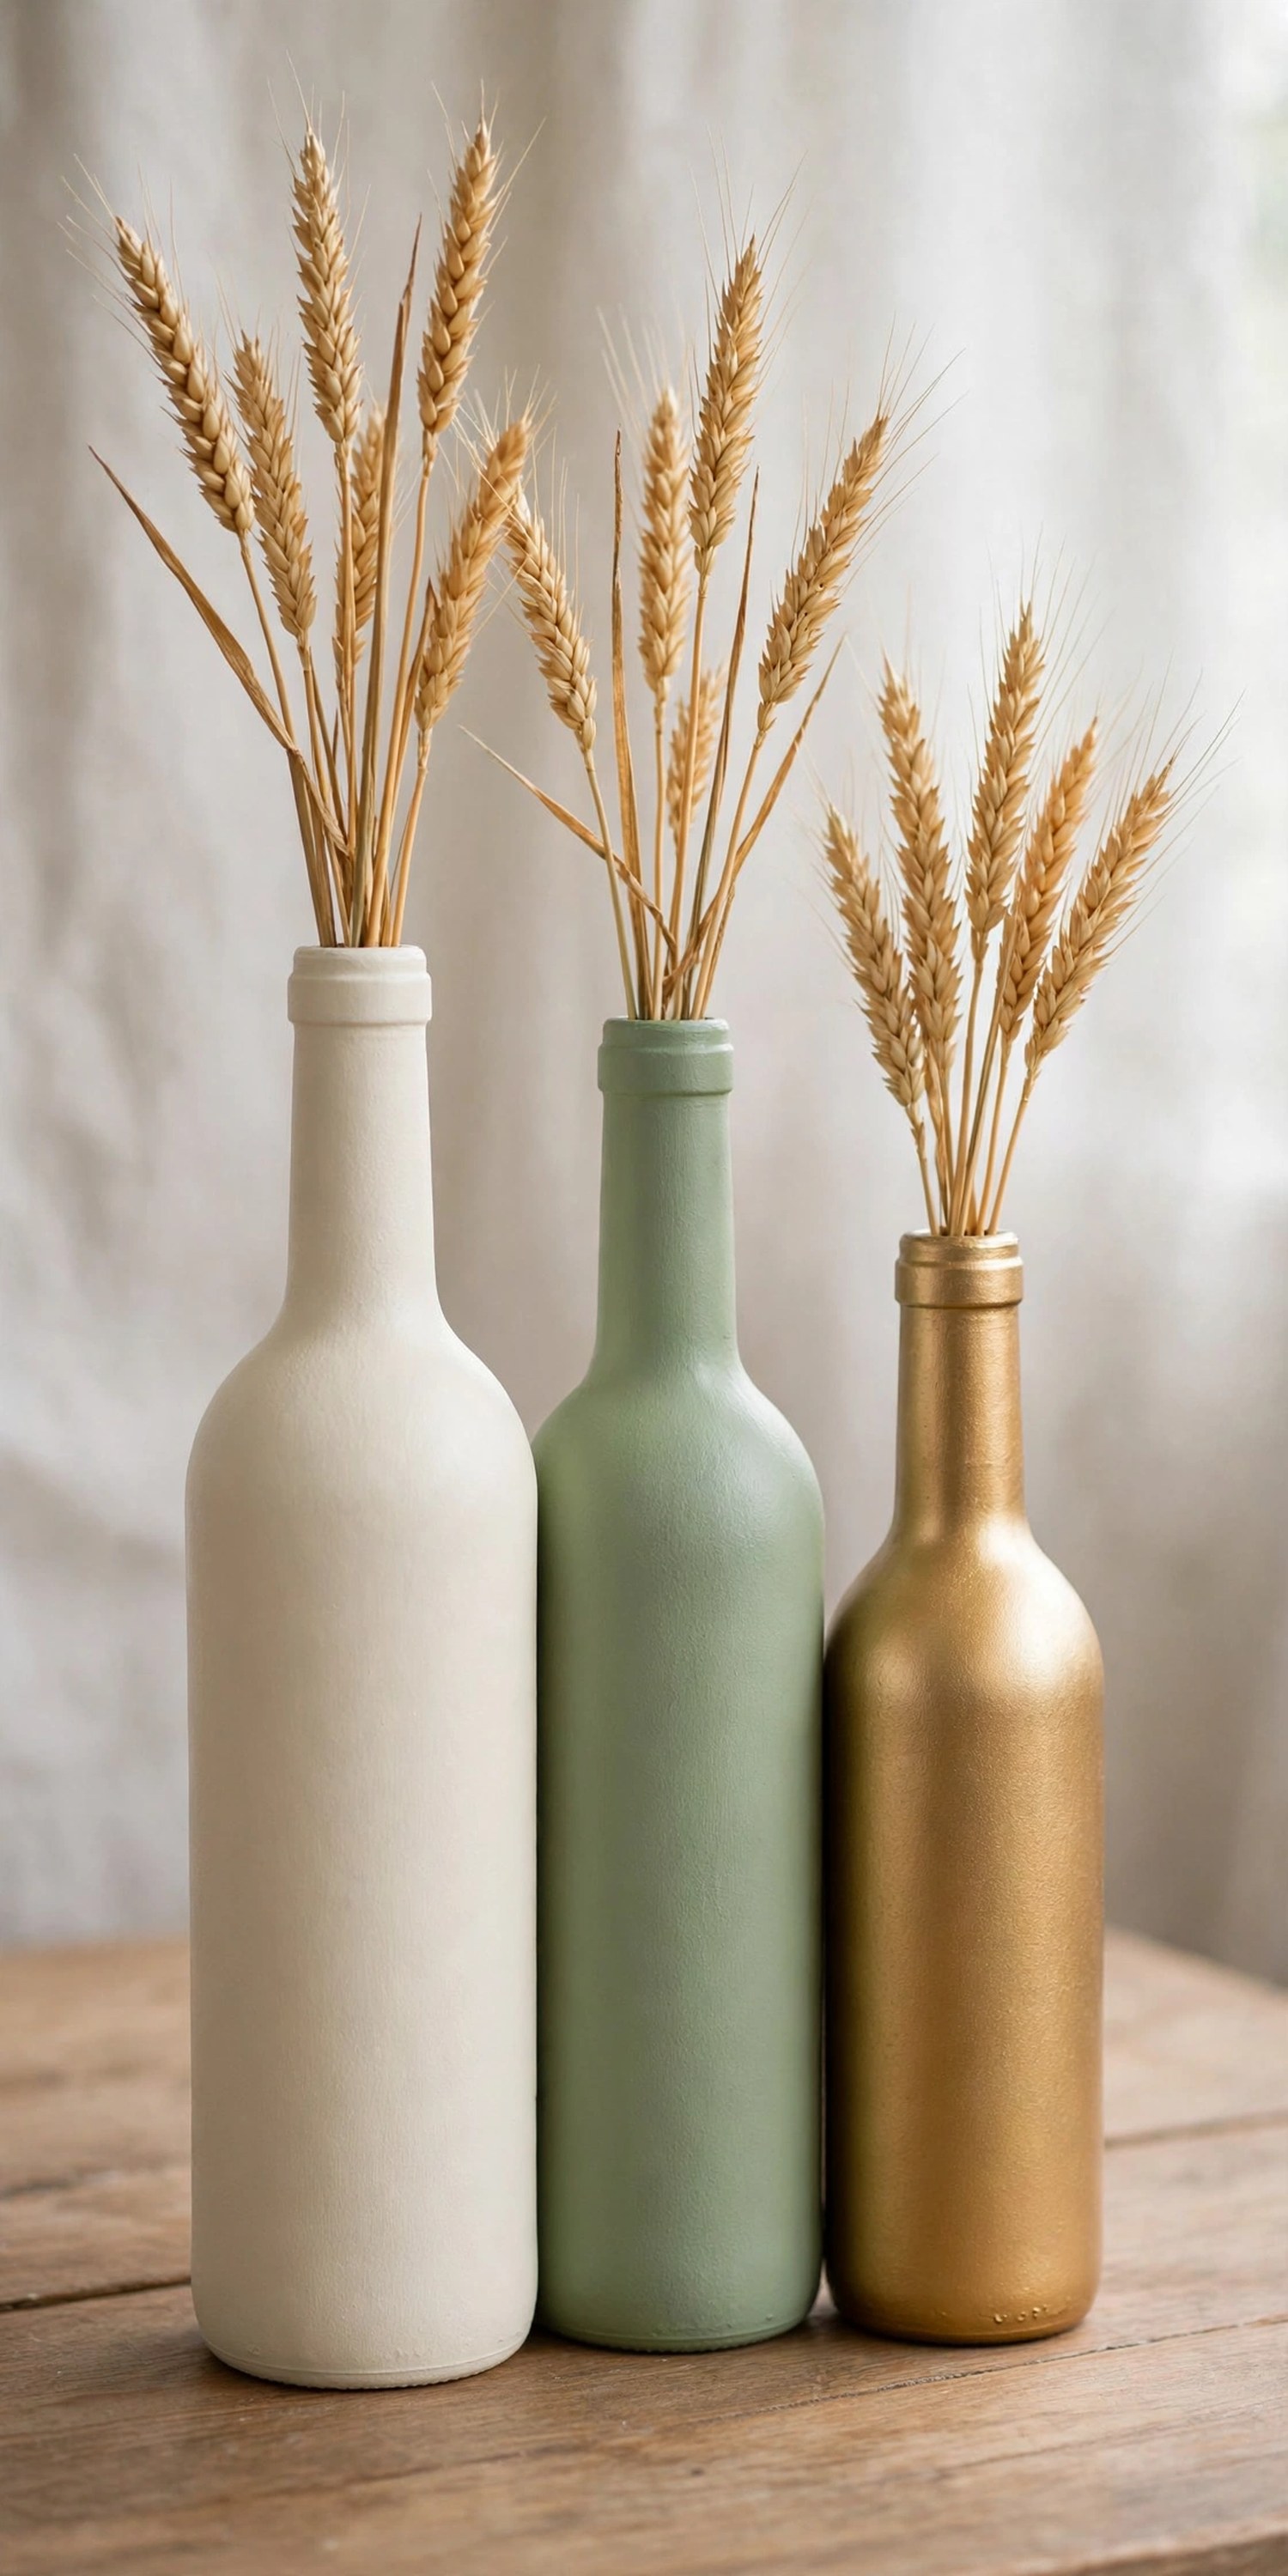
Tip: Use a funnel to add a spoonful of sand to each bottle; painted glass is top-heavy with tall stems.
8. Yarn-Wrapped Pumpkins
Wrap a foam pumpkin in yarn and it becomes a soft, textural decoration unlike anything in stores. This is a perfect couch project for a November evening.
Starting at the top, hot-glue the yarn end and wrap tightly around the pumpkin, gluing every few rounds to keep it snug. Follow the pumpkin’s natural ridges for a ribbed look. Cream, rust, and mustard yarns look best; variegated yarn gives a fun marled effect. Group three in different sizes as a centerpiece cluster.
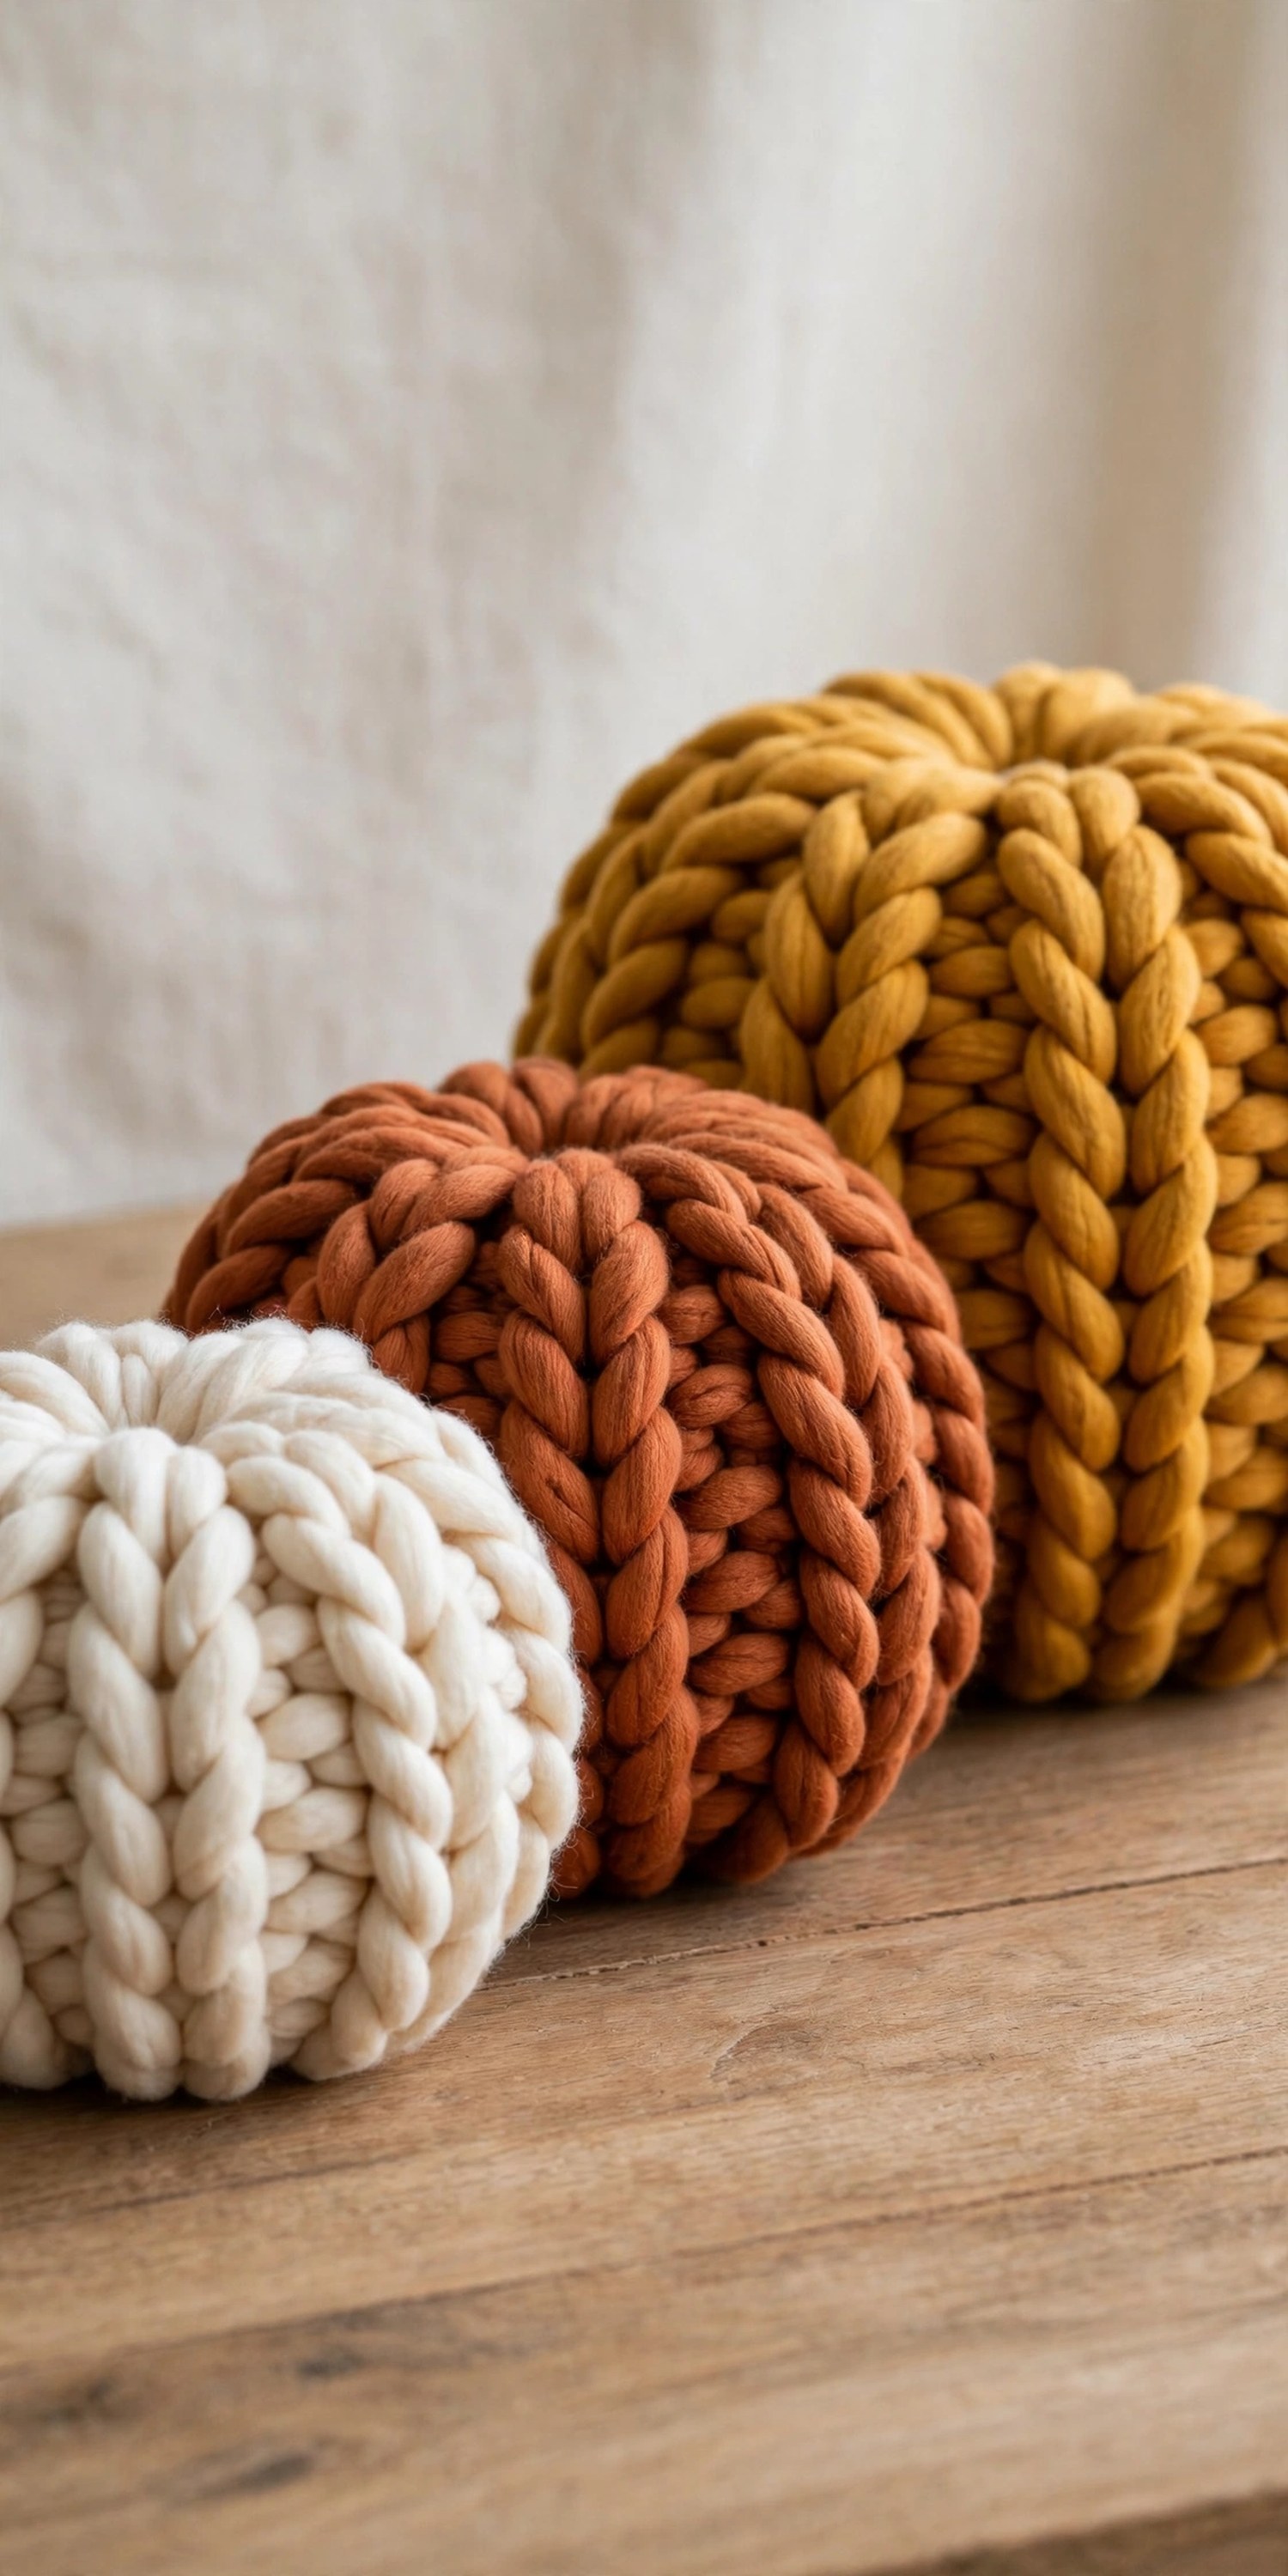
Tip: Use chunky yarn; it covers faster and the texture reads better from across the table.
9. Mod Podge Leaf Pumpkins
Real pressed leaves sealed onto pumpkins with Mod Podge create a decoupaged harvest pumpkin that looks like artisan pottery. It is delicate work but the result is stunning.
Press fall leaves in a book for a few days until flat. Brush Mod Podge onto a faux pumpkin, lay leaves in an overlapping pattern, and seal with two more thin coats. Work in small sections so the glue doesn’t dry before the leaf is placed. Faux pumpkins are essential here; the project keeps for years.
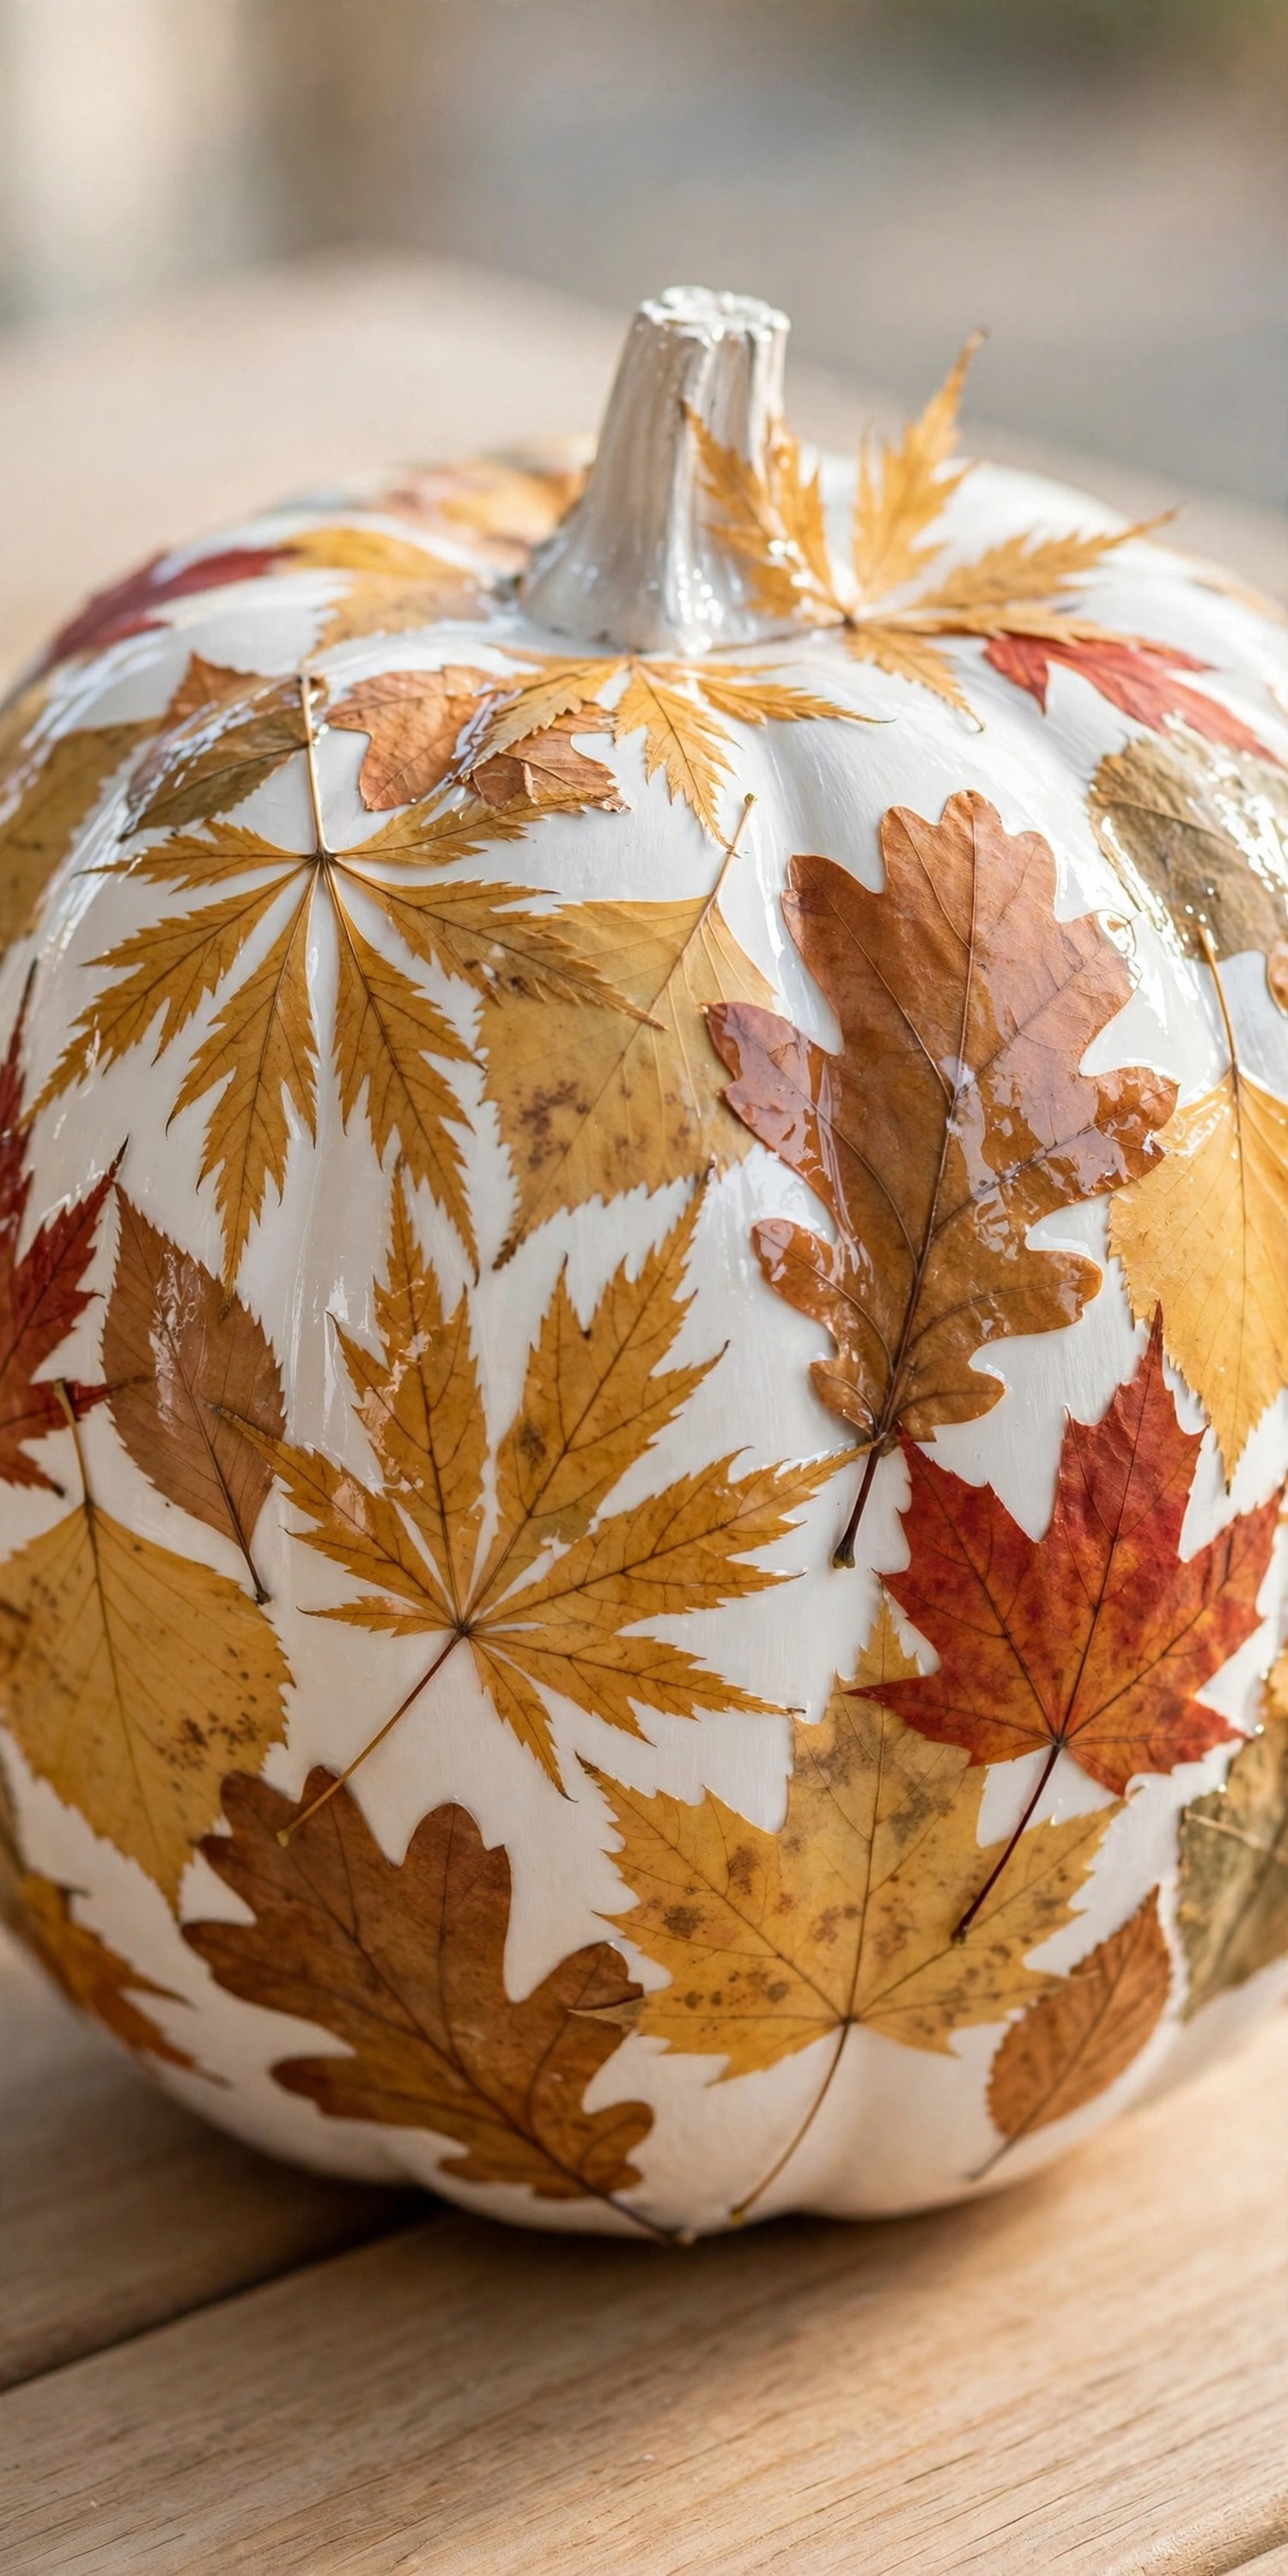
Tip: Tear leaves slightly at the edges rather than cutting; feathered edges disappear into the Mod Podge.
10. Acorn Hurricane Centerpiece
Fill a glass hurricane with acorns, set a pillar candle in the middle, and you have a glowing acorn lantern in under five minutes. It is almost embarrassingly simple for how good it looks.
Pour acorns around a flameless pillar candle inside a clear hurricane vase, filling to about two-thirds. The candlelight shining through the glass and acorns gives a warm amber glow. Collect acorns in fall and store dry; one large oak tree yields enough for a whole table.
| Vase | Filler | Light |
|---|---|---|
| Hurricane | Acorns | Flameless pillar |
| Apothecary jar | Cranberries | Tea lights |
| Wide bowl | Mini pumpkins | Floating candles |
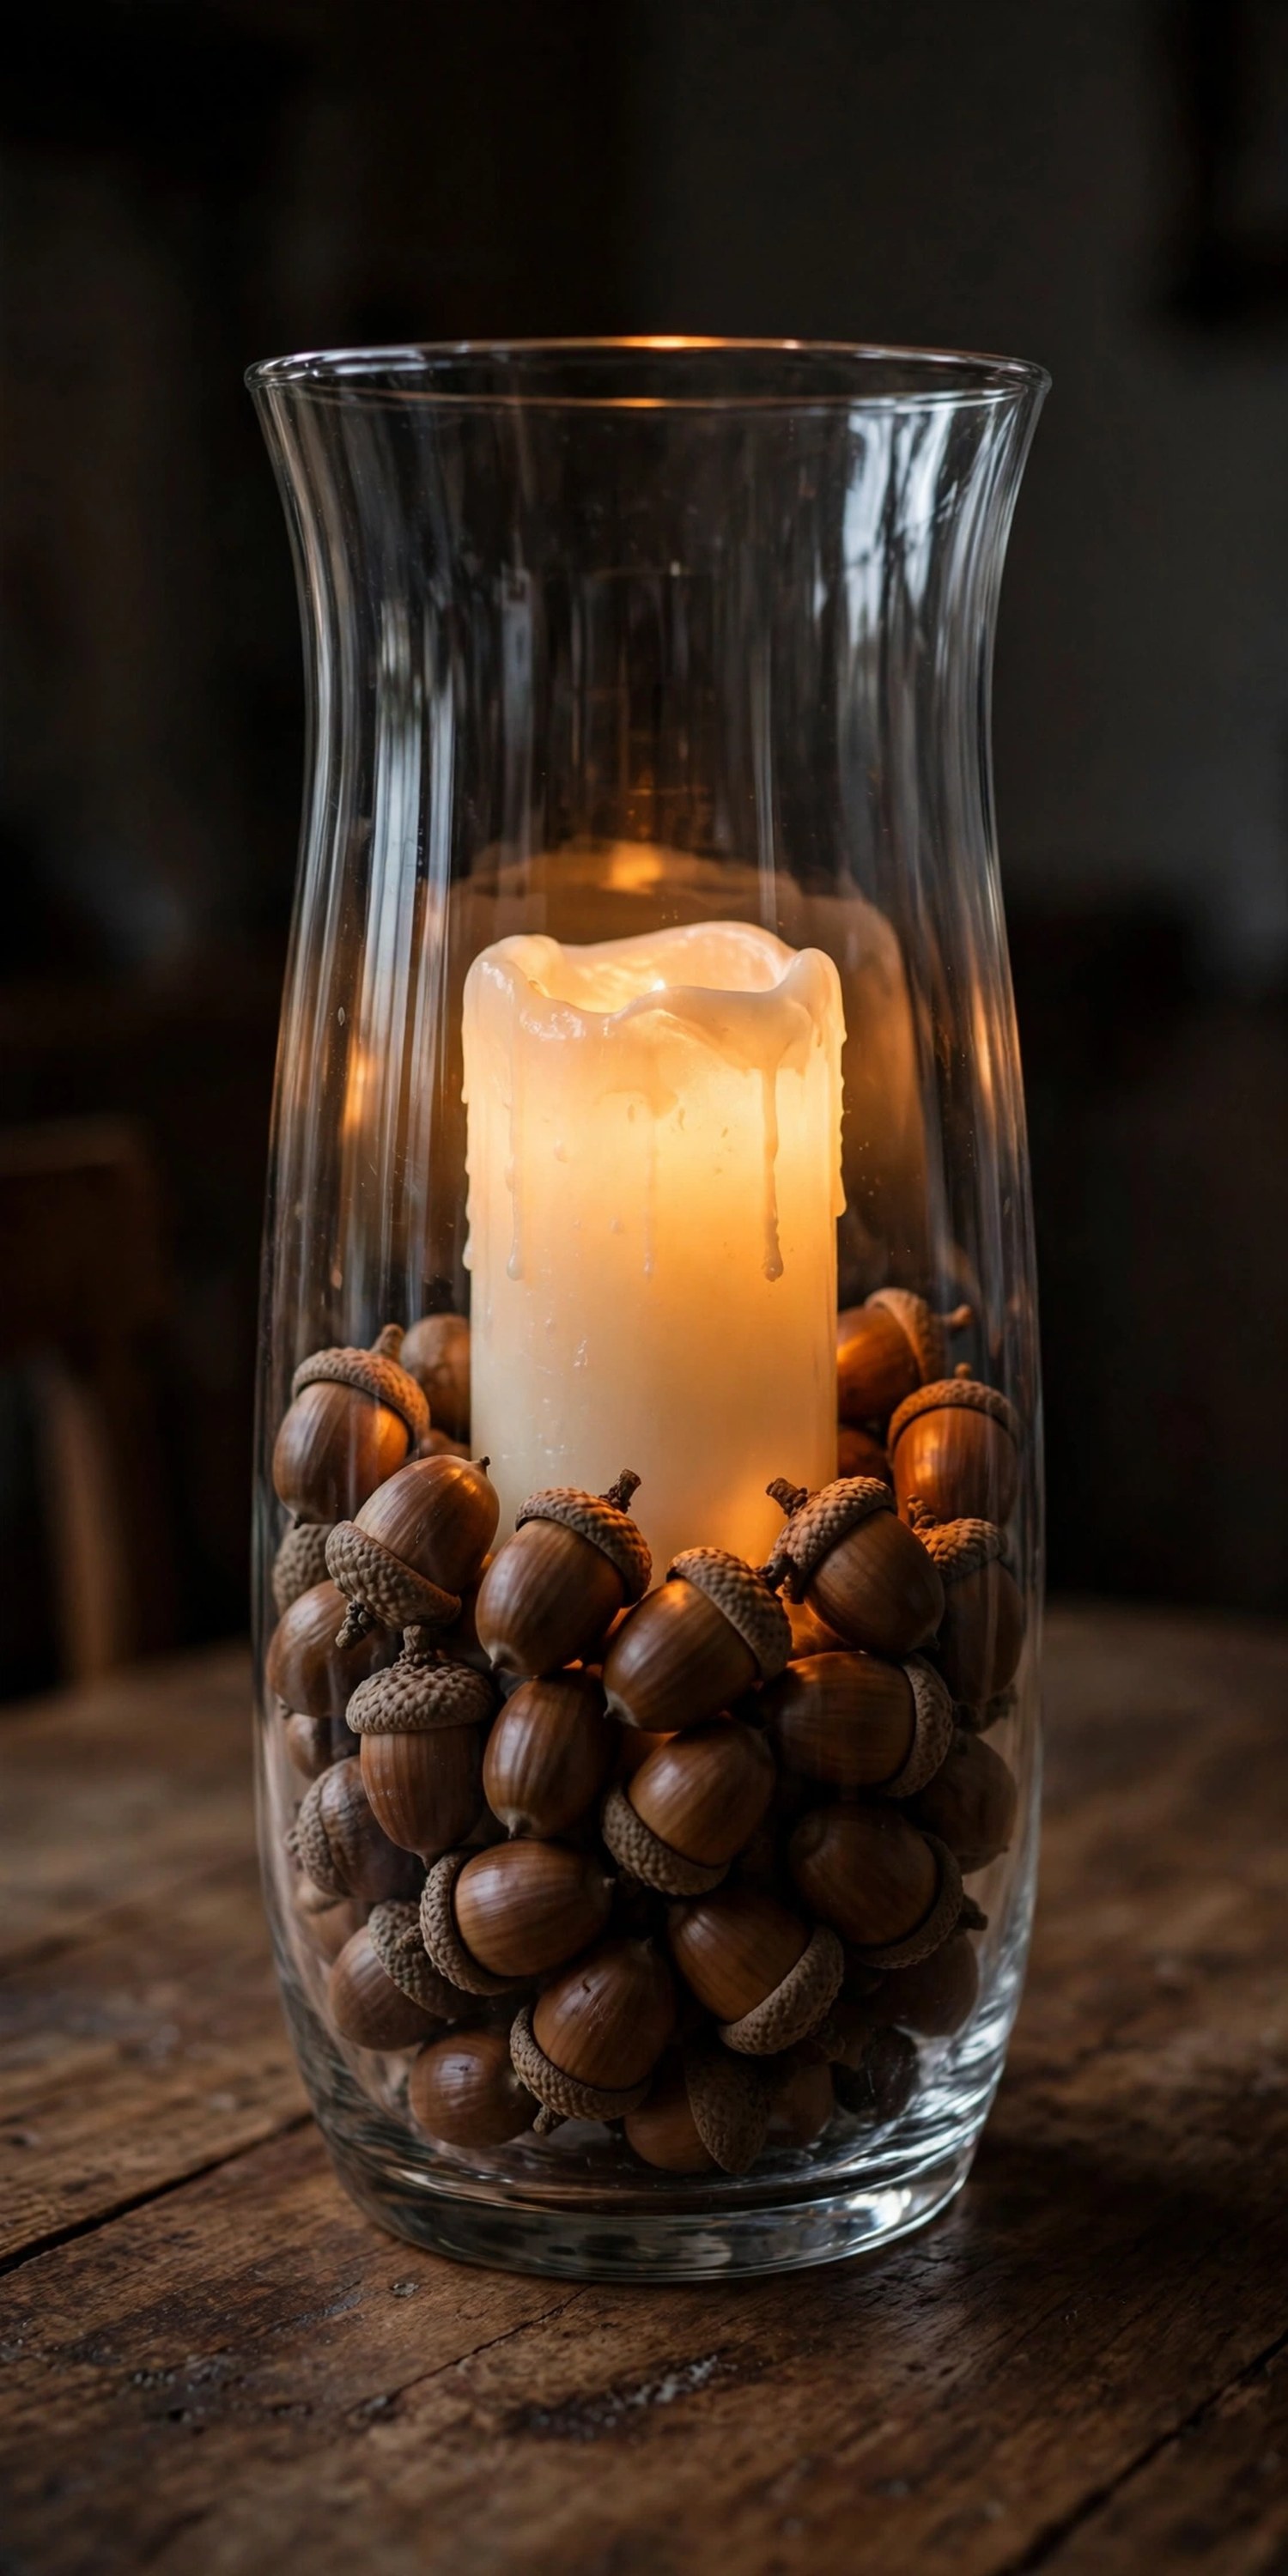
Tip: Rinse acorns and dry completely before use; damp acorns can mold inside closed glass.
11. Mod Podge Leaf Bowl
Balloon, leaves, Mod Podge: that’s the whole recipe for a delicate leaf bowl that holds potpourri, wrapped candies, or nothing at all. It looks like blown glass made of autumn.
Inflate a balloon to bowl size and brush the top half with Mod Podge. Press fall leaves on in overlapping layers, brushing more glue over each. Add three full layers, let dry overnight, then pop and remove the balloon. The result is fragile, so use it for light contents only.
The most delicate-looking projects are often the simplest to make.
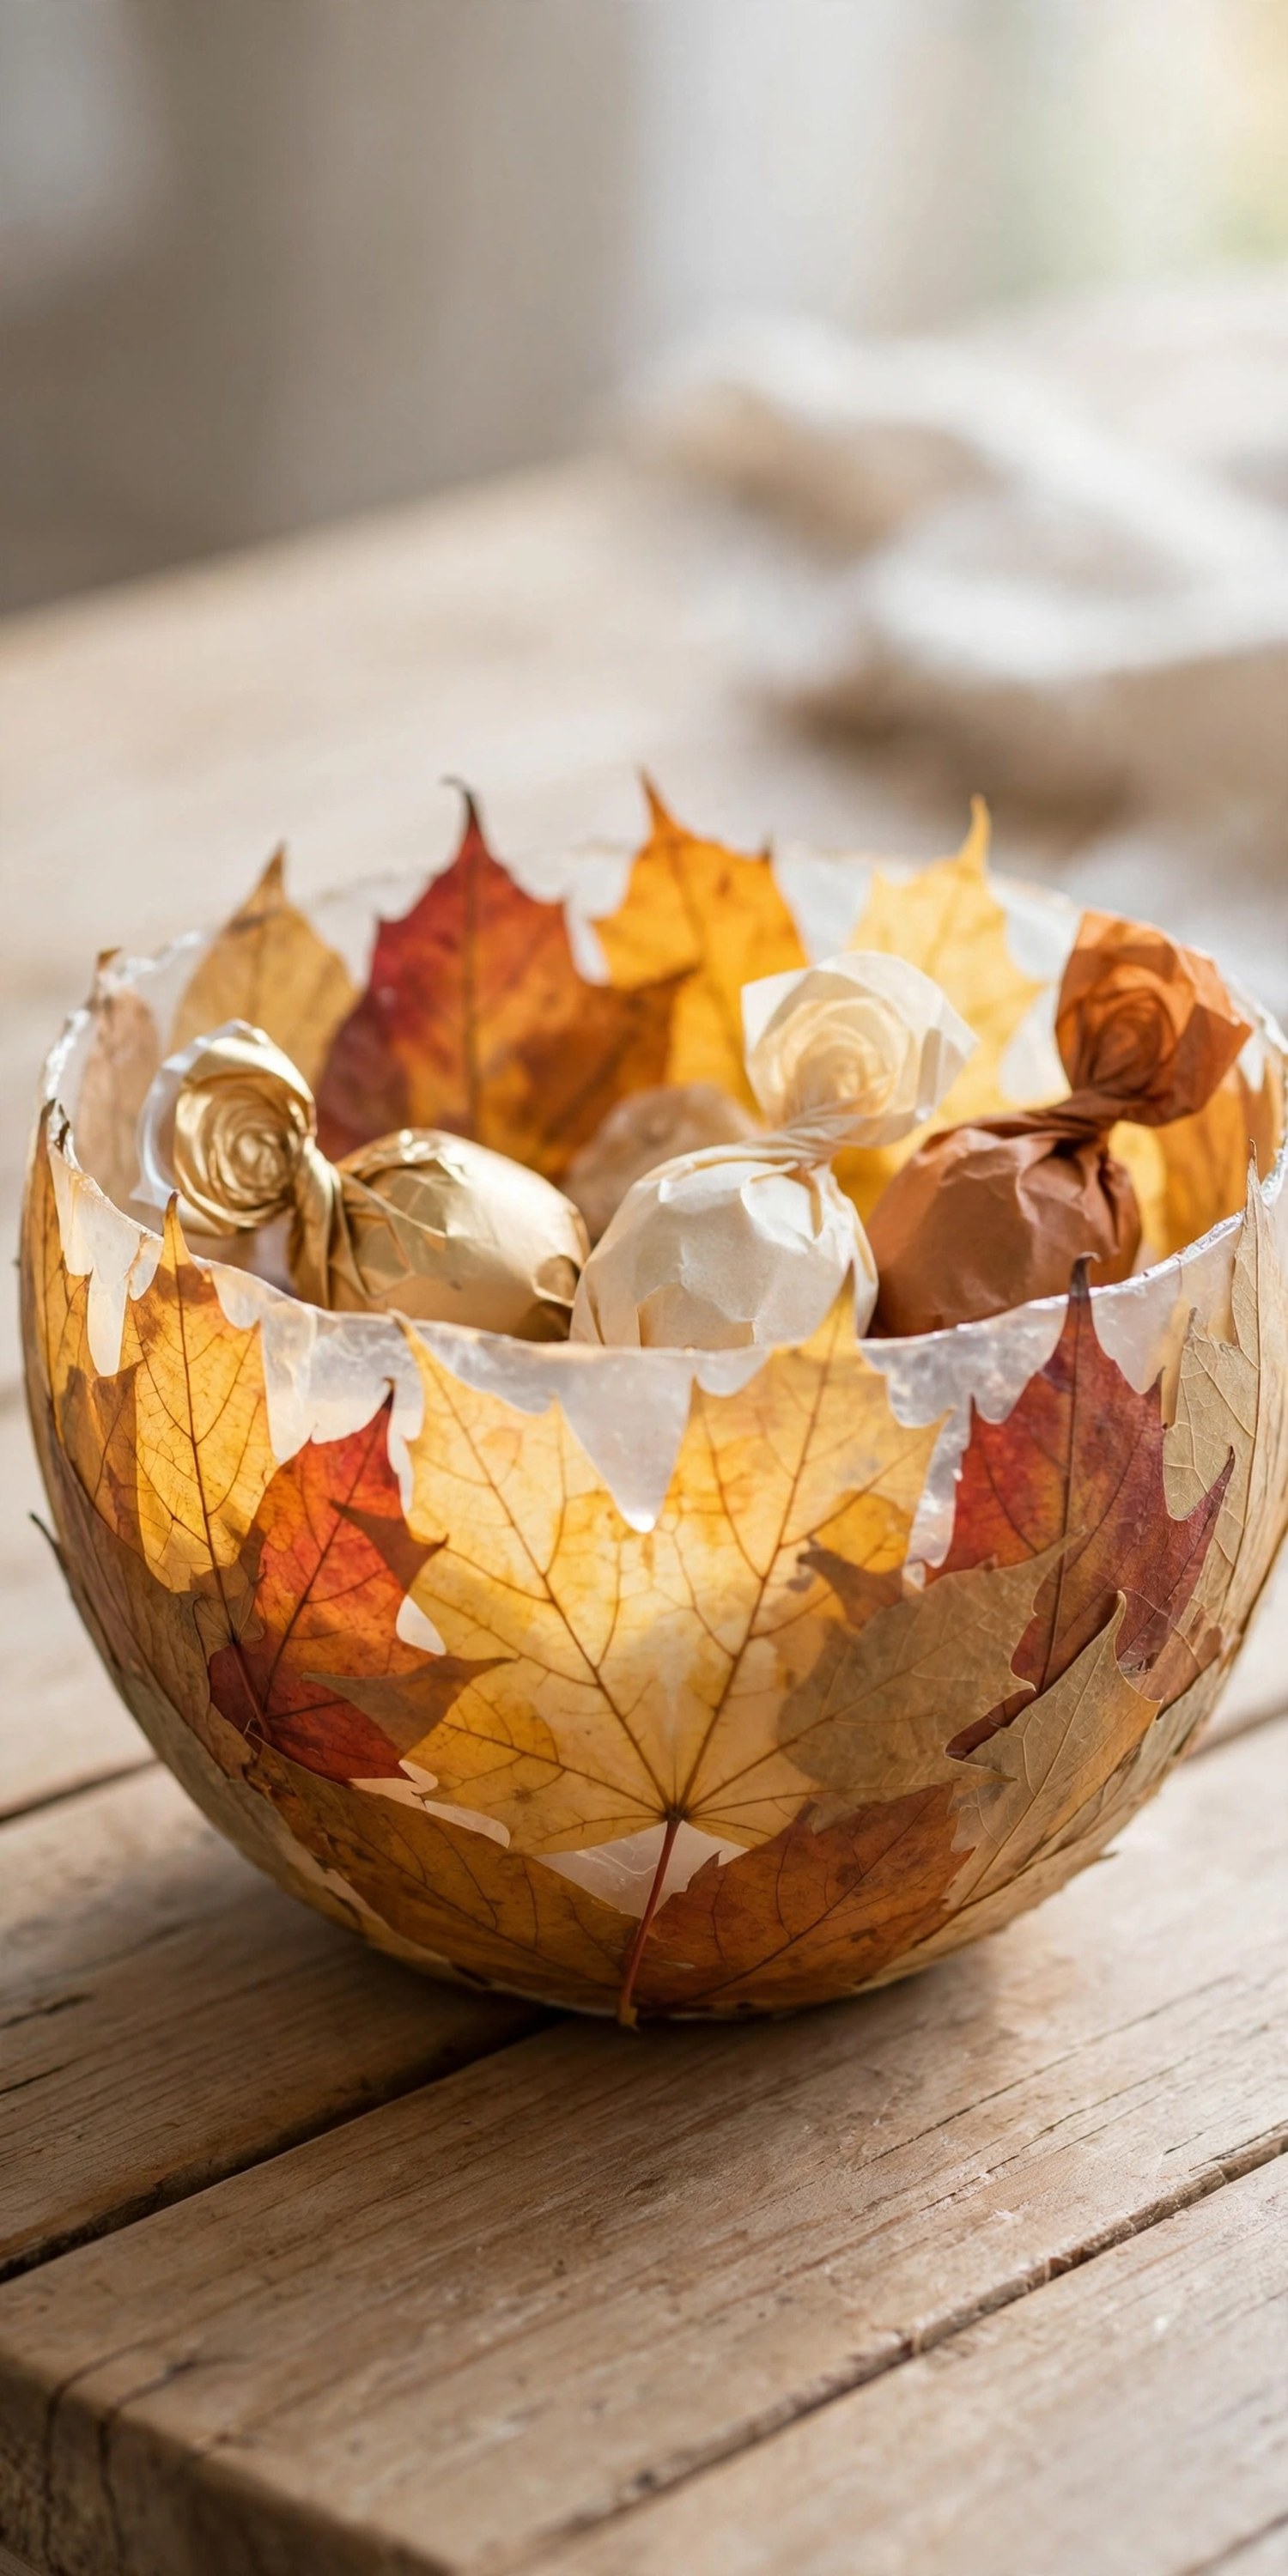
Tip: Coat the balloon with cooking spray first; the dried leaves release much more easily.
12. Wood Slice Candle Risers
Cross-sections of a fallen branch become rustic candle risers that lift ordinary pillars into a styled arrangement. Nature made the pedestals; you just add candles.
Cut or buy wood slices in graduated sizes, sand the tops smooth, and seal with clear matte sealer. Stack two slices for extra height variation, then top with pillar candles in cream or deep red. Scatter pinecones and leaves around the bases. A set of three risers anchors a long table beautifully.

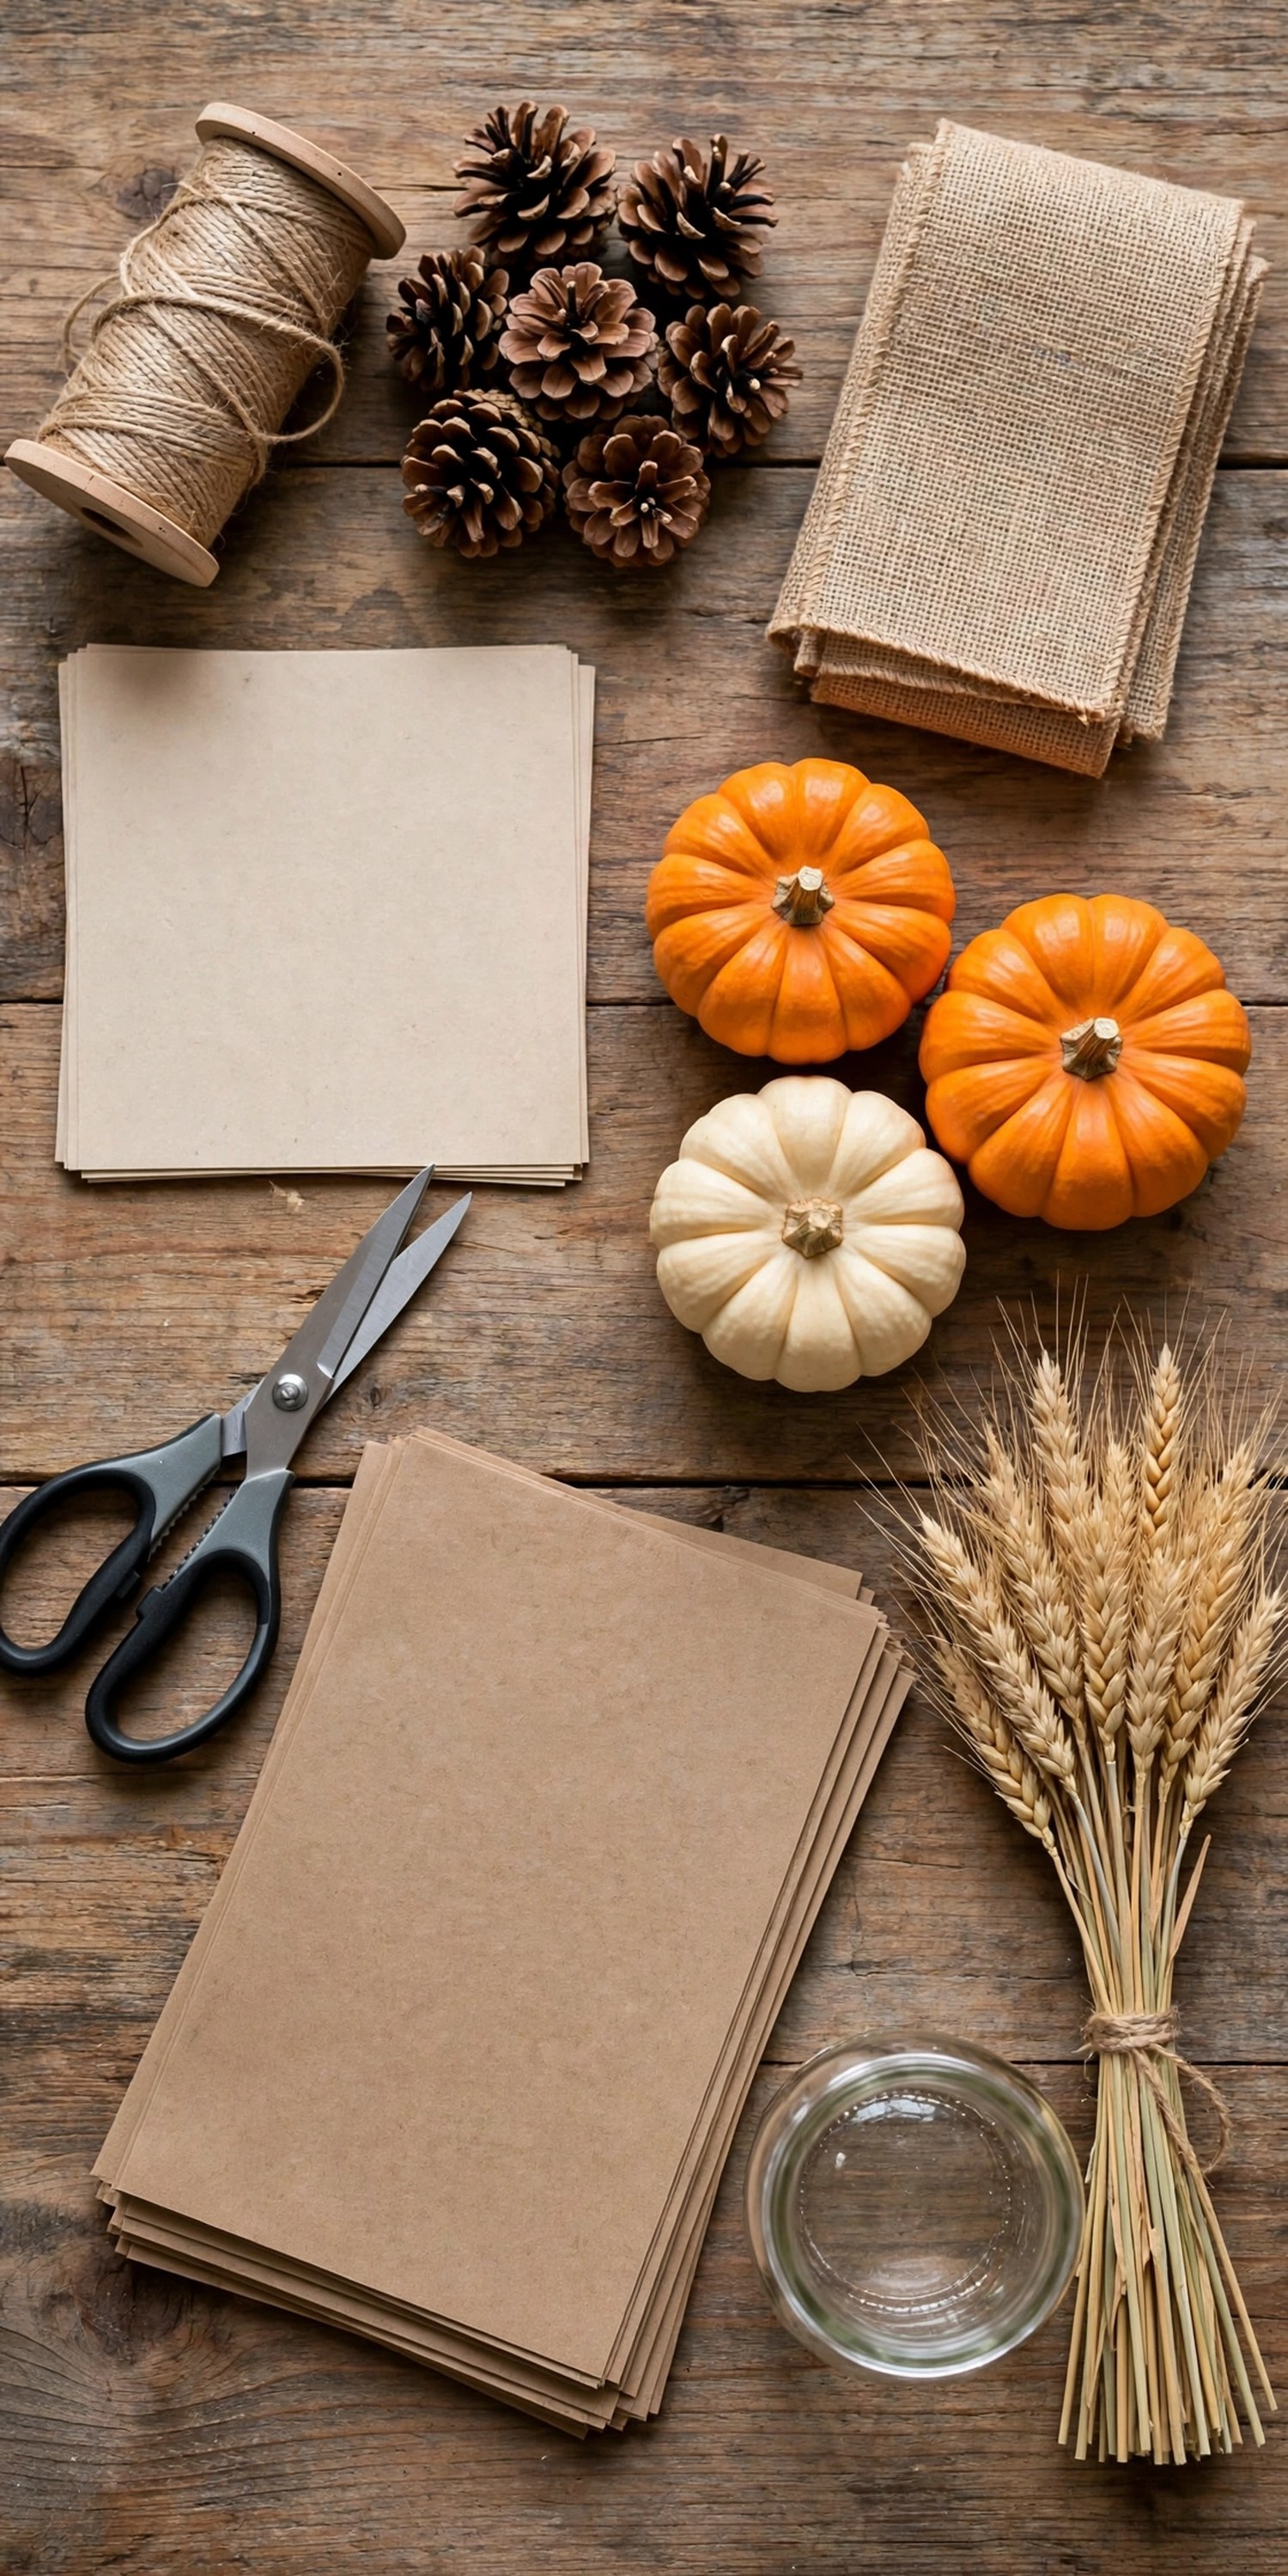
Tip: Put adhesive felt pads under each slice; they protect the table and stop sliding.
13. Floating Cranberry Candle Bowl
Water, cranberries, floating candles: a glowing cranberry bowl takes three minutes and looks like you hired someone. The red berries suspended in water catch candlelight in a way nothing else does.
Fill a wide, shallow glass bowl two-thirds with water, scatter a few handfuls of fresh cranberries, and float two or three tea-light candles on top. Add a sprig of rosemary for scent and green contrast. Refresh the water the morning of so it stays crystal clear.
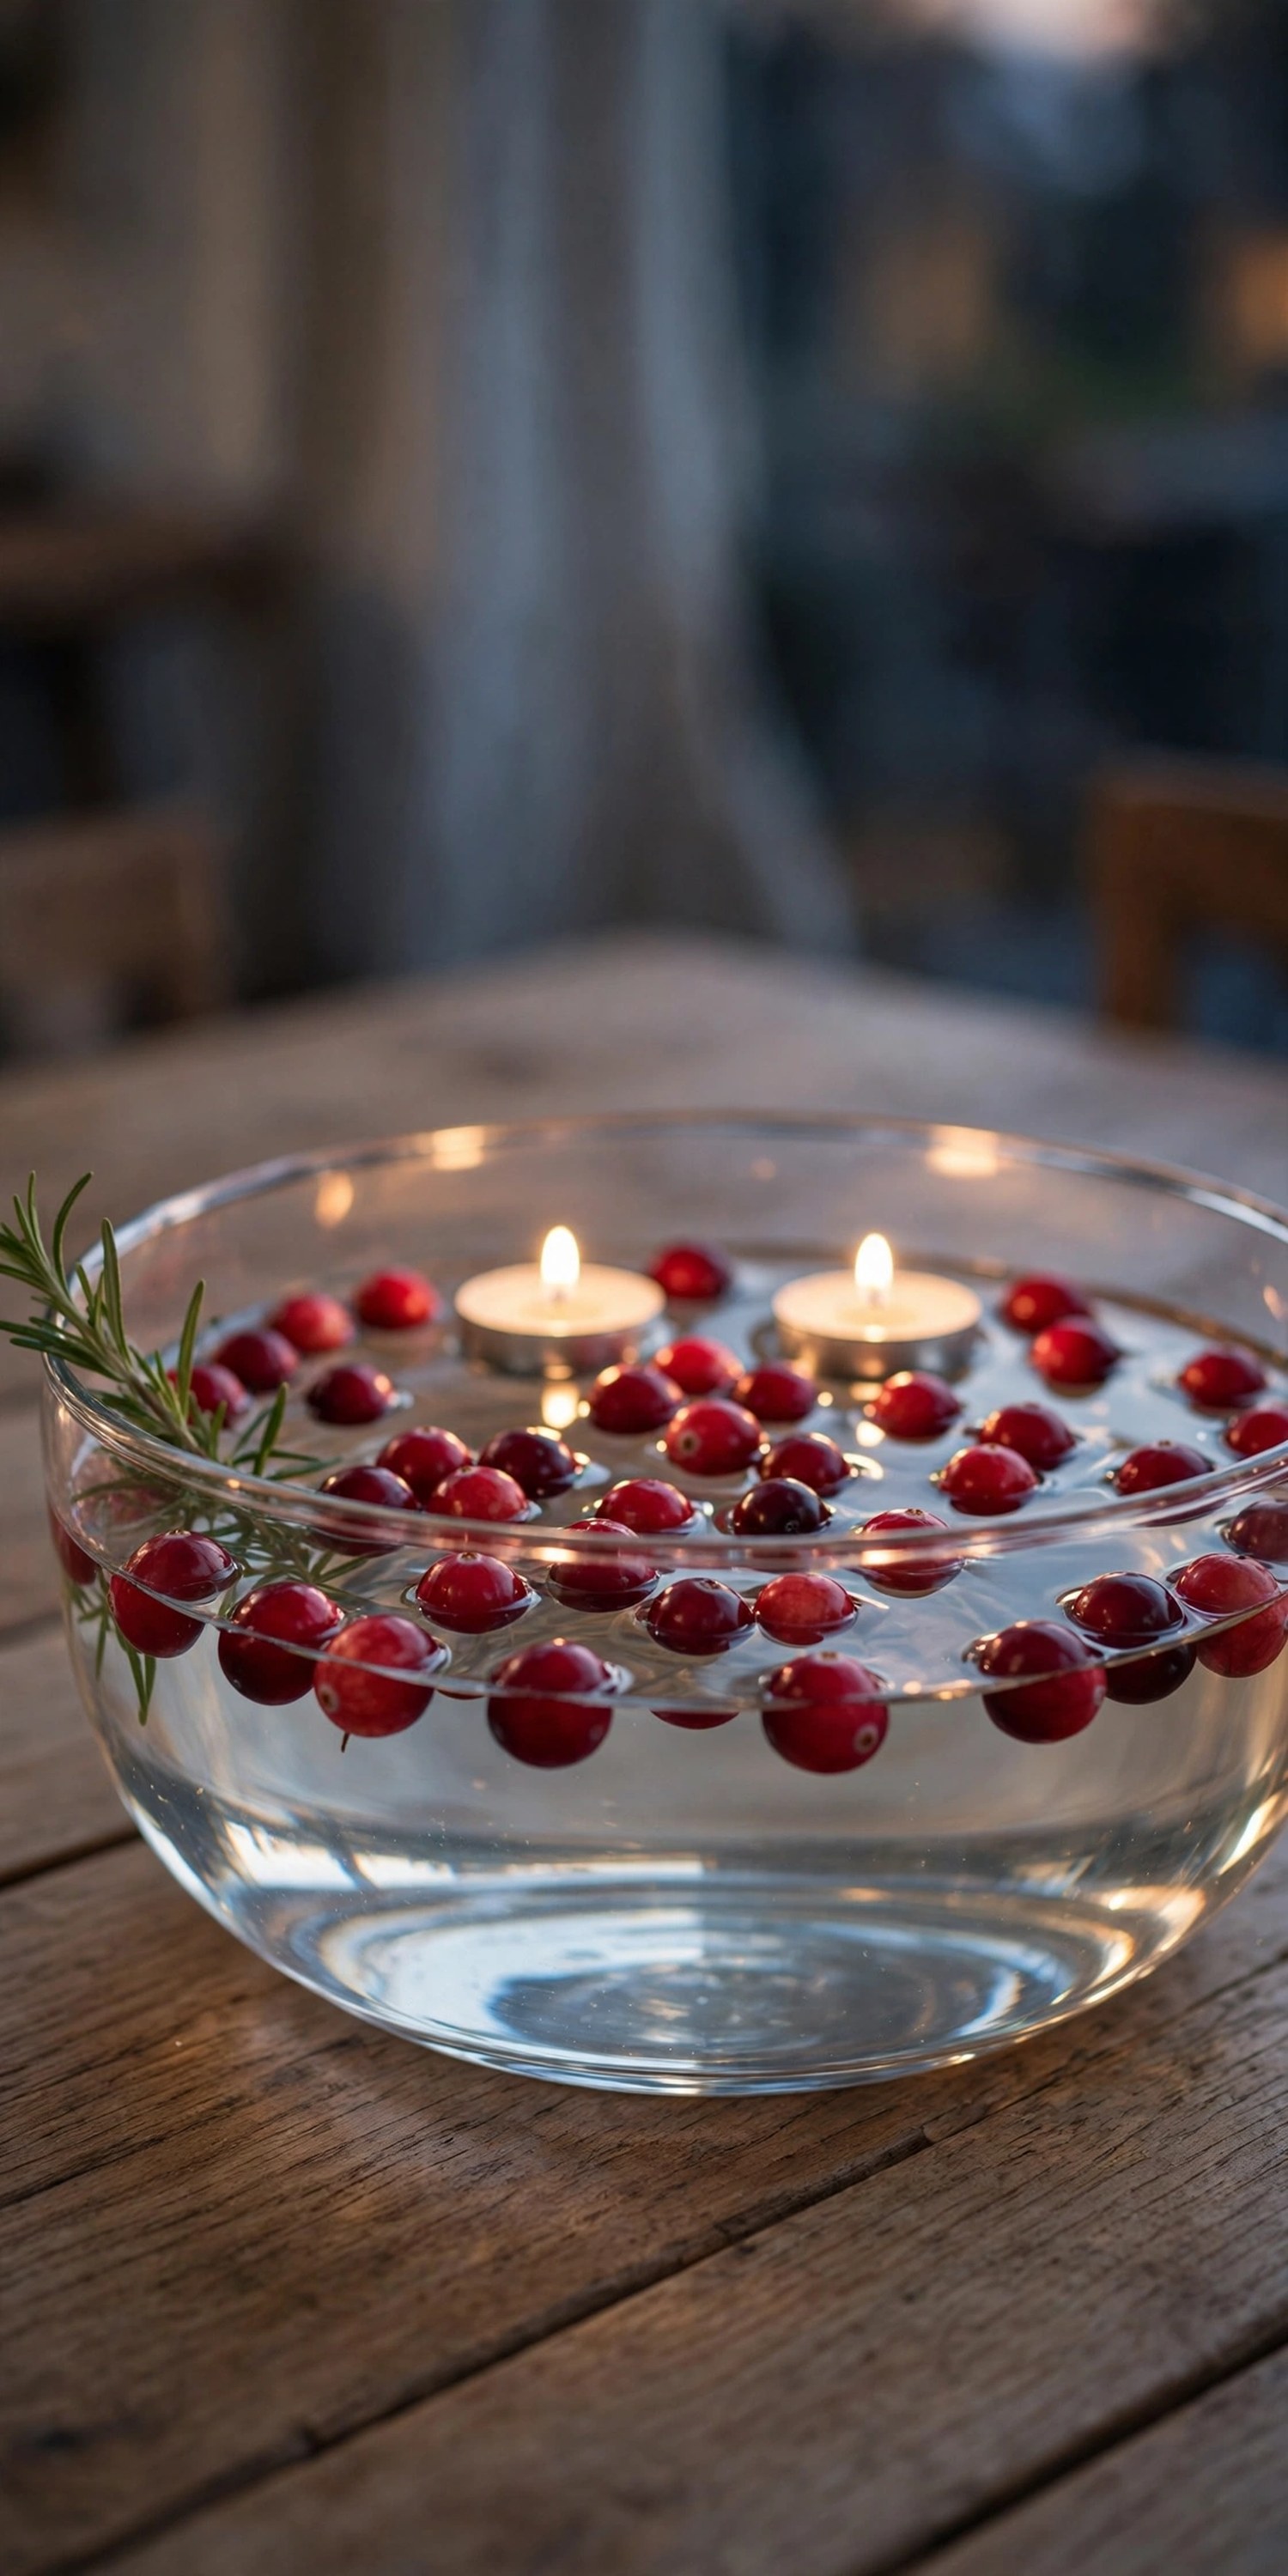
Tip: Freeze a few cranberries first; they keep the water cold and the berries fresh longer.
14. Wheat Sheaf in a Pitcher
A tall bundle of dried wheat in a ceramic pitcher is sculpture for the table: golden, architectural, and nearly free. It brings height without blocking faces if you keep it to one end.
Gather twenty to thirty stems, trim to even length, and tie with twine. Stand the sheaf in a tall pitcher or crock, fanning the tops slightly. Place it off-center on a long table or as the single centerpiece on a round one. A light mist of hairspray stops shedding.
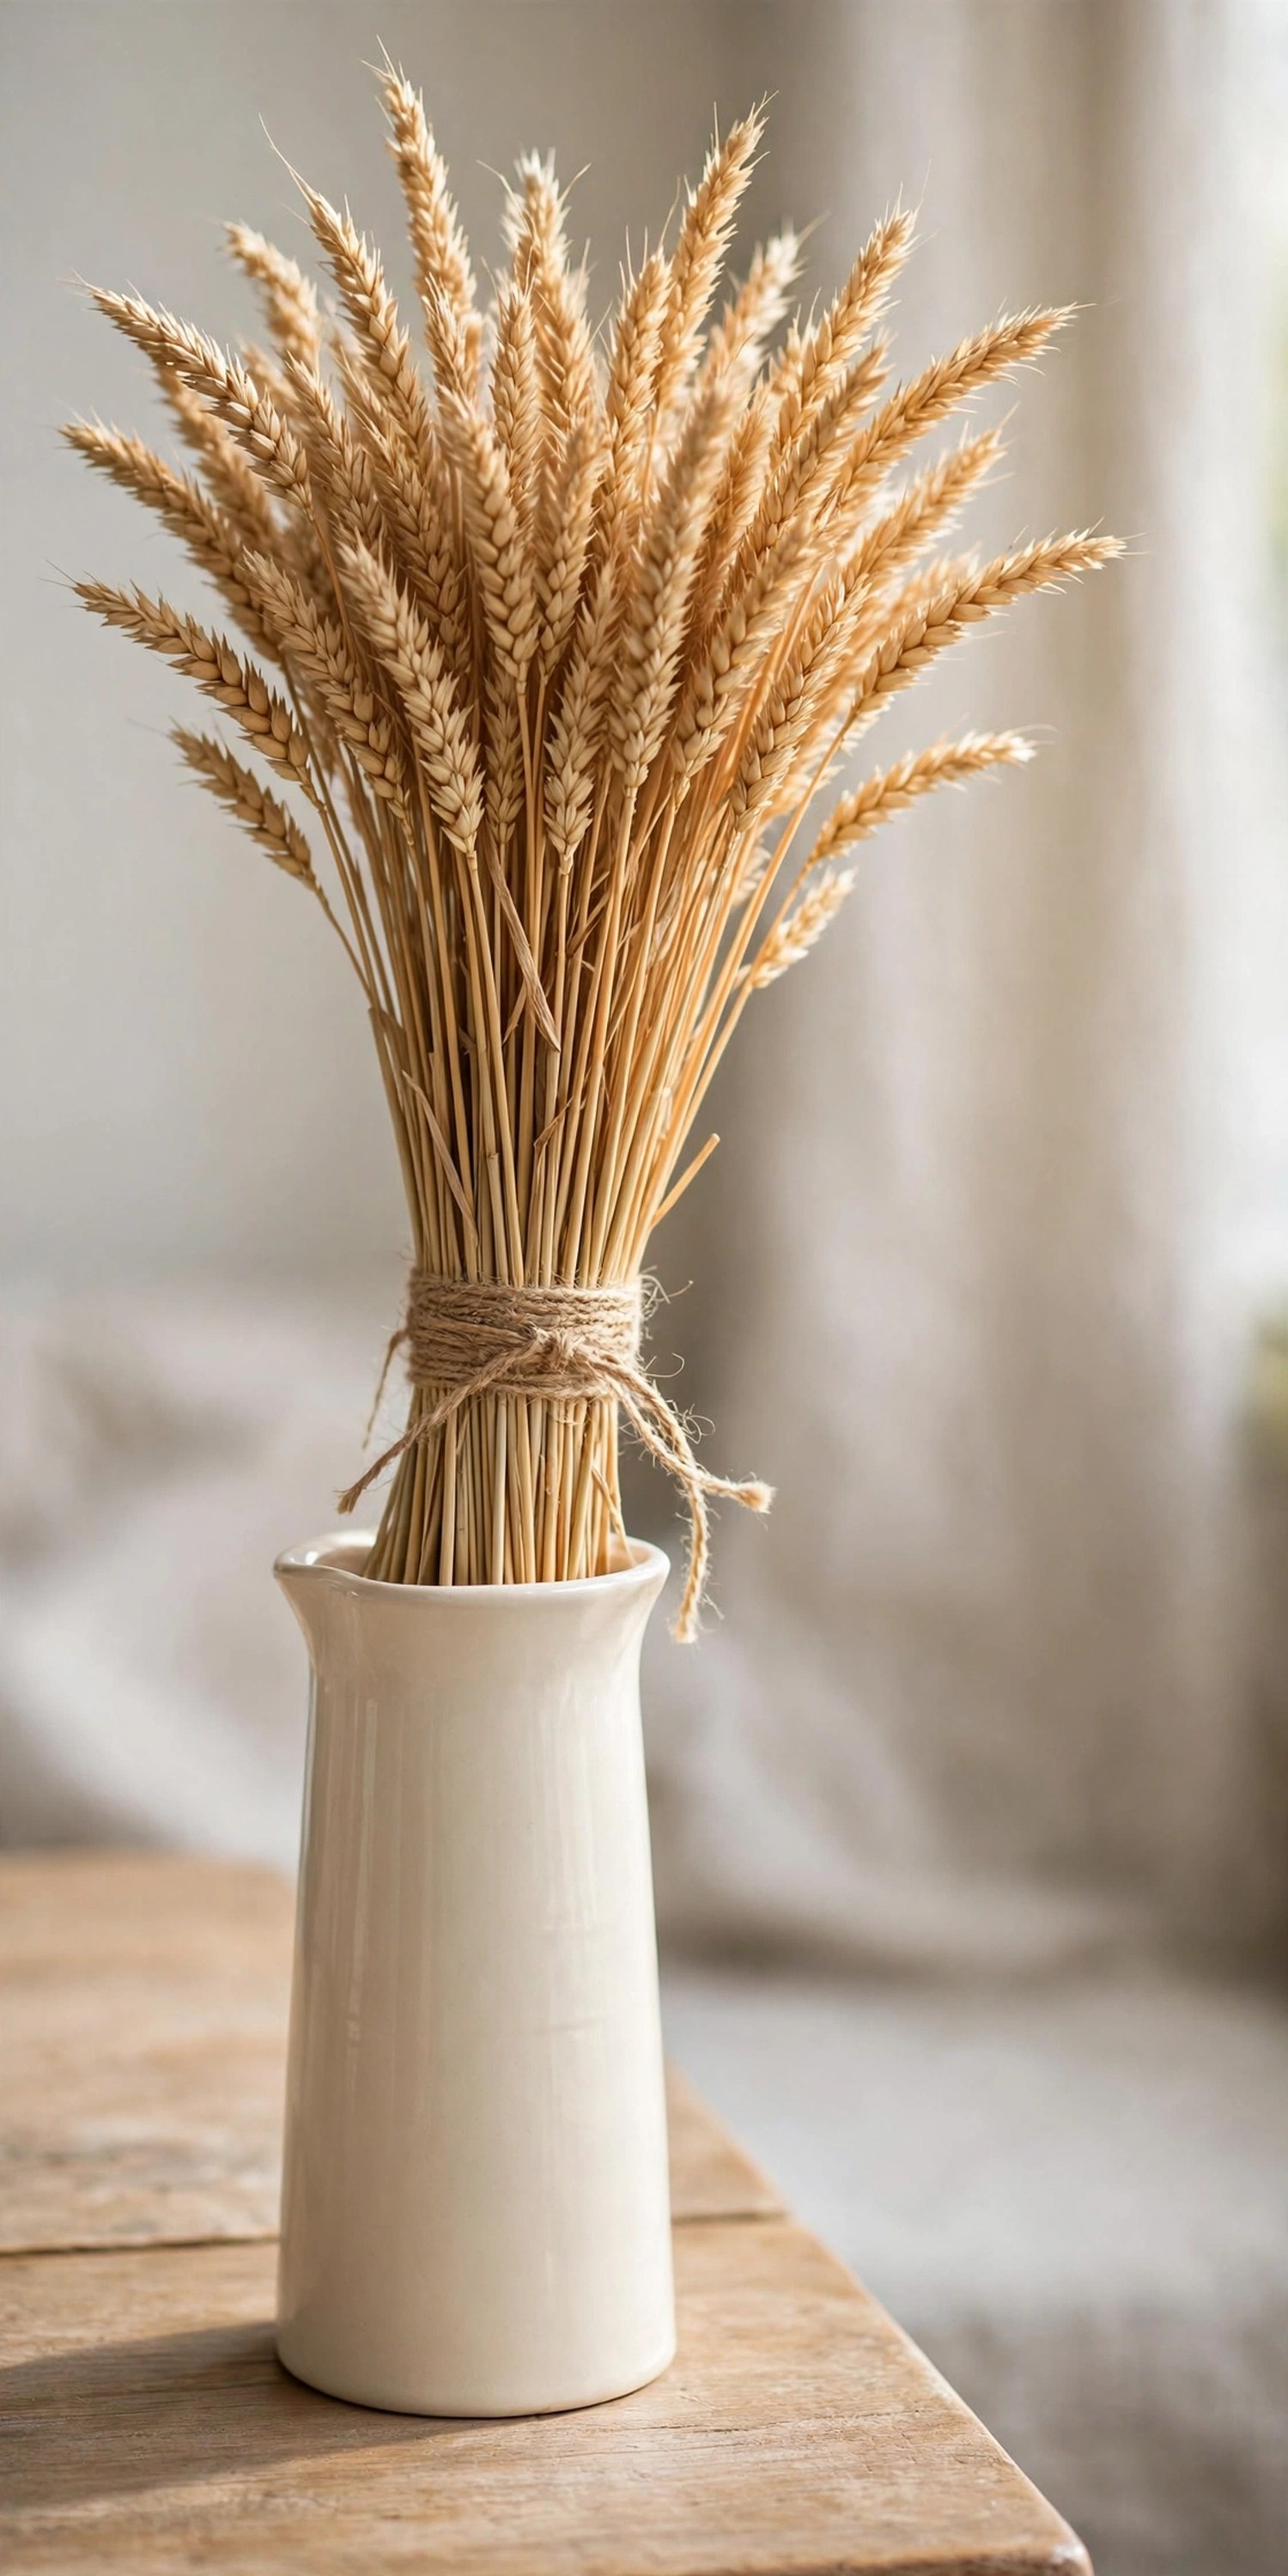
Tip: Buy wheat from a farmers’ market rather than the craft store; the stems are longer and fuller.
15. Stacked Apple Tower
Apples aren’t just for pie. A stacked apple tower on a cake stand makes a glossy, jewel-toned centerpiece guests can pick from all evening.
Choose firm apples in mixed colors: Honeycrisp red, Granny Smith green, Golden Delicious yellow. Stack the largest on a cake stand base, building upward and tucking fall leaves between layers for stability and color. A dab of museum putty between apples keeps the tower steady.
Edible centerpieces never go to waste, which is their own kind of beautiful.
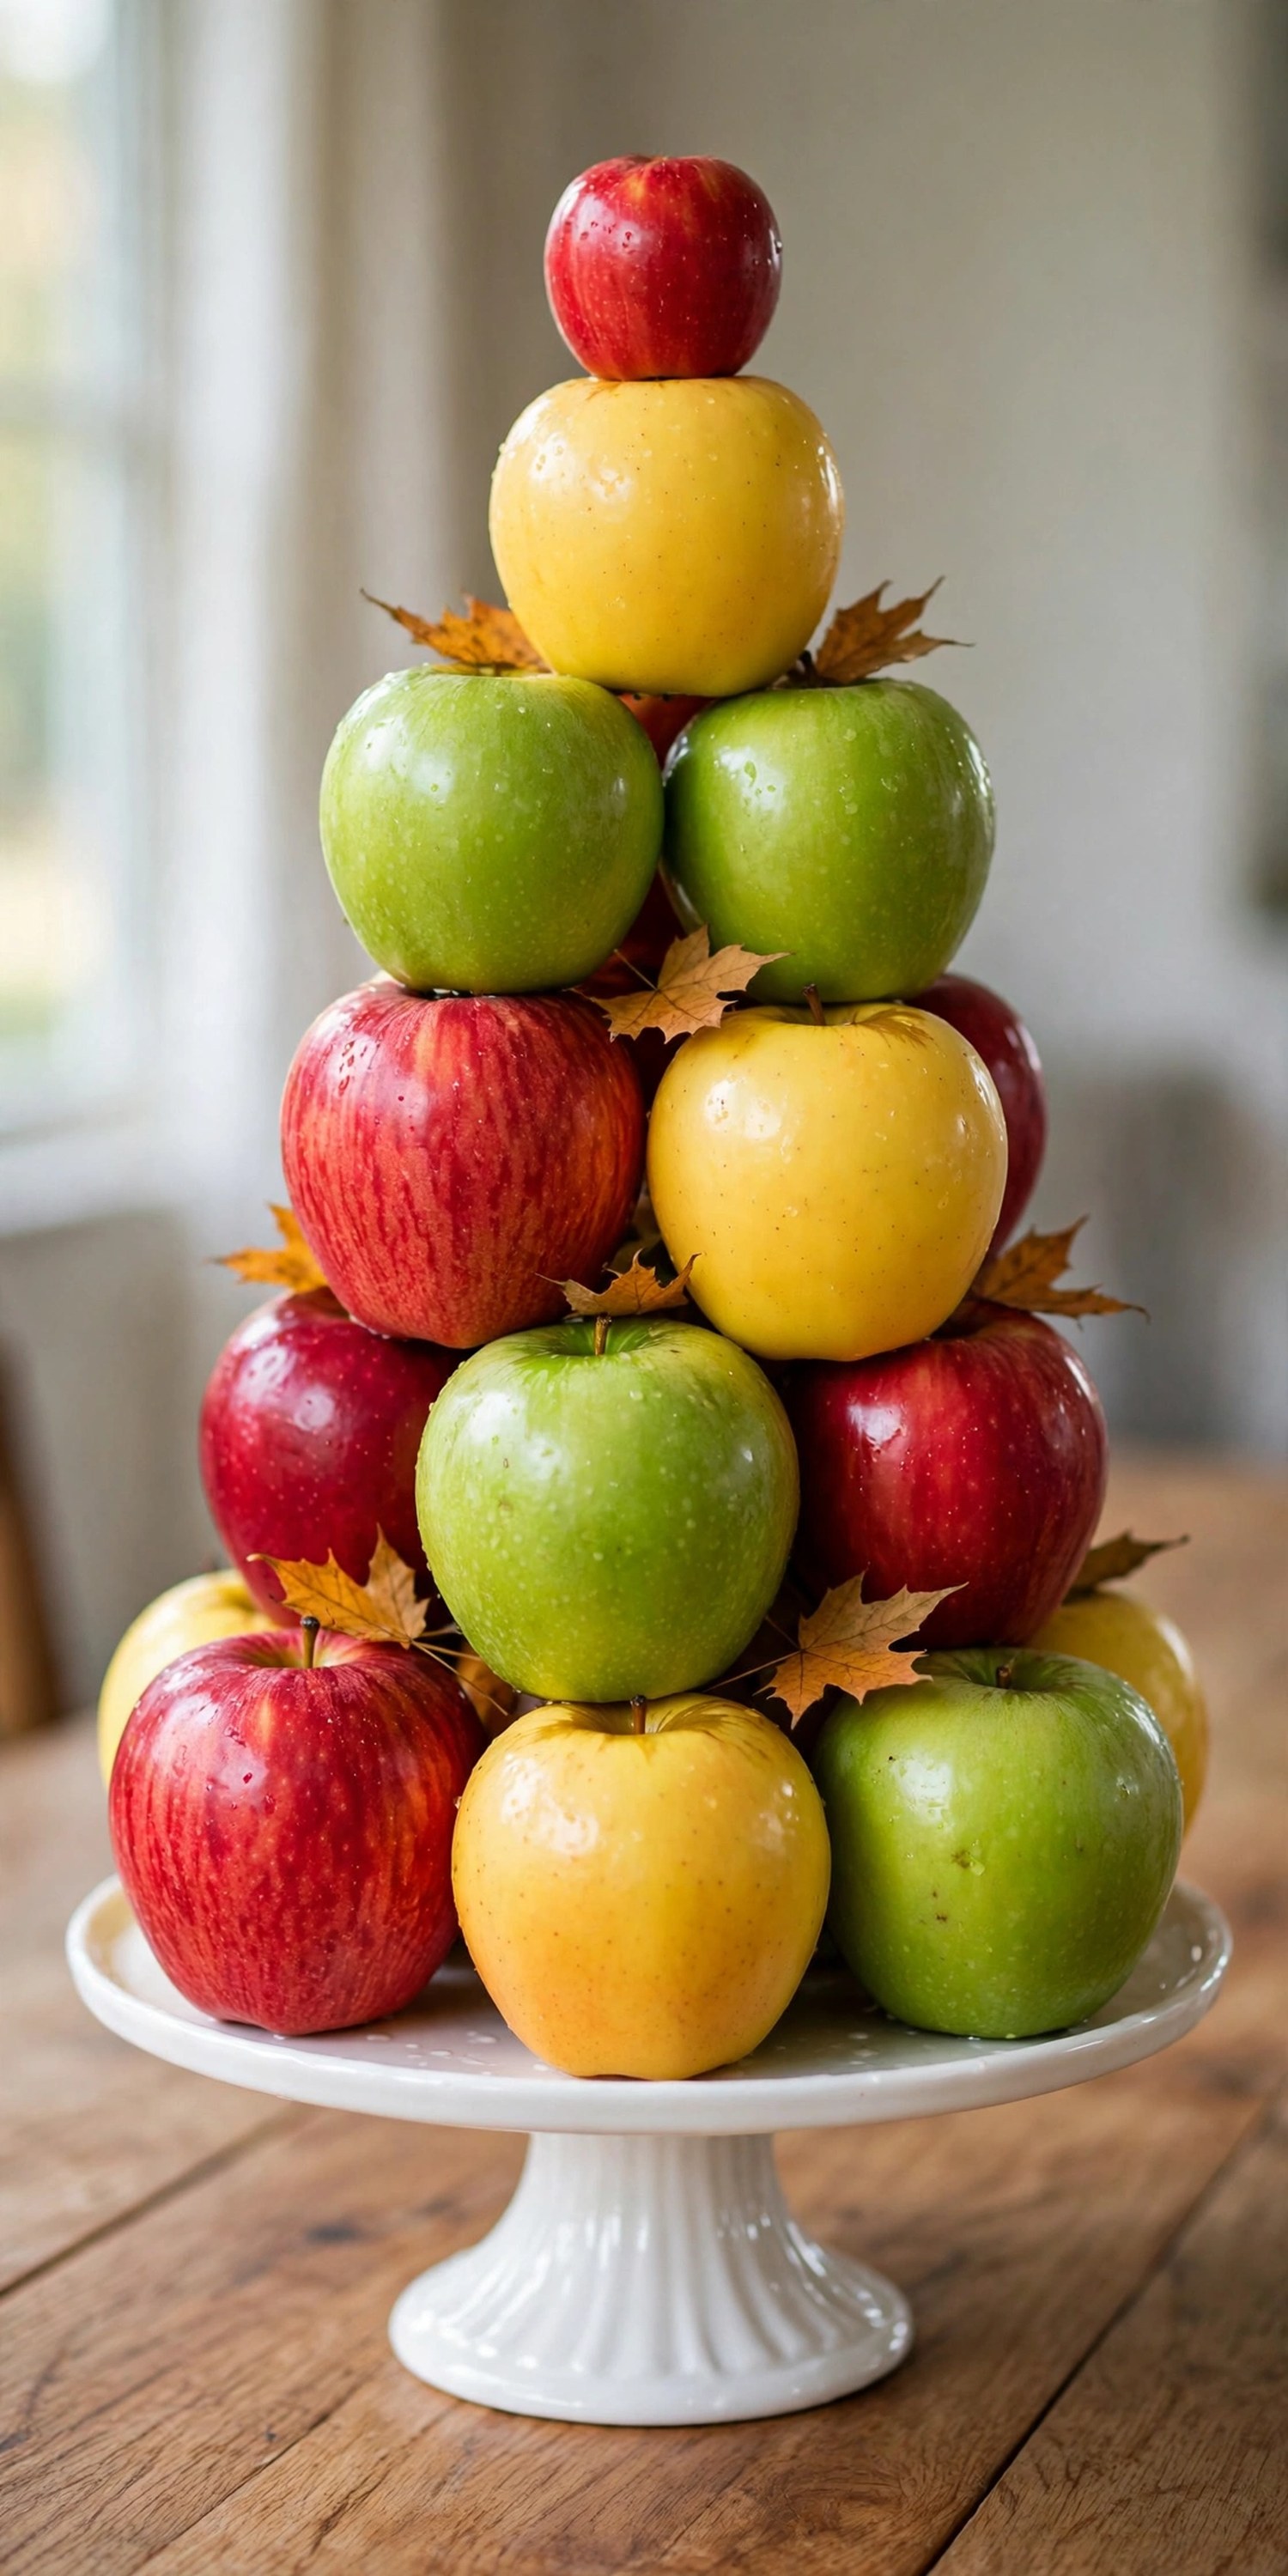
Tip: Rub apples with a soft cloth before stacking; the shine makes the whole tower glow.
16. Pinecone and Fairy Light Cloche
A glass cloche over pinecones and fairy lights creates a glowing terrarium of fall. It is dramatic after dark and takes five minutes to assemble.
Pile pinecones and a coiled string of warm-white fairy lights on a wood slice or cake stand, then lower the cloche over the top. Tuck the battery pack discreetly behind the arrangement. The glass magnifies the glow and keeps little hands away from the lights.
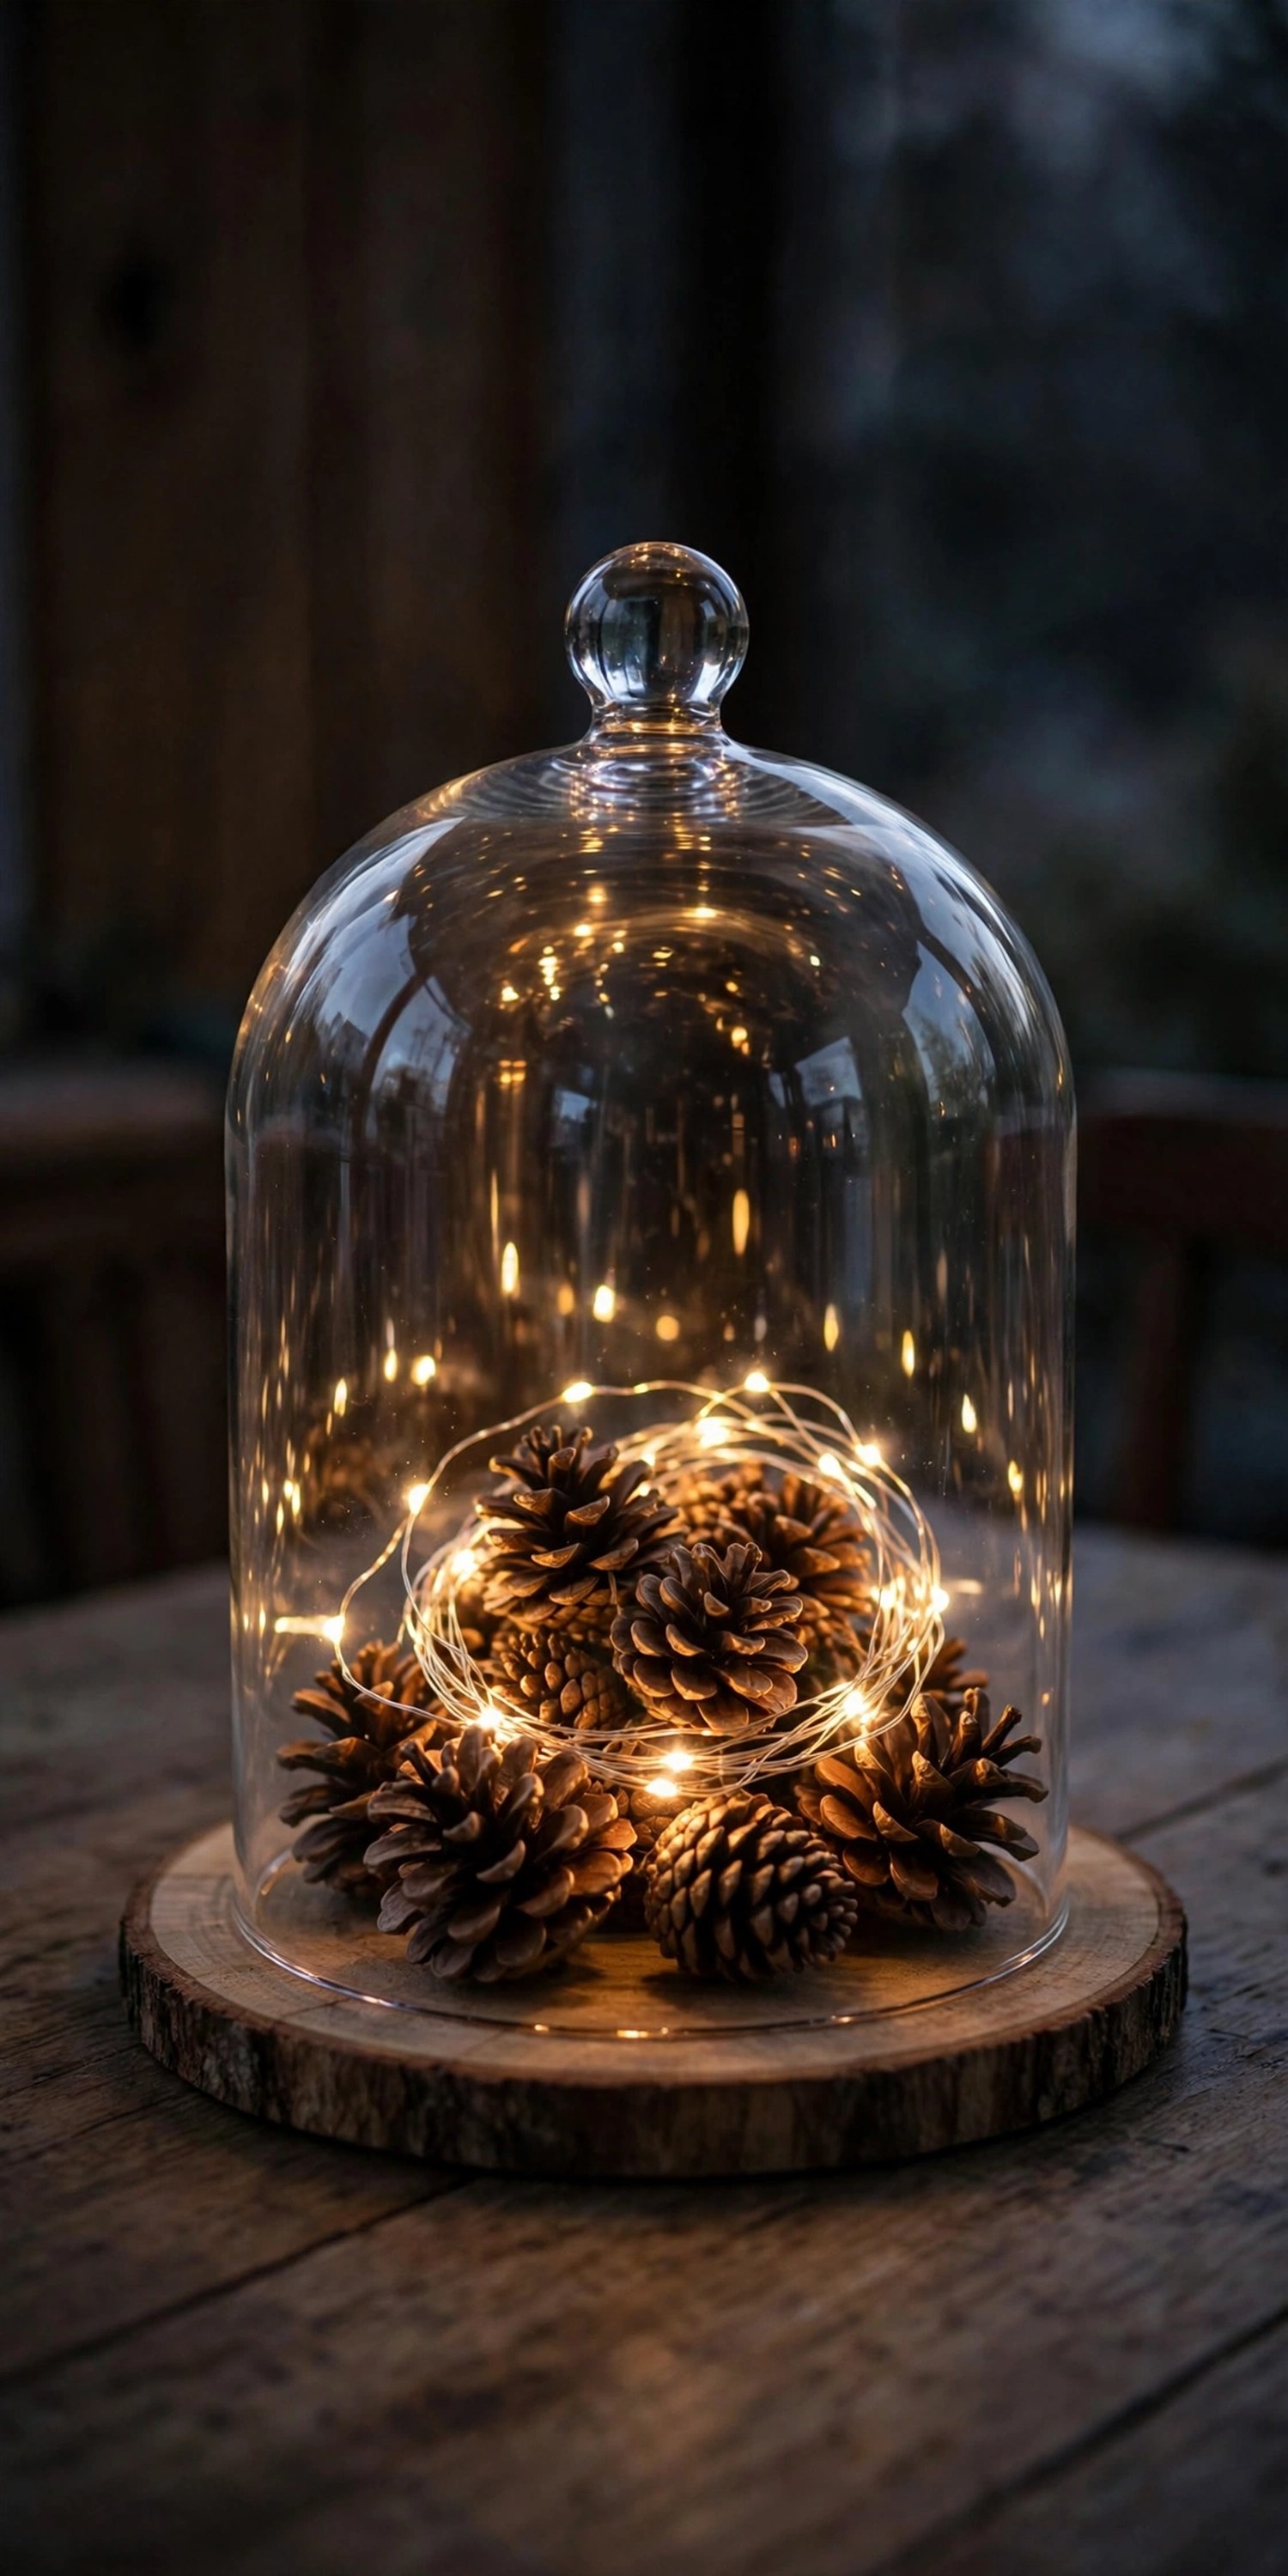
Tip: Use lights with a built-in timer so the cloche glows every evening without you touching it.
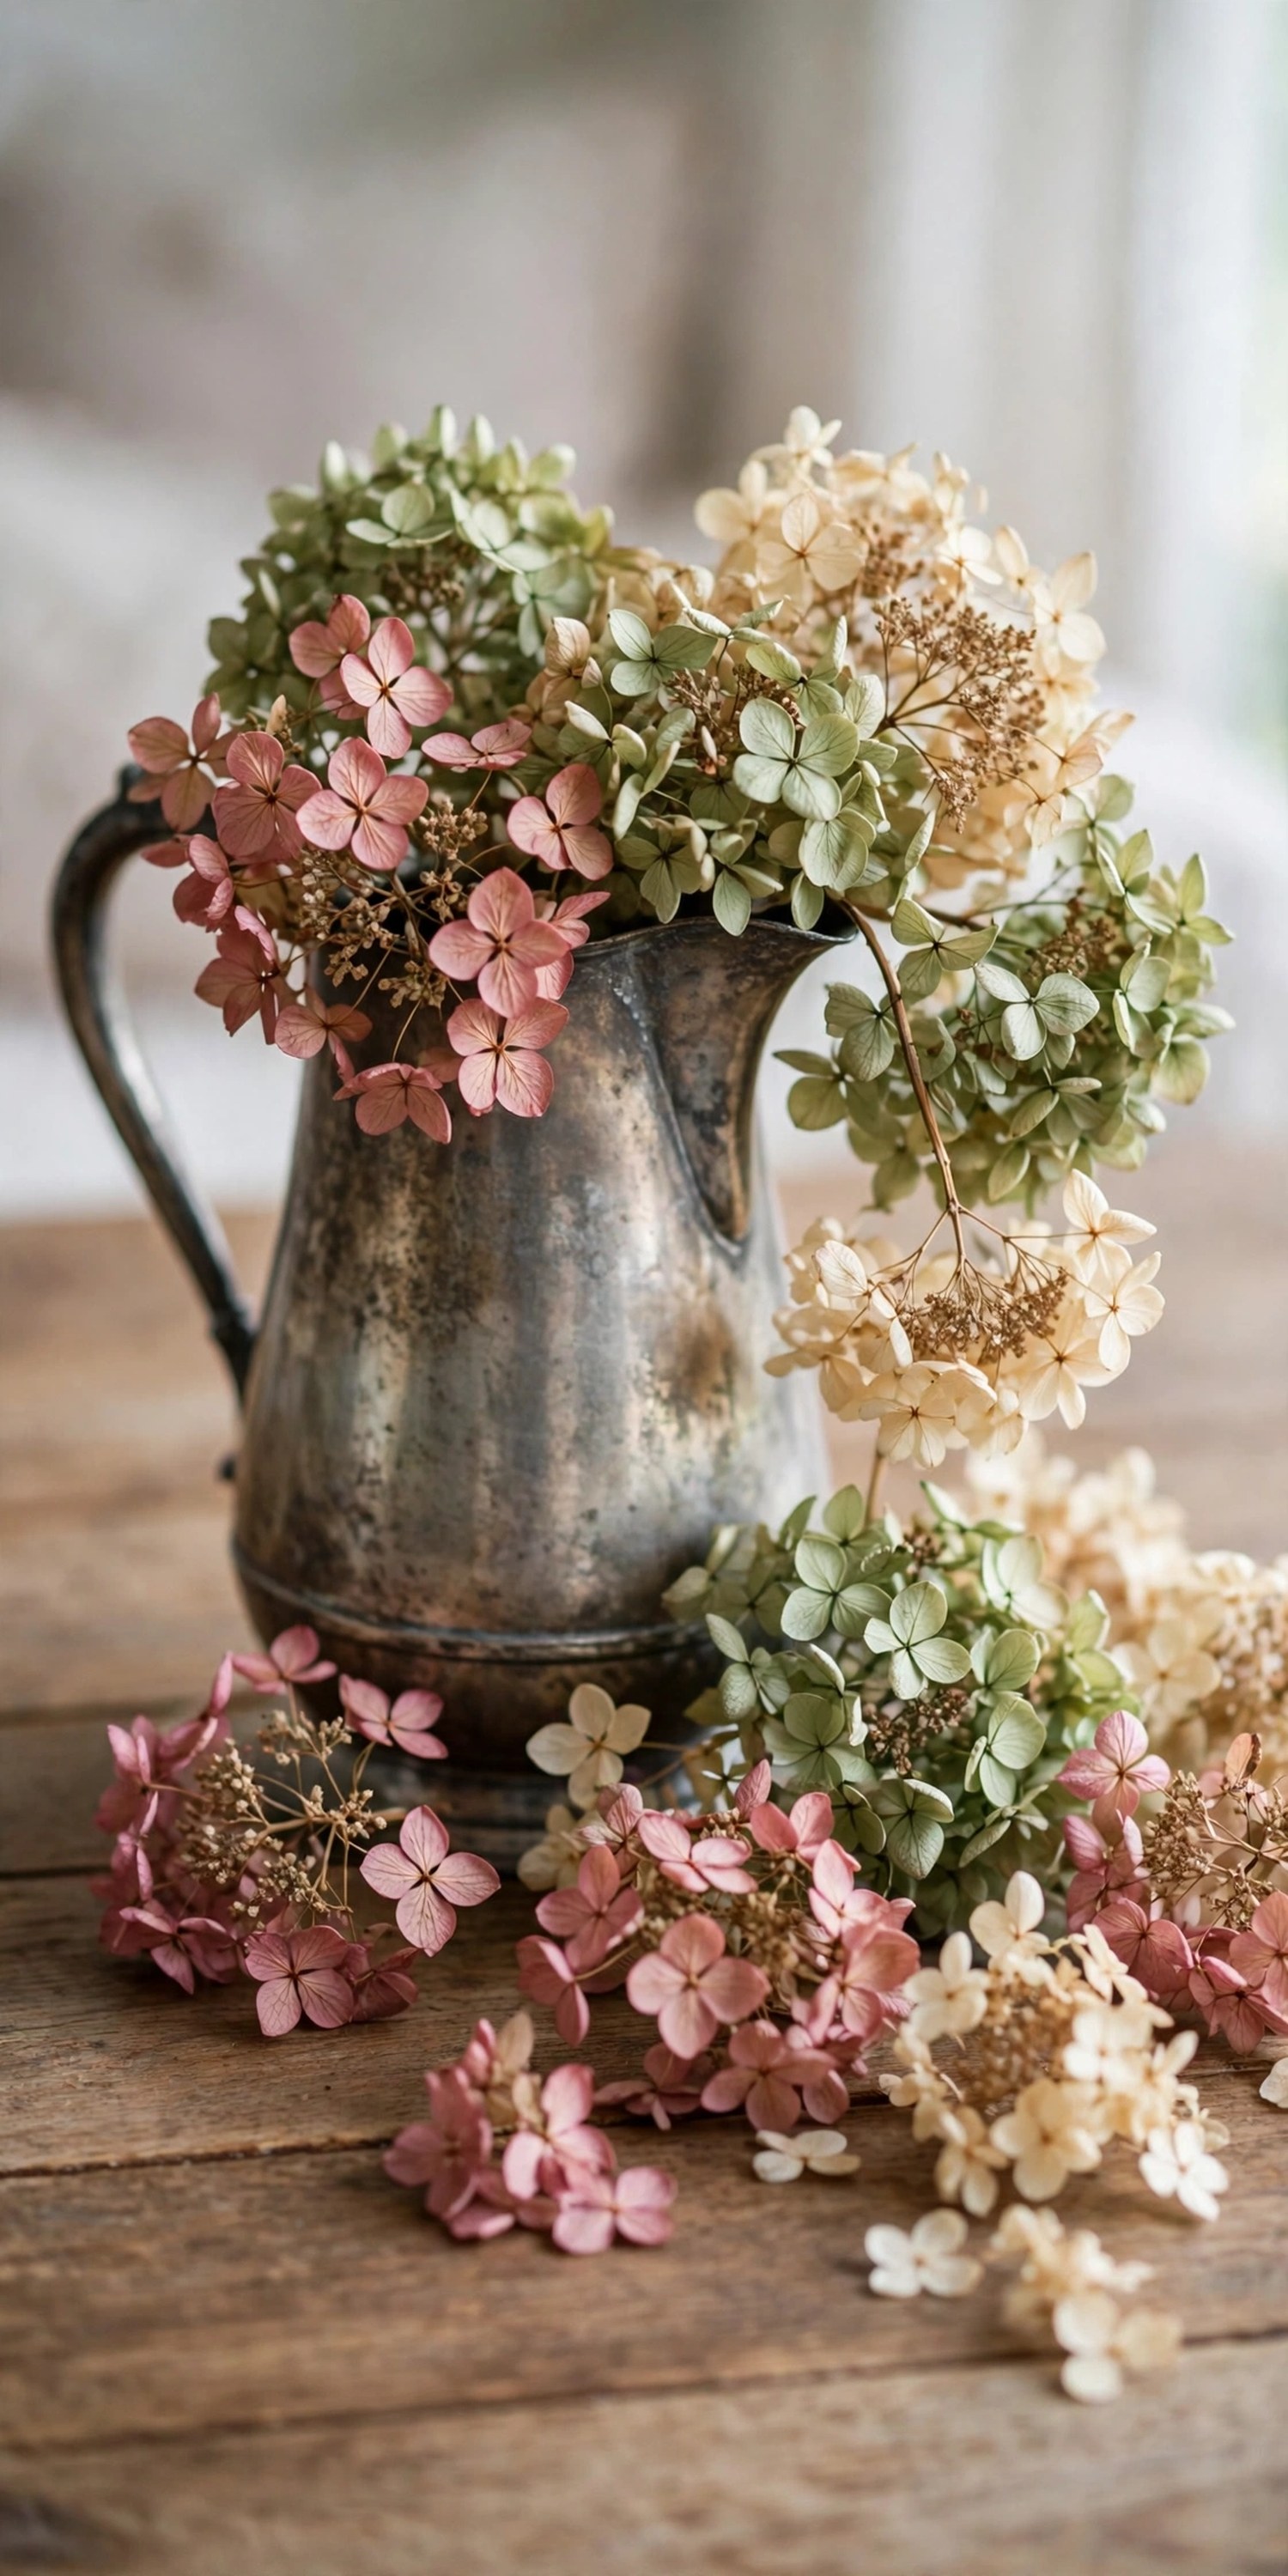
17. Dried Hydrangea Vintage Arrangement
Dried hydrangeas in a vintage container are the softest centerpiece here: dusty rose, sage, and cream blooms that look like a watercolor. If your garden has hydrangeas, this one is free.
Cut hydrangea heads in late summer and dry them hanging upside down in a dark closet for two weeks. Arrange the dried blooms in a vintage pitcher, tarnished silver pot, or wooden box, letting them spill naturally. They need no water and last for years, so this centerpiece works from Thanksgiving straight through winter.
| Build time | Best projects |
|---|---|
| Under 15 minutes | Acorn hurricane, cranberry bowl, wheat sheaf |
| 15–60 minutes | Popsicle crate, pumpkin vase, cornucopia |
| Weekend project | Leaf bowl, decoupaged pumpkins |
Tip: Spray dried hydrangeas with unscented hairspray; it keeps the petals from crumbling when touched.
How do I keep a DIY centerpiece from looking cheap?
Stick to a tight color palette of two or three colors, use odd-numbered groupings, and contain everything on a tray or in a vessel. Containment is what separates styled from scattered.
Which centerpieces can I make weeks ahead?
Anything dried or faux: the wheat sheaf, pinecone arrangements, painted bottles, decoupaged pumpkins, and the leaf bowl. Save fresh flowers, fruit, and floating candles for the last day or two.
How tall should a Thanksgiving centerpiece be?
Keep it under twelve inches in the middle of the table so guests can talk across it. Tall elements like wheat sheaves belong at the table’s end or on a sideboard.
What is the cheapest impressive centerpiece?
The foraged dough bowl or tray: pinecones, branches, and leaves from the yard plus three grocery-store mini pumpkins. Total cost can be under $5.
How do I keep fresh flowers alive in a pumpkin vase?
Put a water-filled jar inside the pumpkin so stems never touch pumpkin flesh, mist daily, and keep it away from heating vents. Expect about five good days.
Are flameless candles okay for centerpieces?
Absolutely. Good flicker-effect LED candles read as real in dim dining light, and they’re safer around kids, pets, and crowded tables. Use them inside anything enclosed like hurricanes or cloches.
Can I mix DIY and store-bought in one centerpiece?
Yes, and you should. A handmade crate holding a store-bought candle, or foraged branches in a favorite vase, gives you the best of both: personality plus polish.
A centerpiece you made yourself carries something no store version can: the story of the afternoon you spent making it. Pick the project that made you smile reading about it, gather your supplies this weekend, and enjoy the quiet pride of pointing at the table and saying you made that. For table-wide inspiration beyond the center, see our fall table decor ideas and Cozy with Bennett home for more seasonal projects.