
15 Dollar Store Halloween Decor Ideas


The secret to dollar store Halloween decor is one rule: buy for shape, not for finish. The shapes on those shelves are fantastic. Plastic pumpkins, foam skulls, black lace, glass bottles. The finish is what makes them look cheap, and finish is the easiest thing to fix. A coat of matte spray paint, a piece of twine, a little styling, and suddenly nobody can tell where anything came from.
You do not need crafting talent for any of this. Most of these ideas take under an hour and use supplies you probably already own, like scissors and a glue gun. This guide gives you 15 dollar store Halloween decor ideas, each with a simple how-to and a practical tip so the finished result looks intentional instead of last-minute.
If you want proof that cheap can look expensive, our cheap Halloween decor ideas cover the same idea on a bigger scale. But the dollar store deserves its own guide, so start with the spray-painted pumpkins. They are the single highest-impact upgrade on this list.
1. Spray-Painted Plastic Pumpkins
Those shiny orange plastic pumpkins look like toys on the shelf, but matte spray paint changes everything. Pick up three or four in different sizes, take them outside, and give each two light coats of matte black, matte white, or metallic gold. Let them dry fully between coats. Style them on your mantel mixed with real greenery, or cluster them on the porch steps. The matte finish kills the plastic shine and they read as ceramic from a few feet away.
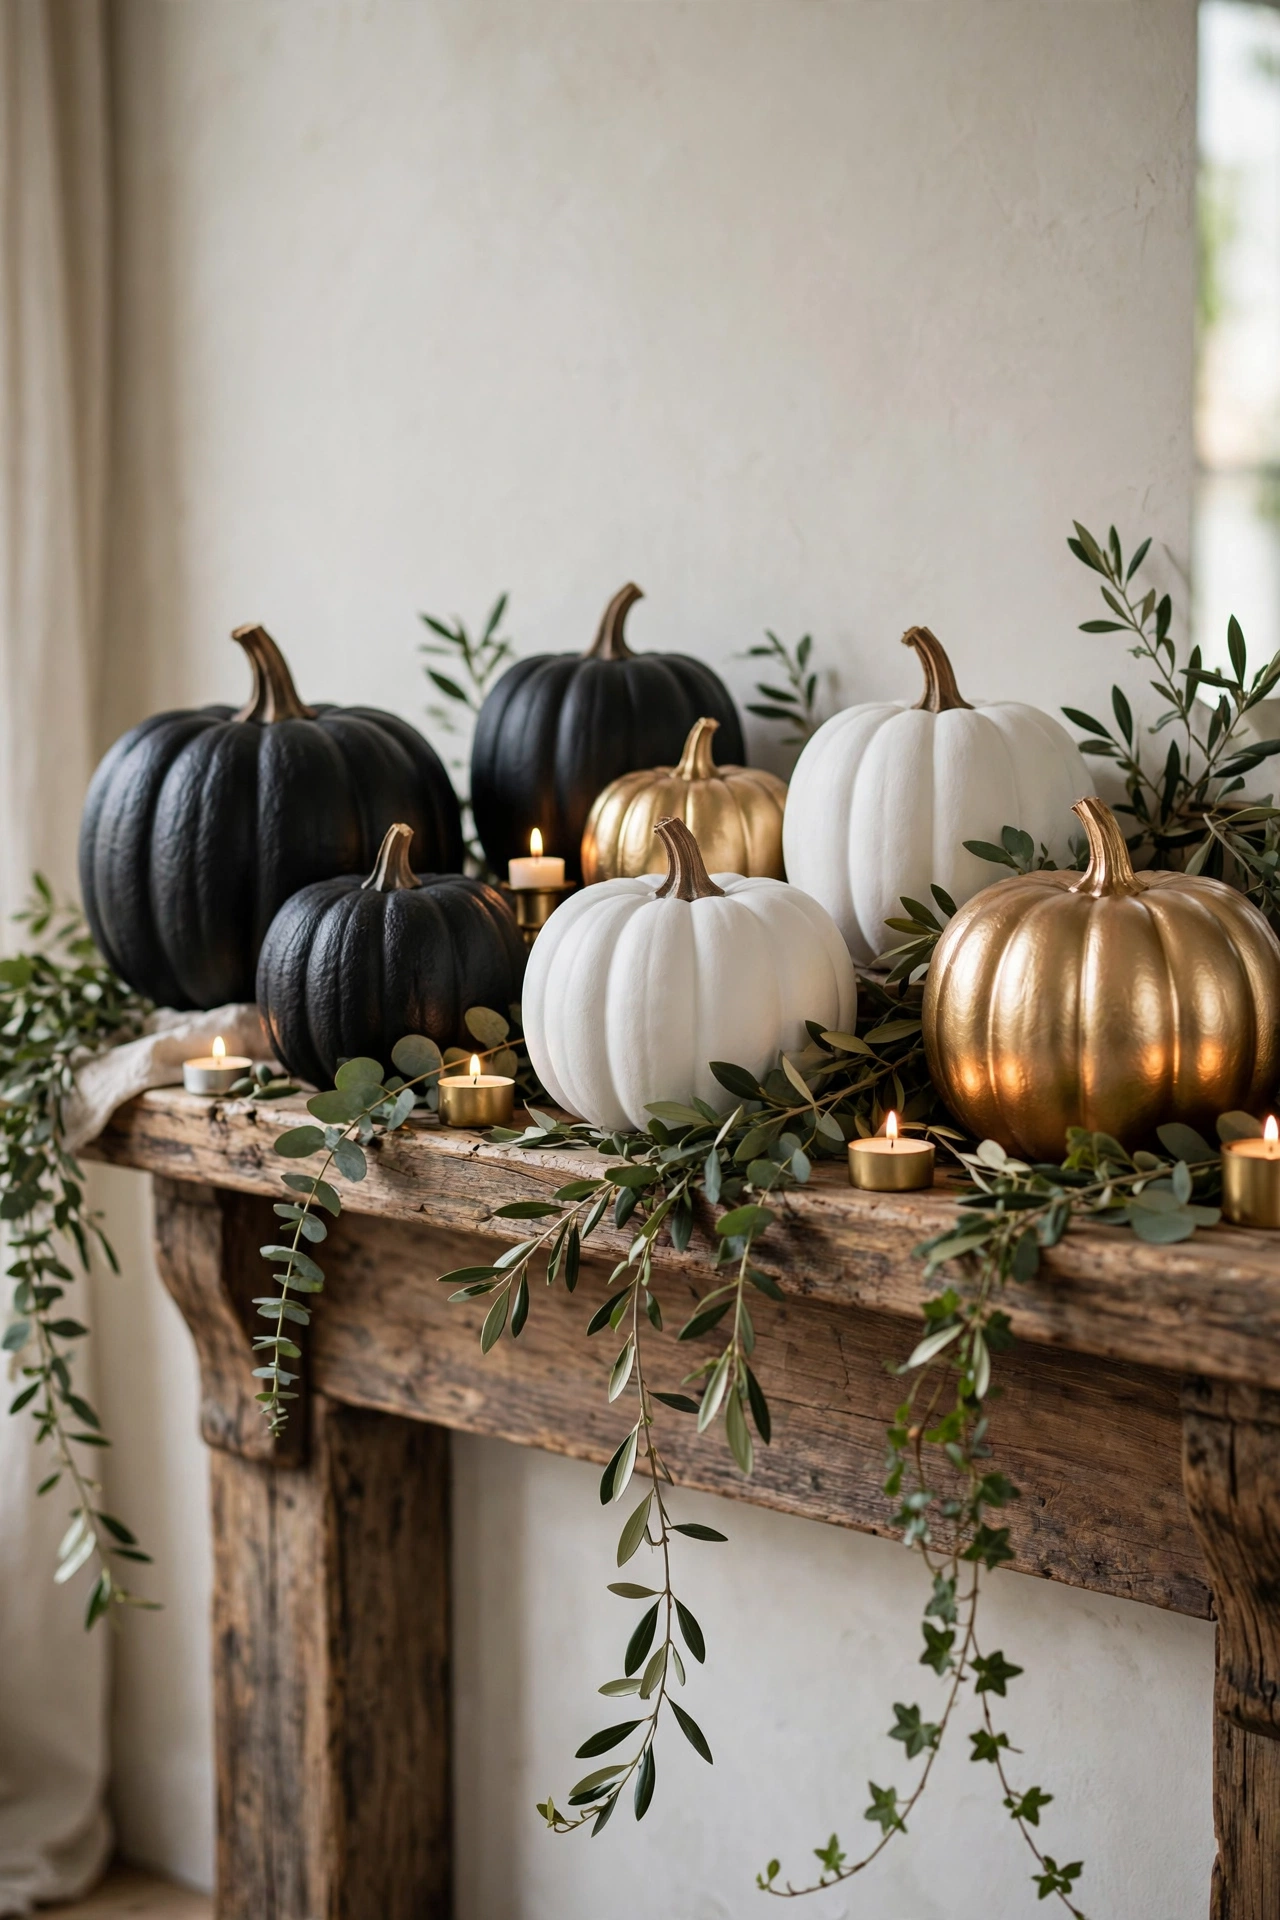
Tip: light coats beat one heavy coat. Heavy paint pools in the pumpkin ridges and drips. Spray in a ventilated spot and wear a mask. Once painted, these store forever, so you will reuse them every October. Hip2Save’s Dollar Tree Halloween dollhouse makeover uses the same spray-paint trick on a bigger project.
2. Mini Skull Garland
Bags of small plastic skulls are a dollar store staple, and strung together they make a garland with real attitude. Thread a dozen skulls onto black twine using a large needle, spacing them a few inches apart, and knot the twine behind each one so they stay put. Drape it across your mantel, around a doorway, or along a bookshelf. Mixed with a few sprigs of dried eucalyptus, it looks curated instead of kitschy.
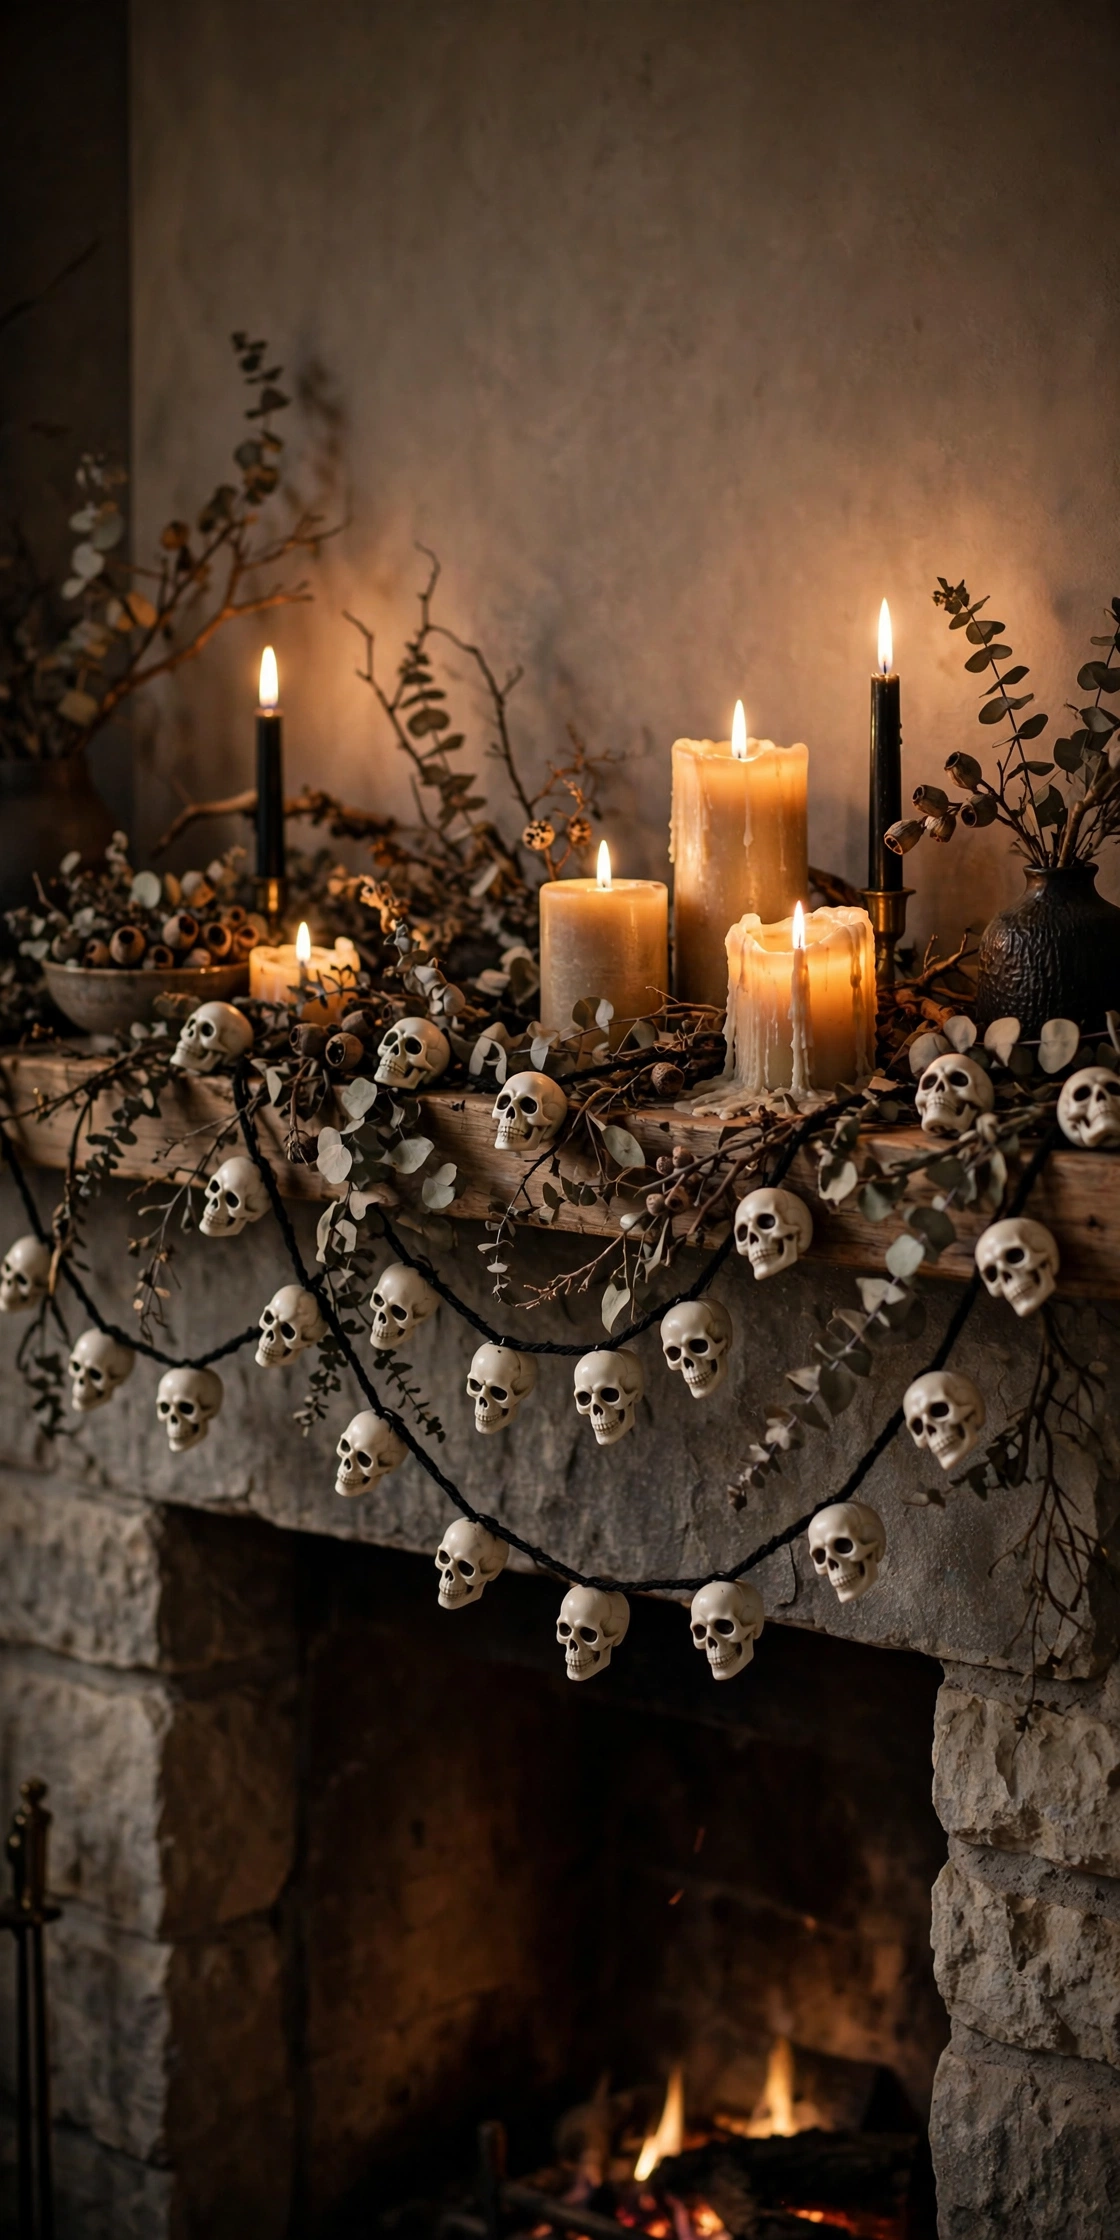
Tip: check each skull for rough mold seams before stringing and sand the worst ones lightly with fine sandpaper. It takes two minutes and removes the biggest giveaway that they were cheap. Keep the garland indoors where it stays clean and bright.
3. Black Lace Tablecloth Overlay
A black lace tablecloth from the dollar store, layered over a plain cloth you already own, is the fastest Halloween table upgrade there is. Spread your regular white, cream, or burnt-orange tablecloth first, then lay the lace directly on top so the solid color shows through the pattern. Add a few candles and a bowl of mini pumpkins. The layered look is straight out of a styled dinner party.
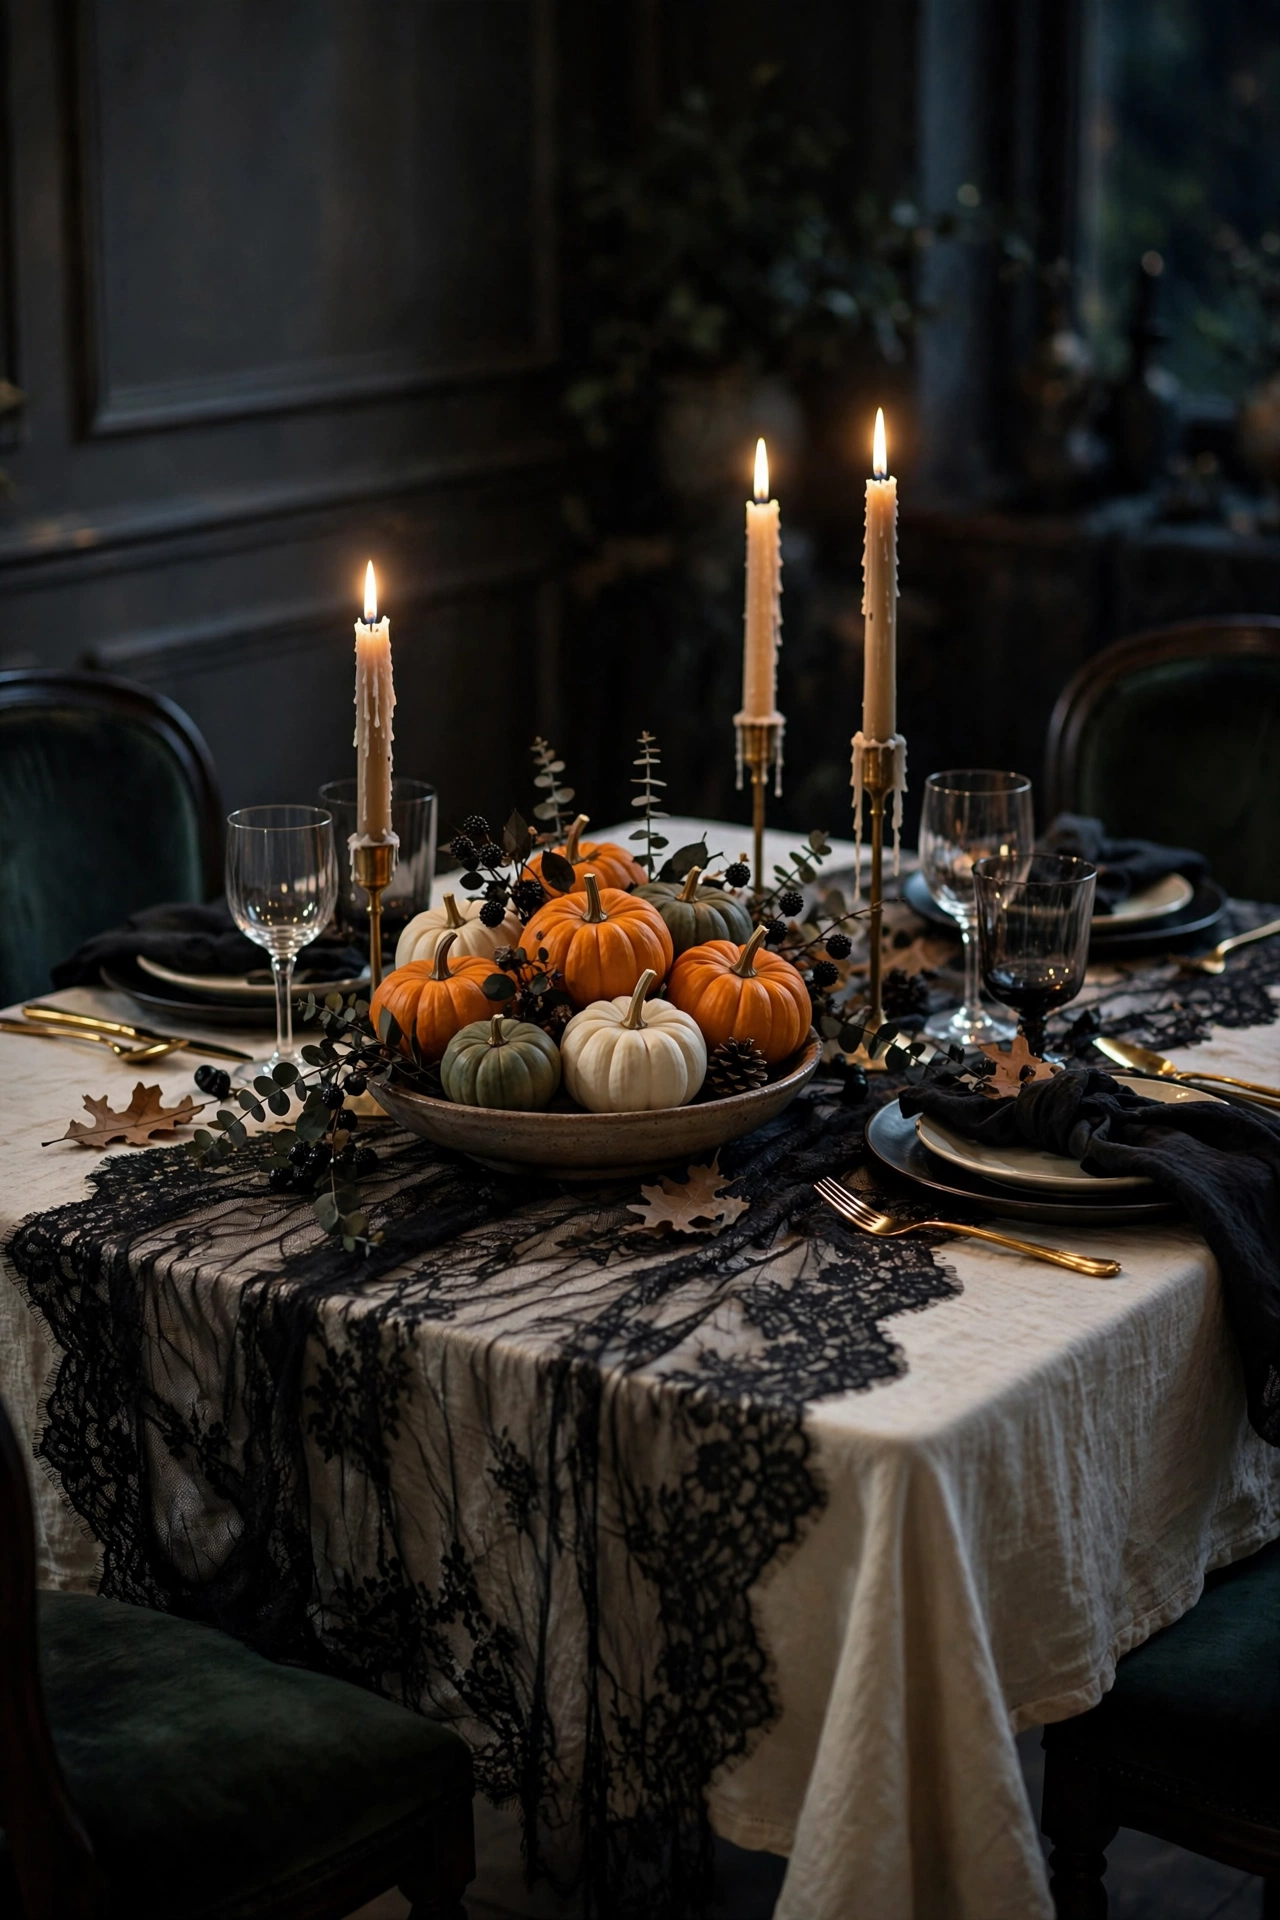
Tip: iron or steam the lace before laying it out. Dollar store lace arrives folded into a tiny square and the creases scream bargain. A quick steam relaxes the fabric and it drapes like something far nicer.
4. Paper Bag Luminaries with LED Tea Lights
Brown paper lunch bags, a pair of scissors, and LED tea lights make the prettiest walkway lighting for almost nothing. Fold each bag flat and cut simple shapes into the front, like moons, stars, or triangles. Open the bag, fold the top edge down an inch for stability, and drop in a tea light. Line them along your walkway or porch steps after dark and the whole entrance glows.
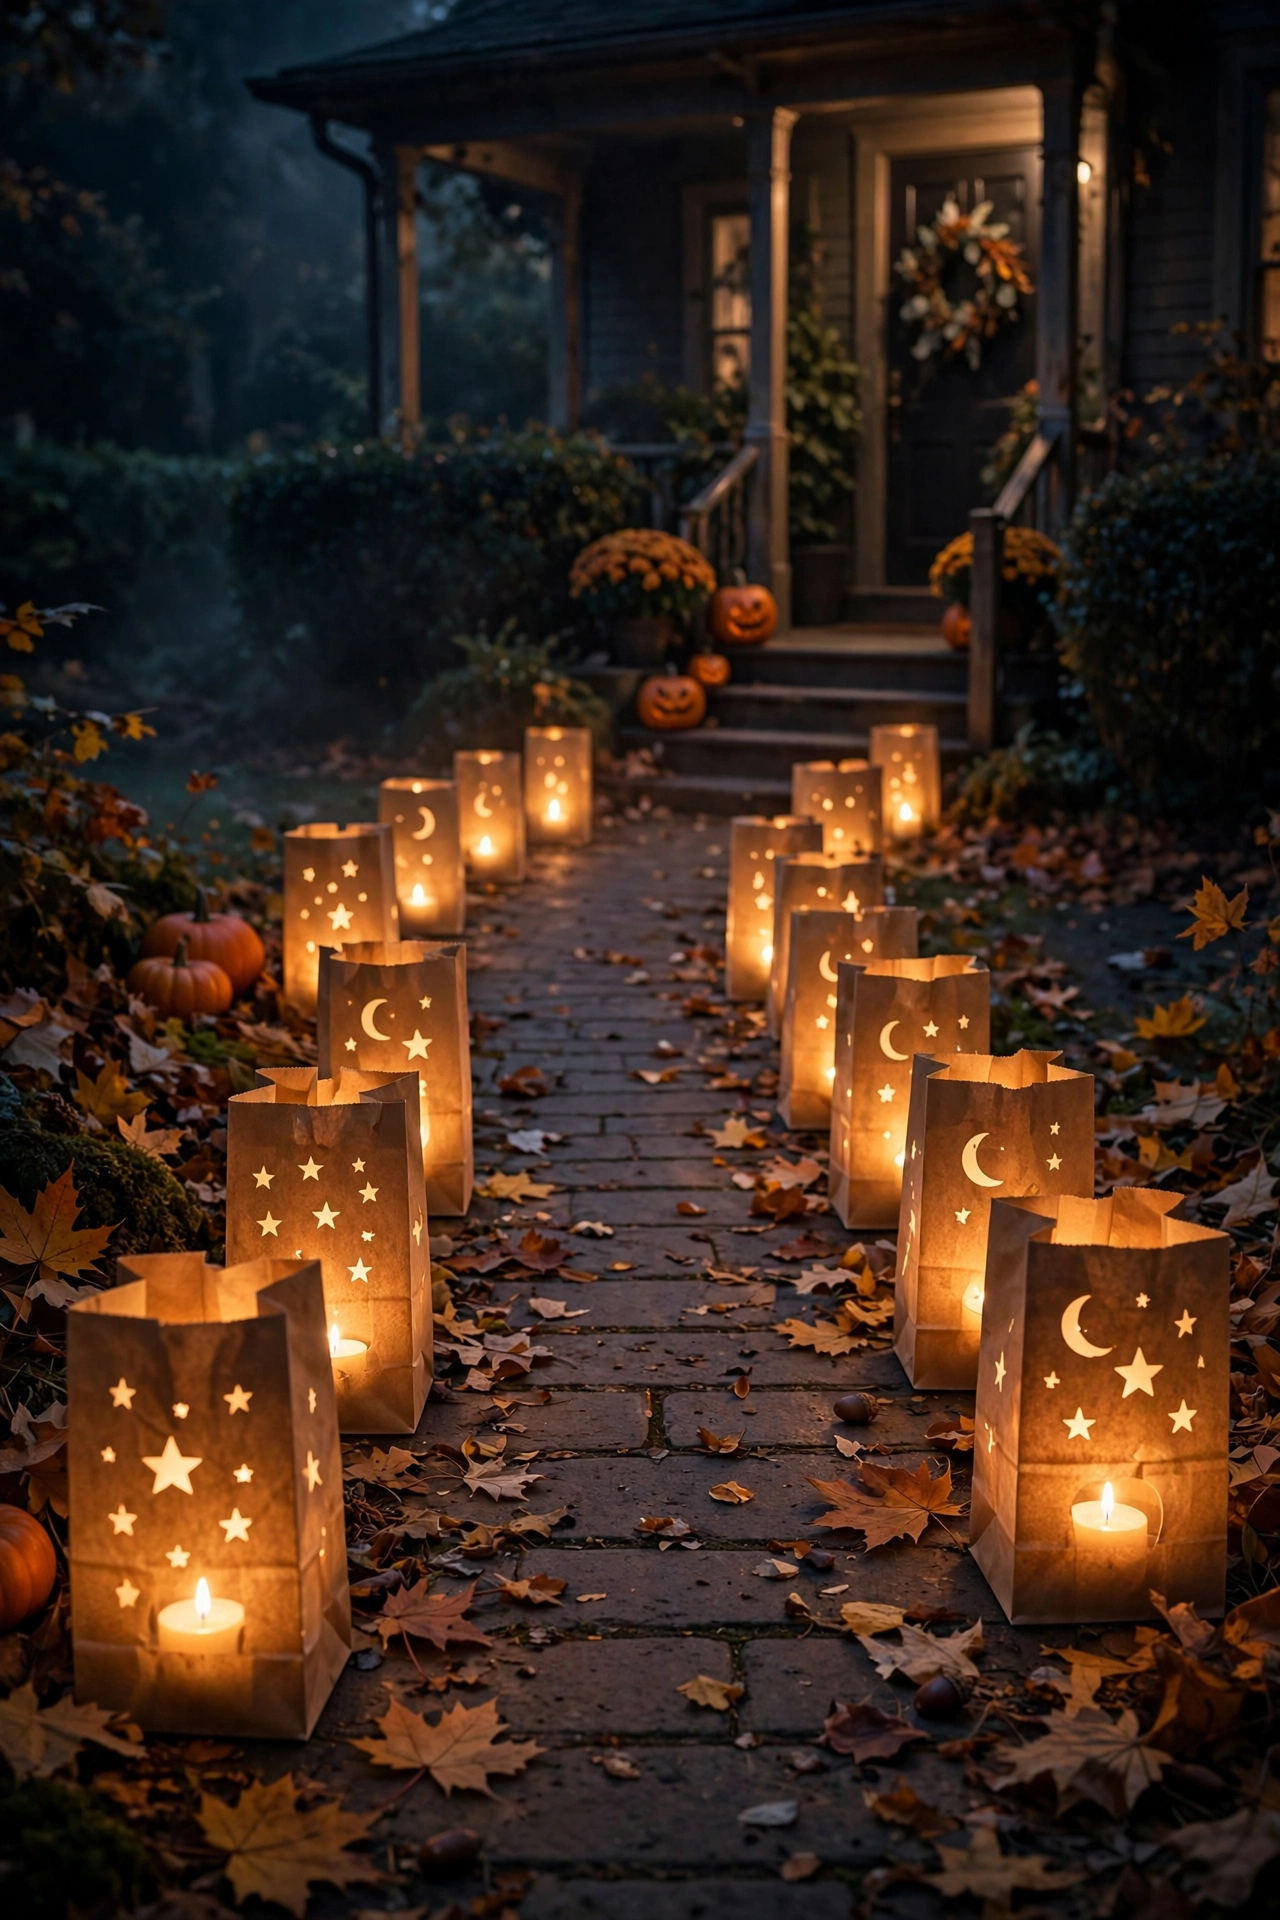
Tip: LED tea lights only, never real flames. Paper and open fire is a genuine hazard. Set each bag on a flat stone or tile so damp ground does not soak through the bottom. Bring them inside if rain is coming.
5. Upgraded Foam Tombstones
Foam tombstones look flat gray out of the package, but an hour of aging turns them into convincing graveyard props. Dry-brush the raised lettering with a darker gray craft paint, dab the edges with a sponge for uneven wear, and press a little preserved moss into the crevices with craft glue. Stake two or three at angles in your front yard with a few plastic bones scattered nearby.
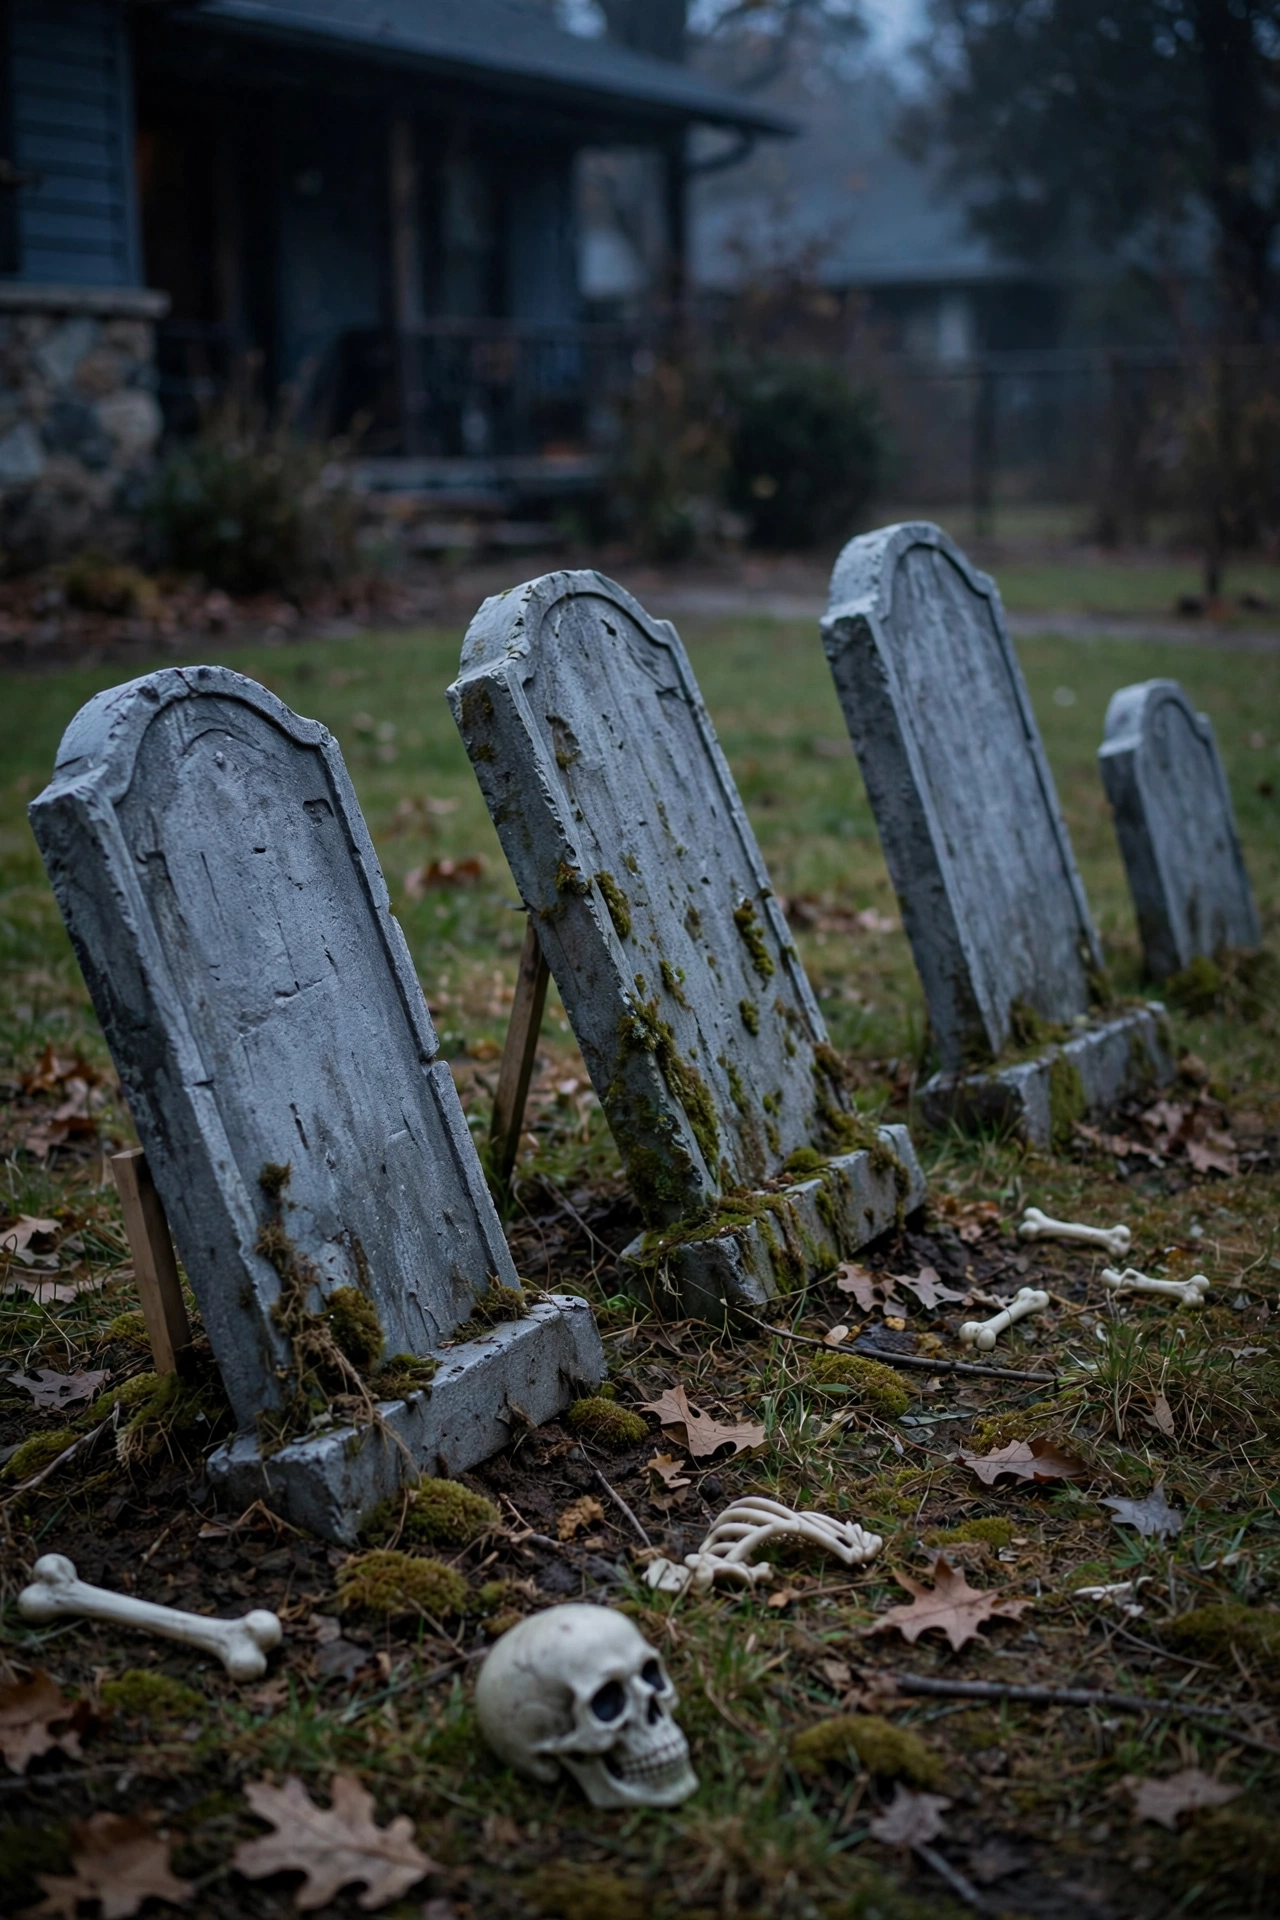
Tip: this is a weatherproofing project. A coat of clear matte sealer over the finished paint keeps October rain from washing your aging work away. Push the stakes deep. Foam tombstones are light and a gusty night will knock loose ones flat. Our DIY outdoor Halloween decorations have more yard projects in this spirit.
6. Plastic Bat Wall Swarm
Packs of small plastic bats are made for this. Arrange them on a living room wall so they look like they are flying upward from a corner, small ones low and larger ones climbing higher. Stick them up with removable mounting putty. The same trick works across a large mirror or up a staircase wall. From across the room it looks like a mural.
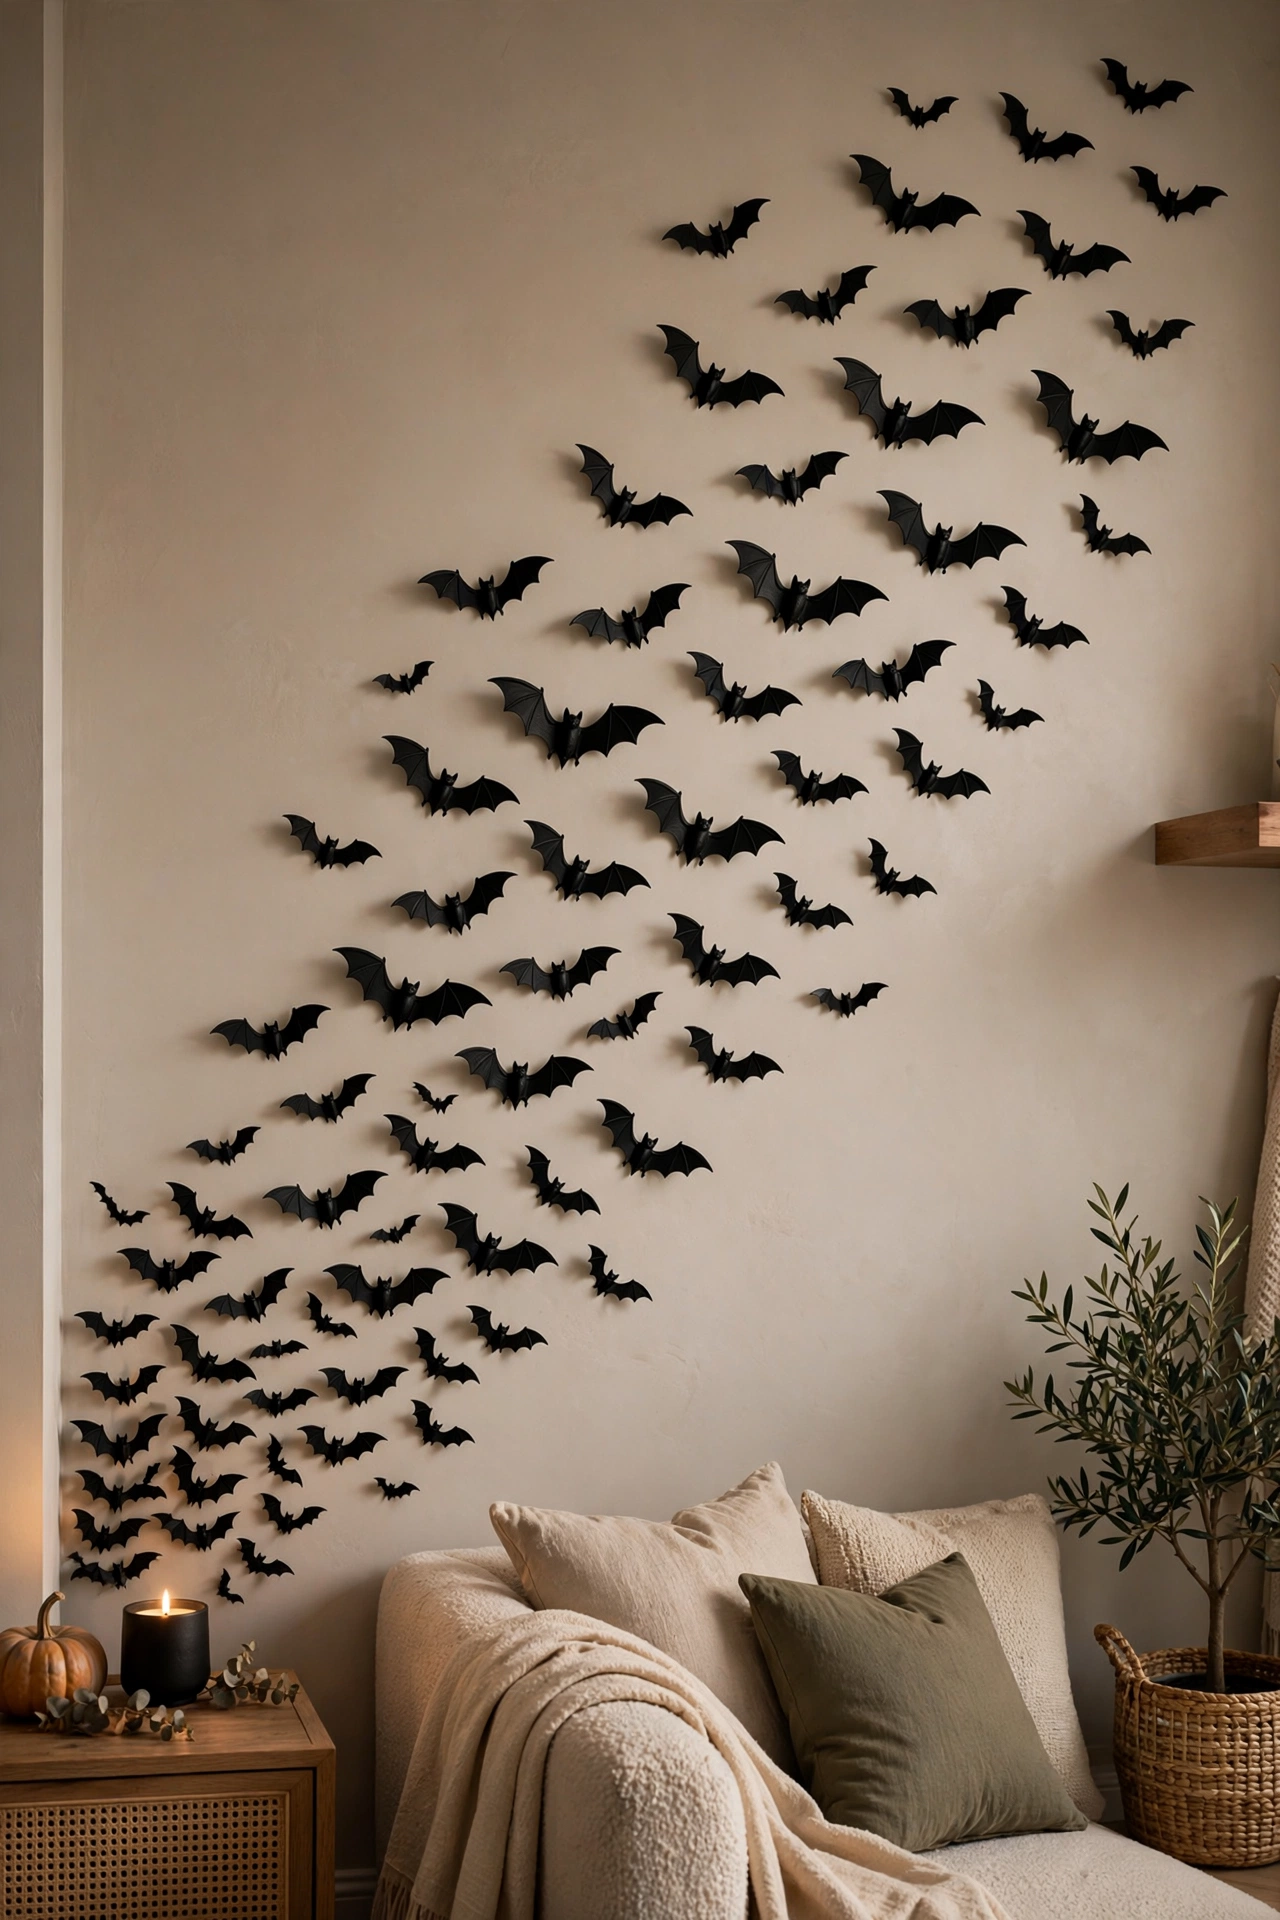
Tip: lay the pattern on the floor first and photograph it, then copy the arrangement onto the wall. It is much easier to adjust on the floor than while reaching overhead. Removable putty peels clean off paint in November.
7. Cheesecloth Ghosts
Cheesecloth ghosts are the classic dollar store Halloween craft for a reason. They actually look good. Drape two layers of cheesecloth over a balloon tied to a bottle for height, stiffen it with a spray bottle of liquid starch, and let it dry overnight. Pop the balloon, lift the shell off, and draw simple eyes with a marker. Hang the ghosts from a porch beam or a tree branch where they drift in the breeze.
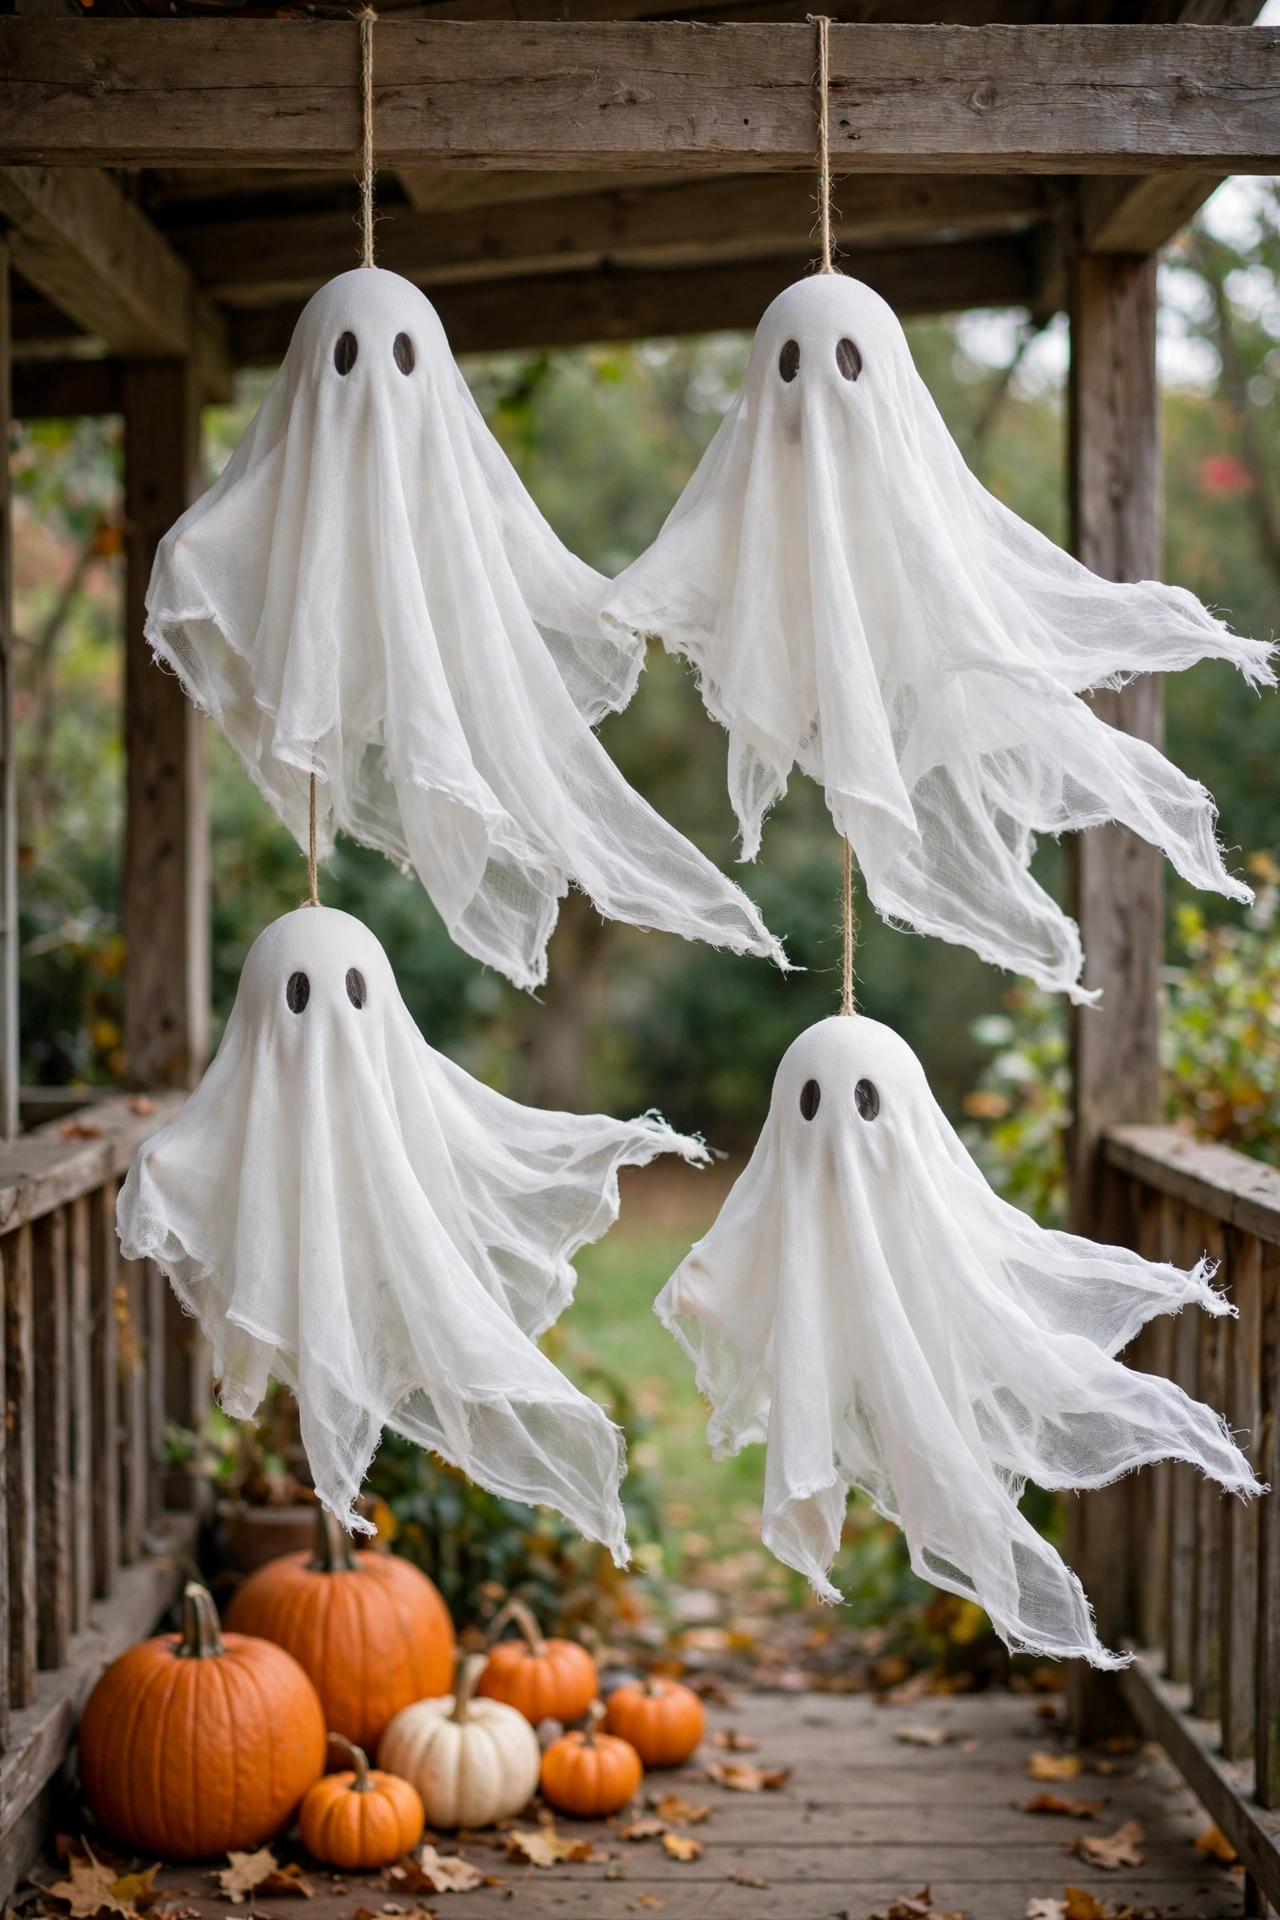
Tip: two light starch coats hold the shape better than one heavy soak, which can yellow the cloth. These are surprisingly sturdy once dry. Hang them under a covered porch so rain does not undo the starch.
8. Framed Printable Halloween Art
Dollar store frames plus free printable art is the best value in Halloween decorating. Grab a few black frames in the same size, print black-and-white Halloween art at home or at the library, a vintage bat illustration, a moon phase chart, an old-fashioned witch silhouette, and frame them in a tight grid on one wall. Matching frames make mismatched prints look like a deliberate collection.
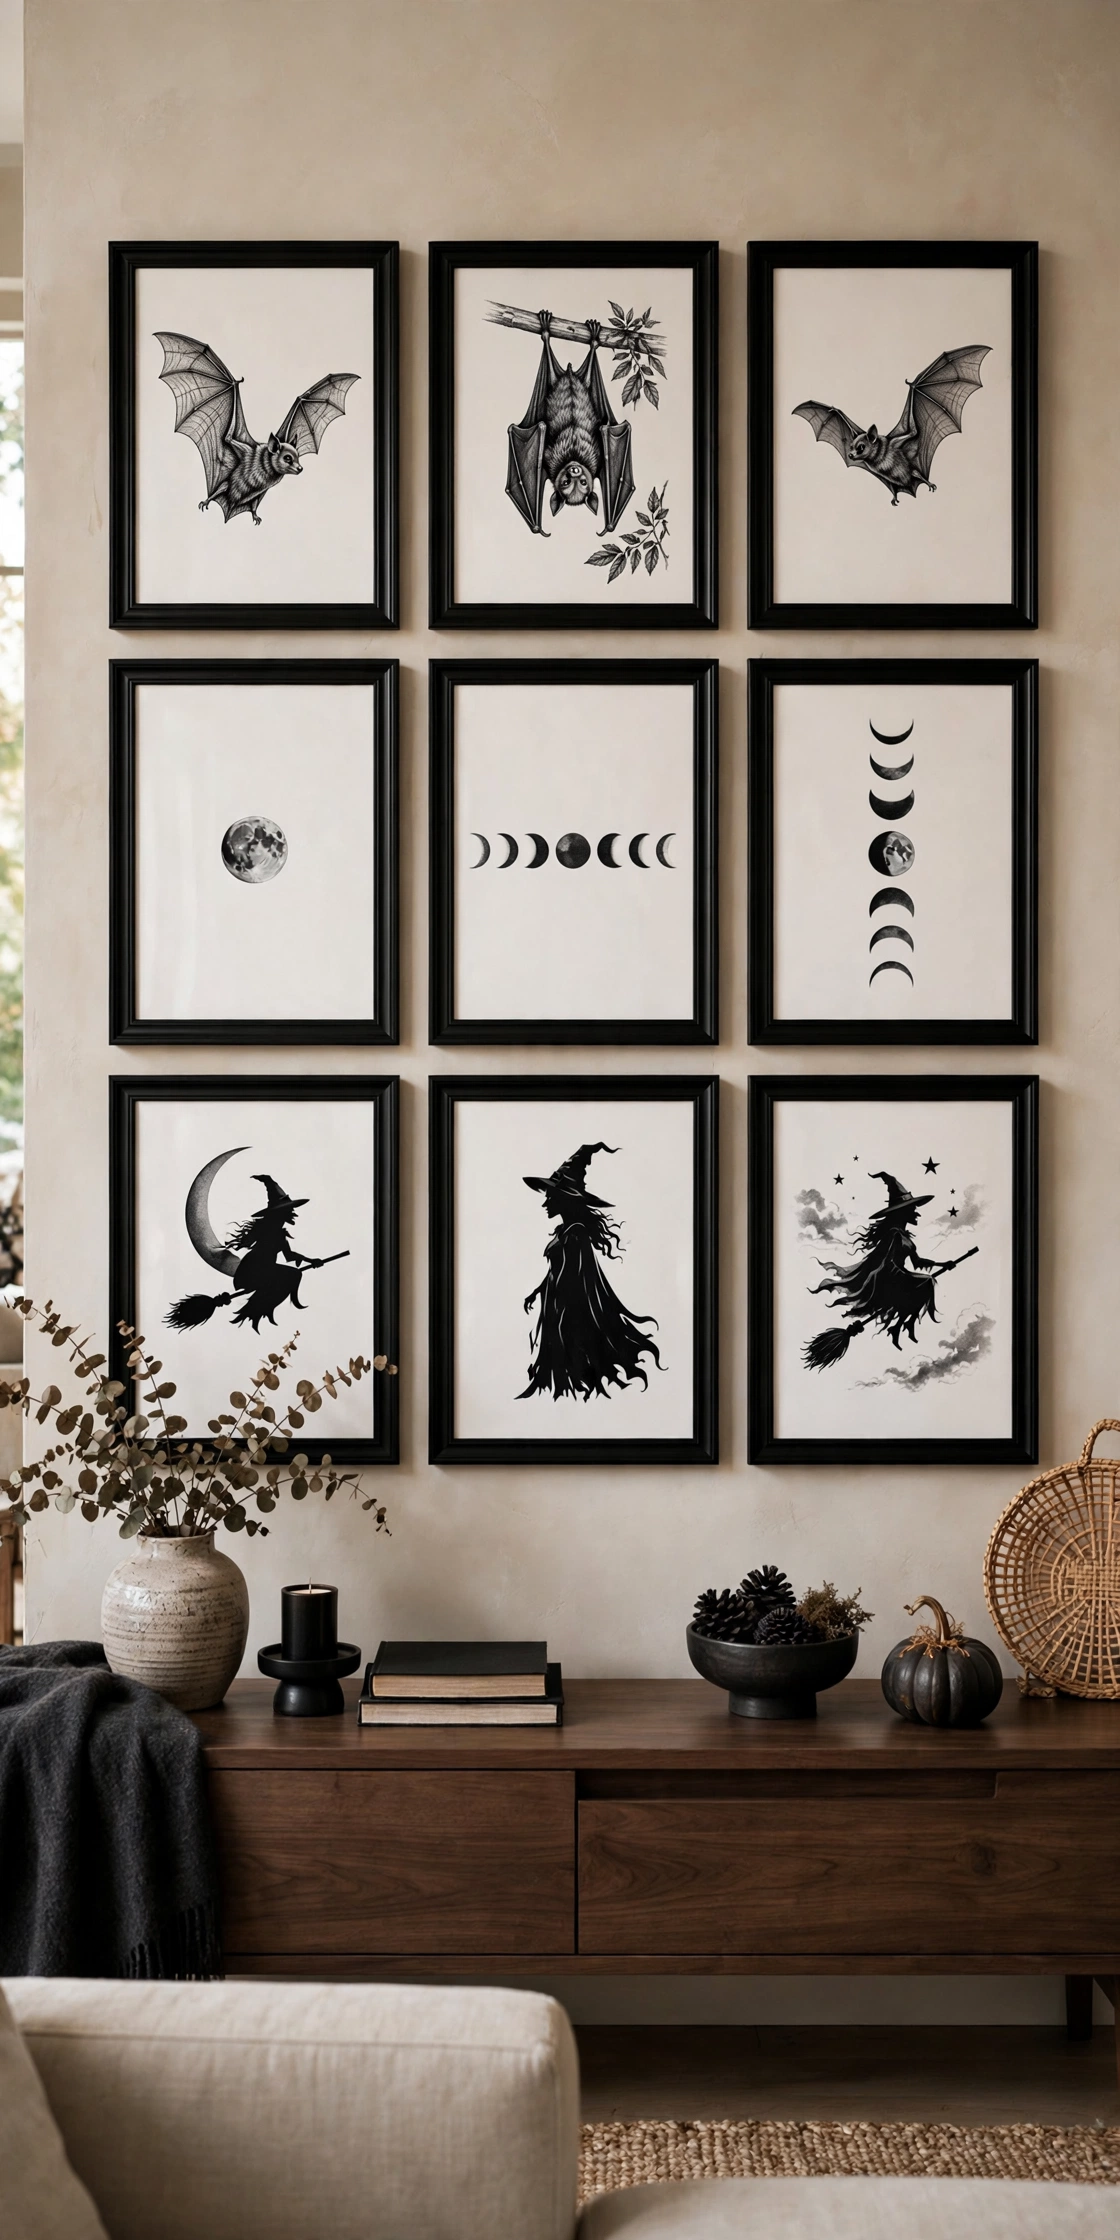
Tip: print on matte paper rather than glossy. Glossy prints reflect lamplight and look like posters. Matte reads as art. Keep the frame sizes identical. Uniformity is what sells the gallery wall.
9. Black Feather Wreath
A foam wreath form wrapped in black feather boas is dramatic, moody, and takes about fifteen minutes. Wrap two or three boas tightly around the form, pinning the ends with floral pins, and fluff the feathers outward. Hang it on your front door with a wide black ribbon. It looks like something from a boutique, and the texture photographs beautifully.
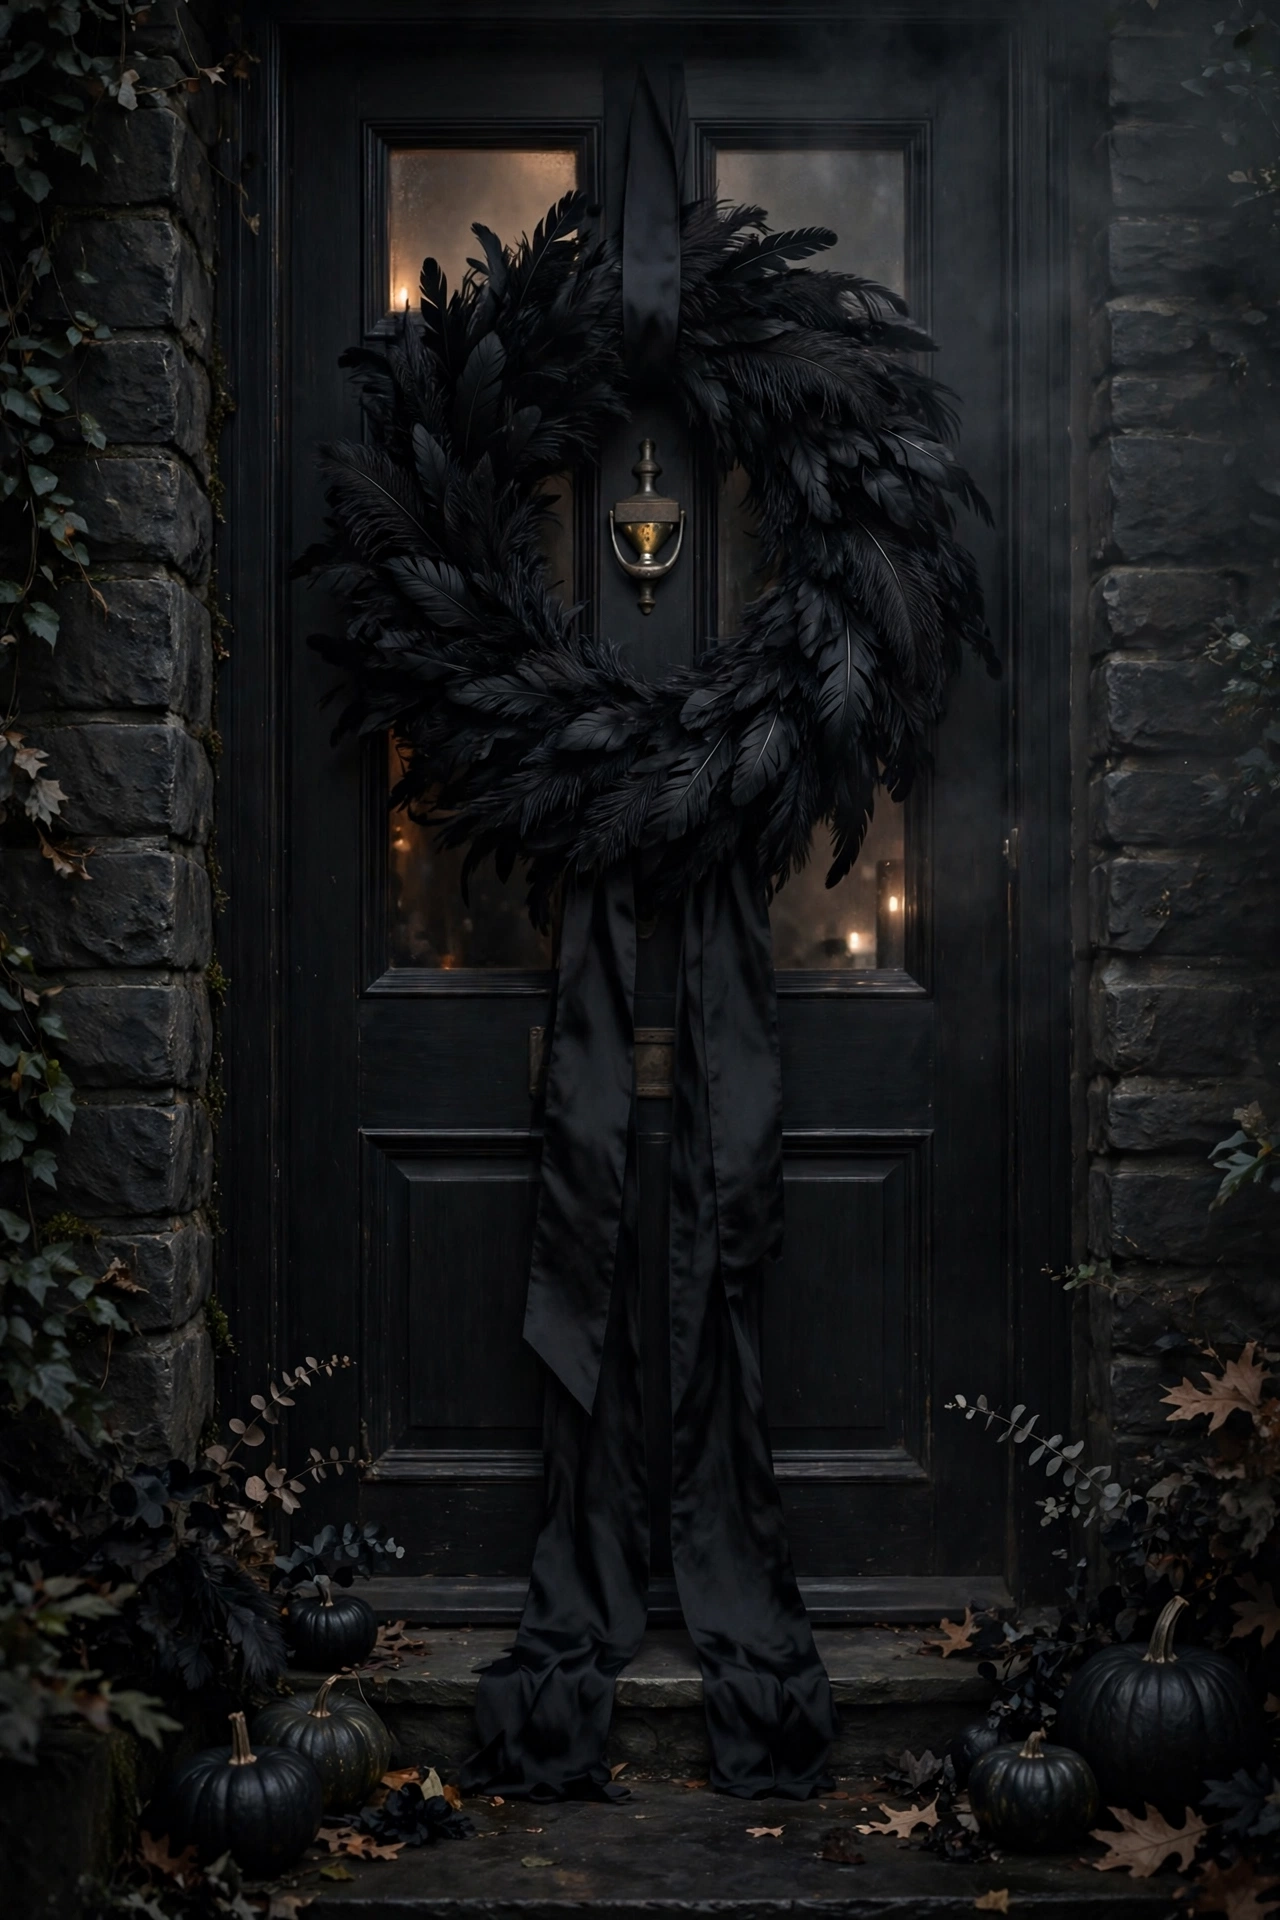
Tip: work over a trash bag because feather boas shed. A lot. Shake the finished wreath outside before hanging it indoors. Store it in a garment bag after Halloween so the feathers stay clean and full for next year.
10. DIY Potion Bottles
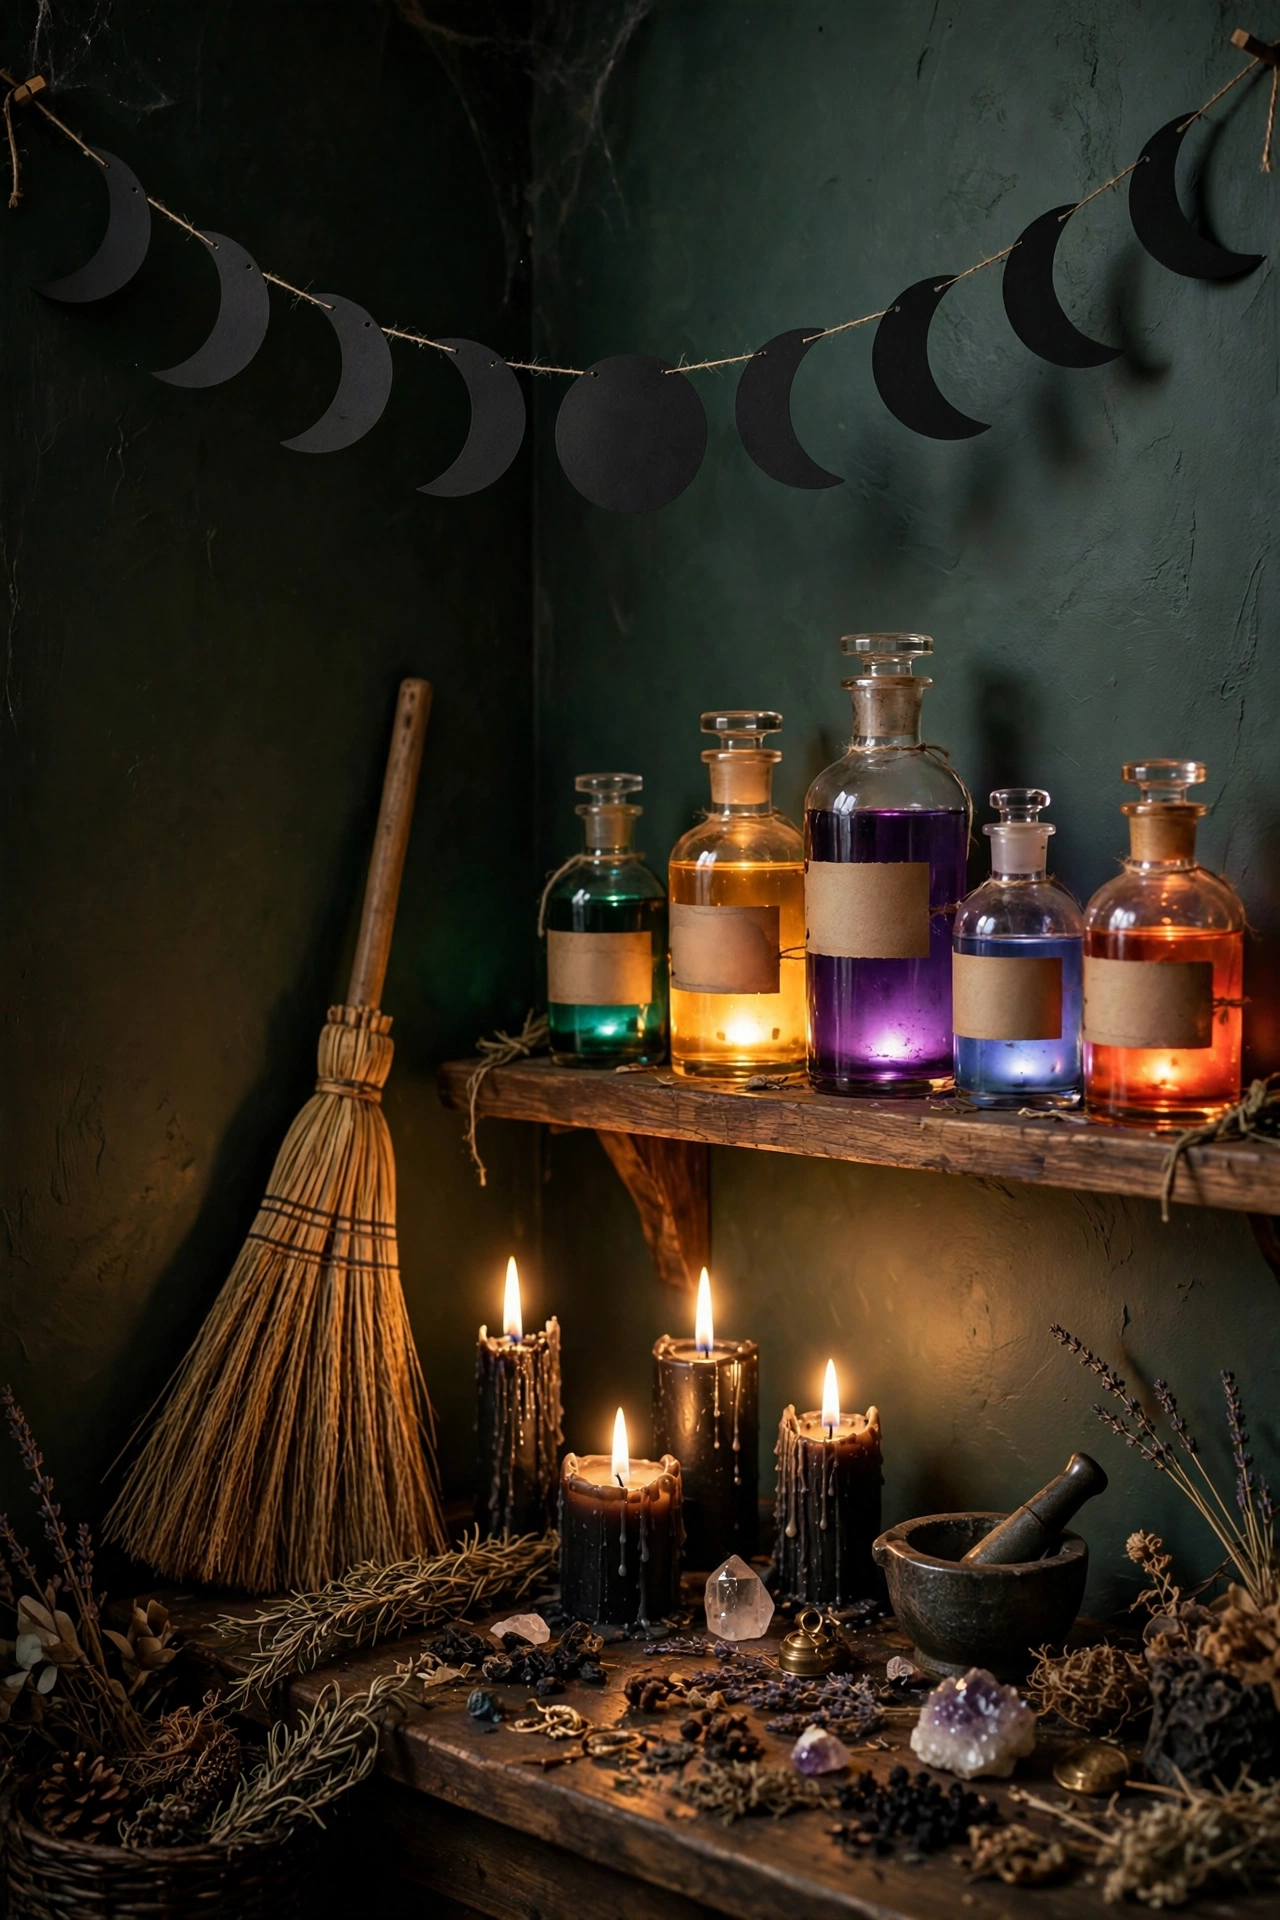
Small glass bottles from the dollar store become apothecary potion bottles with nothing but labels and fillers. Fill each bottle differently: dried beans, black rice, twigs, a little water tinted with food coloring. Design simple aged labels on your computer, words like Nightshade, Moon Water, and Bone Dust, print them, and tea-stain the paper for an old look. Line them on a bookshelf with a candle behind them.
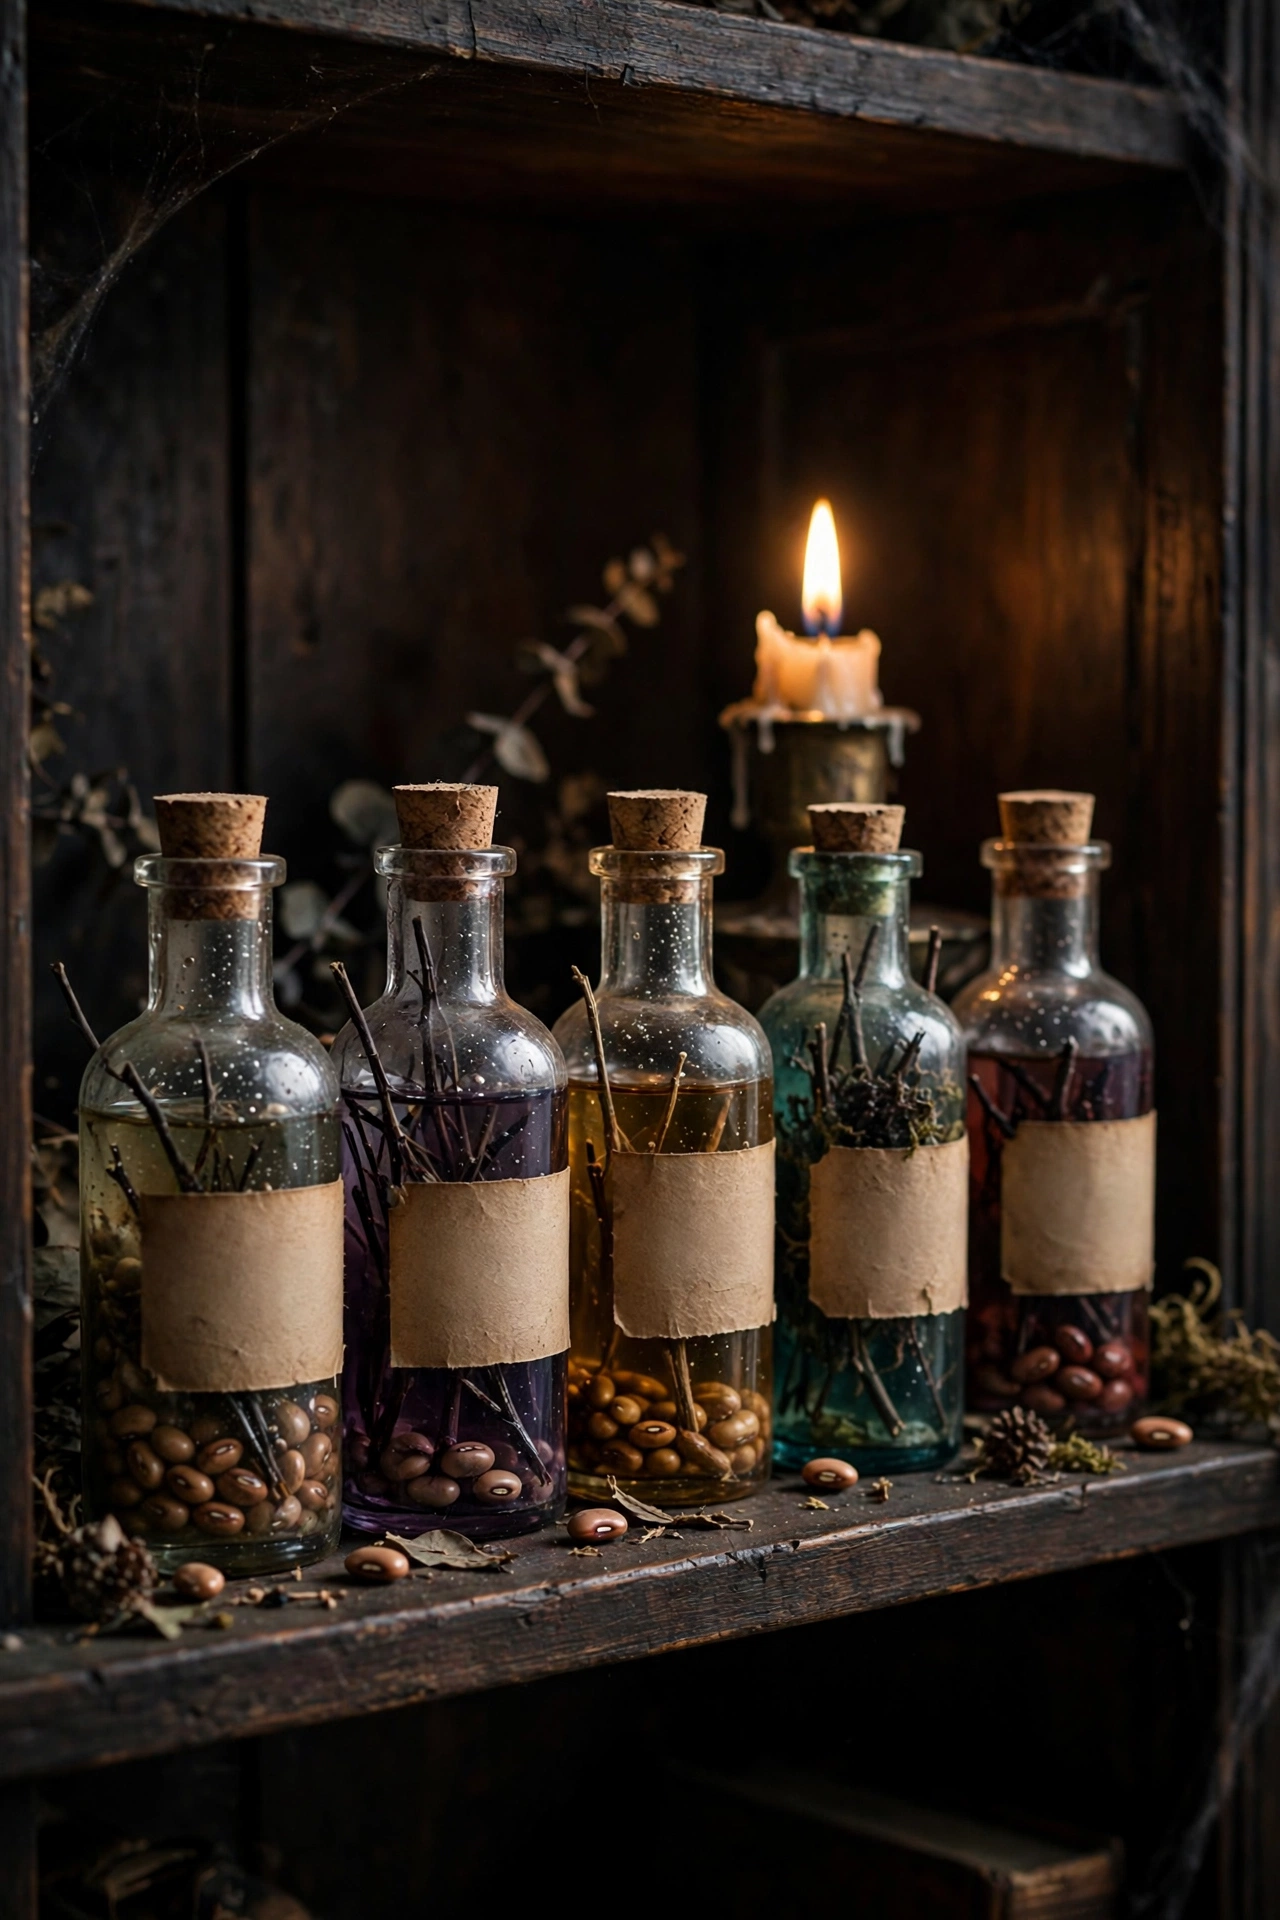
Tip: tea-staining is just strong black tea brushed on paper and left to dry. It takes five minutes and the effect is convincing. Seal the labels with a dab of glue stick, not tape. Tape edges catch the light and ruin the illusion.
11. Spider Web Tablecloth
The round spider web tablecloths sold at dollar stores make a perfect Halloween table base. Lay one over your regular tablecloth so the web pattern floats on top of a solid color underneath. Black web on orange, or white web on deep purple, both look sharp. Build the centerpiece right on top: a cluster of mini pumpkins, a few black candles, done. The table looks fully decorated with one purchase and five minutes of styling.
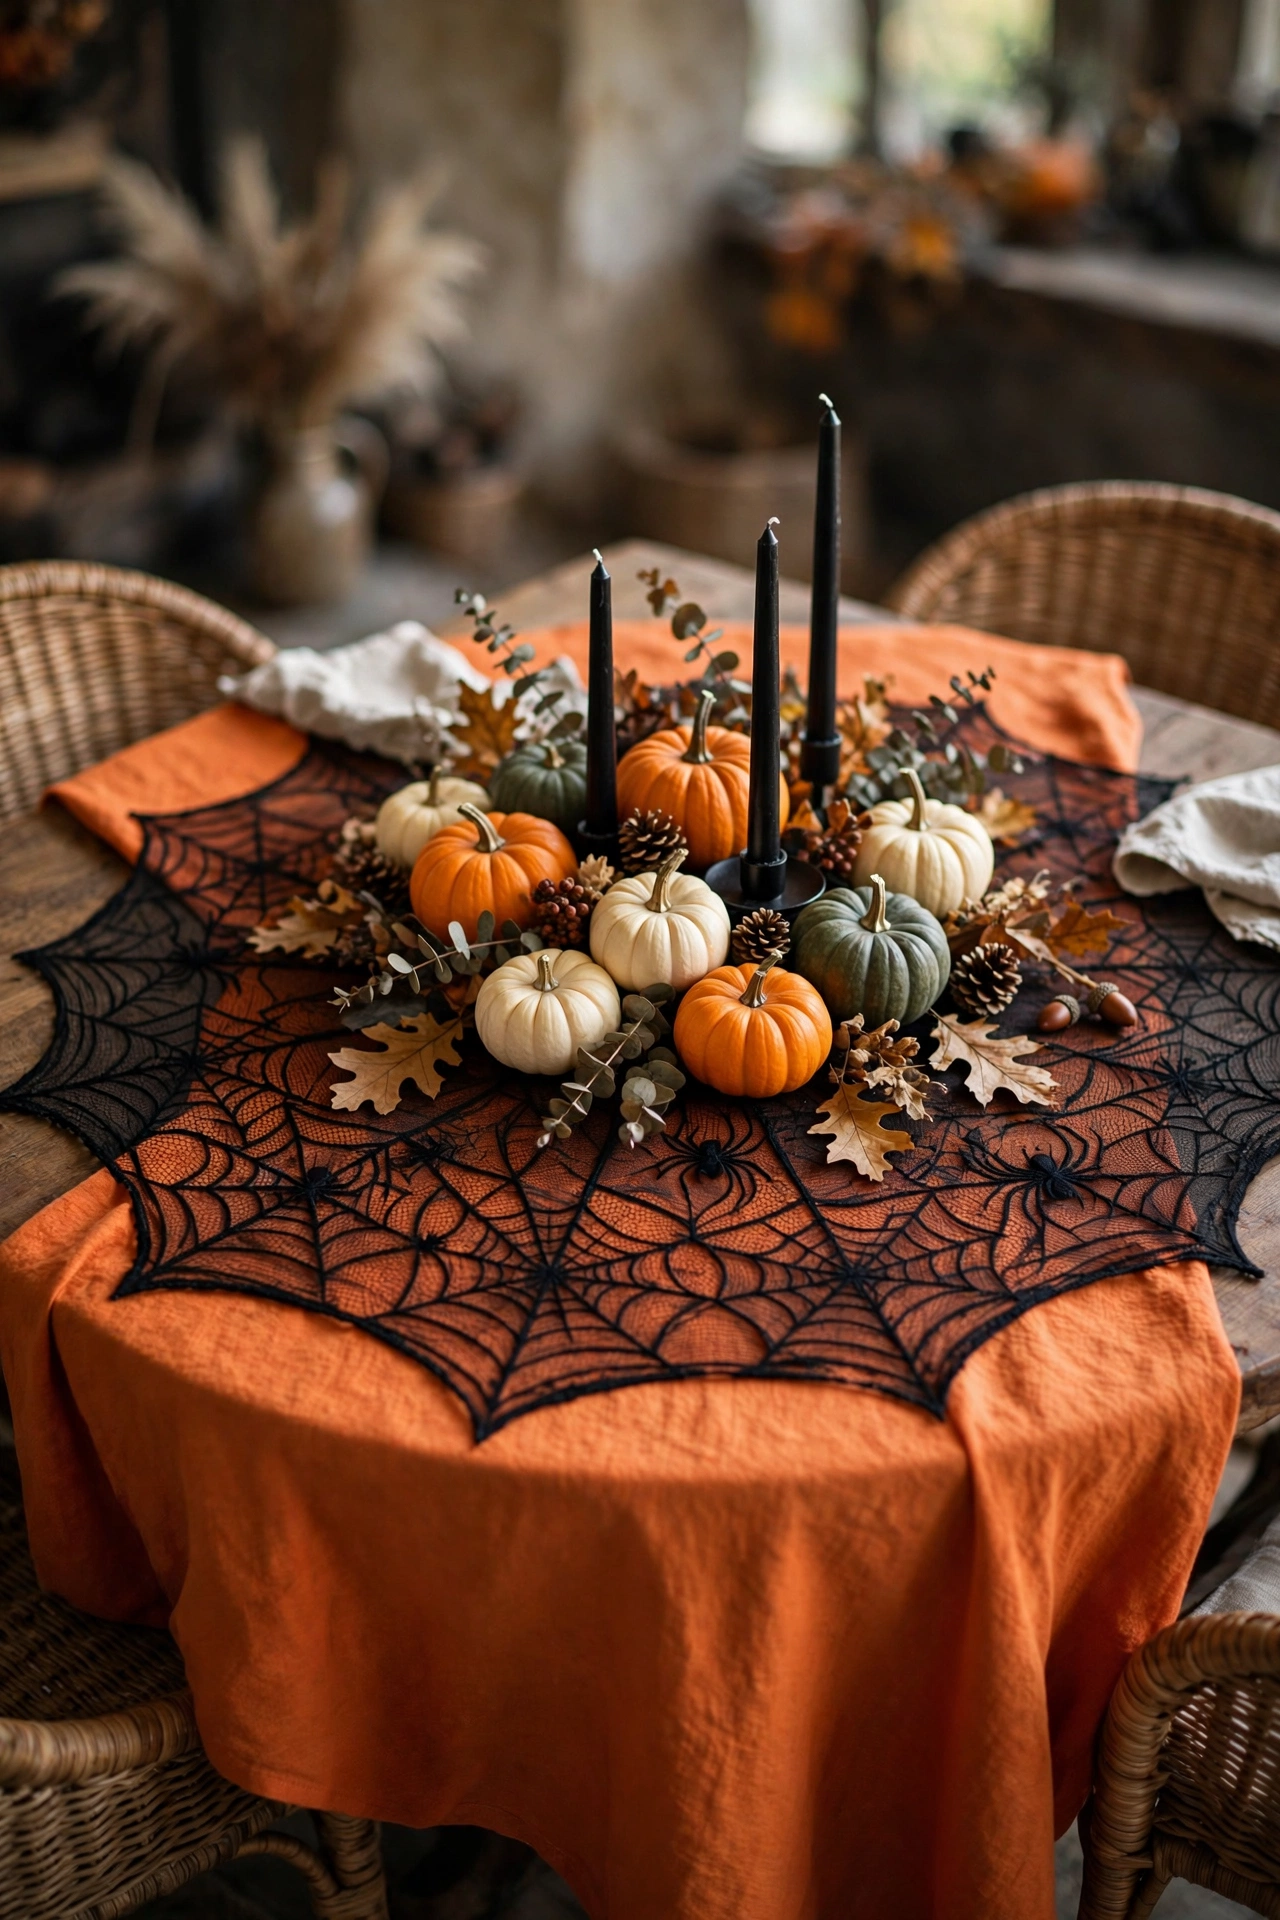
Tip: these cloths wrinkle badly out of the package, so run a warm iron over them before the party. Wrinkles flatten the web pattern and make it look messy. A smooth cloth photographs twice as well.
12. Mini Cauldron Planters
Those little black plastic cauldrons are too cute to use only once. Fill one with wrapped candy for the coffee table, plant a small succulent in another for the windowsill, and use a third to hold tea lights on the porch. The cauldron shape does all the Halloween work for you, so whatever you put inside still reads as seasonal. Group three together at different heights for a proper display.
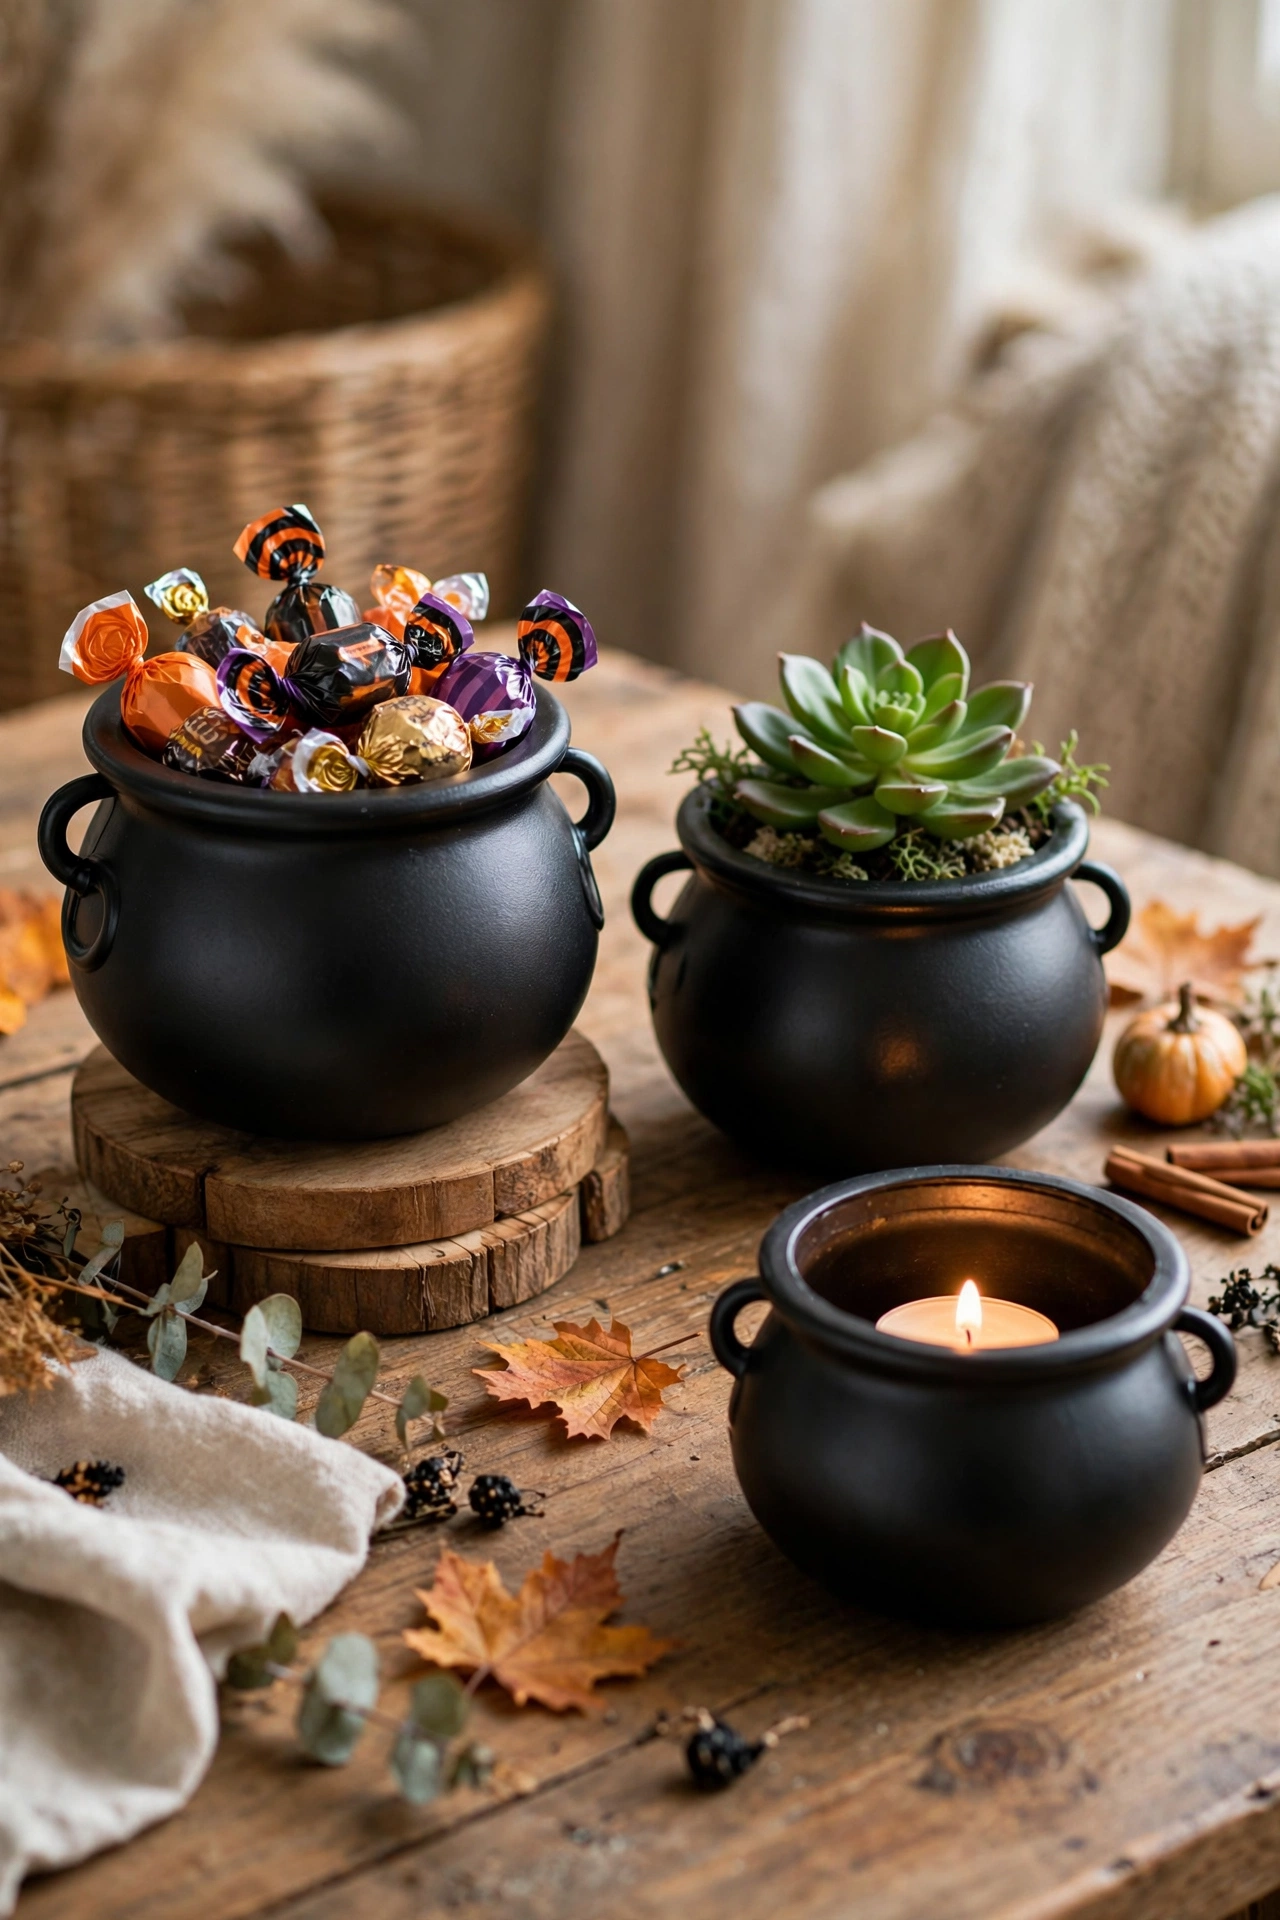
Tip: drill a drainage hole in any cauldron holding a live plant, or the succulent will rot within weeks. For candy versions, line the inside with a napkin so chocolate never touches the plastic directly. Kids love these, so keep a few empty ones handy for trick-or-treat night.
13. Witch Broom Parking Sign
A small wooden plaque from the craft aisle, some paint, and a stake make the beloved witch parking sign. Paint the plaque black, letter “Witch Parking Only” in white or orange craft paint, and mount it on a wooden dowel. Stick it in a planter by your front door or at the end of the walkway. Guests smile every time, and it costs almost nothing to make.
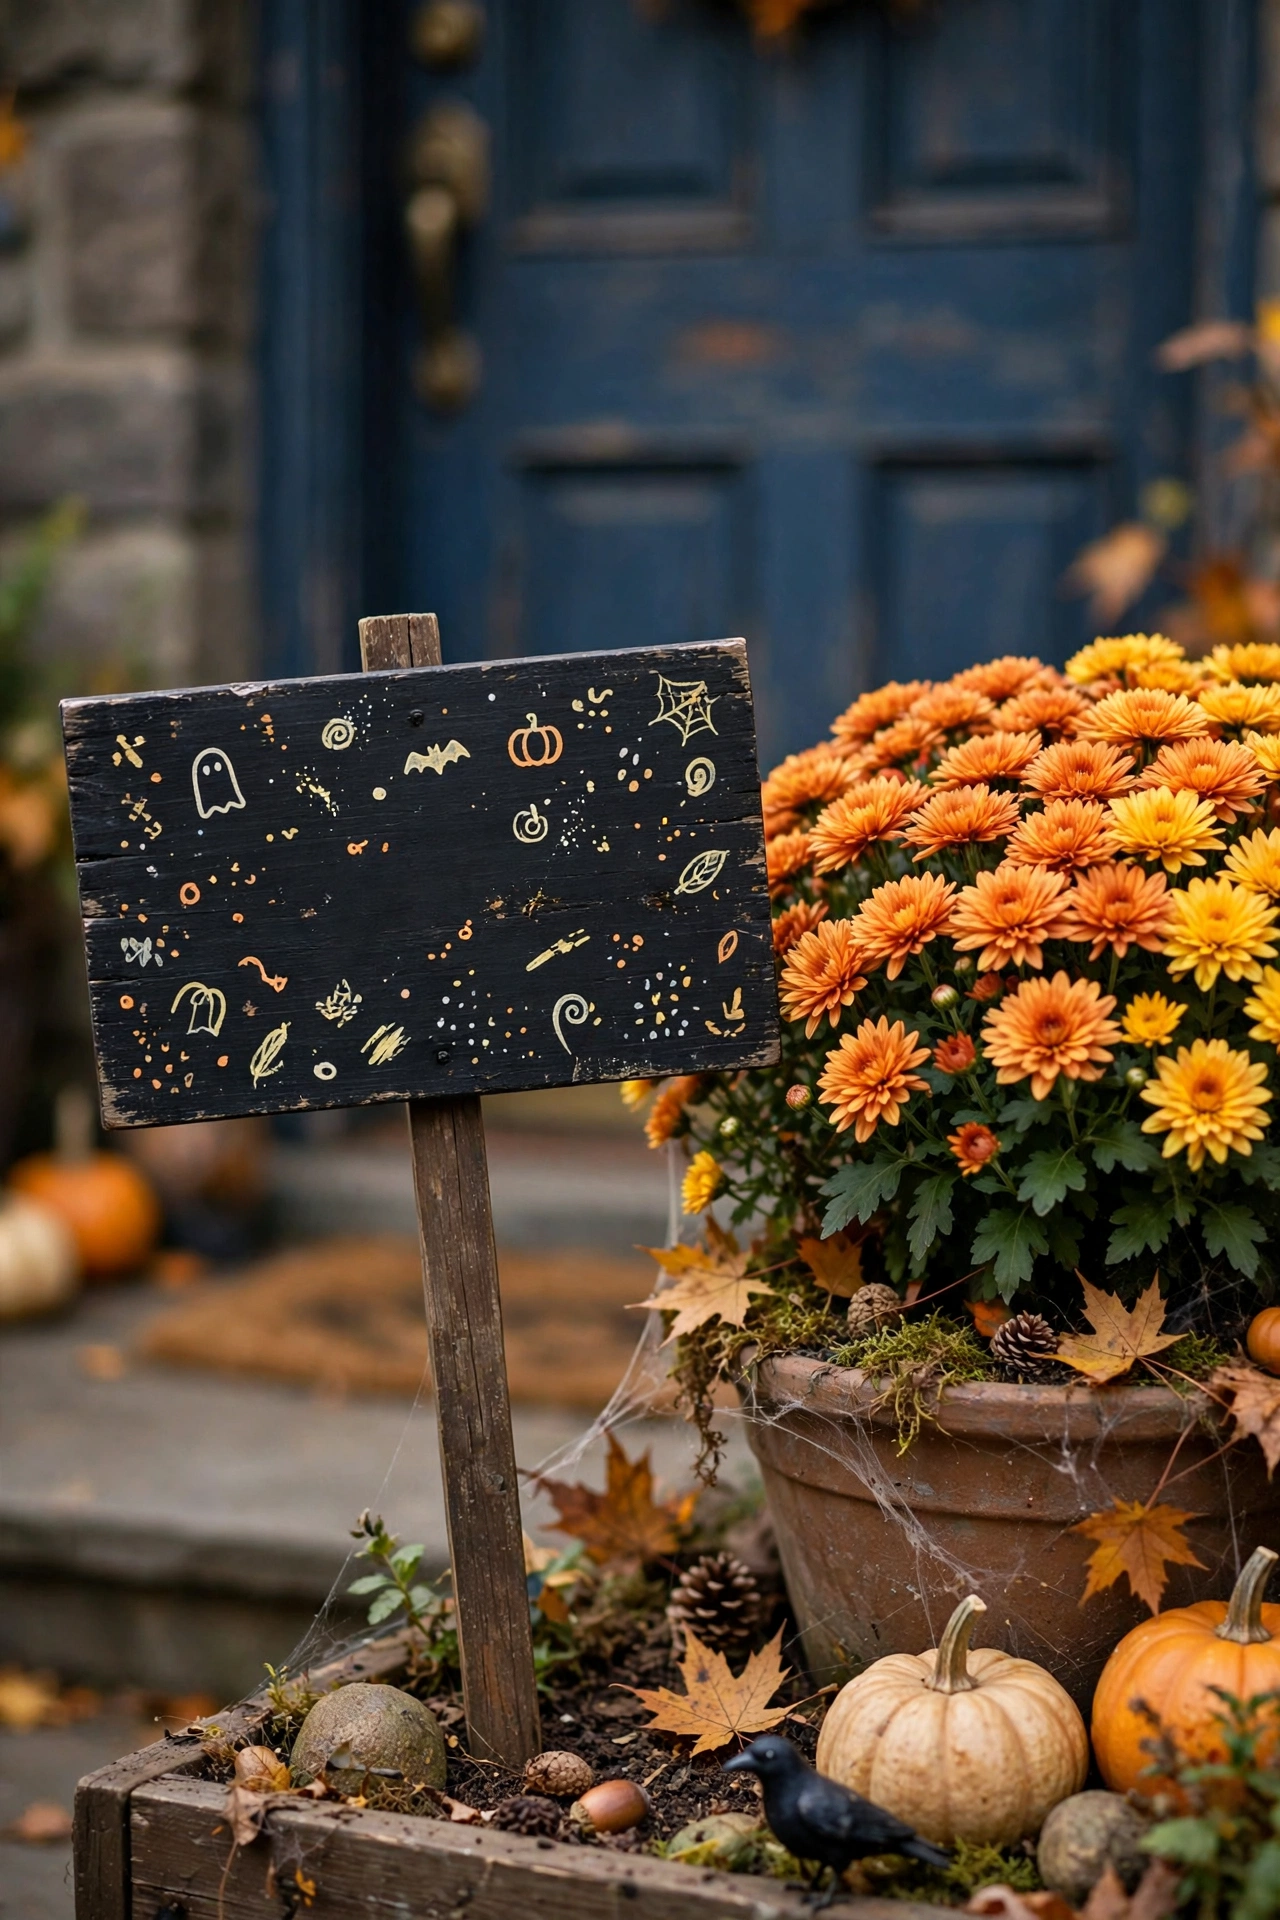
Tip: seal the finished sign with clear matte spray so the lettering survives October weather. Push the dowel deep into the soil. Top-heavy signs tip over in the first strong wind if they are only an inch deep.
14. Orange Bandana Bunting
Orange bandanas cut into triangles make the happiest Halloween bunting. Fold each bandana in half diagonally, cut along the fold, and you get two large triangles per bandana. Clip or glue them along a length of twine and hang the bunting across your mantel, along the porch railing, or in a doorway. The paisley print reads as festive rather than spooky, which is perfect if you have small kids.
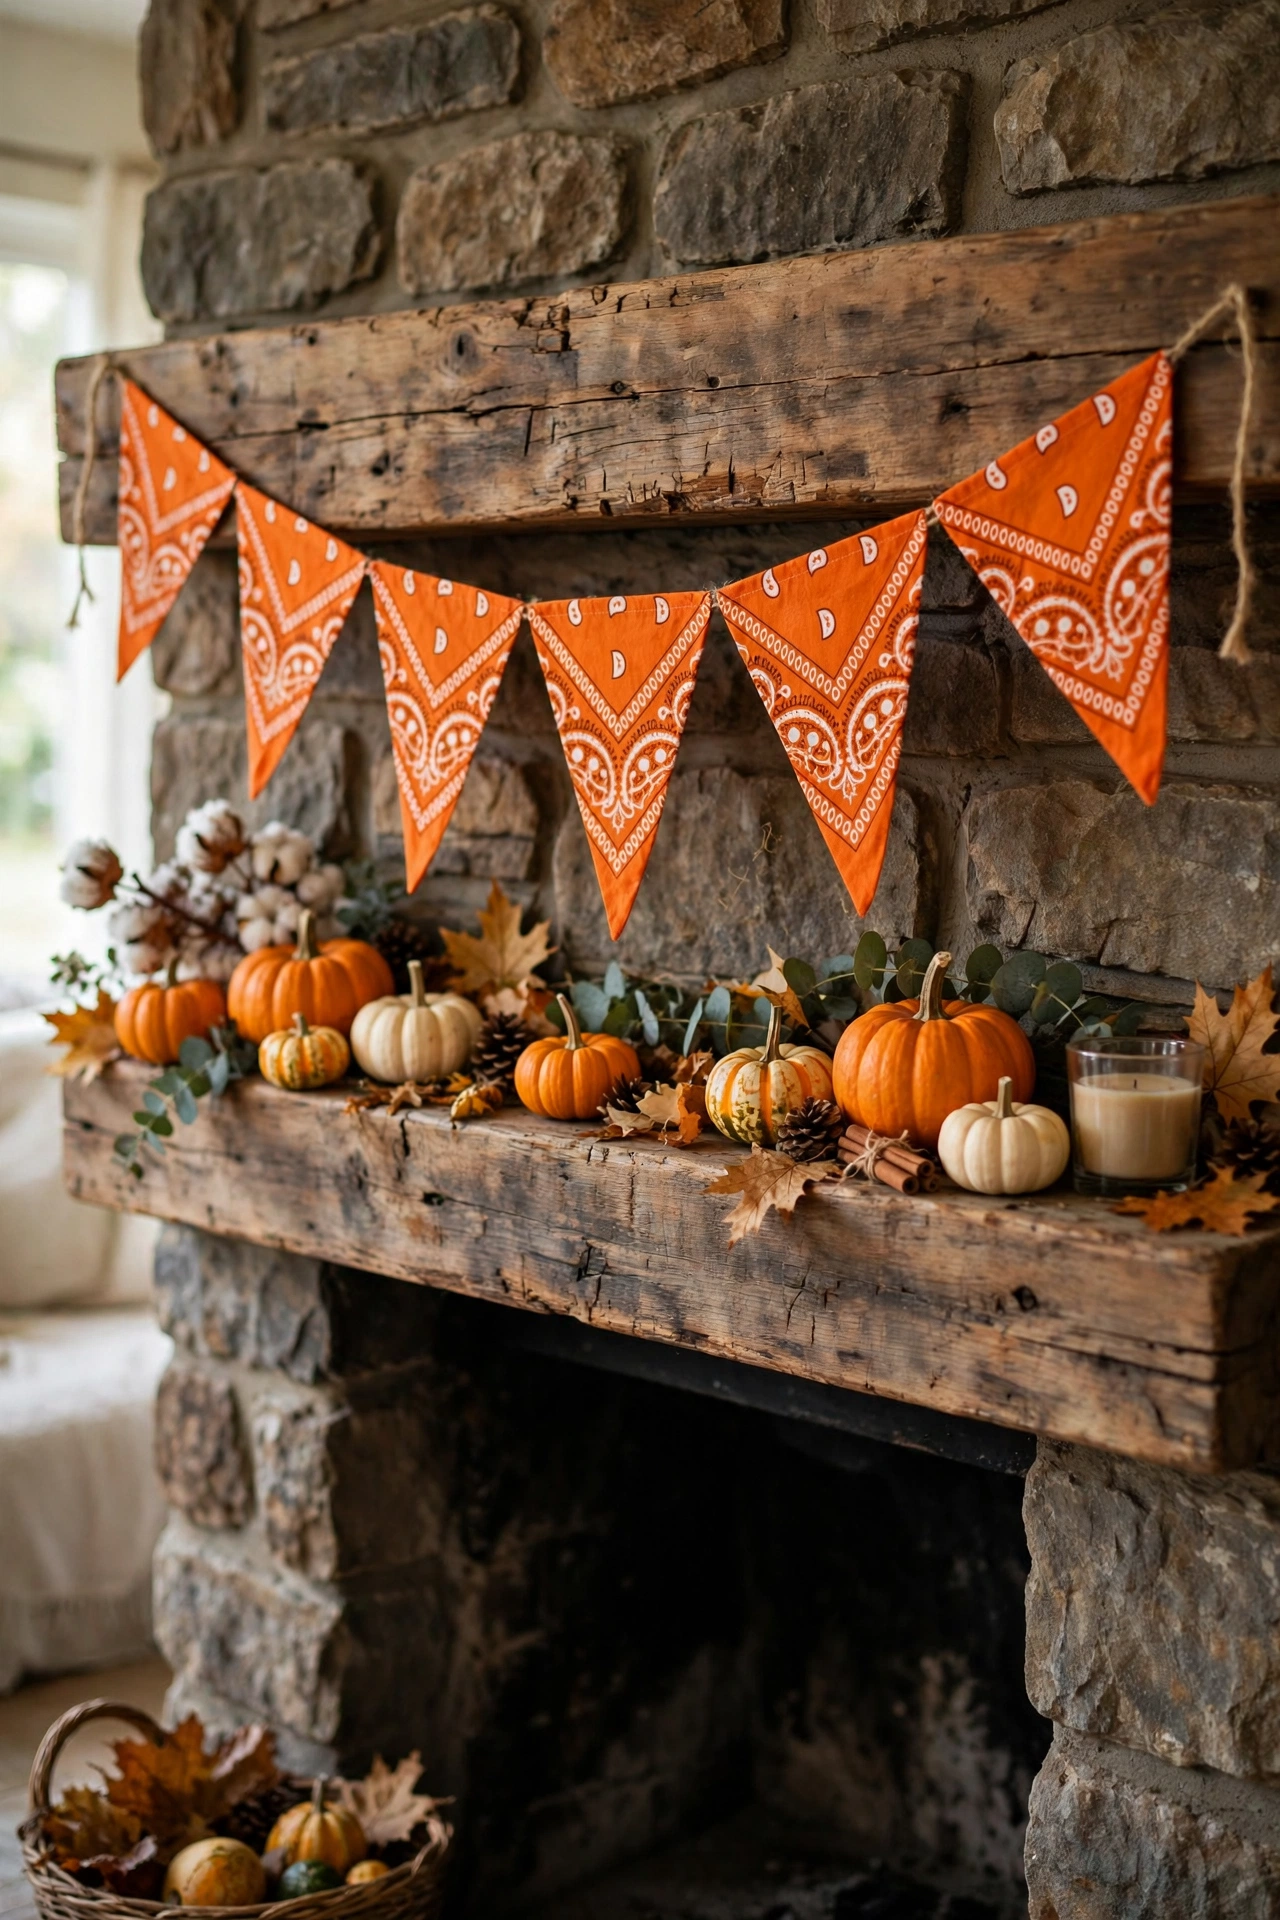
Tip: a hot glue gun holds the triangles to the twine in seconds and survives the whole season. Space the triangles evenly by measuring with your hand, about a hand-width apart looks right. Fold the bunting up gently for storage and it comes out ready next year.
15. Stacked Pumpkin Topiary
Three plastic pumpkins stacked on a wooden dowel make a topiary that anchors your whole porch. Choose small, medium, and large pumpkins, drill a hole through the top and bottom of each, and thread them onto a dowel stuck into a heavy pot filled with soil or sand. Top with a bow or a small faux crow. Flank your front door with two of them and the entrance looks professionally decorated. For more porch styling, see our Halloween porch decor ideas.
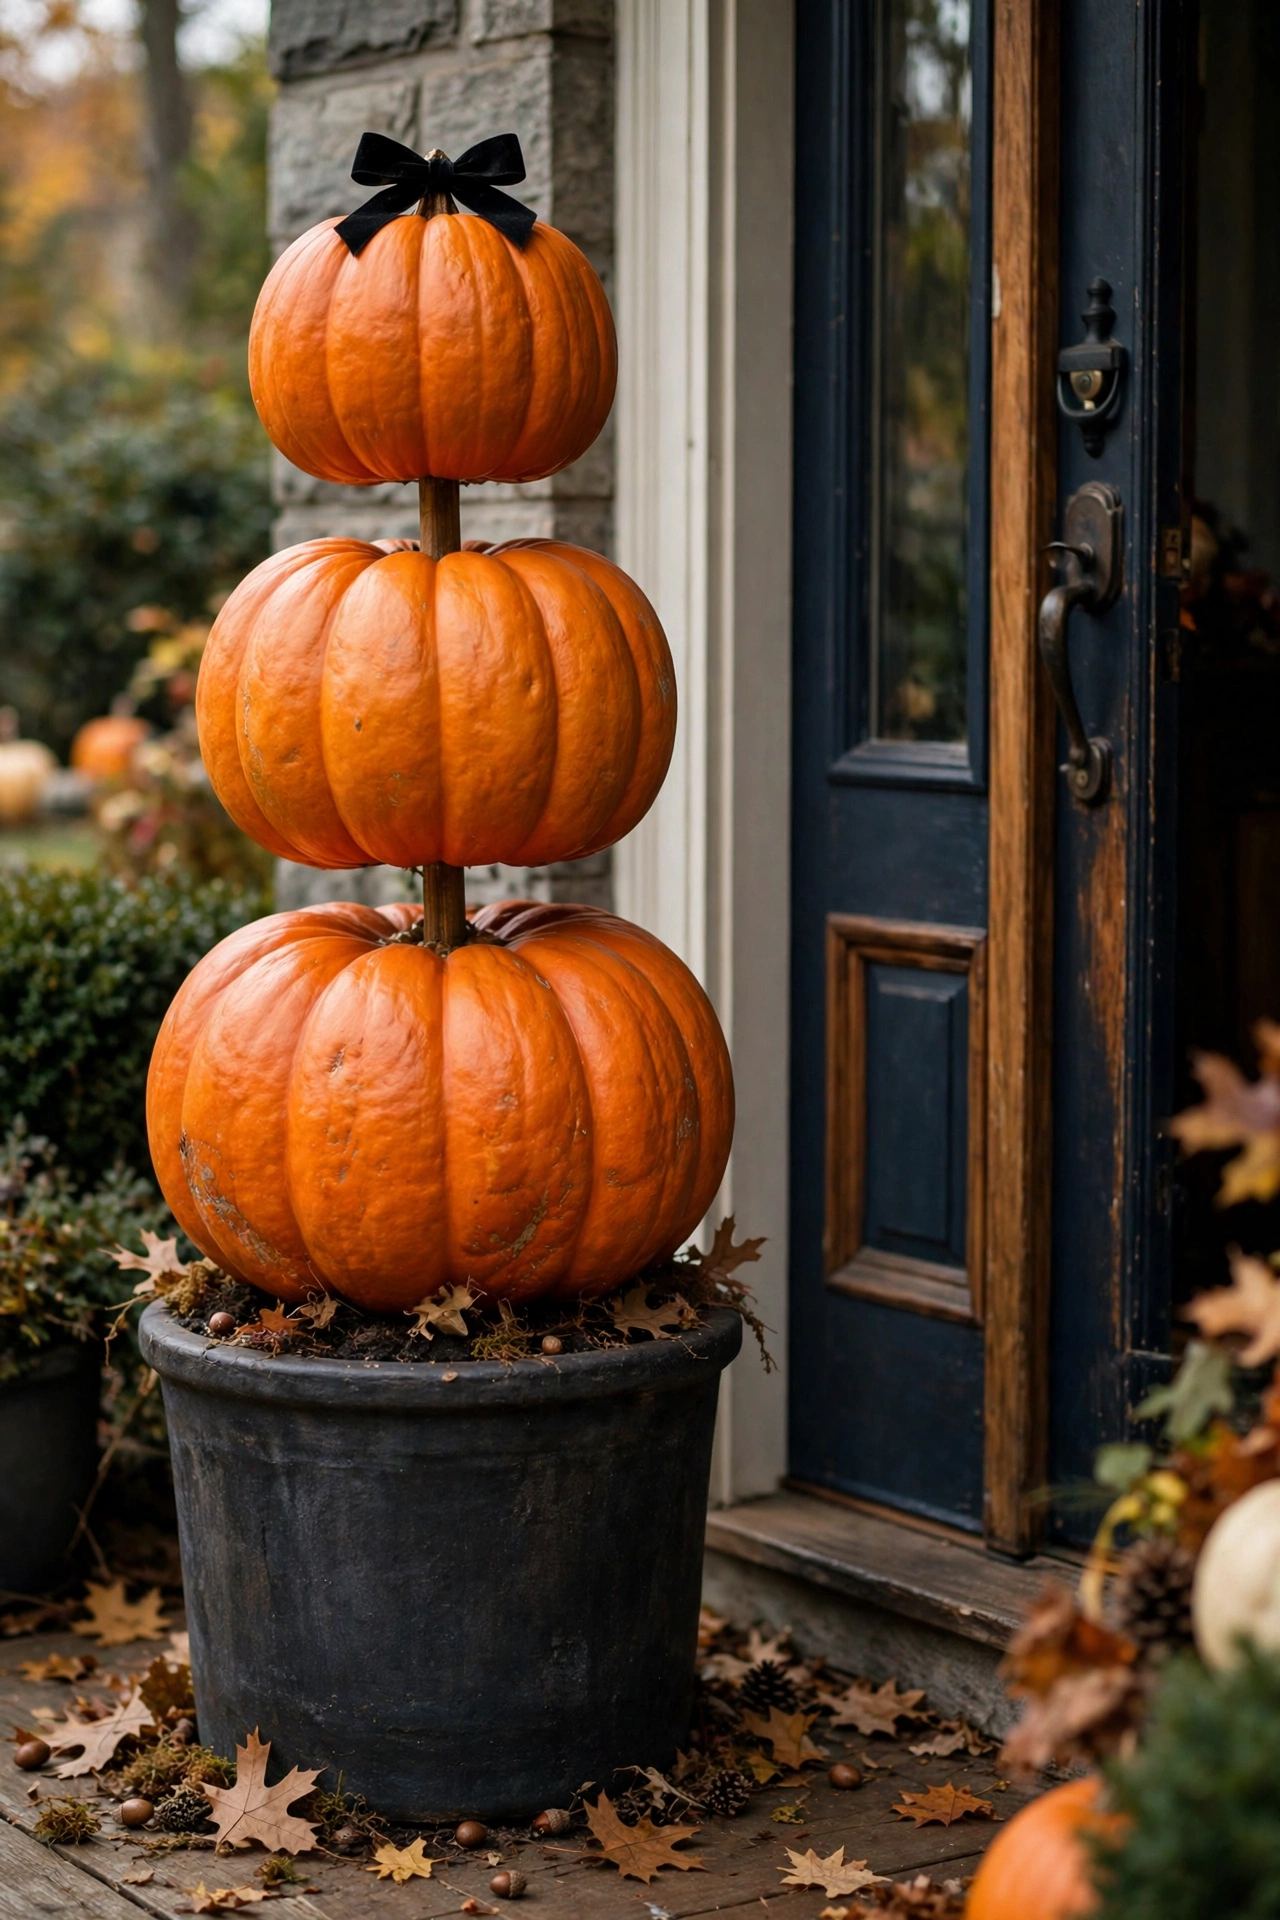
Tip: weight is everything here. A light pot will tip in wind, so use a really heavy planter or add a brick inside. Drill the holes slightly wider than the dowel so the pumpkins slide on without cracking. Paint the pumpkins first if you want the matte upgrade from idea one.
Which Dollar Store Halloween Decor Should You Start With?
Fifteen ideas is plenty, so here is the short version. Find the row that matches your time, your space, and your budget.
| Project | Difficulty | Best for |
|---|---|---|
| Spray-painted plastic pumpkins | Easy | The biggest visual upgrade |
| Mini skull garland | Easy | Mantels and bookshelves |
| Black lace tablecloth overlay | Easy | Instant dinner-party table |
| Paper bag luminaries | Easy | Glowing walkways after dark |
| Upgraded foam tombstones | Medium | Front-yard graveyard scenes |
| Plastic bat wall swarm | Easy | Dramatic walls and mirrors |
| Cheesecloth ghosts | Medium | Porches and trees |
| Framed printable Halloween art | Easy | Sophisticated wall decor |
| Black feather wreath | Easy | A striking front door |
| DIY potion bottles | Easy | Shelves and mantels |
| Spider web tablecloth | Easy | Five-minute table styling |
| Mini cauldron planters | Easy | Candy, plants, and candles |
| Witch broom parking sign | Easy | Making guests smile |
| Orange bandana bunting | Easy | Kid-friendly festive color |
| Stacked pumpkin topiary | Medium | Anchoring the front entrance |
Frequently Asked Questions
How much do I need to spend for dollar store Halloween decor?
Most projects on this list need only a few dollar store items plus basics like glue, paint, or tape that you may already own. The whole point is that the upgrade comes from the technique (matte paint, styling, restraint), not from the price tag.
How do I make dollar store decor not look cheap?
Buy for shape, not finish, then fix the finish: matte spray paint kills plastic shine, and a tight color palette hides bargain origins. Style pieces in odd-numbered groups with breathing room instead of lining them up like a store shelf.
Is spray paint safe to use on plastic pumpkins?
Spray outdoors or in a well-ventilated space and wear a mask. Apply two light coats rather than one heavy one so the paint does not pool in the ridges, and let each coat dry fully. Once cured, the finish is durable and safe to handle.
Will dollar store decorations survive outside in October?
Plastic and sealed items handle rain fine. Paper, fabric, and feather pieces should stay on a covered porch or come inside during wet weather. A coat of clear matte sealer over painted finishes keeps your aging and paint work from washing away.
What are the best dollar store Halloween buys?
Look for items with great shapes: plastic pumpkins, skulls, glass bottles, black frames, and candles. Those upgrade beautifully with paint and styling. Skip anything with a finish you cannot fix. Heavy glitter and flimsy electronics rarely improve.
How do I store dollar store Halloween decor for next year?
Painted plastic pieces store indefinitely in a labeled bin. Keep paper crafts flat and dry, coil garlands loosely, and store feather or fabric items in garment bags so they stay clean. Everything here is light, so one or two bins hold the whole collection.
Final Thoughts
Dollar store Halloween decor is not about spending less. It is about seeing past the packaging. Every idea here started as something ordinary on a shelf and became something stylish with a little paint, a little styling, and a little patience. Start with the pumpkins this weekend. Once you see how good matte black looks on plastic, you will never walk past the Halloween aisle the same way again. Dengarden’s Dollar Tree DIY ghosts are another five-minute win.