
Thrifted Entryway Makeover Under $50: 8 Ideas

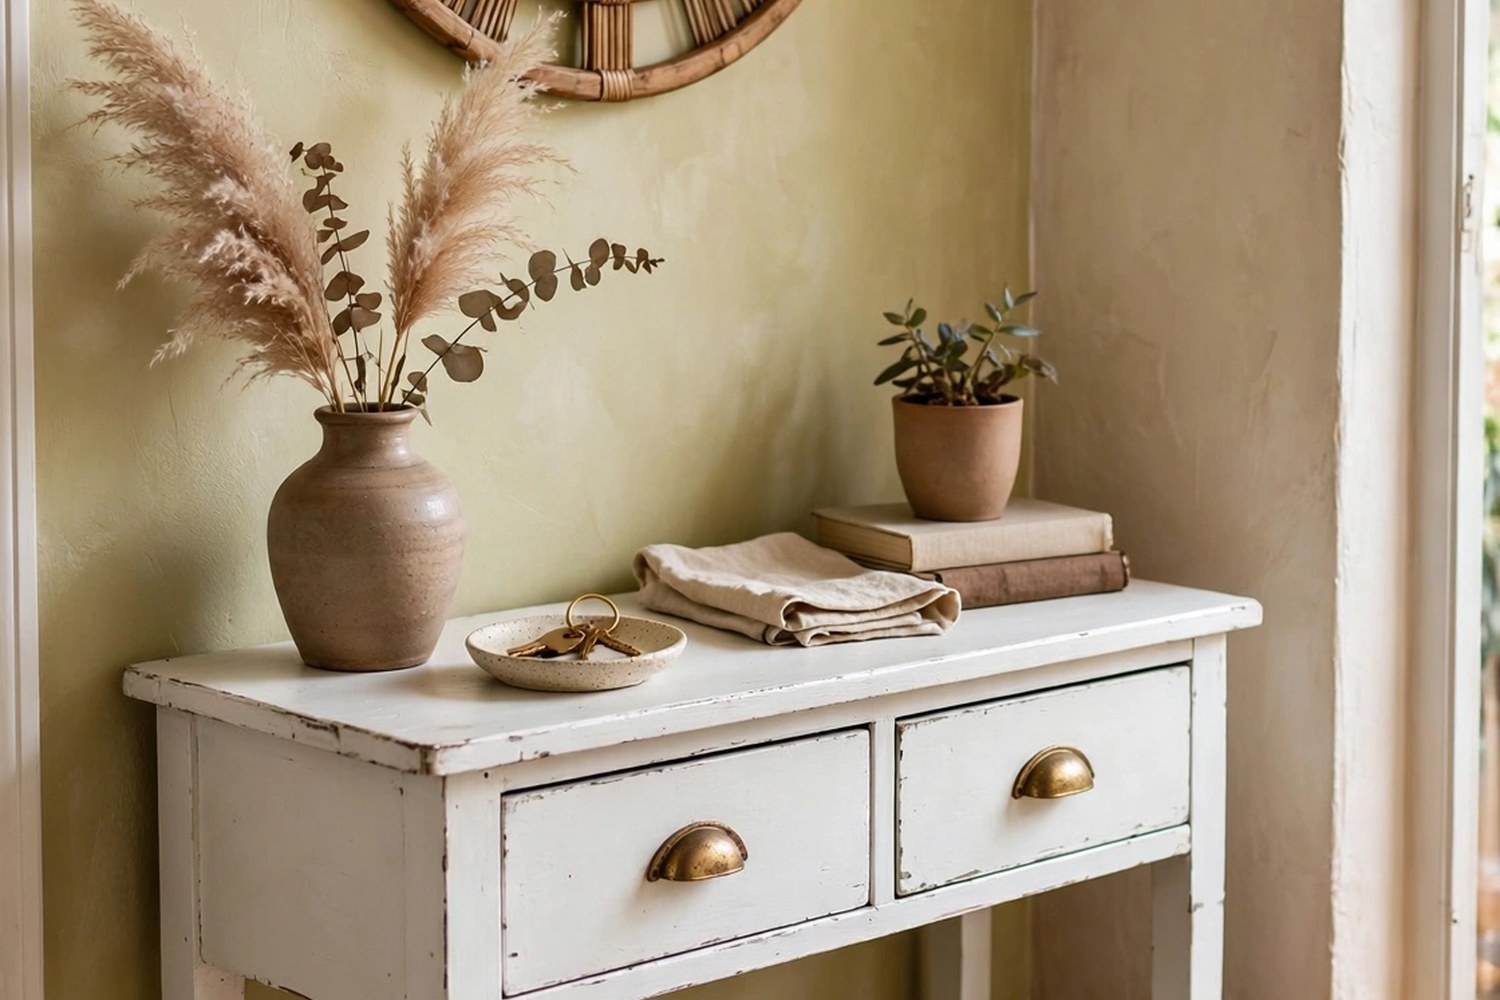
Every house has that embarrassing corner: a blank wall where shoes pile up, mail gets dumped, and guests stand awkwardly while you clear a path. Here is a challenge worth taking: transform the whole thing using only secondhand finds and paint, for under $50.
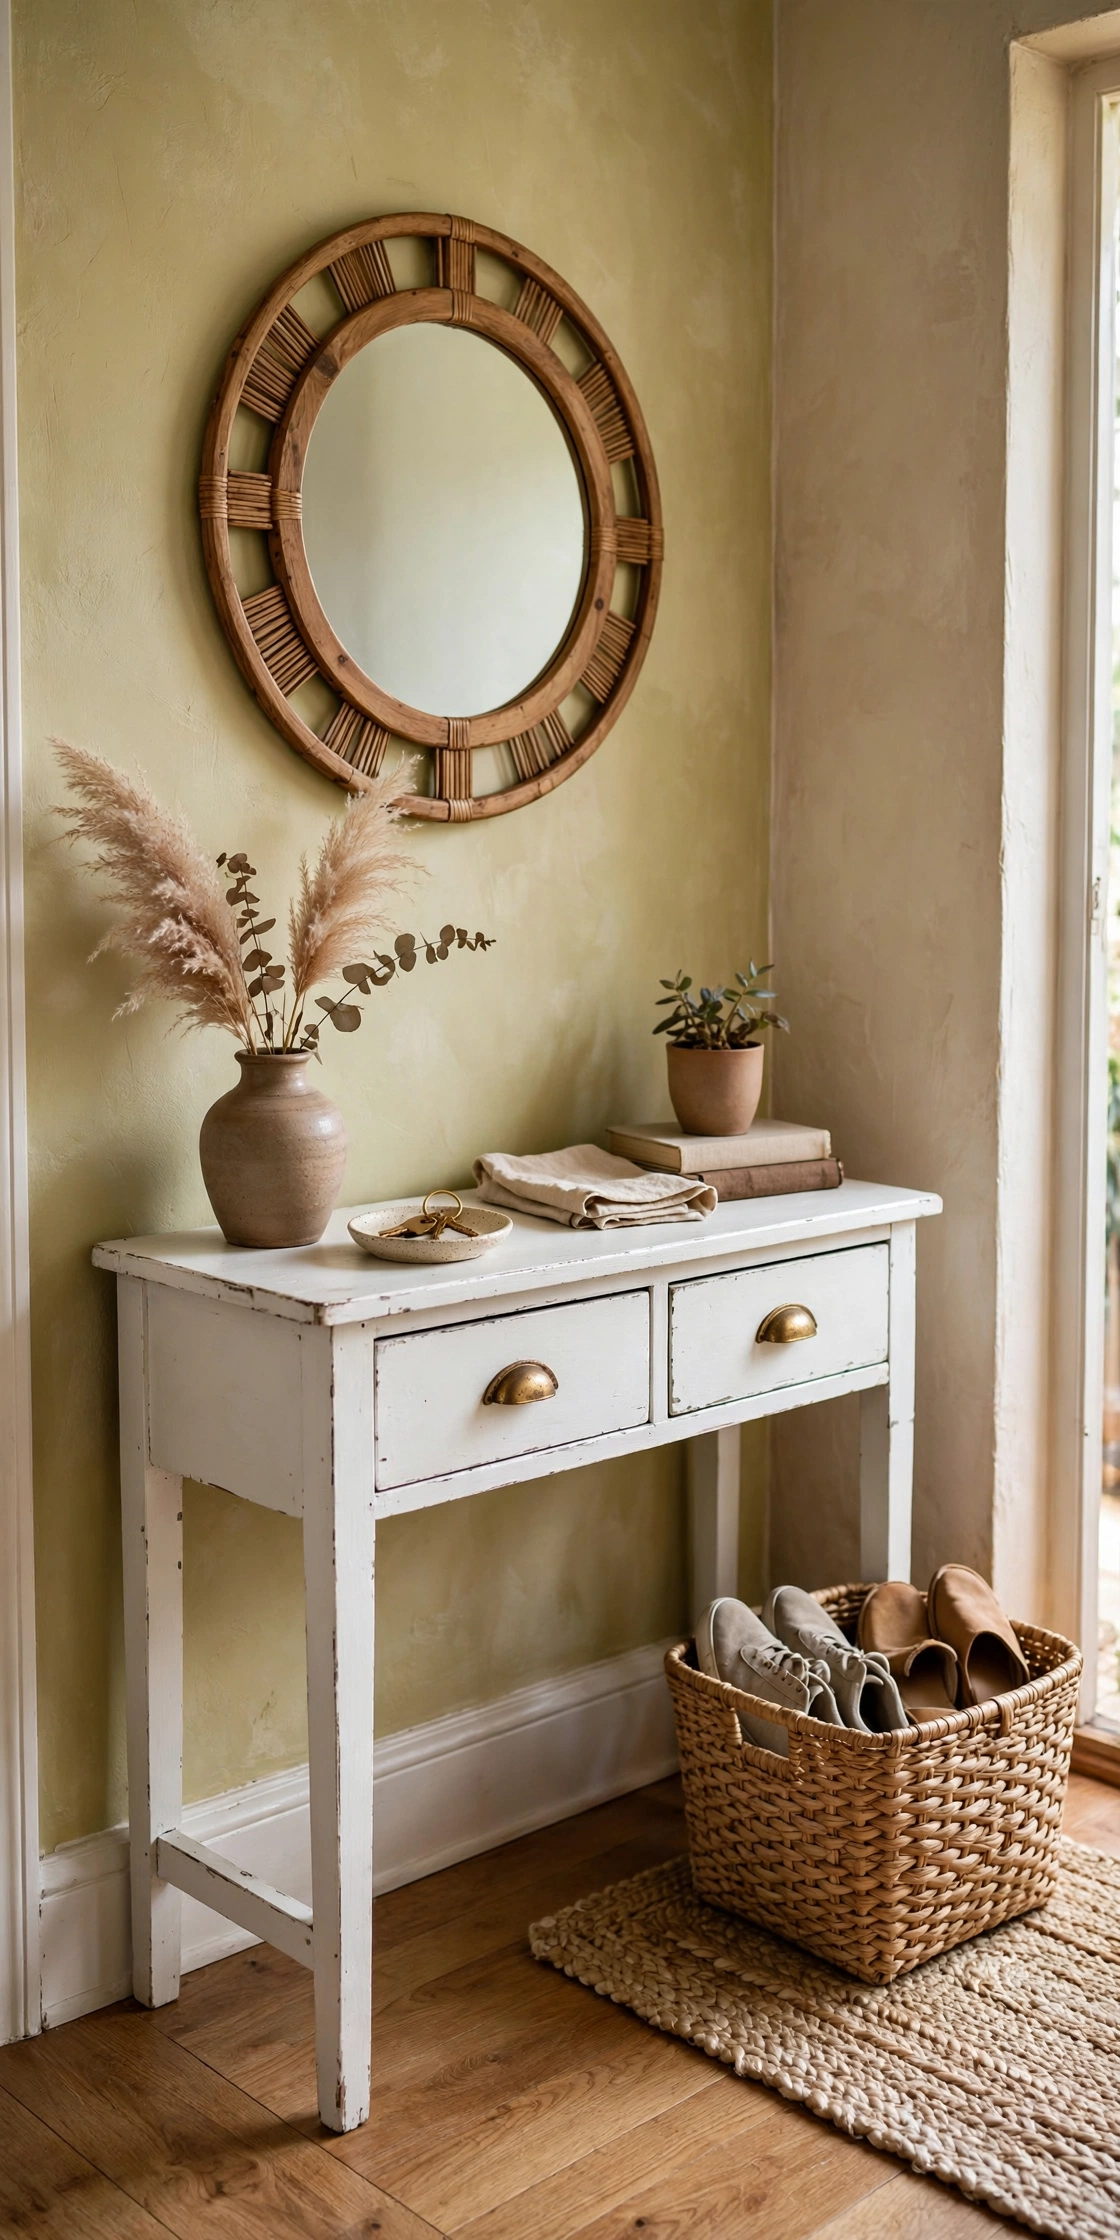
It takes a few thrift store visits, one Saturday of painting, and $47 total. The result is a sweet console table holding keys, a mirror bouncing light around, and a basket that finally contains the shoe chaos.
Here are 8 ideas to do the same, from what to hunt to where the dollars go. Once the makeover is done, my small entryway ideas keep the finished corner organized and welcoming.
1. Hunt the Console Table First
Your anchor piece is a small console table or narrow dresser, 10 to 14 inches deep so it doesn’t block your walkway. Don’t worry about color, scratches, or dated varnish — you’re painting it. What matters is sturdiness: wiggle it, open the drawers, check the legs. A wobbly table isn’t worth $8, but a solid one with ugly paint absolutely is. I found mine, a little two-drawer console, for $12, rock solid under three layers of questionable varnish.
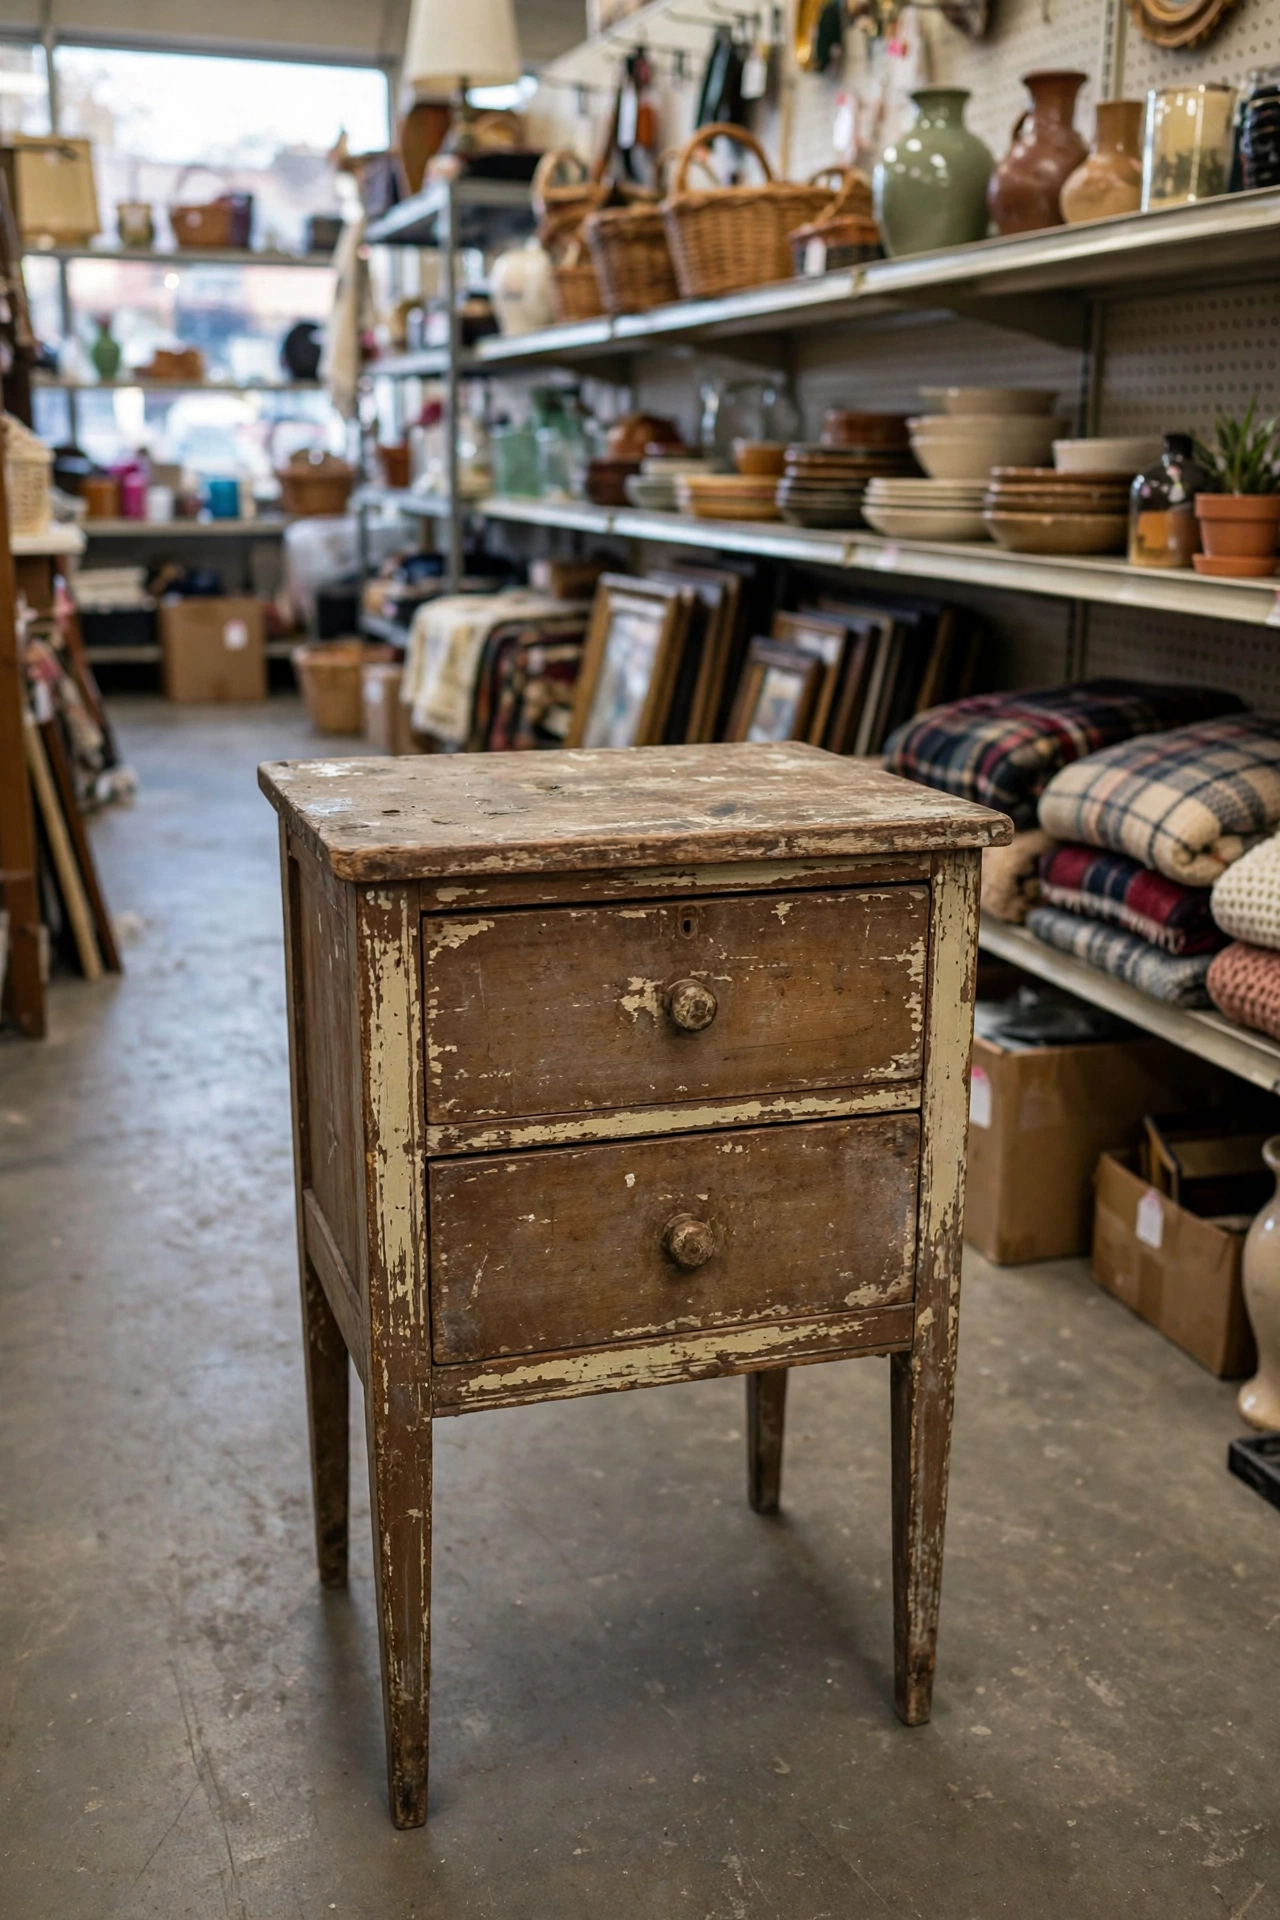
Tip: Go on weekday mornings when new donations hit the shelves and you get first pick. Bring a tape measure and your wall dimensions so you never guess whether a piece will fit.
2. Grab a Mirror Next
A mirror is magic in a small entryway: it bounces light around, makes the space feel twice as big, and gives you a last look before you head out. Thrift stores always have mirrors. Check the frames for damage, not the glass, because a scratched frame can be painted but a cracked mirror can’t be fixed. Any shape works: round, rectangle, arched. I found a simple wood-framed mirror for $6 in the exact same dated honey-oak as my console, which meant one coat of paint made them look like a matching set.

Tip: Hold the mirror up in the store and check the reflection for silvering damage or dark spots. Frame damage is fixable; mirror damage is forever.
3. Find the Perfect Basket
You need somewhere for shoes, and a basket is the answer. Look for a sturdy woven basket big enough for three or four pairs, about 16 to 20 inches wide. Baskets are one of the best thrift buys because they’re nearly indestructible and look good with zero work. Mine was $4 and all it needed was a wipe-down. Set one rule: the basket is for daily shoes only, not storage for the whole family’s collection.
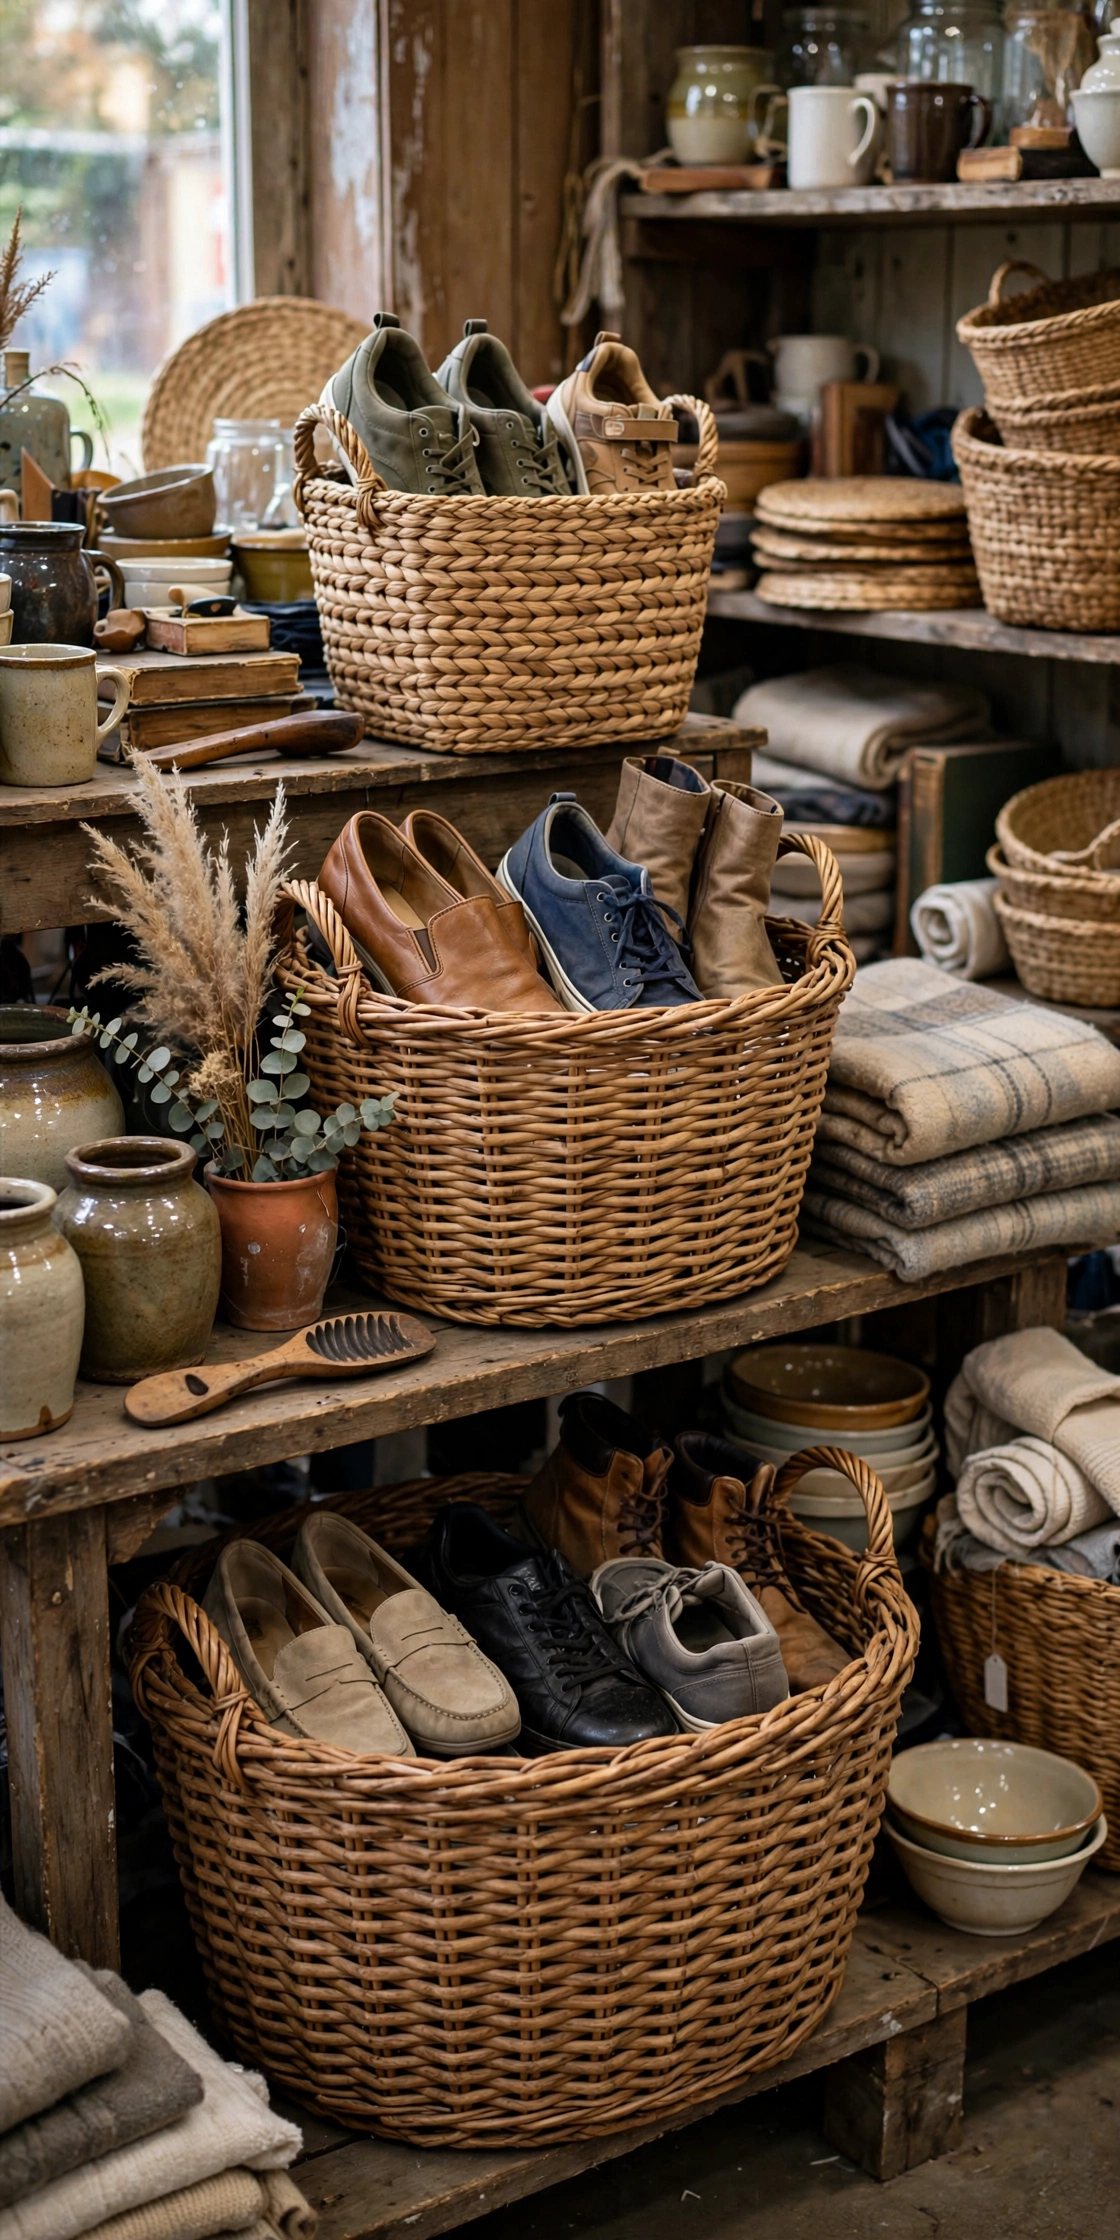
Tip: Smell the basket before you buy. Musty wicker can be aired out in the sun, but a basket that smells of smoke is hard to save. Sunshine is your free deodorizer.
4. Collect the Small Extras
Beyond the big three, keep an eye out for small finishers: a little tray for keys (I found a brass one for $2), a small lamp if you have an outlet nearby, a picture frame or two, and a faux plant if real ones aren’t your thing. These tiny pieces are what make the corner look styled instead of just furnished. Set a mini-budget of $10 for extras and stop when it’s gone.

Tip: Shop extras last, after the big pieces are home. You’ll know your color scheme from the paint you chose, and you’ll buy pieces that match instead of random cute things.
5. Clean Everything Before You Paint
Thrifted furniture has lived a whole life before you, and a good cleaning makes a shocking difference. My routine: vacuum every surface and crevice with the brush attachment, wipe everything with warm soapy water (a drop of dish soap, wrung-out rag), and disinfect drawers and shelves with diluted white vinegar (one part vinegar to three parts water) to kill odors.
For musty smells, sprinkle baking soda inside drawers overnight and vacuum it out in the morning; for stubborn smells, a day in the sunshine works wonders. While you’re at it, tighten every screw and glue wobbly joints. My console looked 50 percent better after cleaning alone, before I’d even opened a paint can.
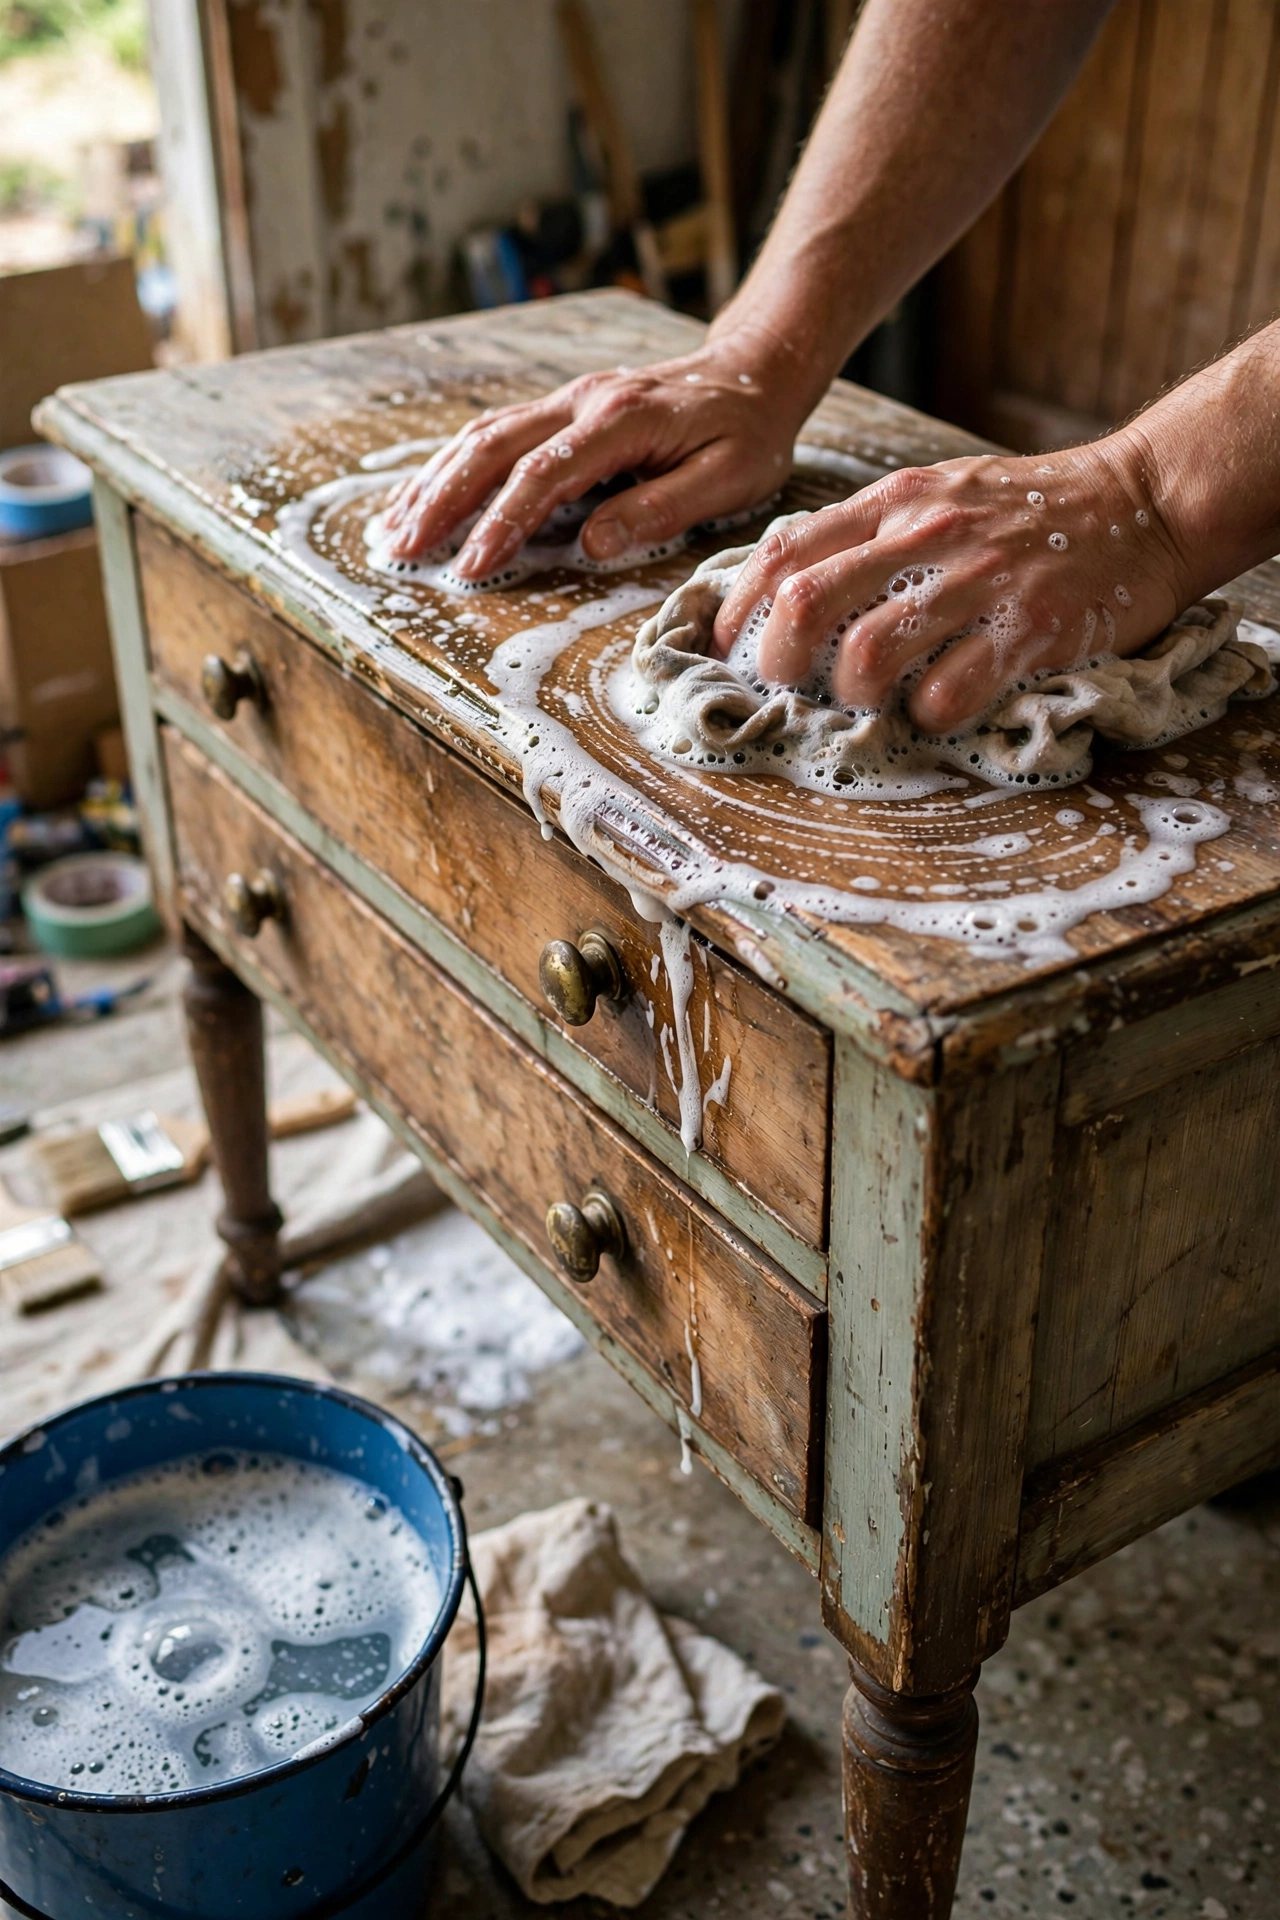
Tip: Let sticky spots soak under a damp cloth for a minute before scrubbing. Patience removes sticker residue and mystery goo better than any harsh chemical.
6. Paint It All One Color
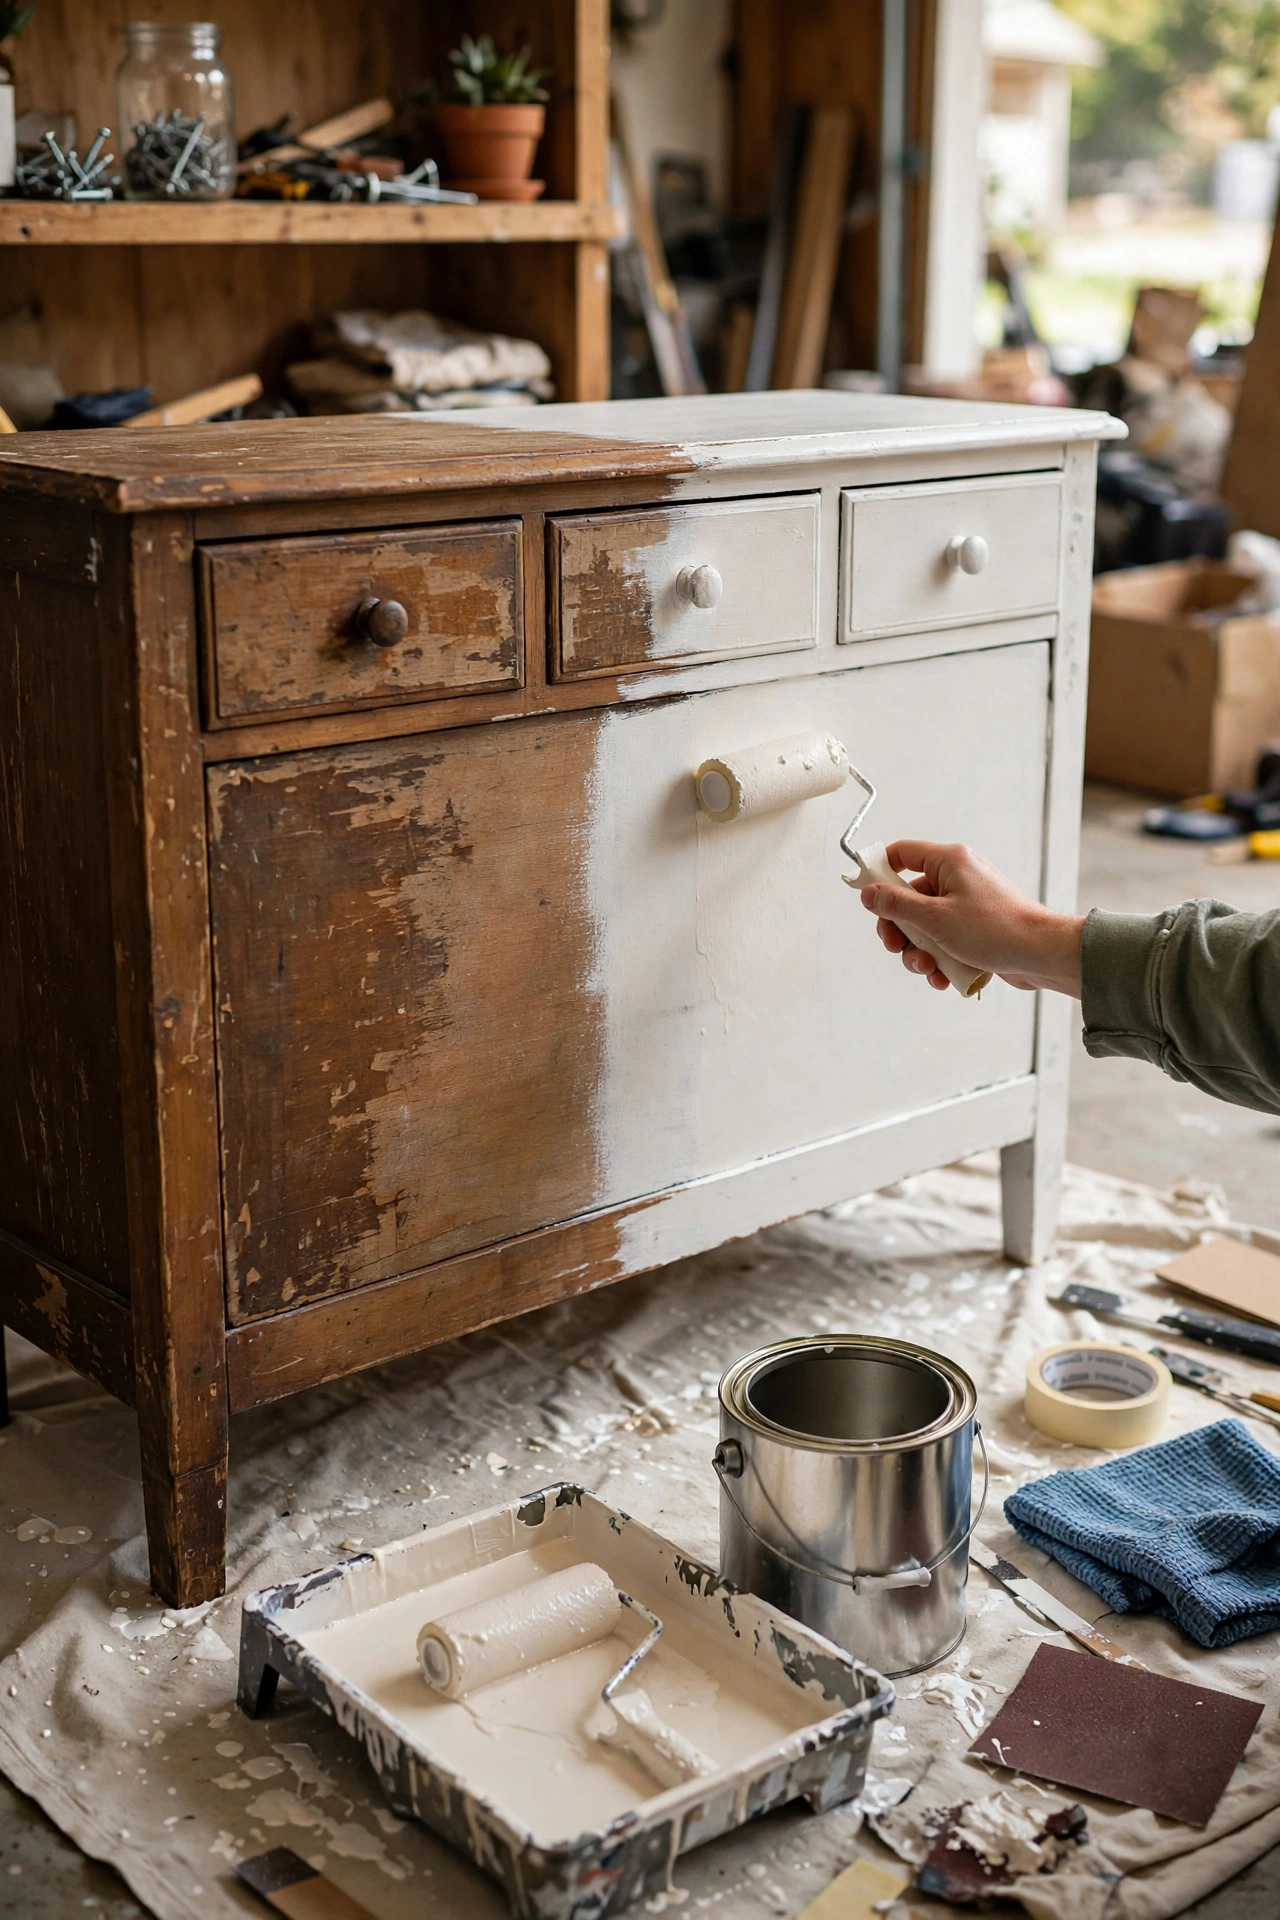
Paint is the great equalizer: it takes a $12 dated console and a $6 dated mirror frame and makes them look like they were bought together from a nice store. Lightly sand with 120-grit, just scuffing so paint sticks, ten minutes is enough. Wipe the dust off. Then apply one coat of bonding primer. Primer is the step people skip, and it’s why their paint chips three months later. A small can costs about $8 and covers everything.
For paint, use a satin-finish latex in warm white: durable, wipeable, with a soft glow. Thin coats with a foam roller on flat surfaces and a brush for details. Two thin coats always beat one thick gloopy coat, drying 2 to 4 hours between. My favorite trick: paint the mirror frame and the console the exact same color. Instant matching set, zero extra cost. I painted my drawer interiors a soft sage green, a secret happy color only I see.
Tip: Label your paint can with the color name and where you used it. A year from now when you want to touch up a chip or match the color in another room, you’ll thank yourself. Apartment Therapy’s guide to flipping thrifted furniture has pro repair and finishing tips.
7. Style the Finished Corner
Once the paint is dry, give everything a home while keeping it simple. On the console top: the brass tray on one side as the designated key spot (one specific tray means keys never get lost), a small thrifted vase with dried eucalyptus in the middle (dried stems cost a few dollars and last forever), and a little stack of two books with a candle on the other end. Three groups, breathing room between them, nothing fussy.
The mirror goes above the console, centered, bottom edge about 6 inches above the tabletop. The basket sits on the floor to one side holding only the daily shoes. If you have wall space beside the table, add a hook rail for coats and bags: hooks at 60 inches for adults, one lower at 40 for kids.
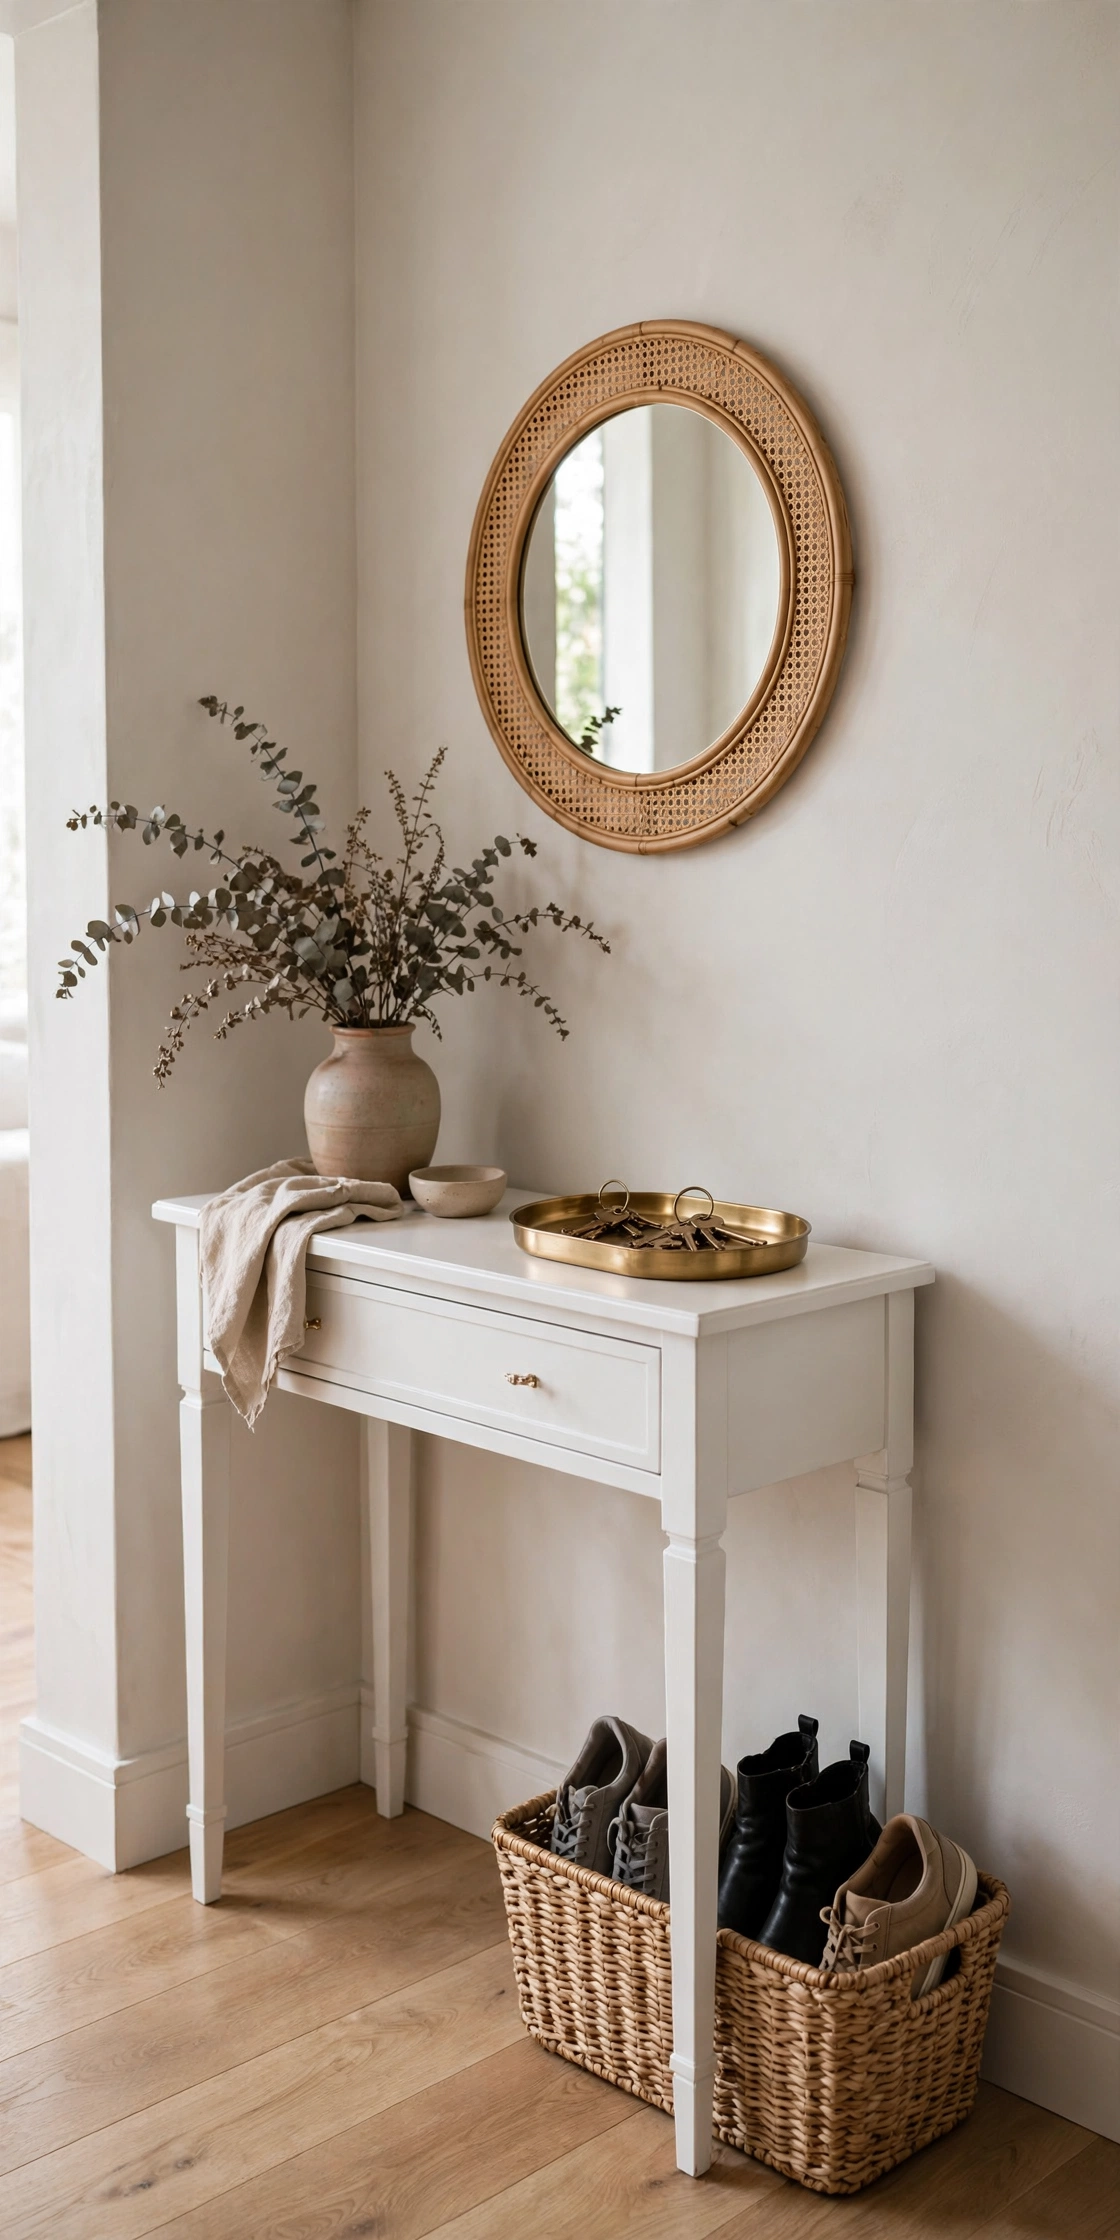
Tip: Take a photo of your styled corner, then look at it on your phone. The camera shows clutter your eyes have learned to ignore. Remove one thing, and it’s done.
8. Keep Every Dollar Accounted For
Here’s my exact spending: console table $12, mirror $6, basket $4, brass tray $2, bonding primer $8, quart of satin paint $12, sandpaper $3. Total: $47. Three dollars under budget, with leftover paint and primer for the next project. The only things I already owned were a brush, a foam roller, and cleaning supplies. If you need to buy those, add about $8 and reuse them forever.
The real budget secret is the rule, not the luck: decide the $50 cap before you walk into the store, and let the pieces you find set the plan, not the other way around. More budget hunting strategies live in my thrift store decor guide.
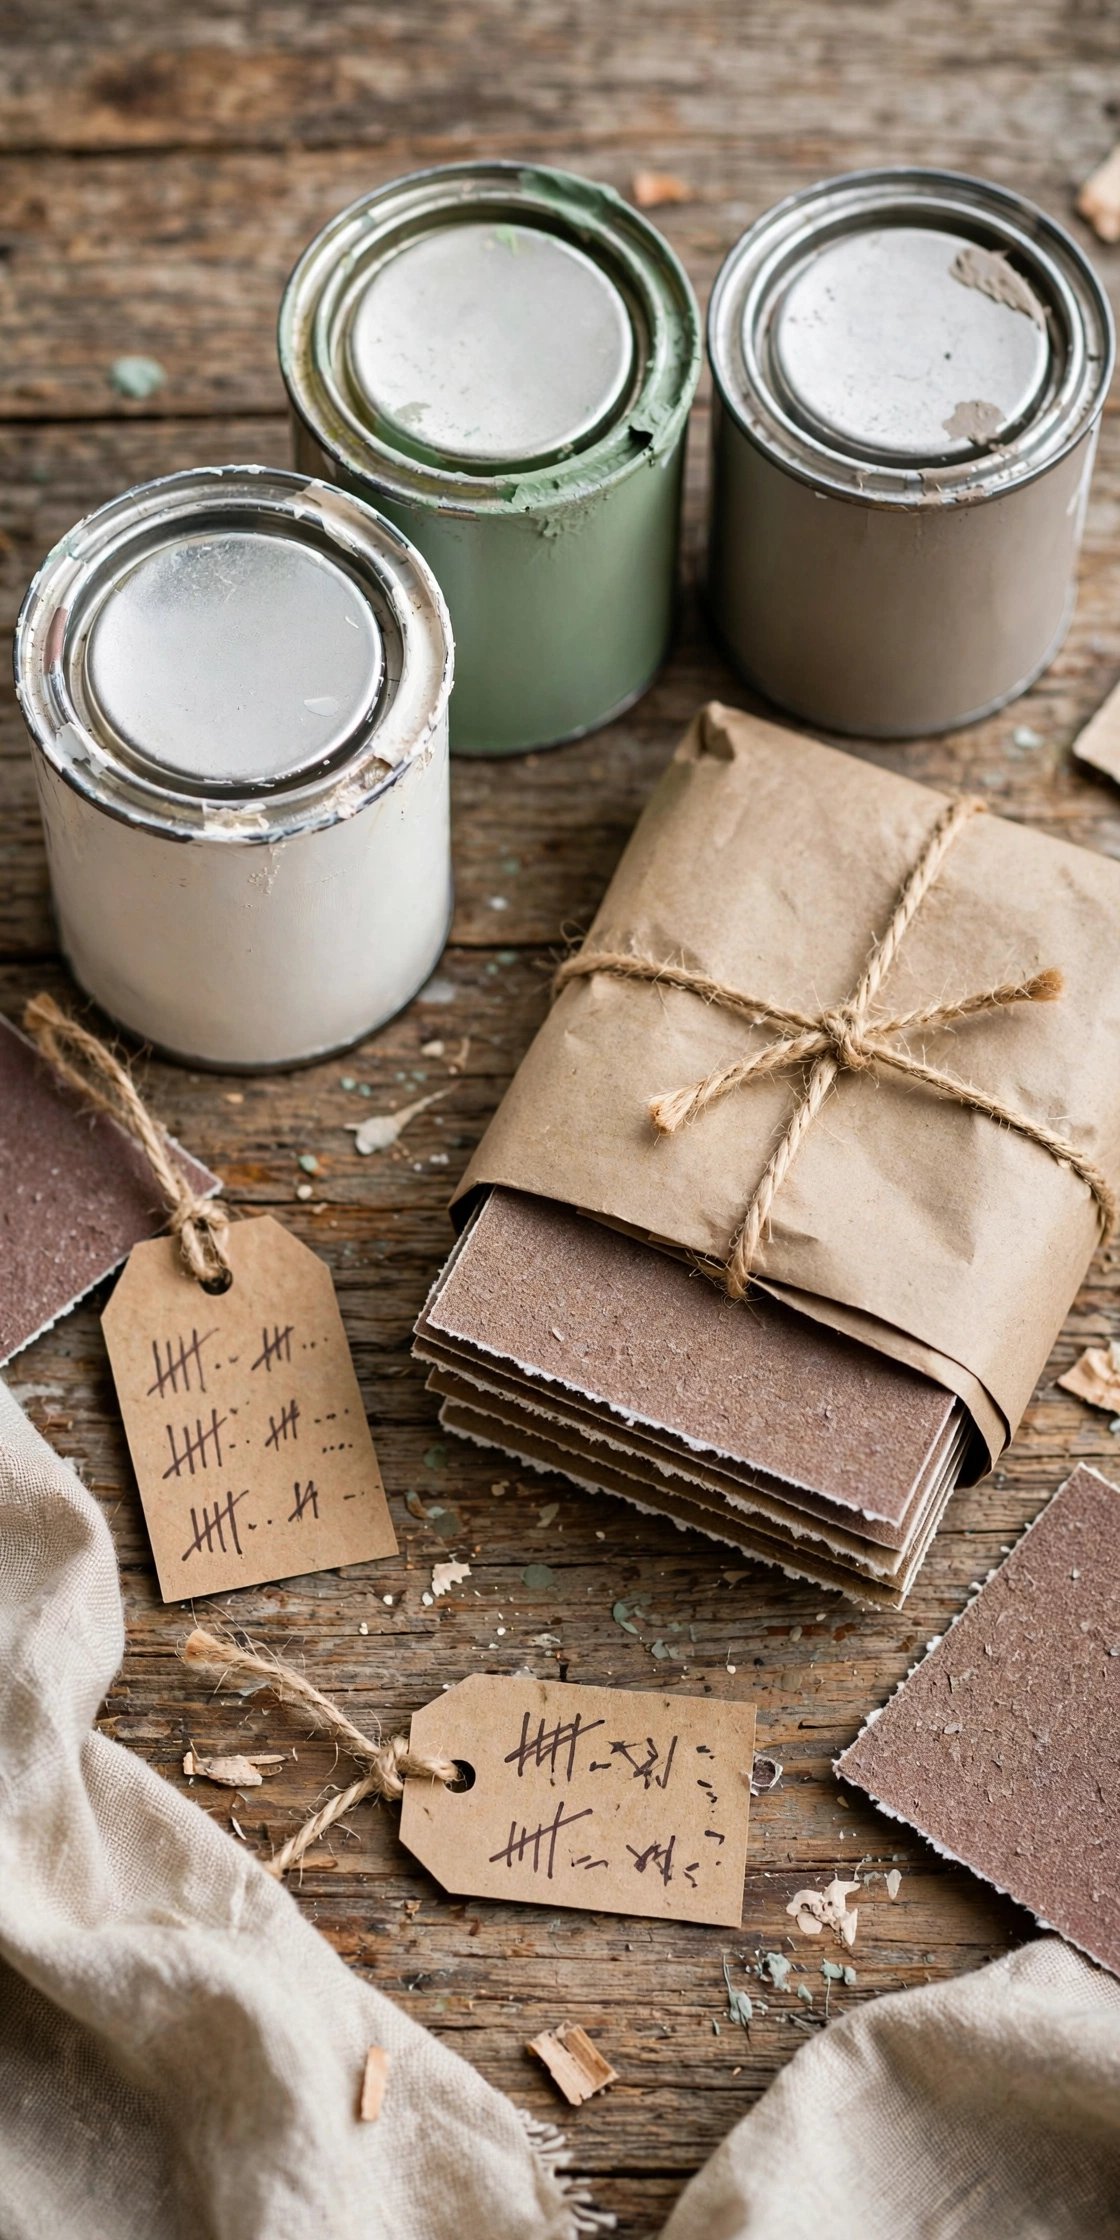
Tip: Keep a running total in your phone’s notes app while you shop. Watching the number climb in real time stops the “just one more thing” impulse better than any willpower.
What Should You Buy First?
Walk in with this priority order and you won’t waste a trip:
| Piece | Typical cost | Best for |
|---|---|---|
| Console table | $10–$15 | The anchor, sturdiness first |
| Mirror | $5–$8 | Light and space, check the glass |
| Basket | $3–$5 | Shoe chaos, nearly indestructible |
| Primer + paint | $18–$20 | Instant matching set |
| Key tray + extras | $5–$10 | The finished look |
How do I get musty smells out of thrifted furniture?
Sprinkle baking soda inside drawers overnight, vacuum it out in the morning. For stubborn smells, leave the piece outside in sunshine for a day. A vinegar wipe (one part vinegar to three parts water) kills most odors without harsh chemicals.
Do I really need to sand before painting?
Just a light scuff with 120-grit, about ten minutes. You’re not stripping it bare, only giving the primer something to grip. Skipping sanding and primer is why thrifted paint jobs chip within months.
What if I can’t find a console table?
A narrow dresser, a small desk, or even a sturdy nightstand works as the anchor piece. The depth matters more than the label: 10 to 14 inches keeps it from blocking the walkway.
How do I know if a thrifted piece is worth the price?
Wiggle it. Solid joints and working drawers are worth paying for; ugly finish is free to fix with paint. A $12 solid table beats a $5 wobbly one every time.
Should I buy a thrifted piece that needs repairs?
Cosmetic problems are fine; structural ones are not. Solid joints, working drawers, and sturdy legs are worth paying for, since ugly finish is free to fix with paint. Skip wobbly frames, broken drawer tracks, or warped boards unless you genuinely enjoy repairs.
What paint finish works best on thrifted furniture?
Satin-finish latex. It is durable, wipeable, and has a soft glow that flatters old wood. Always use a bonding primer first, then two thin coats with a foam roller on flat surfaces and a brush for details. Thin coats beat one thick gloopy coat every time.
Final Thoughts
Take the before photo. I almost skipped mine out of embarrassment, and now it’s my favorite. When you’re standing in the thrift store wondering if that ugly little table is worth $12, look at your before photo and imagine the after. Thrifted makeovers aren’t about finding perfect pieces. They’re about seeing potential: in furniture, in a forgotten corner, and in yourself as someone who can make a home beautiful on any budget. This weekend, grab $50 and visit one thrift store. Just look. And when guests start complimenting your entryway, you get to say my favorite sentence: “Thanks! Everything was secondhand.” For the rest of the house on the same budget spirit, my room refresh ideas under $50 keep the momentum going. These thrifted furniture flips show what is possible on a small budget.