
15 Christmas Mantel Garland Ideas

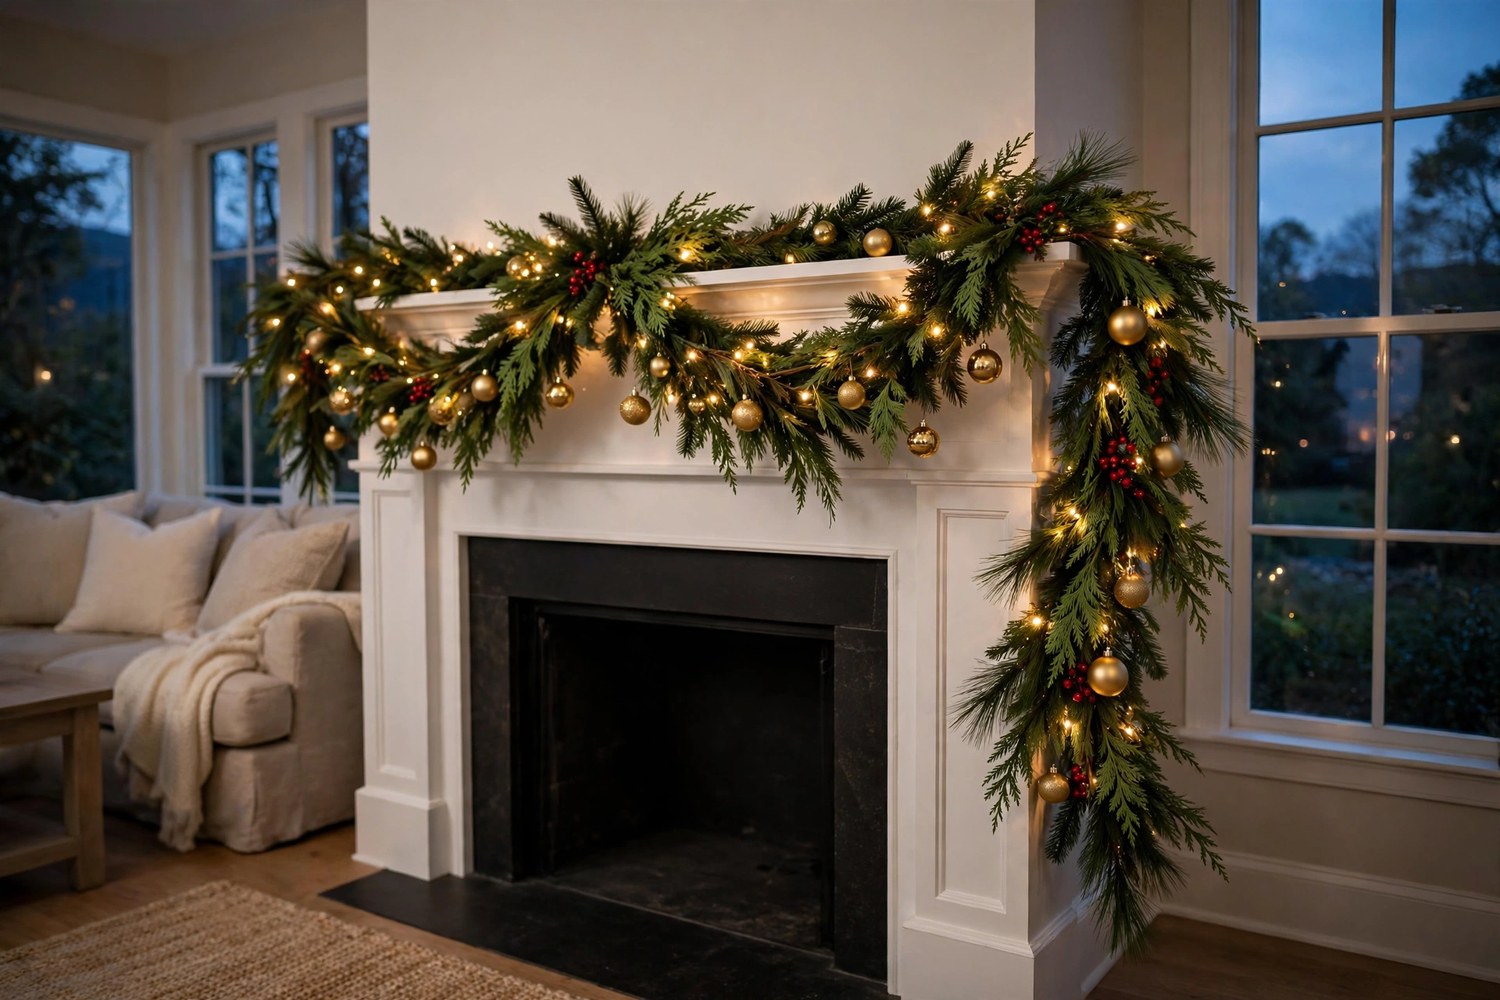
On a Christmas mantel, the garland is not one decoration among many — it is the structure everything else hangs on. Get it wrong and the mantel looks thin no matter what you add. The ideas below are all about the garland itself — greenery, length, draping, securing, lighting, and embellishing — and how to make it work even if your “mantel” is a TV console.
This guide goes deep on the one layer our Thanksgiving mantel decor ideas could only introduce with fall leaves — where that autumn garland was oak and amber, this one is pine, cedar, and Christmas technique. If your taste runs calmer overall, these simple Christmas decor ideas pair well with a single, well-hung garland and not much else.
Key Takeaways
- Length is the first decision: a straight lay needs the mantel’s width plus end drops, a gentle swag about 1.5× the width, a deep cascade up to 2×.
- Fullness is built, not bought: mixing two greeneries or layering two garlands beats one pricey strand.
- Secure the garland before you decorate it — removable hooks, floral wire, and mantel hangers hold a loaded garland without a single nail.
- Lights and ribbon go in during the build, woven deep, not draped over the top afterward.
- Above a working fireplace, safety is part of the technique: keep greenery clear of the firebox opening and heat, and take fresh garland down once it turns brittle.
First, Do the Length Math
A garland has to cover the flat width of the shelf, drop down each end by your chosen overhang, and still have slack left for the drape. Styling guides converge on the same rules of thumb — on a 60-inch (5-foot) mantel, the math looks like this:
| Drape style | Length rule of thumb | Garland for a 60-inch mantel |
|---|---|---|
| Straight lay along the shelf | Mantel width + both end drops + a few inches for bulk | About 7–8 feet |
| One gentle center swag | About 1.5× the mantel width, plus end drops | About 9–10 feet |
| Double swags or deep drape | Up to 2× the mantel width | About 10–12 feet |
| Full cascade to the floor, one side | Width + one full mantel height + drape slack | About 12 feet or more |
Garlands are commonly sold in 6-foot and 9-foot lengths, so most mantels need two strands joined end to end — fine, because the join hides inside a swag’s low point. When in doubt, buy longer.
1. Know Your Greenery: Fresh Pine and Cedar vs Faux
Every garland decision starts with the material, because fresh and faux behave differently in almost every way that matters. Fresh pine is soft and flexible, with long needles and a gentle drape; fresh cedar is flatter and lacier, its scale-like sprays lying in overlapping fans. Both smell like Christmas itself, and both are one-season purchases that dry out as the weeks pass.
Faux garland trades the scent for stamina. The most convincing versions copy Norfolk pine’s soft, drooping tips, and a good one lasts for years of Decembers. Flocked faux adds a snowy read but sheds a little at every handling, so handle it gently. A practical middle path: a quality faux base garland you own for years, with fresh cedar sprigs tucked in on top for scent.
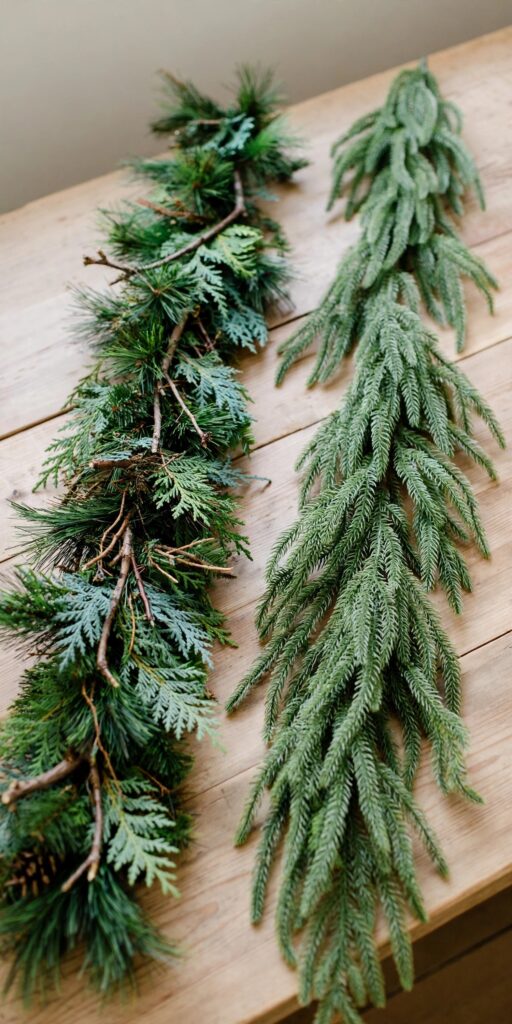
Tip: Decide before buying the second strand: fresh and faux rarely match in color or sheen, so build from one material, the other only as accents.
2. Mix Two Greeneries in One Garland for a Fresh-Cut Look
A single-species garland can look a little uniform, the way a bouquet of one flower does. Build the gathered, fresh-cut effect deliberately instead: run a structured pine garland as the spine, then weave cedar sprays through it so the feathery cedar fans break up the pine’s texture.
Work in one direction, laying each cedar spray at the same angle the pine tips point, and wire or tuck the stems deep so only the foliage shows. Add a third texture only if it is quiet — a few juniper sprigs with their blue-grey berries. Two greeneries read as a fresh-cut mix; four read as a remainder bin. Mixing also stretches a short fresh garland — a faux base wearing fresh cedar reads as one generous fresh garland.
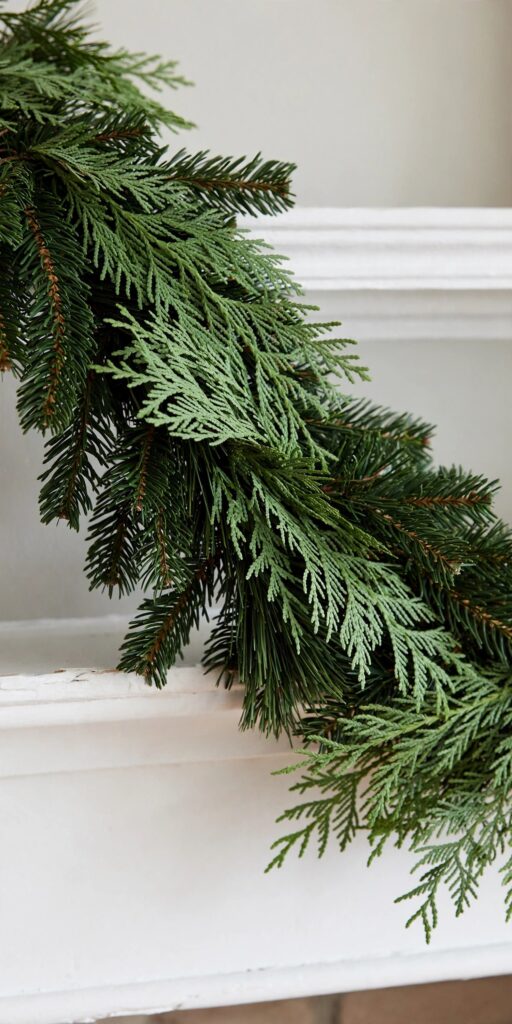
Tip: Mix on a table first, not on the mantel: building the blend flat shows the whole run at once, and a finished garland lifts into place far more easily.
3. Layer Two Garlands When One Looks Thin
If your garland looks sparse the moment it goes up, the fix is rarely a better garland — it is a second one. Layering two strands is the oldest stylist’s trick: lay the first garland as the base, then add the second slightly offset, a little forward and a little lower, so the branches interleave and each covers the other’s gaps.
The two strands need not match: a plain, inexpensive base underneath and a prettier, more realistic one on top is the budget-smart version — the base supplies bulk nobody examines, the top layer supplies the look. Twist the pair together every foot or so with floral wire so they move as one, and fluff the combined garland outward, not upward. Two layered strands will out-drape a single premium strand at the same total price.
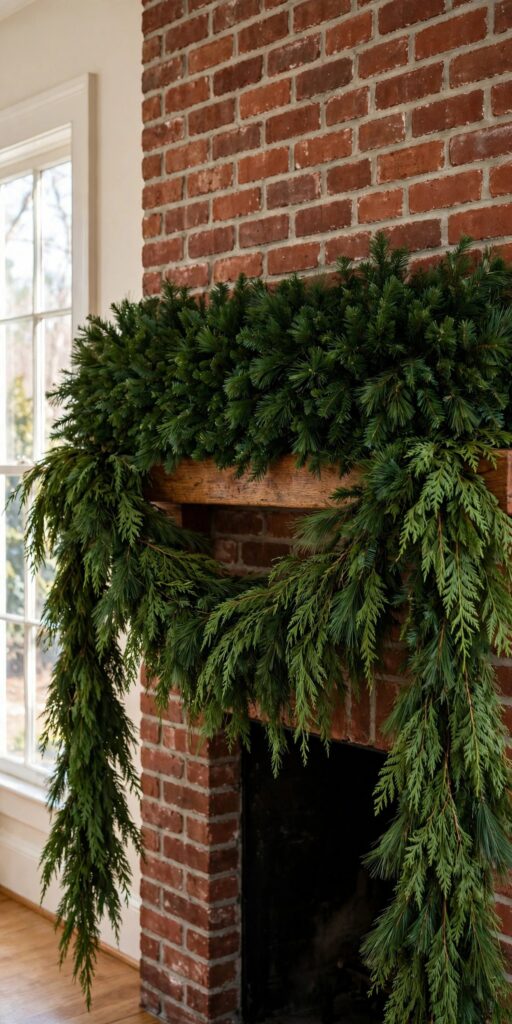
Tip: Layer on a flat surface and lift the pair as one unit; weaving a second strand into a draped one usually ends with both on the floor.
4. Lay It Straight Along the Shelf
The straight lay is the calmest drape in this guide, and the right one more often than people think. The garland runs along the shelf end to end, with a short, even drop — a few inches to a foot — over each end. Nothing hangs across the mantel’s face, so whatever sits above or below keeps the spotlight.
It suits modern and shallow mantels especially well, because a deep swag on a narrow shelf can look like it is sliding off. Let the garland sit slightly forward so its front branches soften the shelf’s edge, and fluff the top layer upward a touch for loft. Length is forgiving: the mantel’s width plus both end drops and a few inches for bulk is all you need — and if a large mirror or artwork hangs above, this is the drape that never fights it.
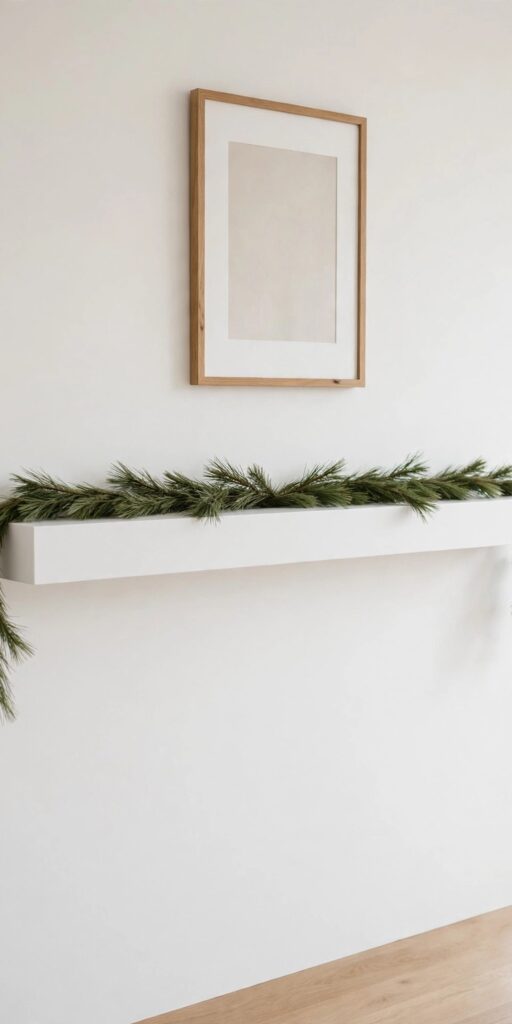
Tip: A straight lay shows every thin patch at eye level — the drape where idea 3’s layering earns its keep most.
5. Drape One Generous Center Swag
The single center swag is the classic Christmas card look: the garland anchors at both top corners, sags in one deep curve across the front face, framing everything under it. One continuous line makes it the most forgiving drape for a beginner — there is only one curve to get right.
Anchor the ends first, firmly, then let the middle find its own depth before you fix the center — gravity is a better stylist here than your hands. A gentle swag needs roughly 1.5 times the mantel’s width to curve without pulling taut. Keep the swag’s lowest point well clear of the firebox opening; the curve should stay up on the mantel face, nowhere near rising heat and sparks. Set the depth once, then leave it alone.
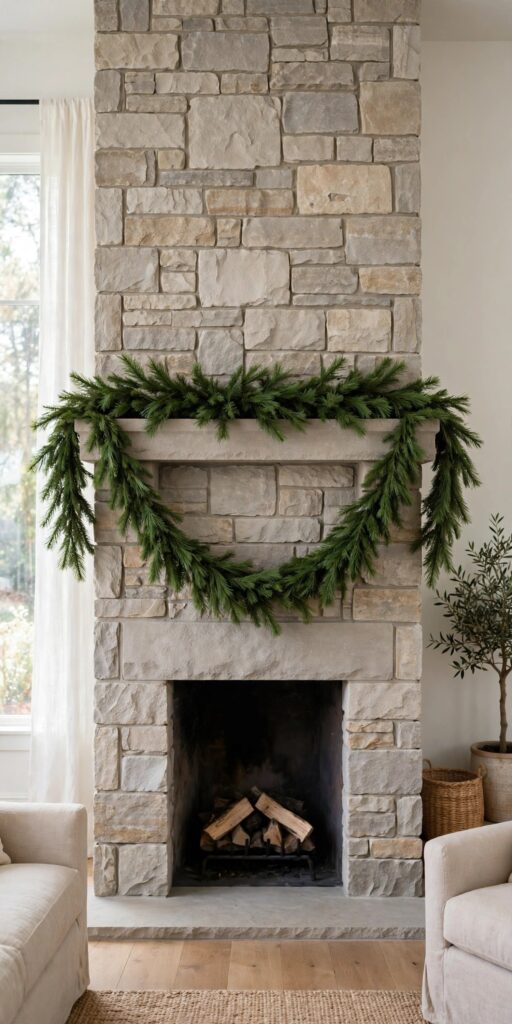
Tip: Photograph the swag from across the room before decorating: a curve that looks even up close often sags to one side from a distance, and a bare garland is far easier to re-anchor than a loaded one.
6. Double the Swags for a Classic Rhythm
Two swags divide the mantel into a rhythm — down, up, down — gathered at a high point in the center. It is the formal, symmetrical drape, suited to traditional rooms and wide mantels.
The center gathering point is where the technique lives. Pinch both swags up to one secure anchor in the middle of the mantel face or along its front edge, and let that point carry a little extra fullness — it is where the eye lands first. Keep the two dips close in depth, stepping back to compare, but do not chase perfection to the inch: a near-match reads as symmetry, a forced match reads as strain — and wide mantels can take three swags on the same logic.
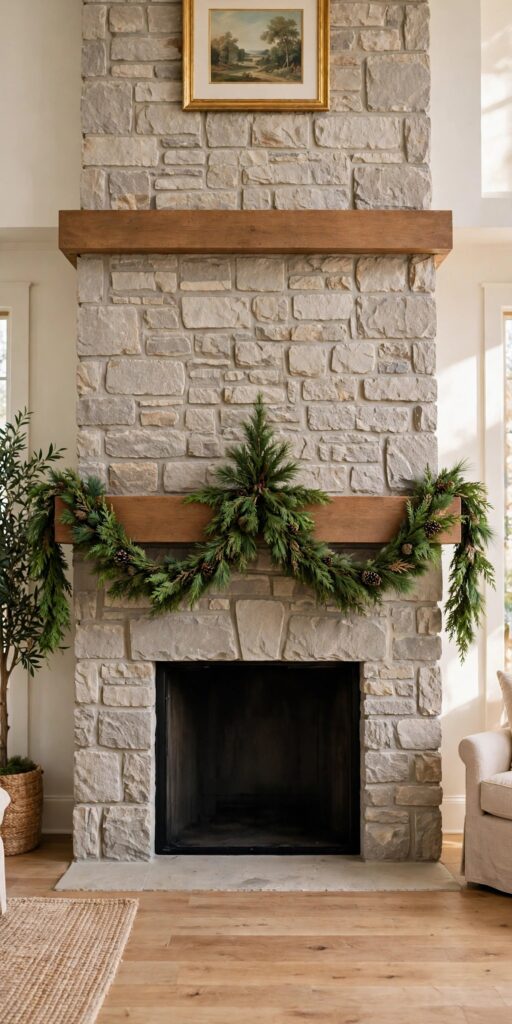
Tip: Mark your mantel’s center with painter’s tape first — judging “the middle” by eye, garland in both hands, is how lopsided doubles happen.
7. Cascade One End Down the Side
Every drape so far ends at the mantel’s corners; the cascade keeps going — along the shelf, then down the side of the fireplace to the hearth, or all the way to the floor, where the last of it can pool slightly.
Budget length honestly: shelf width, plus one full mantel height for the drop, plus swag slack. Anchor the top corner especially well — a cascade puts real downward weight on that single point — and give the fall a gentle S-curve: a slight bend reads as water, a straight drop as a rope. Keep the cascade on the side away from where fires are lit, and never let it trail across the firebox opening.
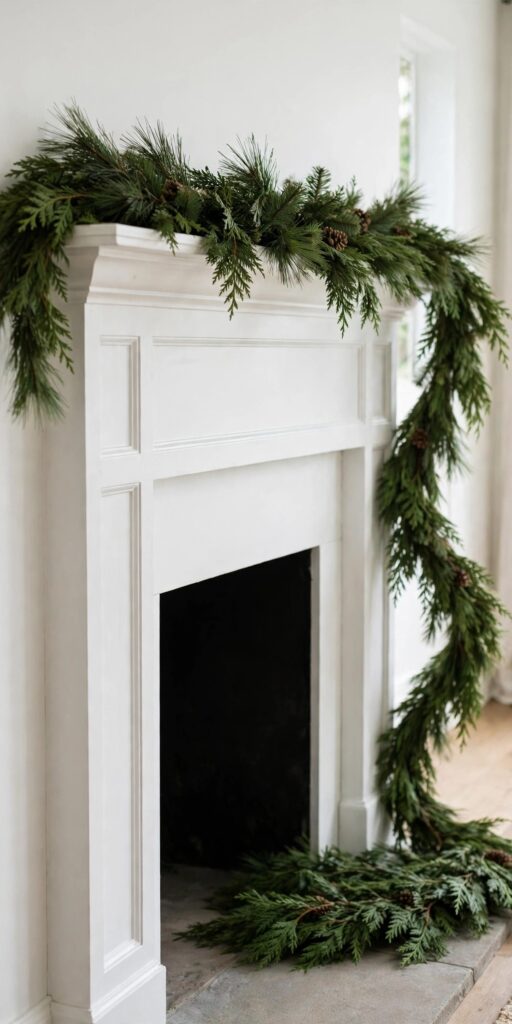
Tip: Cascade one side only: two floor-length ends make a fireplace look like it is wearing curtains.
8. Secure It Without Nails: Hooks, Wire, and Hangers
A decorated garland is heavier than it looks, and it hangs for a month above a heat source. Securing it properly is not a finishing touch; it is the step the whole display depends on. Clear removable adhesive hooks, sized for the weight, grip the top or underside of the shelf and peel off cleanly in January. Floral wire twisted around the garland’s core and anchored to those hooks — or to the stocking holders already on the mantel — holds drape points where you set them.
Weighted garland hangers — bars the garland rests against on the shelf — work too. Whatever you use, anchor both ends and every point where the drape changes direction, and tug-test the whole run before a single ornament goes on. Stockings enter the plan here too: set stocking holders first, at their final spacing, and let the garland drape over their bases — the greenery hides the hardware, and neither has to move for the other on Christmas morning.
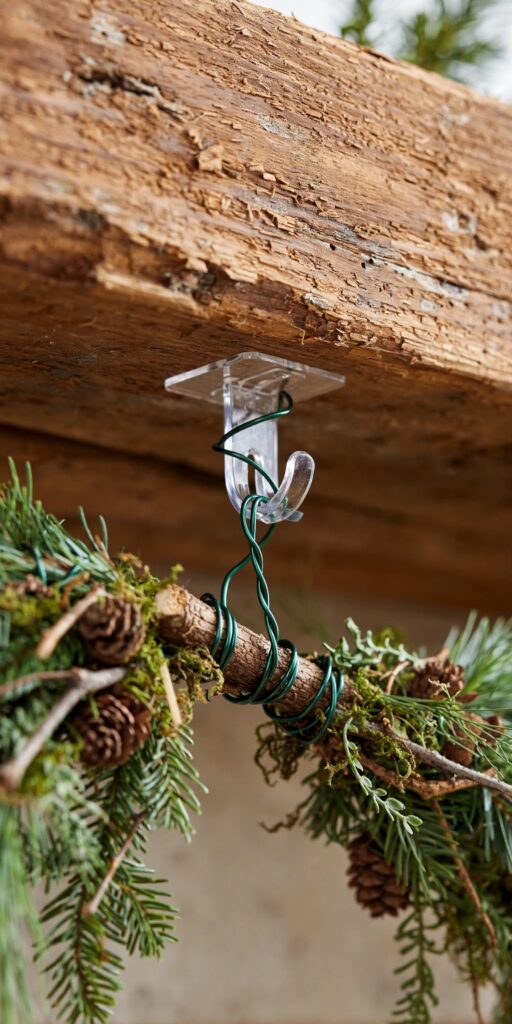
Tip: Put adhesive hooks up a while before the garland: adhesives grip best after setting unloaded, and a hook that fails at midnight fails under full decorated weight.
9. Fluff and Shape It Before It Goes Up
Faux garland comes out of storage flattened, every branch pressed one way, and hanging it in that state is why so many mantels look thin despite plenty of length. Fluffing is unglamorous and absolutely decisive: work along the strand branch by branch, bending each tip away from the core — some up, some out, some down — until it is round in cross-section instead of flat.
Do it on a table, fluffing in the direction it will hang — branches forming the front face deserve the fullest treatment. The same pass revives a badly stored garland and exposes bent or broken tips to rotate to the back. A fresh garland needs a lighter version: a shake outdoors to drop loose needles, branches teased apart where binding compressed them. Ten patient minutes here beats another strand.
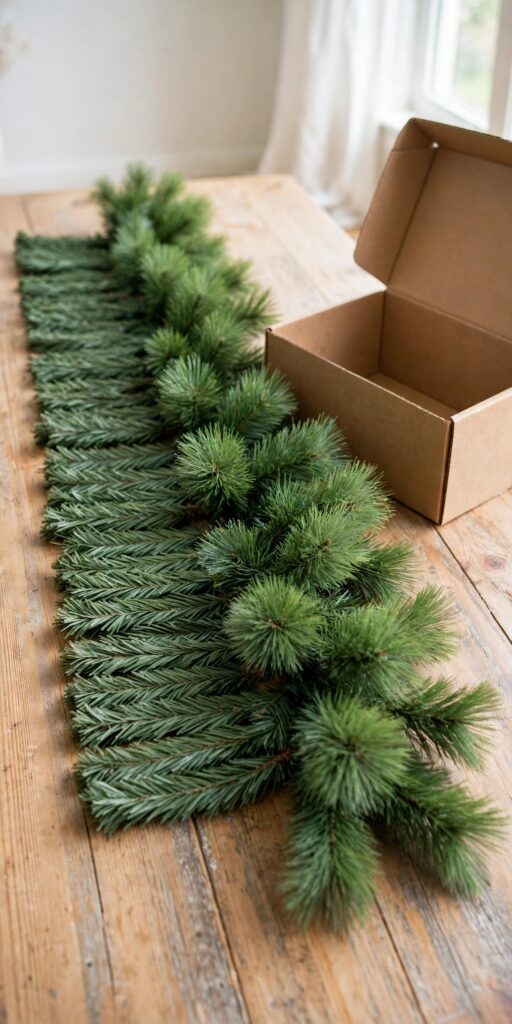
Tip: Fluff the ends most of all: the run hides among decorations, but the ends hang in open air, showing whether the garland looks like branches or a rope.
10. Weave the Lights In as You Build
Lights draped over a finished garland sit on top of it like tinsel on a hedge — visible wire, bulbs perched on the surface. Lights woven in during the build disappear into the greenery, so all you see at dusk is depth and warmth. Weave the strand in a slow S through the garland’s body as you lay or drape it, pushing bulbs a little below the surface branches so the light comes from inside the greenery.
Battery fairy lights on fine wire weave easiest and leave no cord to hide; tuck the battery pack at one end, behind the garland, within reach of its timer. Whatever lights you use, inspect the strand before it goes in — fire-safety guidance from the National Fire Protection Association, reproduced by the Illinois State Fire Marshal, is to replace any strand with a worn or broken cord or loose bulb connections, and to switch lights off before bed or before leaving the house.
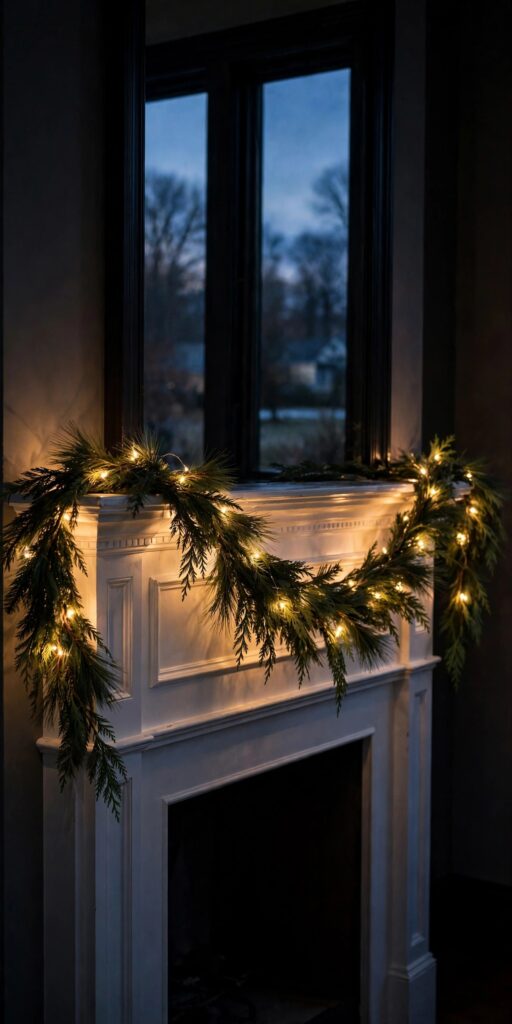
Tip: Check the lit garland from the doorway, room lights off: shallow bulbs glare; deep ones read as glow with no visible source.
11. Thread Ribbon Through for Color That Moves
Ribbon in a garland is not a wrap and it is not a bow — it is a thread of color that travels through the greenery, giving the drape movement. Take one length of wired ribbon in your accent color and weave it in and out along the run, letting it surface in soft billows and dive back into the branches between them.
Keep the ribbon’s appearances uneven and unhurried — a billow every foot or two, not a metronome pattern — and let it follow the drape, dipping with the swags so color pools at the low points. One ribbon, one color, is the discipline; the moment a second pattern joins, the garland starts to look upholstered. Choose matte or velvet over shiny satin, which reflects lights in hard little flashes. And if the garland already carries strong color, skip the ribbon — it is for greenery that needs one voice added, not three.
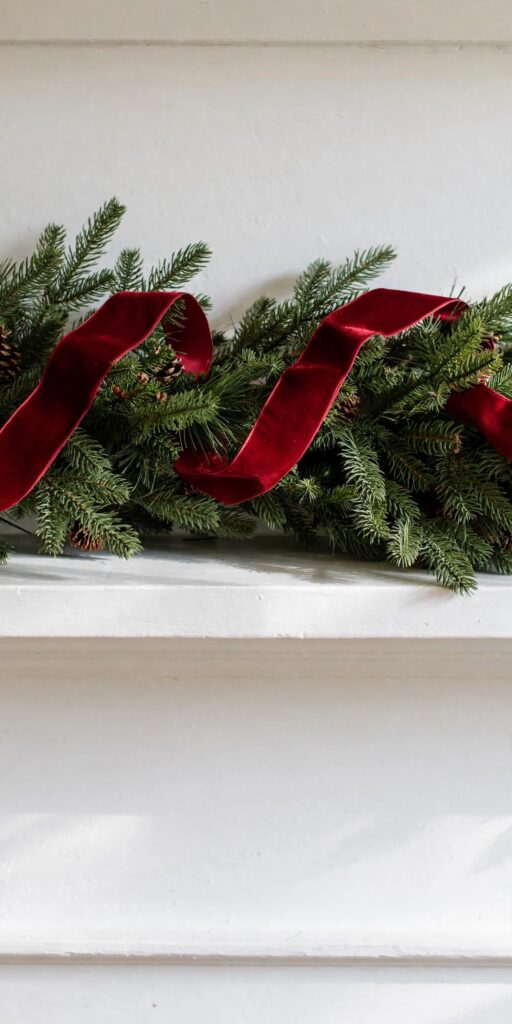
Tip: Do not cut the ribbon until the garland is dressed: uncut ribbon pulls out and redoes in minutes; cut pieces commit you.
12. Wire the Decorations Into the Garland Itself
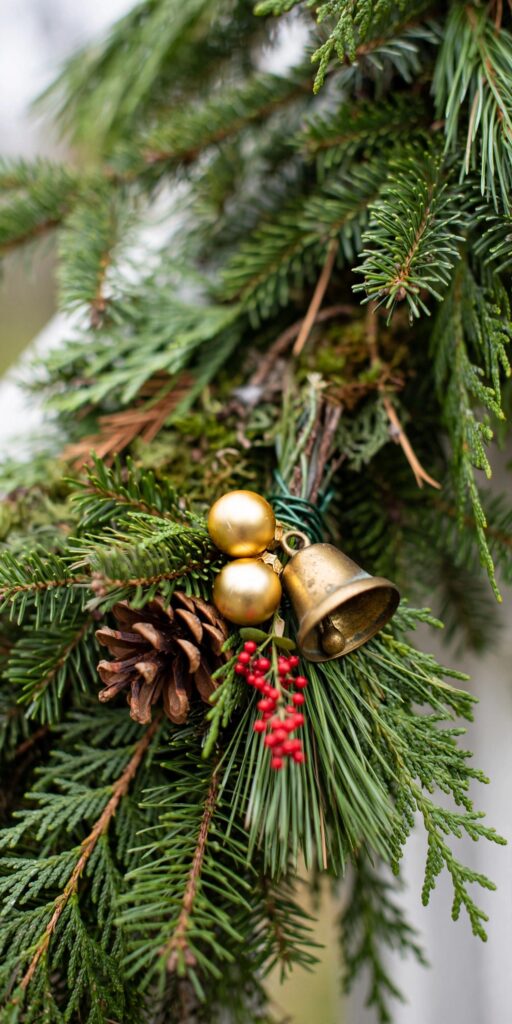
A garland with ornaments resting on it and a garland decorated as an object in its own right differ in one thing: wire. Ornaments, bells, pinecones, and berry picks attached with short twists of floral wire stay exactly where you compose them, at the depth you choose, instead of rolling wherever gravity suggests. Build small clusters on the wire first — an ornament pair with a bell, a pinecone with a berry sprig — then twist each cluster into the garland’s core.
Placement follows the drape. Clusters belong at the swag’s low points, where the eye already travels, and at the ends, where they finish the line; the high spans between look best left green. Odd numbers and varied sizes keep clusters looking gathered rather than manufactured — everything wired into the body, nothing perched on the shelf in front.
Tip: Wire clusters in while the garland is on the table, except a few final low-point pieces, easier to judge once the drape hangs.
13. Break the Symmetry — Carefully: The Asymmetric Drape
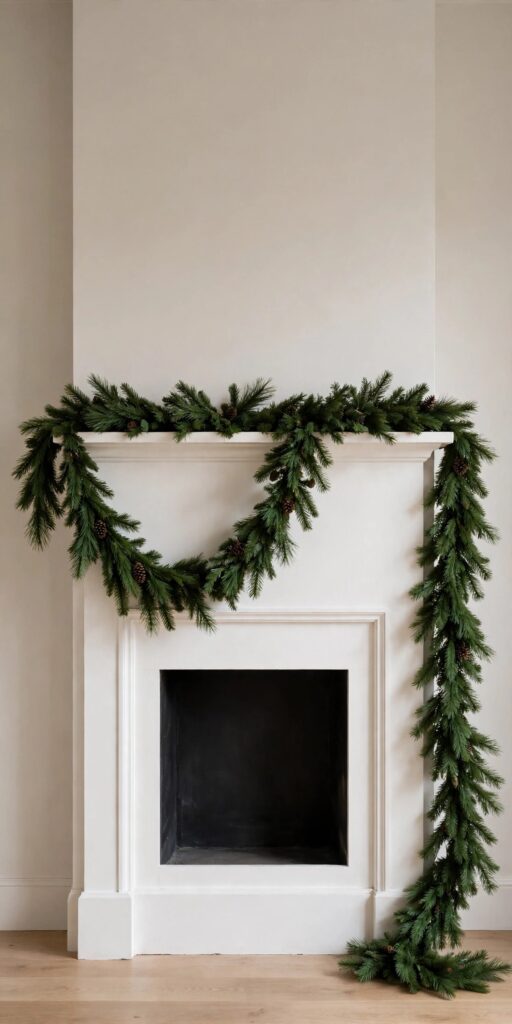
Symmetry is the default, not the law. An asymmetric drape — one deep swag pulled to one side, the garland rising along the shelf and finishing in a cascade at the other end — gives a mantel the relaxed, collected feel modern rooms want. Done carelessly, though, it looks like the garland is slipping. The difference is anchoring: every point of an asymmetric drape must be fixed firmly, so the eye reads “placed,” never “falling.”
Plan the imbalance on paper or in a phone photo first: a common recipe puts the single deep swag in one third of the mantel, a short straight run across the middle, and the long fall at the far end. Weight the composition at the low points with your wired clusters (idea 12) so the asymmetry has visible logic — heavy where it dips, light where it rises. Keep the length math of a symmetric drape — asymmetry redistributes length, it does not reduce it — and hold color and greenery consistent along the run.
Tip: If an asymmetric drape looks wrong, it is usually the middle: a short straight run between swag and cascade rests the eye and makes both ends look intentional.
14. Keep Fresh Garland Fresh: Soak, Mist, and Timing
A fresh garland is a cut plant, and it lives on borrowed moisture from the moment it is hung. Garden guidance on fresh greenery is consistent: before hanging, soak the garland — a cool bath for a few hours, up to overnight — so the stems drink deeply, then mist it regularly once in place.
Placement decides the rest. Indoors, fresh greenery typically looks its best for about ten to fourteen days, and heat is what shortens that: a garland above a frequently lit fireplace, near a heating vent, or in a sunny window dries fastest. Time it accordingly: fresh in mid-December peaks at Christmas; a late-November start should be a faux base with fresh sprigs tucked in for the final week. The moment a fresh garland turns brittle and sheds at a touch, take it down, especially above a working fireplace: dried-out greenery is a genuine fire hazard, not just a tired look.
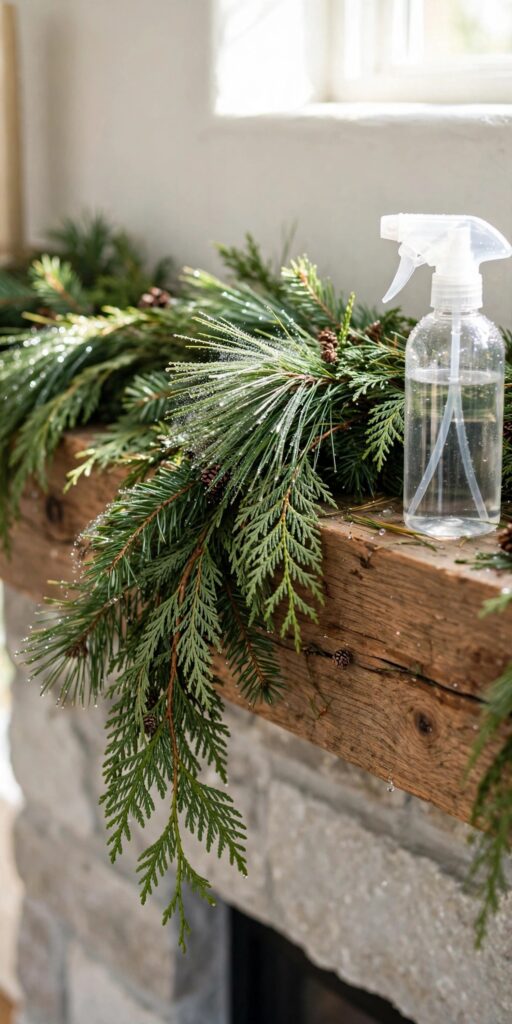
Tip: Mist in the morning when you water the tree, and keep the spray bottle beside the garland.
15. No Fireplace? Consoles, Shelves, and TV Stands Take Garland Too
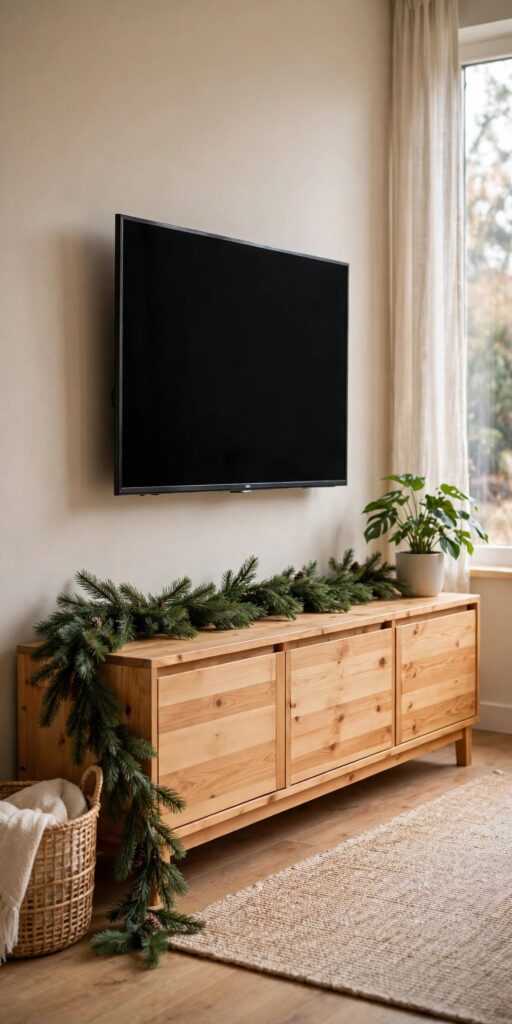
Nothing in the preceding fourteen ideas actually requires a fireplace. A “mantel” is any long, narrow display surface at standing eye level, and a garland draped well is what makes it one. A TV console under a wall-mounted television, a long low bookcase, a floating shelf, the top of a piano — each takes the same drapes, length math, and securing — with no firebox to plan around.
On a TV console, keep swags above the screen’s lower edge or along the console top so they never cross the picture. On shelves and bookcases, the straight lay and the cascade translate best — and a bookcase cascade is honestly easier than a fireplace one, with no heat to avoid. Fresh garland lasts better here, too, in a cool room away from vents — and renters, note that removable hooks do the whole job and leave no trace in January.
Tip: Measure these surfaces as you would a mantel — width, plus end drops, times the drape factor. The math does not care about the firebox.
Frequently Asked Questions
How long should a garland be for a mantel?
Start with the width of your mantel and multiply by the drape: roughly the width plus the two end drops for a straight lay (about 7–8 feet for a 5-foot mantel), about 1.5 times the width for a gentle swag, and up to twice the width for deep double swags or a cascade — when between sizes, choose longer.
How do I hang a mantel garland without nails?
Use clear removable adhesive hooks rated for the weight, placed at the ends and at every point where the drape changes direction, and floral wire to lash the garland’s core to the hooks; weighted hangers and sturdy stocking holders can anchor too. Let hooks set before loading, and tug-test the run before decorating.
Is fresh or faux garland better for a mantel?
Fresh pine and cedar win on scent and natural drape, but indoors they typically look their best for about ten to fourteen days and need soaking before hanging and misting after. Faux garland — realistic Norfolk-pine styles especially — lasts for years, can go up in November, and asks only for fluffing.
How do I keep a fresh garland from drying out?
Soak it in cool water for a few hours (up to overnight) before hanging, mist regularly, and keep it away from heating vents, sunny windows, and direct fireplace heat. The Knollwood Gardens guide to fresh holiday greenery walks through the same care routine. Take the garland down once it turns brittle; dried greenery near a fireplace is a fire hazard.
Is it safe to drape garland on a working fireplace mantel?
Yes, with discipline: anchor the garland so no part of it can slip or fall toward the firebox, keep swags and cascades well clear of the firebox opening, and keep greenery well away from heat — NFPA guidance reproduced by the Illinois State Fire Marshal puts trees at least three feet from heat sources such as fireplaces, radiators, and candles, and garland deserves the same respect. Inspect light strands first and replace any with worn cords or loose connections, and switch garland lights off before bed or when leaving the house.
Final Thoughts
A great mantel garland is not bought; it is built — measured, mixed, layered, draped, and secured. Start with the length math, choose greenery you can say something kind about in week three, and pick the drape that suits your mantel rather than the one in the photograph. Get this one layer right, and the rest of the mantel — stockings, candlelight, and all — has somewhere beautiful to land.