
DIY Open Kitchen Shelves in a Weekend Guide You In 8 Simple Steps


That one sad upper cabinet, the door that squeaks every time it opens, the daily digging through dark shelves. Open shelves fix all of it, and they are one of the easiest weekend builds there is. If you can use a drill and a tape measure, you can do this.
One weekend is all it takes: Saturday for building and staining, Sunday for mounting and styling with your everyday dishes. The result is a kitchen that feels brighter and more open, with everything you need within reach.
Here are the 8 steps in order, from shopping list to styling, plus the safety tips most tutorials skip. Start with step #1 by gathering the short shopping list. And when the shelves are up, my open shelf styling ideas show exactly how to arrange them beautifully.content/uploads/2026/10/hero-14.webp” alt=”Thick wooden open shelves mounted on a kitchen wall holding dishes and decor”>
1. Gather Your Tools and Materials
The beauty of this project is how short the shopping list is. You need: two pine boards (2x10s, about 1.5 inches thick and 9.25 wide), four sturdy steel L-brackets rated for at least 50 pounds each, a cordless drill with a pilot bit and driver bit, a stud finder, a level at least 2 feet long, a tape measure and pencil, sandpaper (80 and 120 grit), wood stain or paint with a brush or rag, and 2.5-inch wood screws.
No table saw, no fancy joinery, no special skills. Get the boards cut to length at the store, most home improvement stores do straight cuts for free, and you can skip owning a saw entirely.
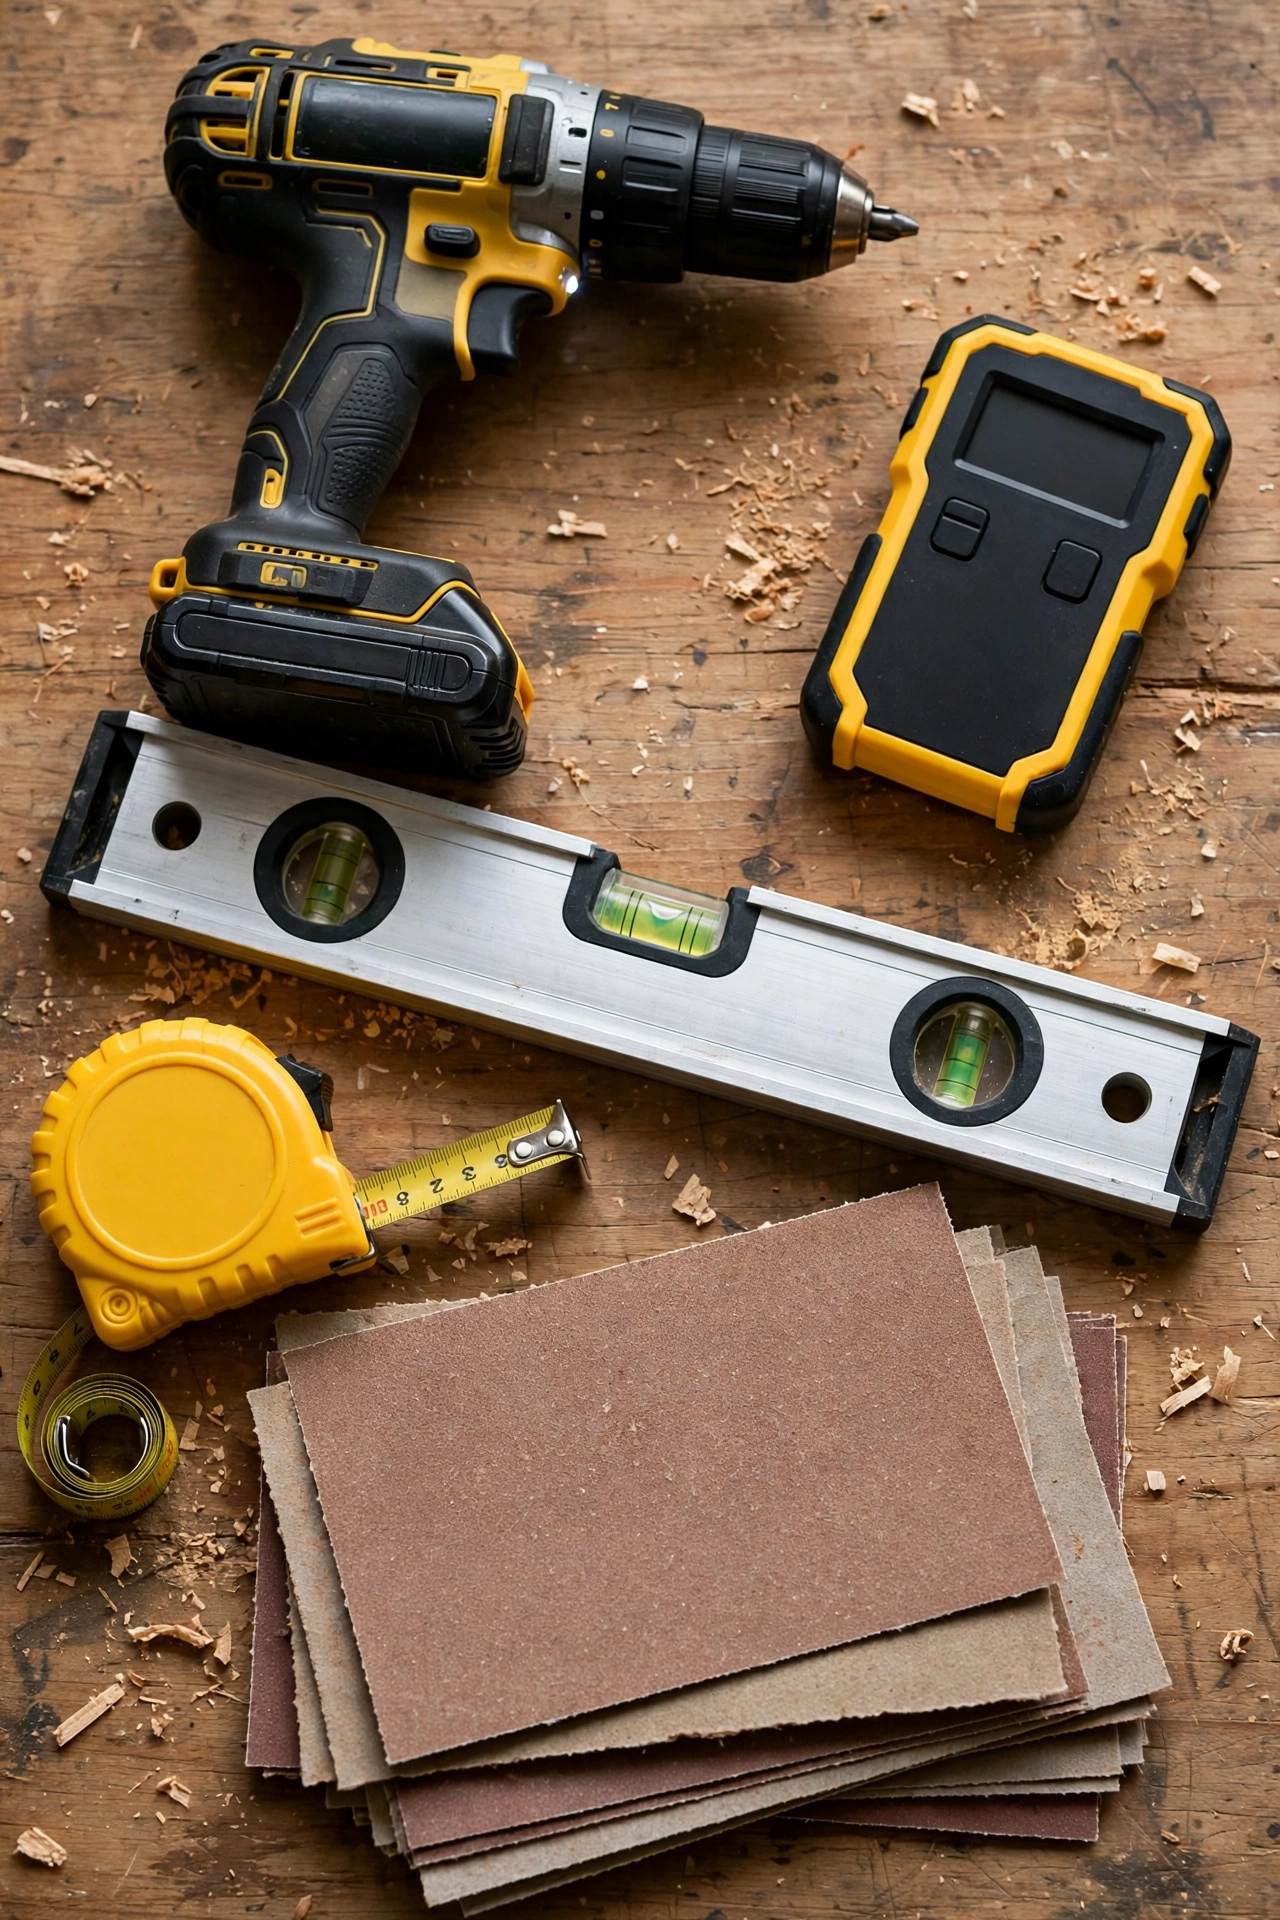
Tip: Buy the stud finder even if you think you’ll only use it once. It’s $15 to $25, it’s non-negotiable for shelves holding heavy dishes, and you’ll reach for it on every future project. Mine has paid for itself ten times over.
2. Choose the Right Wood
Don’t overthink the wood. Pine boards from the lumber aisle are perfect: cheap, easy to find, and they stain beautifully. Look for boards labeled 2×10, which gives you a nice deep shelf that fits dinner plates easily. One standard 8-foot board gives you two 4-foot shelves, a great size for most kitchens.
At the store, take your time picking boards. Sight down the length like you’re looking down a rifle barrel and skip any that are twisted, bowed, or badly cracked. A few small knots are fine; they add character and look great with stain. Ten minutes in the lumber pile makes the whole project easier.
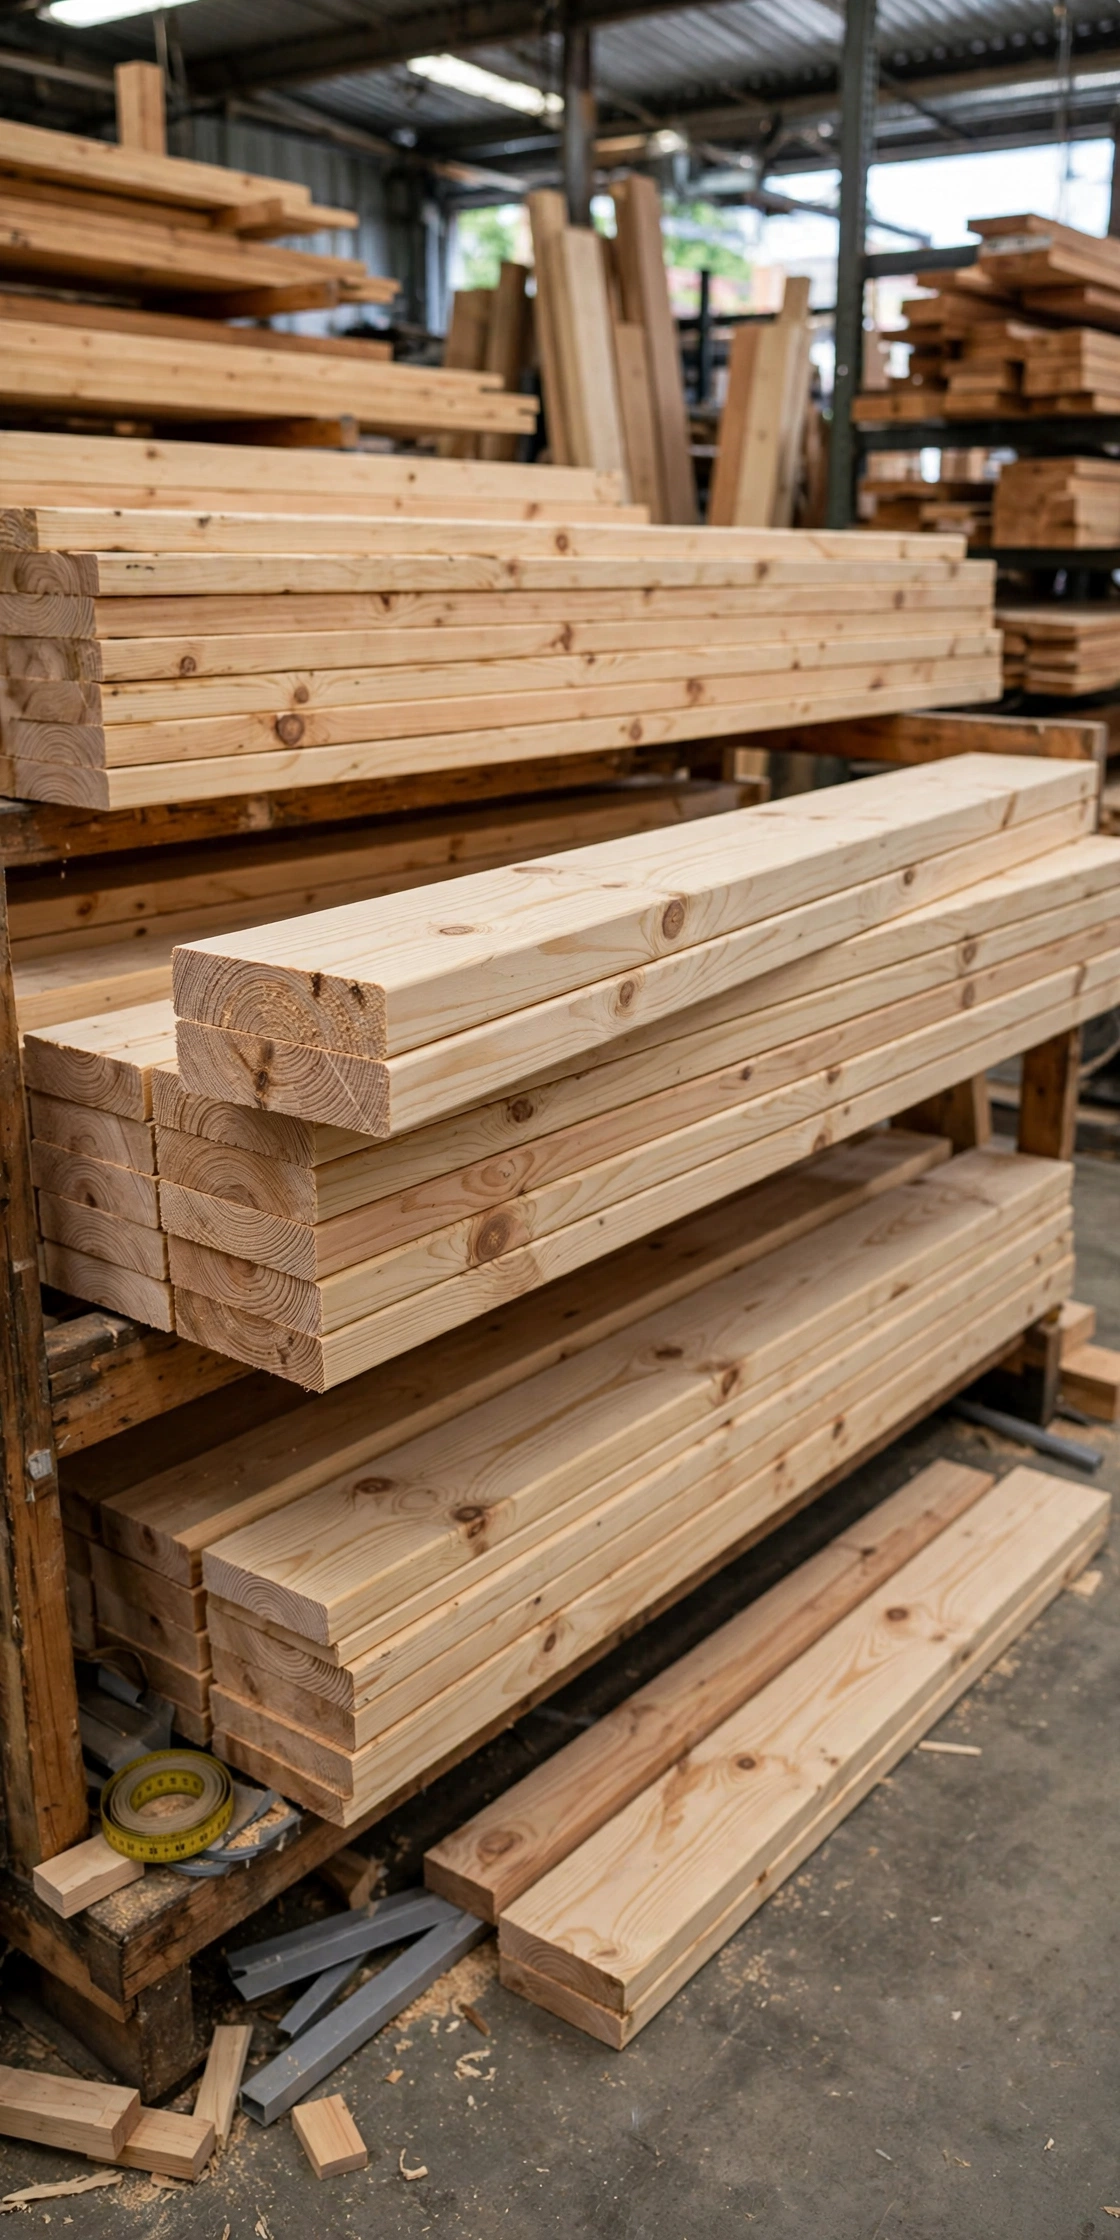
Tip: Keep shelves 3 to 4 feet long for a first project. Longer than 4 feet and the middle can sag under heavy dishes unless you add a third bracket. Measure your wall and leave at least 6 inches of breathing room on each side.
3. Find the Studs and Measure
This is the most important technical step. Your shelves will hold 30 to 50 pounds of plates and bowls per shelf, and drywall alone can’t hold that. You must screw the brackets into the wooden studs behind the drywall.
Run the stud finder slowly across the wall and mark each beep with a pencil X. Studs are usually 16 inches apart, so once you find one, measure over and check for the next. Double-check by knocking: a solid thud means stud, a hollow sound means empty drywall. Then decide height: the bottom shelf sits 18 to 24 inches above the countertop (I used 20), and two shelves go 12 to 15 inches apart. Mark bracket positions with the level and step back to check the lines look straight.
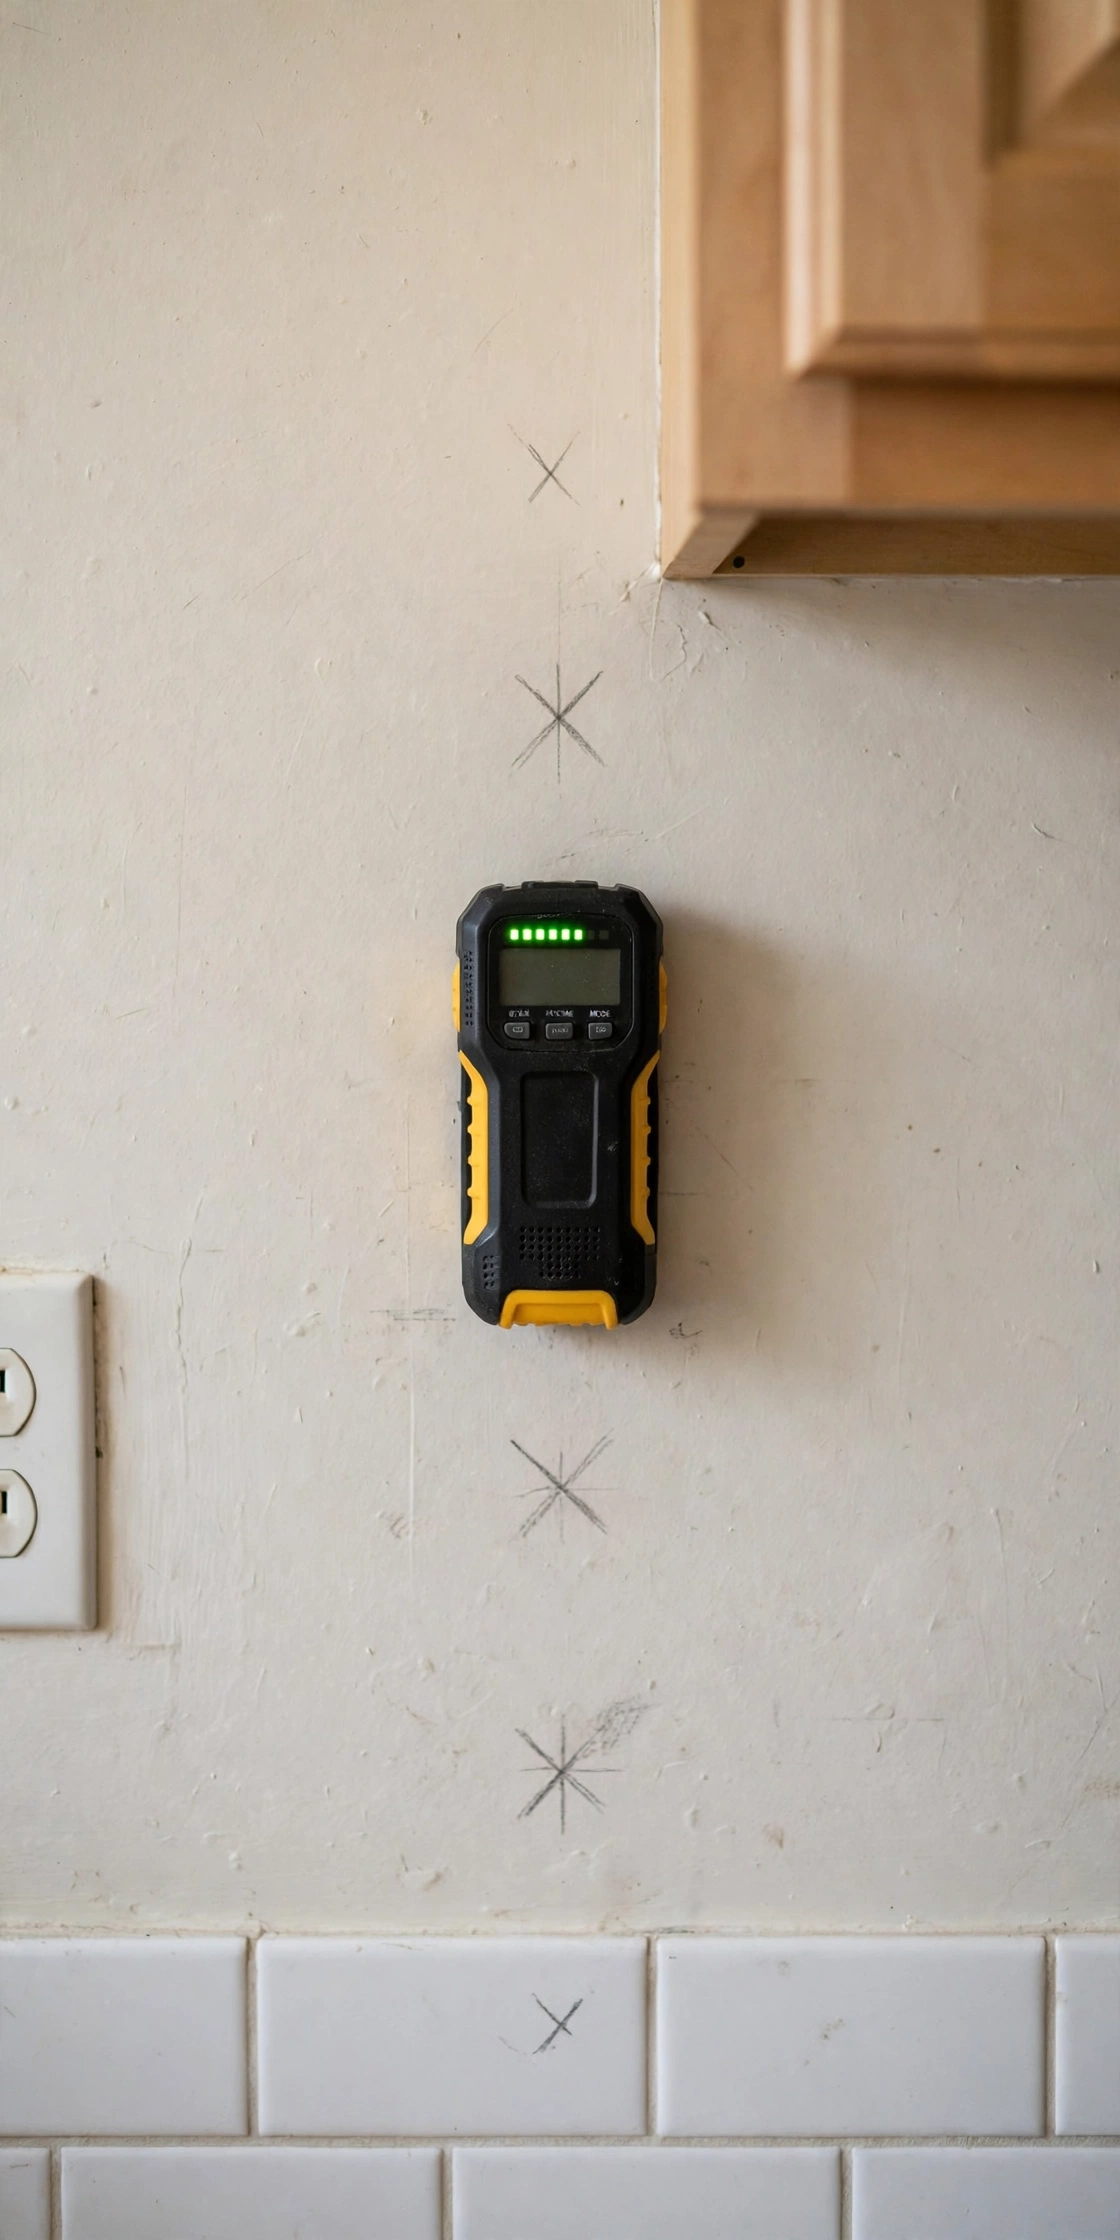
Tip: Lower than 18 inches and you can’t fit a blender underneath; higher than 24 and the shelf gets hard to reach. When in doubt, mock it up: tape a cardboard strip at the planned height and live with it for a day before you drill.
4. Cut, Sand, and Stain the Boards
If the store cut your boards, skip to the fun part. Sanding is what separates okay shelves from gorgeous ones. Start with 80-grit to knock down rough spots and mill marks, always sanding with the grain, never across it. Then switch to 120-grit until the board feels silky with no snags. Wipe off all dust with a damp cloth and let it dry completely.
For stain, work ventilated and wear gloves. Wipe it on with the grain, let it sit 5 to 15 minutes depending on darkness (longer means darker), then wipe off the excess. I did two thin coats of medium walnut with a light sanding between, and the color came out rich and even. Let it dry a full 24 hours before mounting. Prefer paint? Prime first, then two coats of durable satin or semi-gloss that handles kitchen humidity.

Tip: Test the stain on the underside or a cutoff first. Pine takes stain unevenly sometimes, and a 30-second test saves you from a shelf that’s darker than you wanted. Two thin coats always beat one thick one.
5. Mount the Brackets Into Studs
The moment of truth, and it’s simpler than you think. Hold the first bracket against the wall at your marked stud location, top of the bracket exactly on your level pencil line, and mark the screw holes. Drill pilot holes into the stud (they keep wood from splitting), then screw the bracket in with your 2.5-inch screws. Firm, but don’t overtighten.
Repeat for the second bracket on the other stud, checking with the level that both sit at exactly the same height. A shelf that slopes even a little will slowly slide your dishes to one side, so this check matters more than it seems.
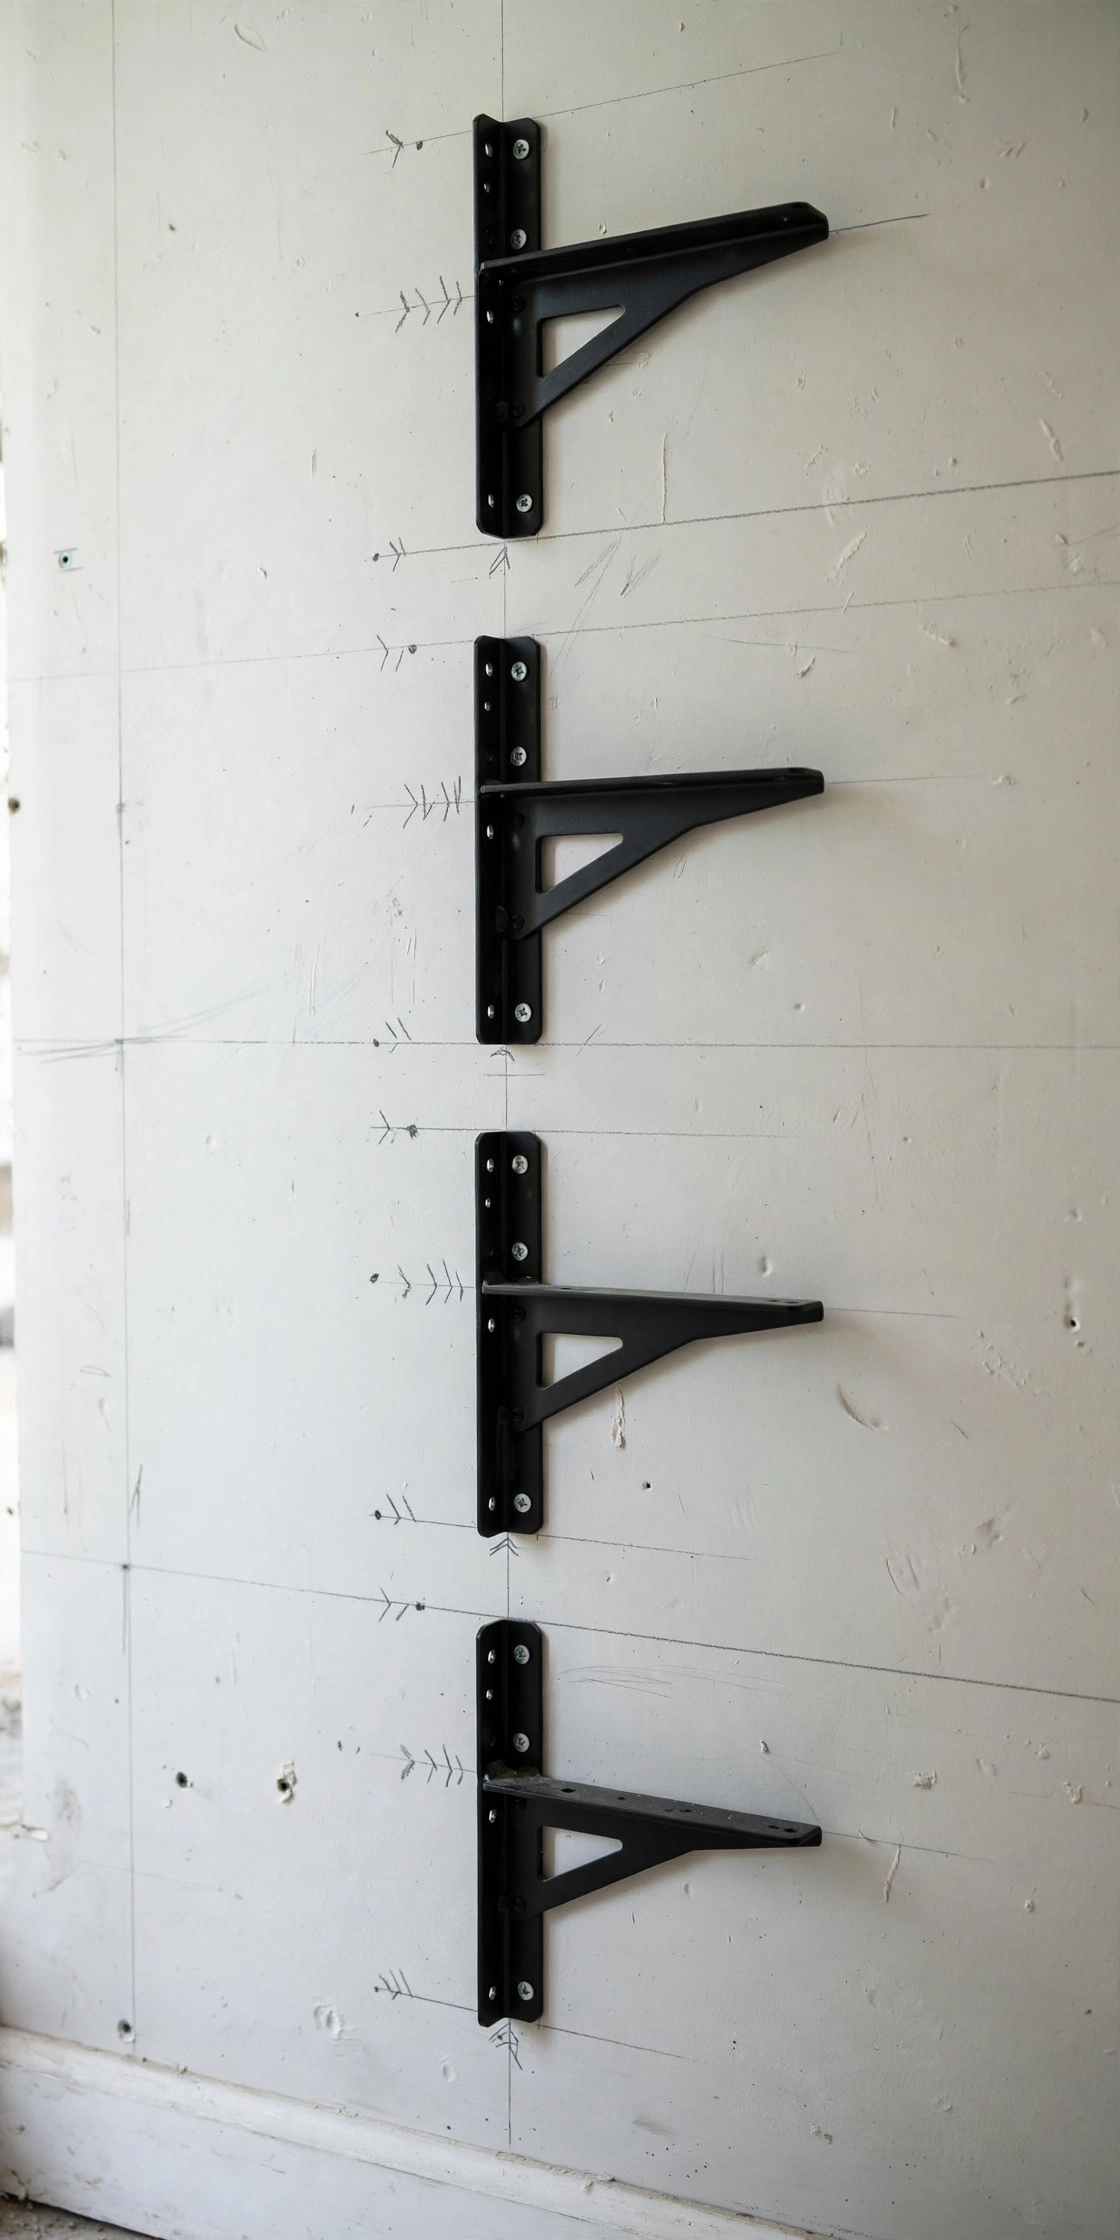
Tip: If a screw spins loosely instead of biting, you missed the stud center. Back it out, shift half an inch toward your pencil X, and try again. A bracket anchored in drywall alone will fail, so don’t settle for “close enough.”
6. Set the Shelves and Lock Them In
Set the board on the brackets and check with the level one more time. Then screw up through the bracket holes into the bottom of the board with short wood screws (about 1 inch) to lock the shelf in place. This stops the board from shifting or tipping if someone bumps it.
Now the wiggle test: grab the shelf firmly and shake it. It should feel completely solid, like part of the wall. Any wobble means a screw missed its stud, so find it and fix it now. Repeat the whole process for the second shelf.
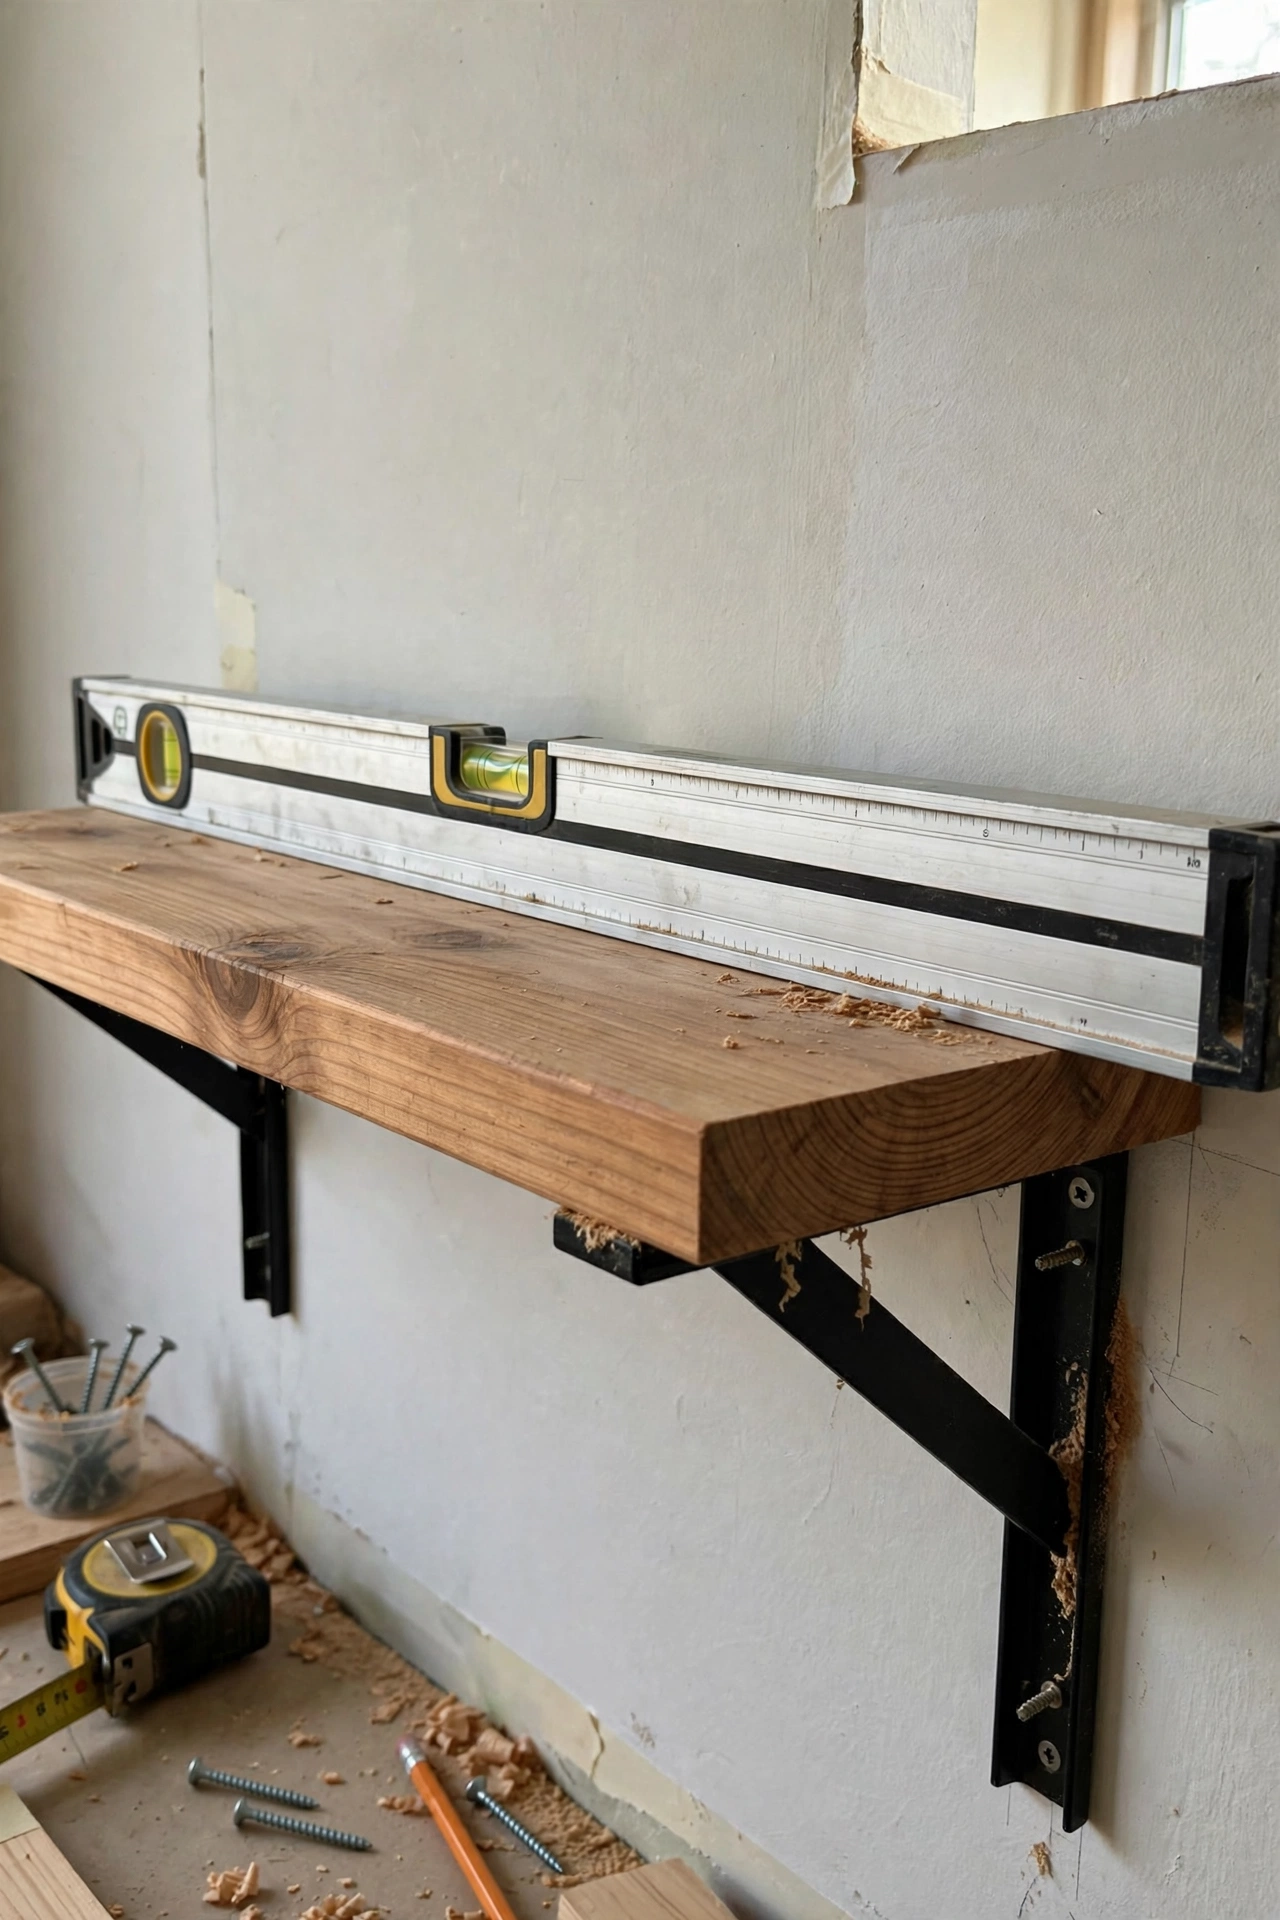
Tip: Load the shelves gradually over the first day and re-check the level after a week. Wood settles slightly under load. A tiny early adjustment beats discovering a slow slide months later.
7. Style Them Like You Mean It
Open shelves look best holding things you actually use. A shelf of pretty-but-never-touched items just collects dust and looks like a store display. Use your everyday dishes, favorite mugs, cooking oils, and a small plant. My shelf styling guide covers the full 3-2-1 formula, but the short version works: group similar items together, vary the heights for rhythm, and leave the shelf only two-thirds full.
Put your most-used items on the lower shelf within easy reach, and the prettier, less-used things up top. A tall vase next to a short stack of bowls, a leaning cutting board at one end, and some breathing room between groups is all it takes.
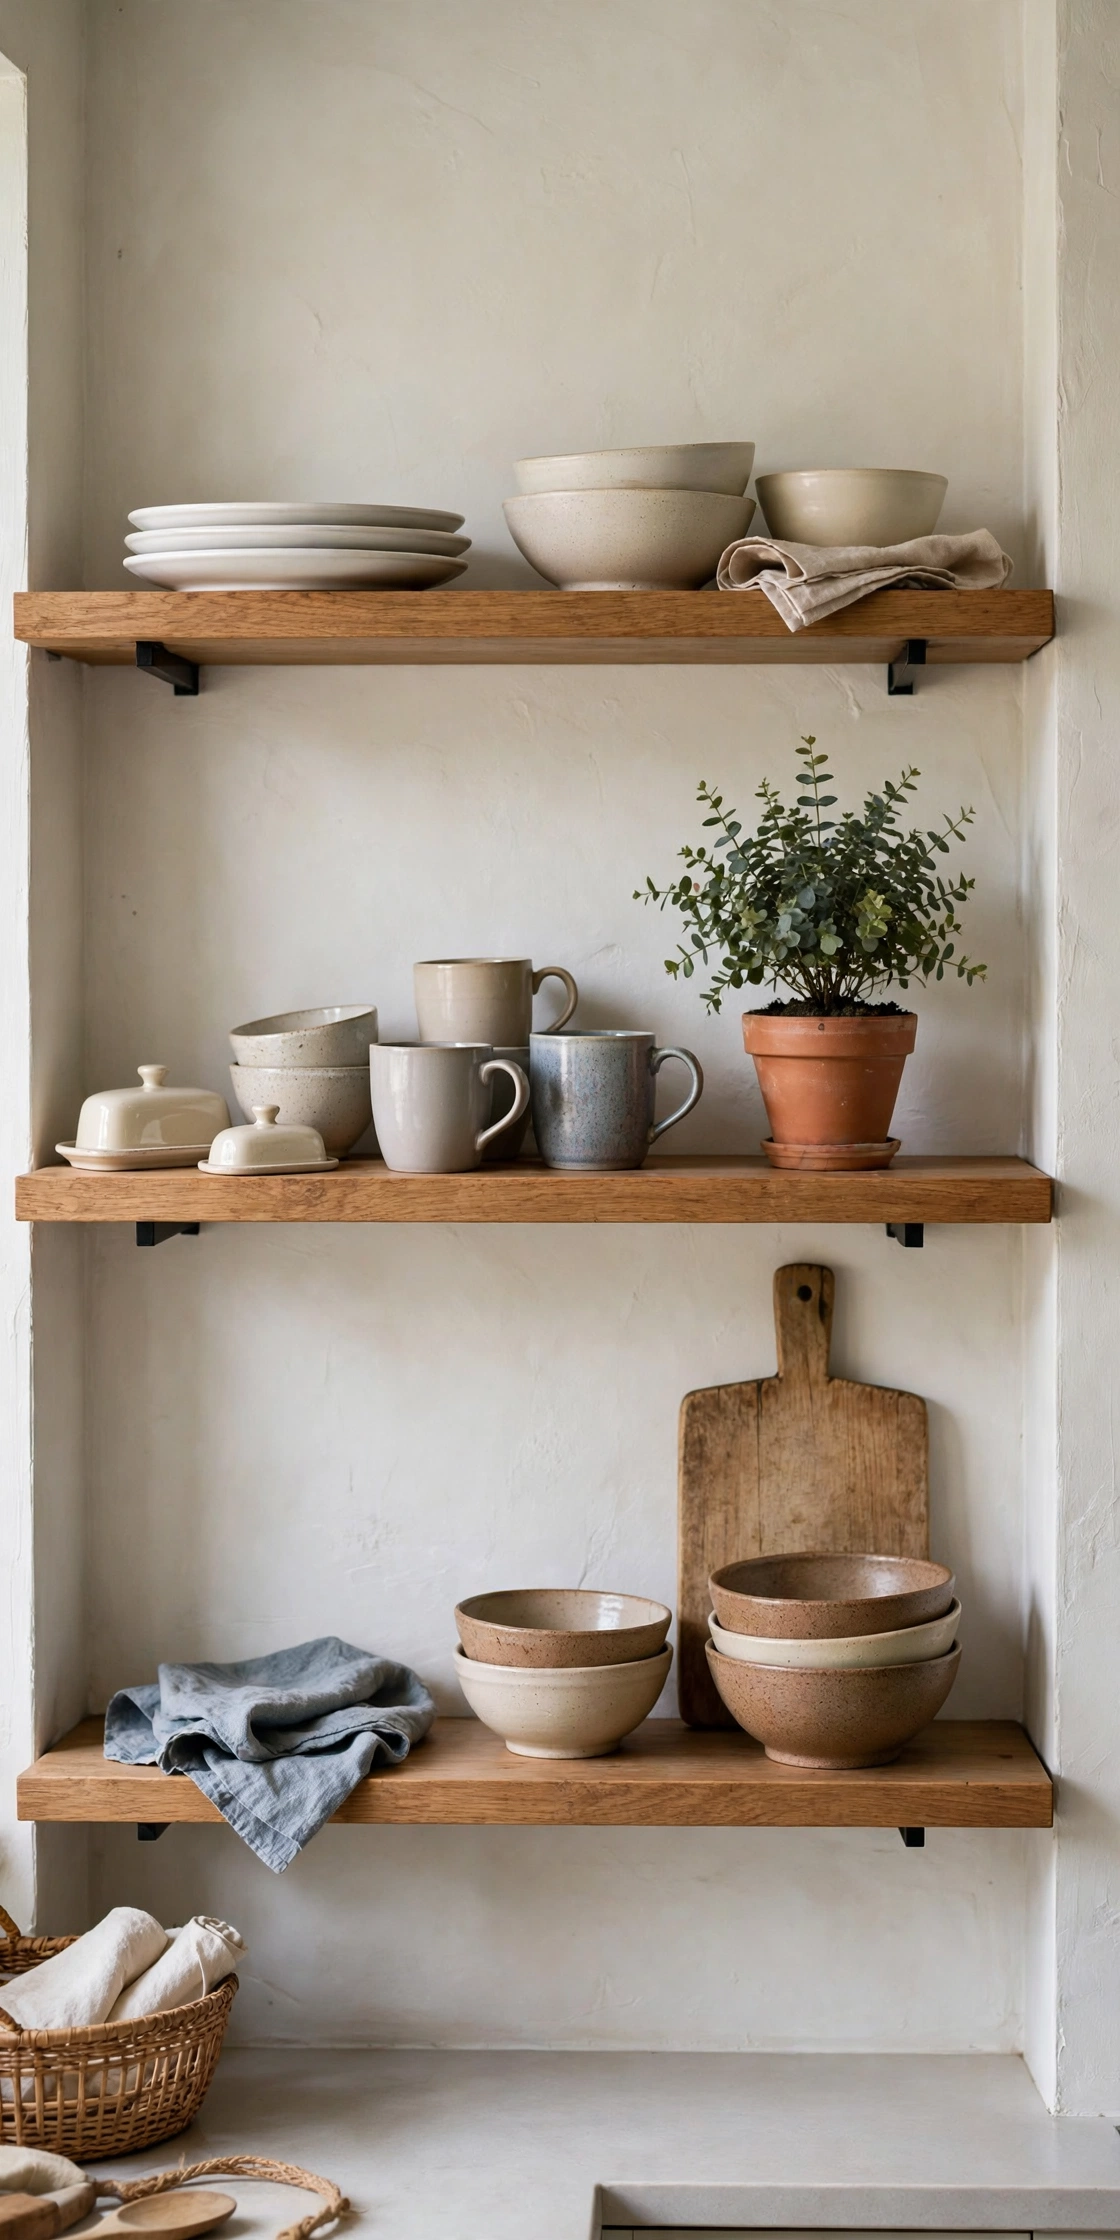
Tip: Style, then live with it for three days before you “finish.” You’ll naturally move the daily items to the easiest spots and push the decor aside. Let real use arrange the final version.
8. Follow the Safety Rules
Let me be your careful friend for a minute, because shelves holding heavy dishes deserve respect. Always mount into studs, never rely on drywall anchors alone for kitchen shelves. Check the weight rating on your brackets and stay well under it: mine were rated 50 pounds each and I keep each shelf under 40 pounds total.
If you have small kids who climb, mount shelves high enough they can’t pull themselves up, and never let kids hang from a shelf. In a rental, check with your landlord before drilling. Many are fine with it as long as you patch the holes when you leave, but ask first.
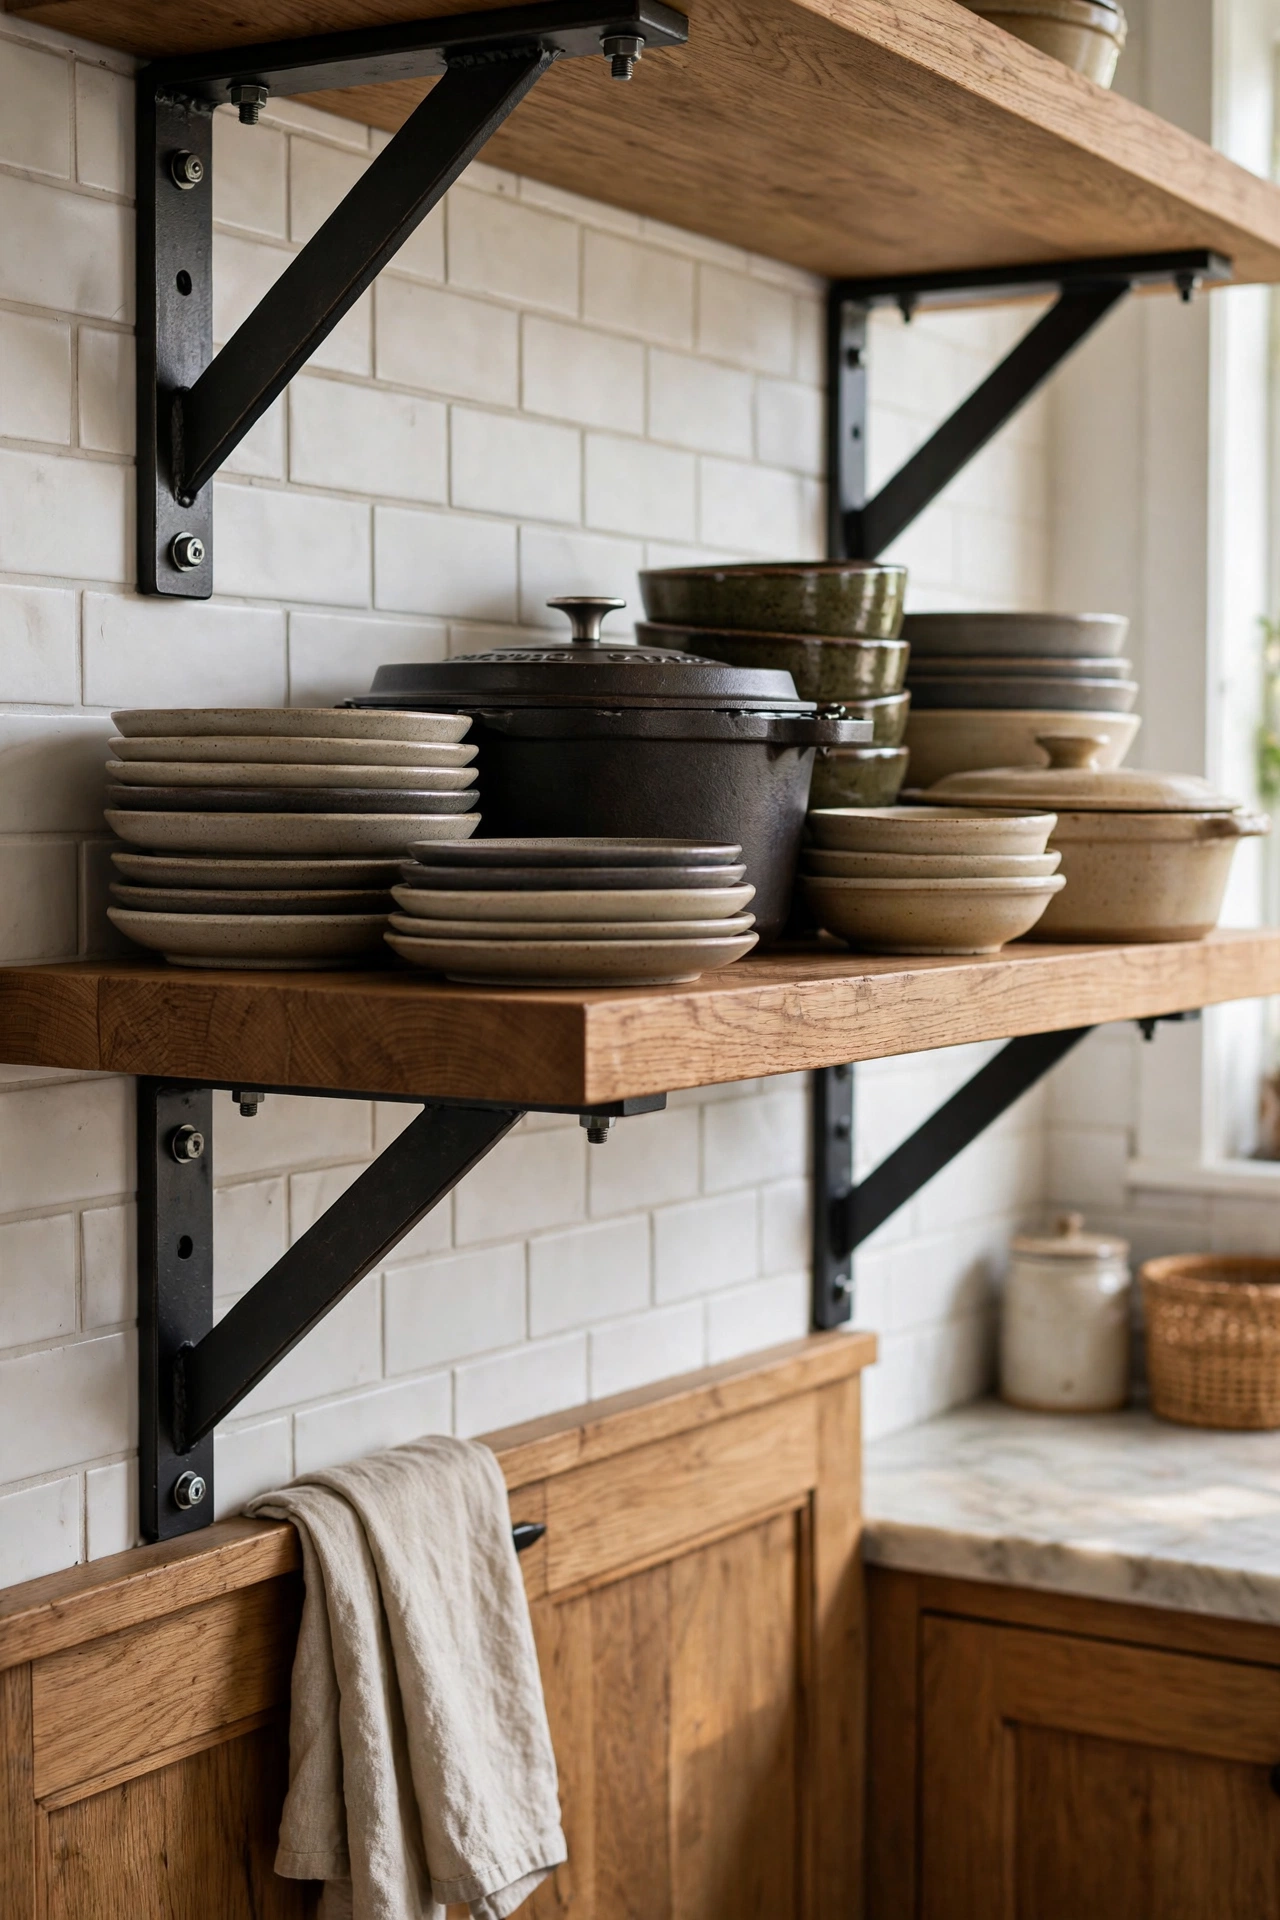
Tip: Do a yearly check: tighten any screws that have worked loose and confirm the shelves are still level. Five minutes once a year keeps a weekend project solid for a decade.
Which Step Needs the Most Care?
Every step is doable, but some deserve extra attention:
| Step | Difficulty | Best for |
|---|---|---|
| Finding studs + measuring | Easy | Everyone, prevents all disasters |
| Mounting brackets level | Medium | The make-or-break moment |
| Sanding + staining | Easy | The gorgeous finish |
| Styling the shelves | Easy | Daily-use beauty |
| Safety checks | Easy | Homes with kids, heavy dishes |
| Budget shopping | Easy | Keeping it near $108 |
Frequently Asked Questions
How much weight can DIY shelves hold?
With two 50-pound-rated brackets per shelf screwed into studs, each shelf comfortably holds 30 to 40 pounds of dishes. Stay well under the rating and distribute weight evenly instead of piling everything in the middle.
Can I do this as a renter?
Ask your landlord first. Many allow it if you patch holes when you leave. If drilling is a no, a freestanding shelf unit styled the same way gives you 80% of the look. More renter ideas in my renter-friendly tour.
Pine or hardwood for shelves?
Pine for your first project: cheap, easy to cut and sand, stains nicely. Hardwood is stronger and prettier but costs much more and is harder to work. Pine shelves at 4 feet or less hold daily dishes just fine.
How do I stop long shelves from sagging?
Keep spans at 4 feet or under, use 2×10 boards (thicker resists sag), and add a third center bracket for anything longer. Sagging comes from span, not from the wood species, in most cases.
What if my brackets cannot reach a wall stud?
Move the brackets so they hit studs; drywall alone cannot hold the weight of dishes. If the placement truly cannot reach a stud, use heavy-duty toggle bolts rated for the load. Never trust plain plastic anchors with kitchen shelves.
How do I keep pine from staining blotchy?
Brush on a pre-stain wood conditioner first, since pine absorbs stain unevenly. Test the stain on a cutoff or the underside, wipe with the grain, and use two thin coats instead of one thick one. Patience here is the difference between rustic and messy.
Final Thoughts
That’s the whole project: two boards, four brackets, one weekend, and a kitchen that feels brand new. My shelves have been up for months, holding daily dishes through countless breakfasts and dinners, still rock solid. My total was $108 with tools I already owned, against hundreds per linear foot for new cabinets. Start this Saturday morning, and by Sunday night you’ll be standing in your kitchen wondering why you didn’t do it sooner. For the rest of the house on the same budget spirit, my room refresh ideas under $50 keep the momentum going. This Old House’s rules for open shelving cover styling, shelf depth, and dust control. Another walkthrough to install DIY open shelving uses a different bracket method worth comparing.
