
How to Hang a Gallery Wall Like a Pro Within 9 Steps


Most first gallery walls are a disaster: crooked frames, chaotic spacing, and a wall full of nail holes to patch. The second attempt usually takes one relaxed afternoon and looks straight out of a magazine. The difference is not talent. It is a floor, some kraft paper, and a few rules followed in order.
This guide gives you those 9 steps, from gathering frames to renter-friendly options, plus the common mistakes to skip. Start with step #1 today by gathering what you already own. And if your frames come from bargain hunting, my thrift store decor guide shows exactly which secondhand frames are worth grabbing.

1. Gather Your Frames and Tools
Before anything goes on the wall, gather everything you’ll need. There’s nothing worse than being halfway through and running to the store. Aim for 5 to 15 pieces for a first gallery wall: one or two larger anchor pieces, a few medium frames, and several small ones. Fillers like small prints, postcards, or a pretty greeting card work great for the little spots.
Your toolkit: a hammer and picture-hanging nails (proper anchors for anything over 10 pounds), a tape measure and pencil, a small level, painter’s tape plus kraft paper or newspaper for templates, and scissors. If you don’t have enough art yet, don’t stop. I printed free art from museum websites, used family photos from my phone, and framed a beautiful page from an old calendar.

Tip: A gallery wall doesn’t need to be expensive, it just needs to feel like you. Free printables, family photos, and calendar pages in simple frames look just as good as pricey art when the layout is right.
2. Plan the Layout on the Floor First
This is the step that changed everything for me, and it’s the one most people skip. Don’t start on the wall. Start on the floor. Clear a big area, bigger than the wall space you want to fill, and lay all your frames face up.
Start with your biggest frame slightly off-center, never dead center, because off-center feels more natural and interesting. Build outward: medium frames around it, small ones tucked into the gaps. Think of it like a puzzle. Leave it for a day if you can. You’ll walk past, notice things, and make small changes until it feels right.
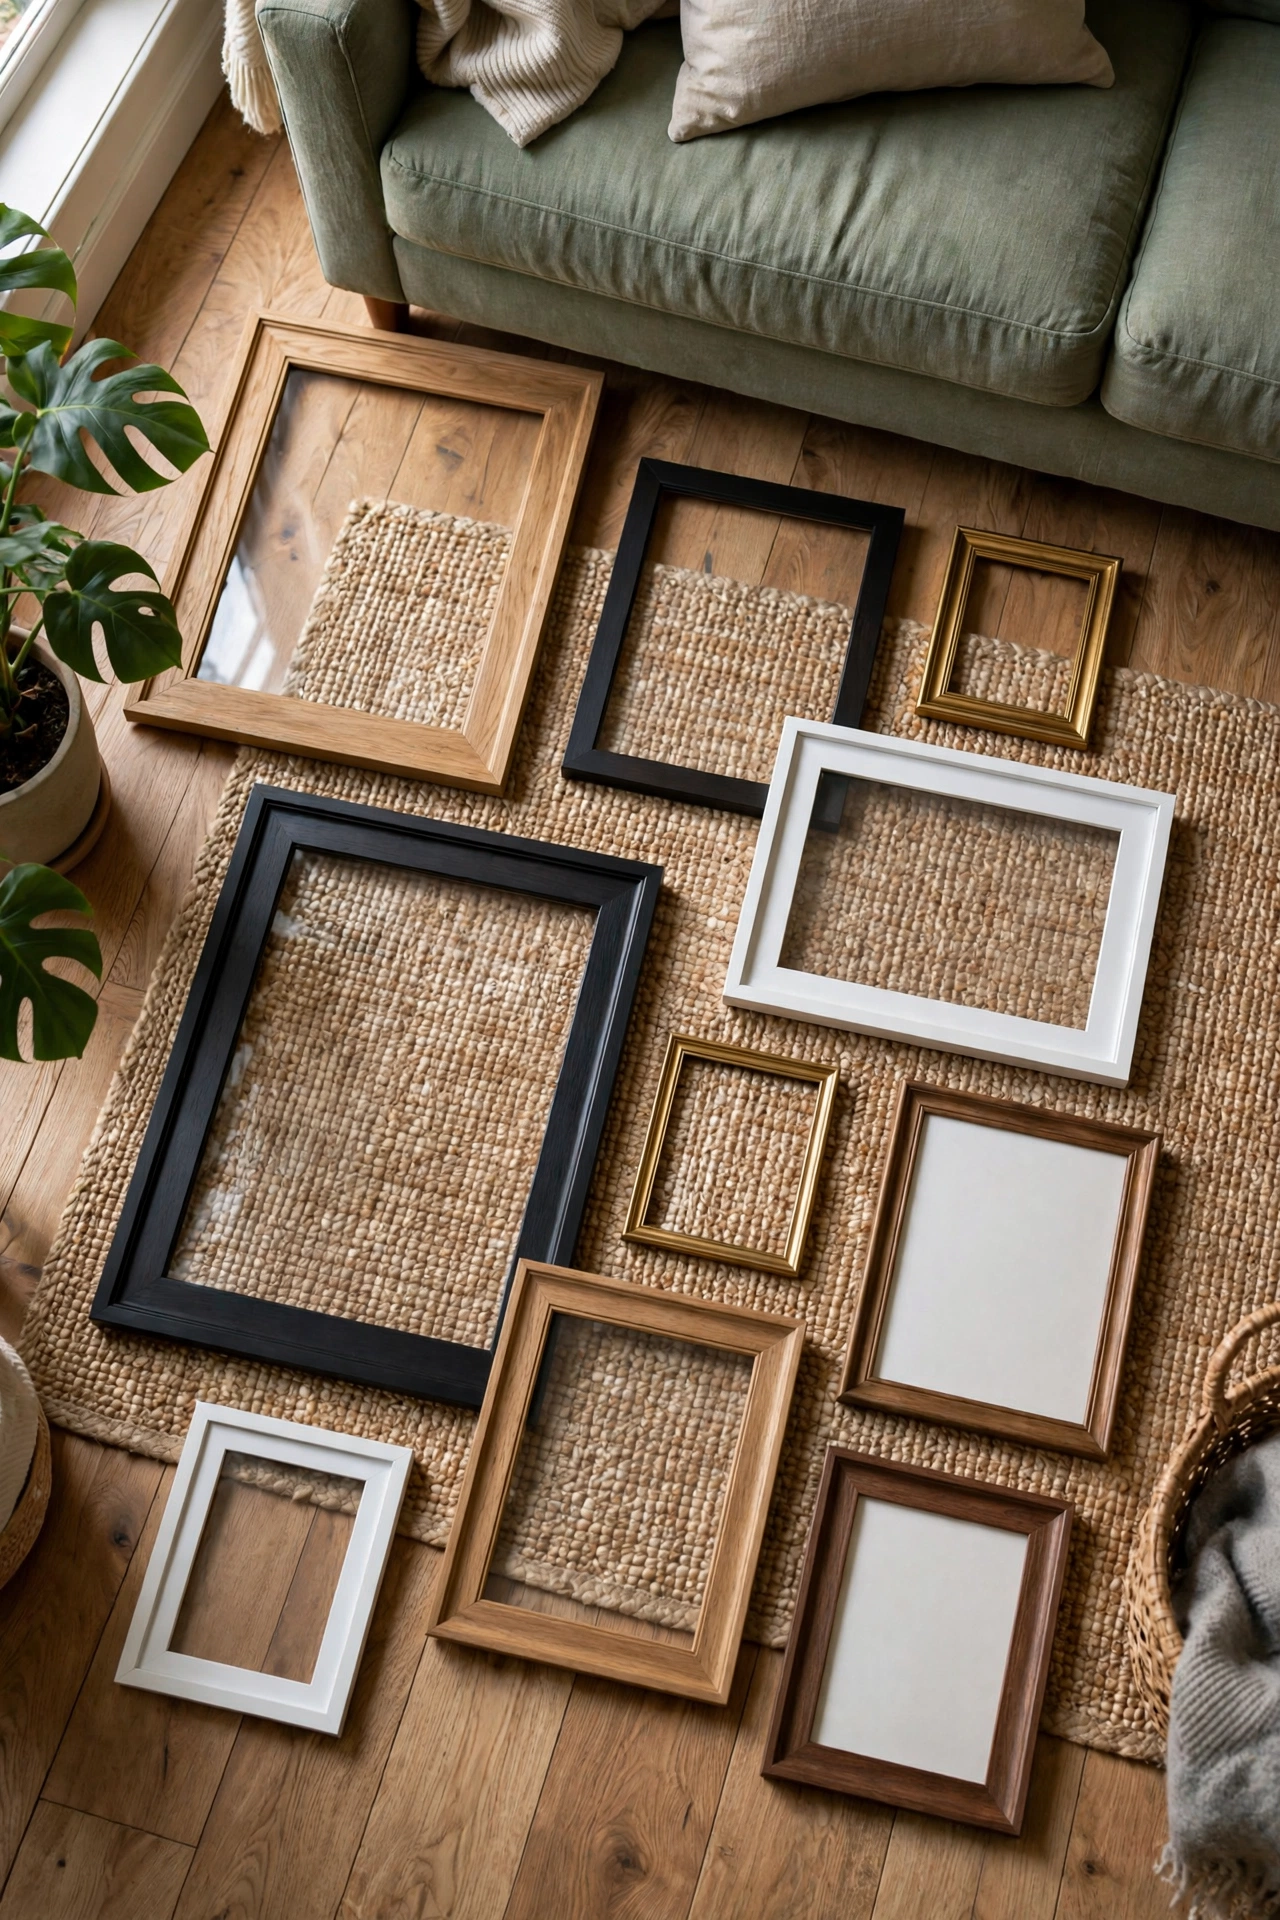
Tip: Take a photo of each arrangement with your phone and compare them side by side. Photos reveal balance problems your eyes miss in person. I usually try two or three versions before committing.
3. Use the Paper Template Trick
This is the secret weapon. Trace each frame onto kraft paper or newspaper, cut it out, and label the back with which frame it matches (I write things like “big black 11×14”). It takes about twenty minutes, and it’s the most important twenty minutes of the whole project.
Tape the templates to the wall with painter’s tape. Step back, really step back, all the way across the room, and look. This is your chance to rearrange with zero commitment. Slide things around as much as you want. No holes, no regrets.
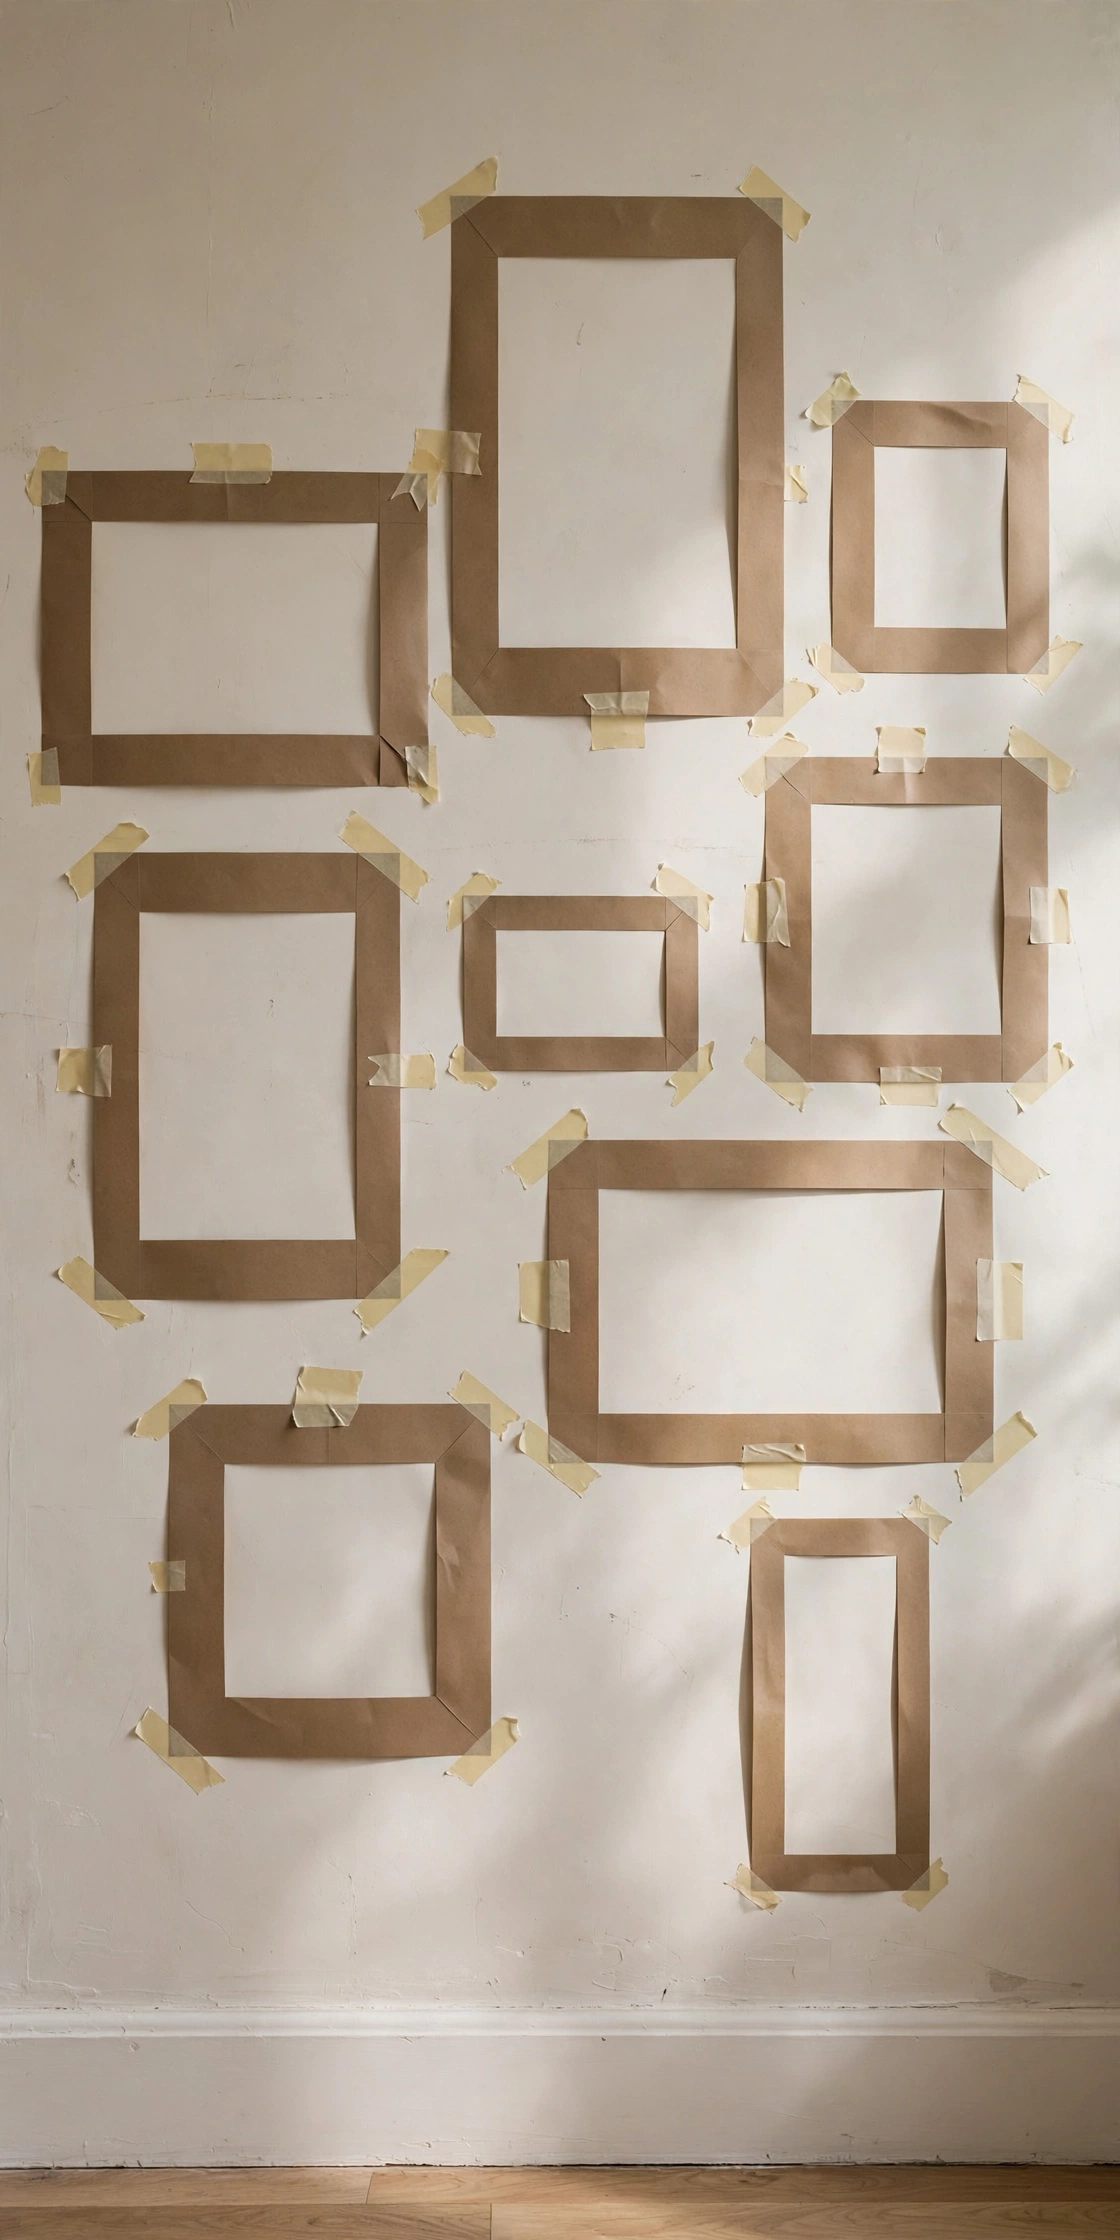
Tip: When the layout feels right, mark the nail spot on each template: measure down from the top of the frame to where the wire or hook sits, and mark that exact spot on the paper. Your nail goes there, not at the top of the frame, which was my first-timer mistake.
4. Follow the 2-to-3-Inch Spacing Rule
Professional gallery walls look intentional because of one rule above all: consistent spacing. Keep a gap of 2 to 3 inches between every frame. This is the number one difference between a wall that looks designed and one that looks random.
Pick a number, I use 2.5 inches, and use it everywhere. Measure the gap with your tape measure when taping up templates, don’t just eyeball it. When every frame has the same breathing room, the whole group reads as one beautiful unit instead of a bunch of separate pictures.
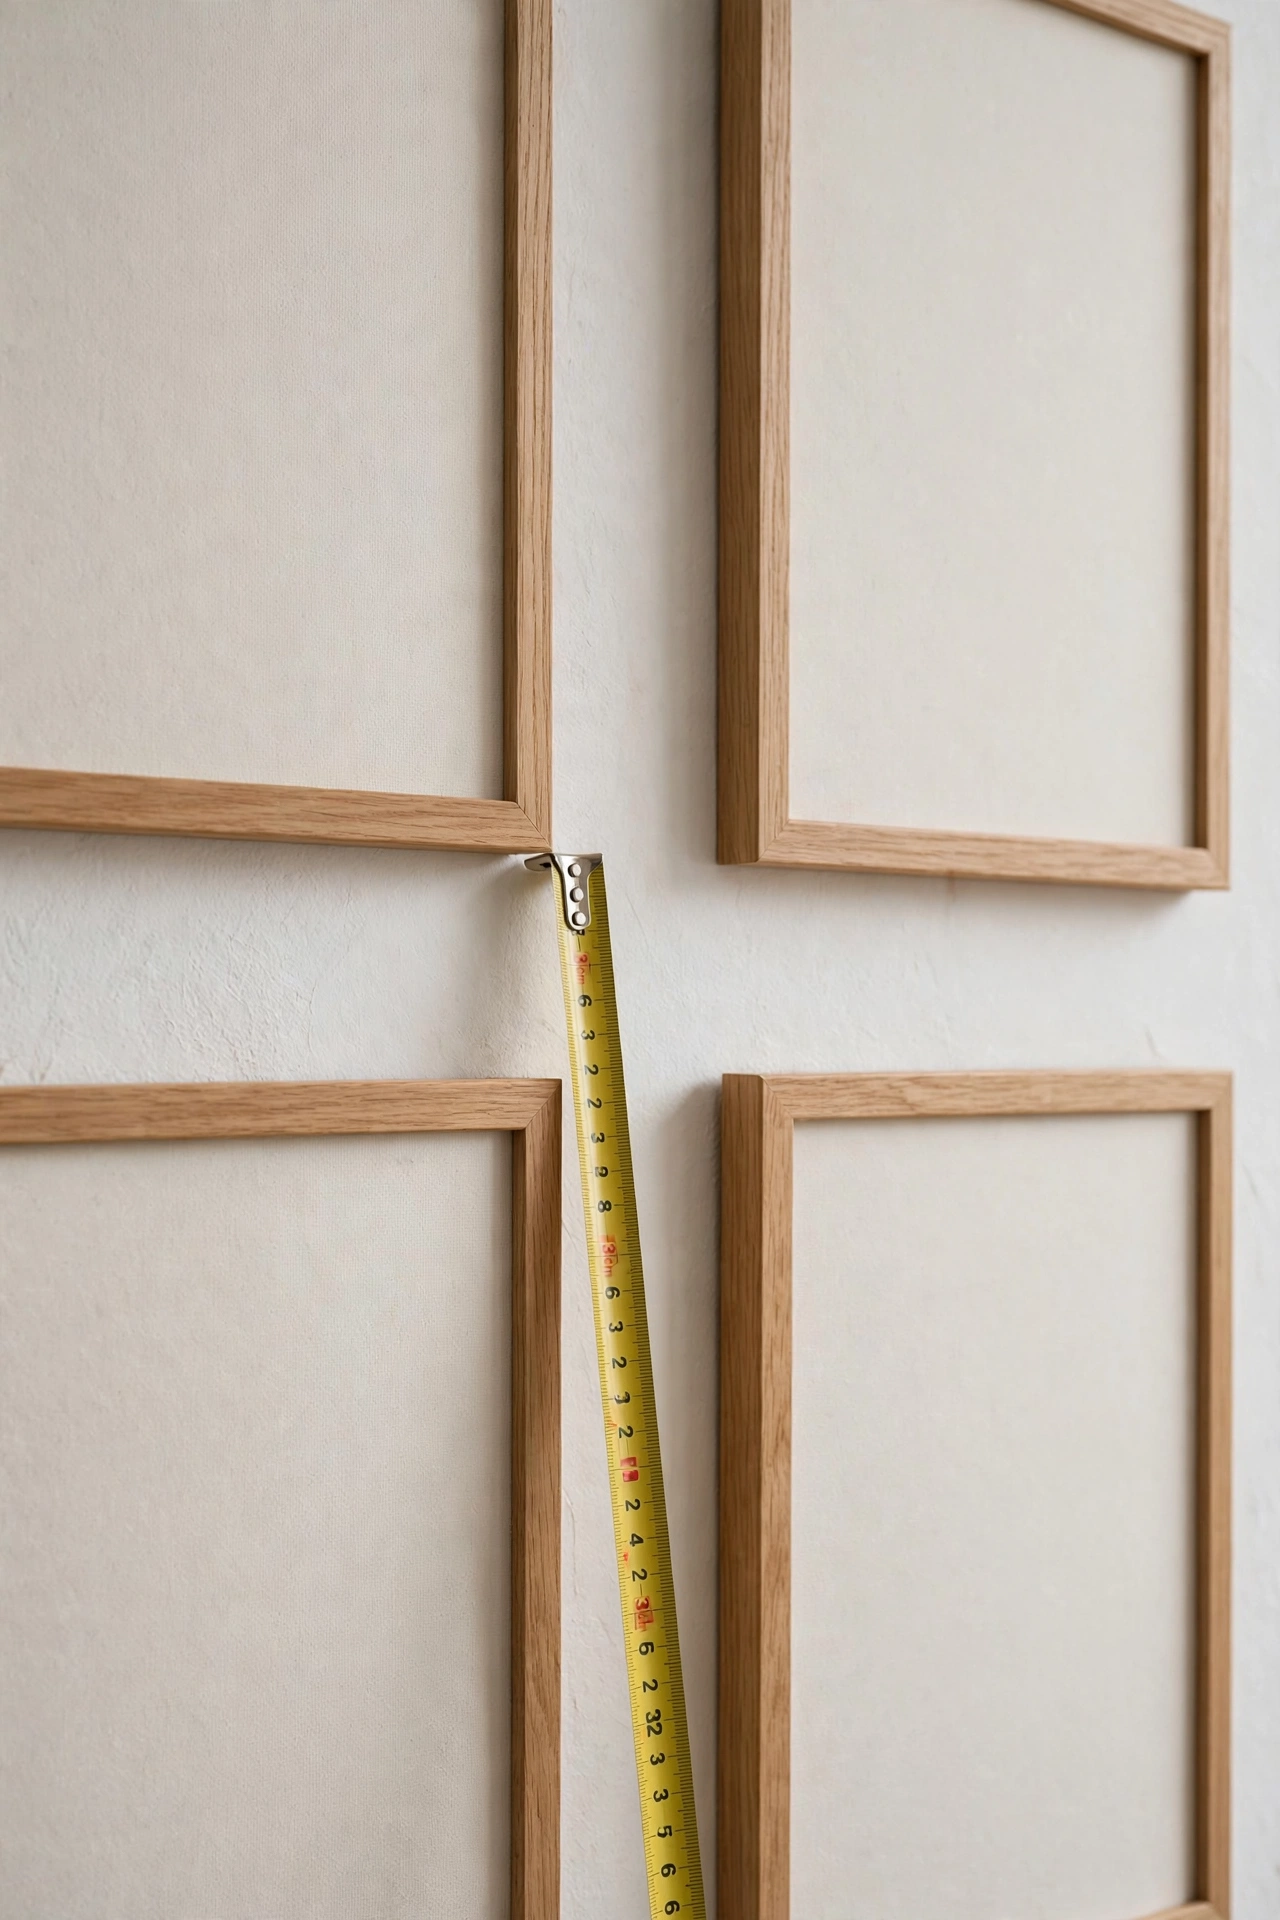
Tip: Inconsistent spacing is the fastest way to make a wall look jittery: one gap at 1 inch, the next at 4 inches, and the eye can’t settle. If something looks “off,” check the gaps before you check anything else.
5. Hang It at the Right Height
The second pro rule is height. The center of your whole arrangement, the middle of the group, not each frame, should sit at about 57 to 60 inches from the floor. That’s roughly eye level for most people, and it’s the same height museums use.
Here’s how: measure the total height of your arrangement, divide by two, and mark that spot on the wall. That mark should land at 57 inches from the floor, then arrange everything around it. If the wall goes above a sofa or console table, hang it so the bottom of the lowest frame sits 6 to 8 inches above the furniture.
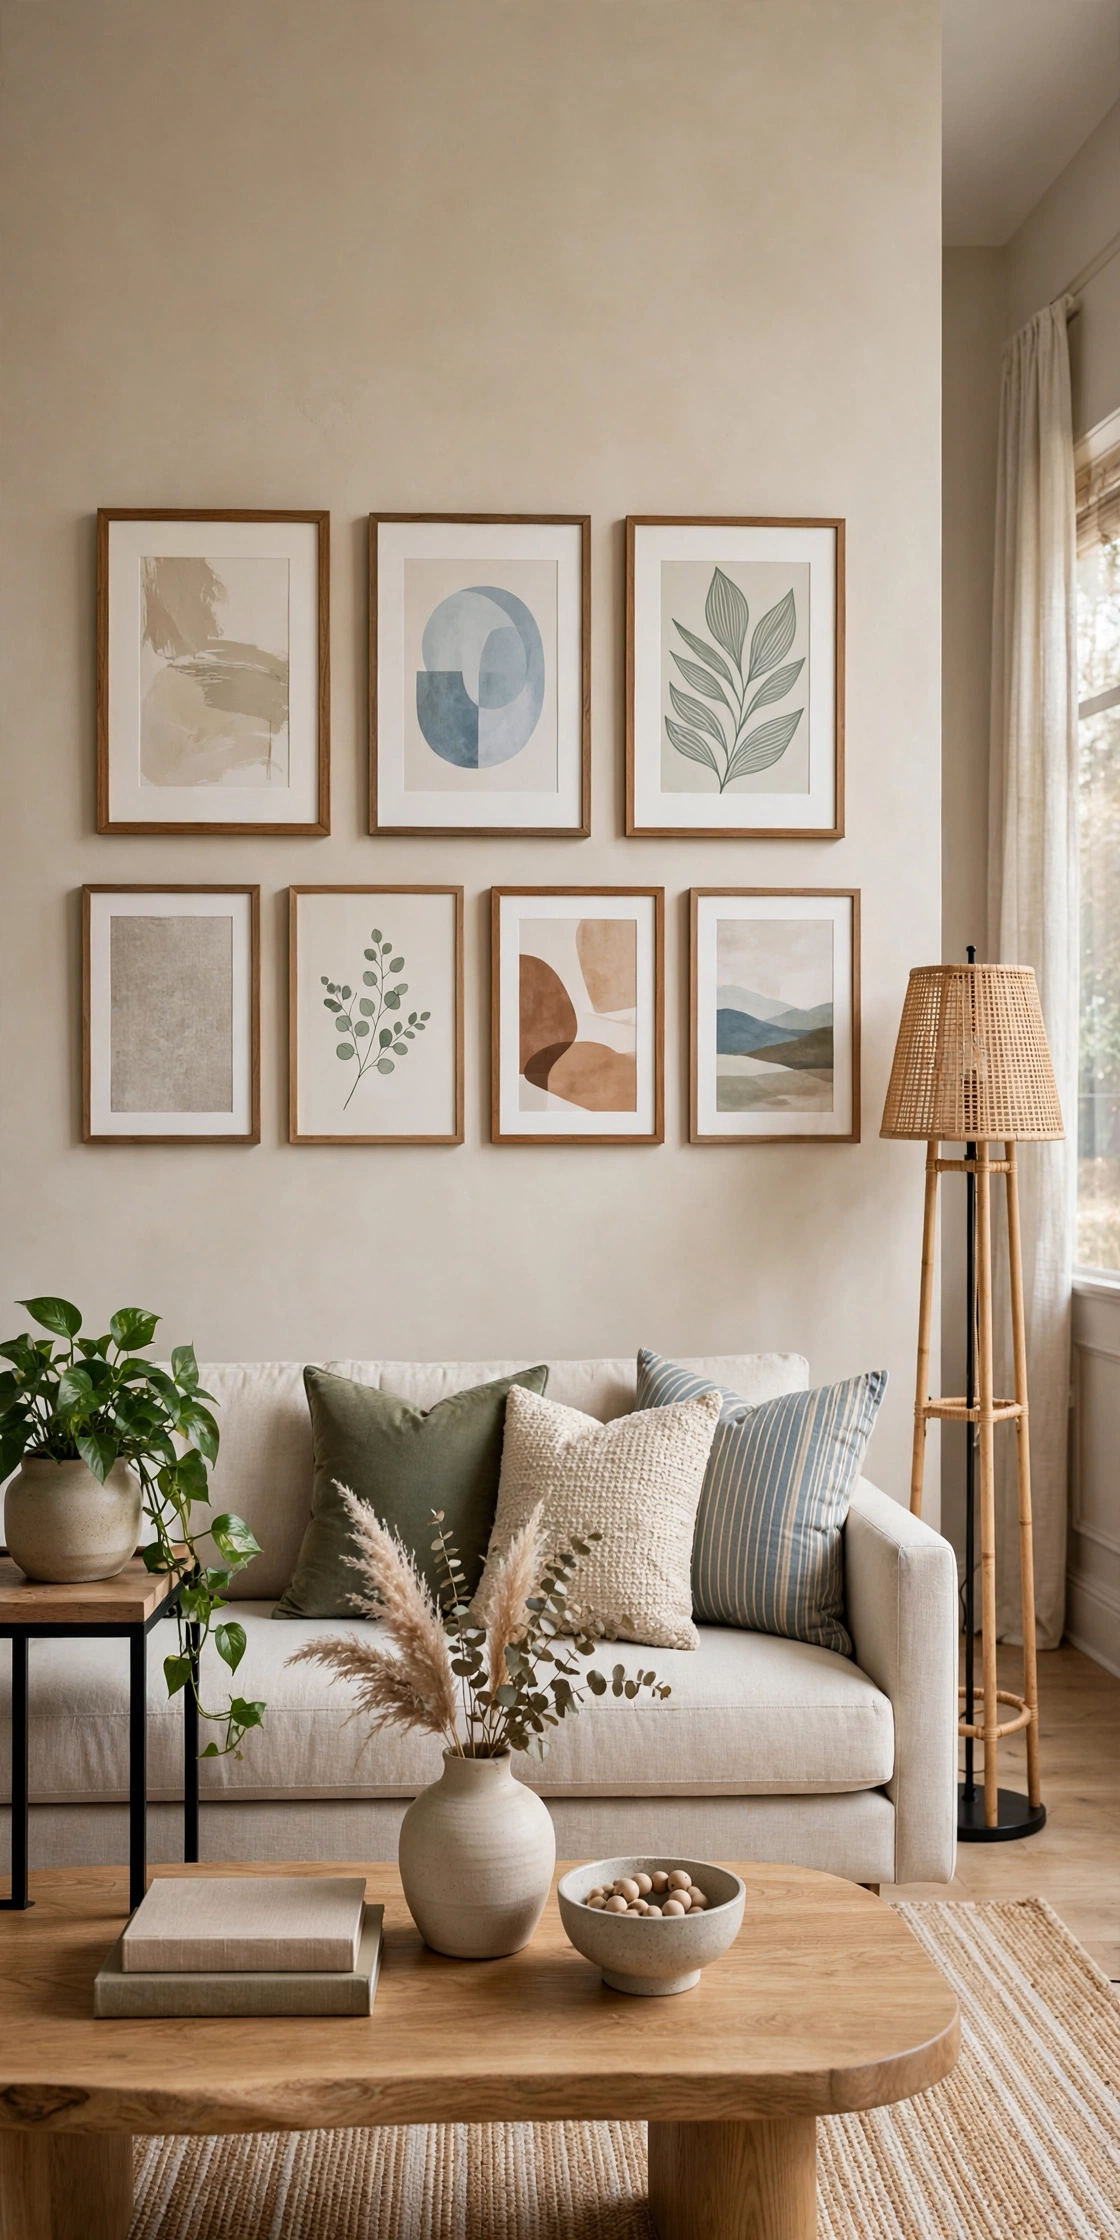
Tip: Hanging too high is the most common mistake in the world. People hang art at “standing in a hallway looking up” height. When in doubt, go lower than your instinct says. Lower almost always looks better.
6. Mix Frame Styles Without the Mess
Do all the frames have to match? No, but something has to tie them together or it looks chaotic. Pick one thing to repeat and let the rest vary. The easiest approach: keep all frames one color, all black, all white, or all natural wood, and let sizes and art vary. Always clean, always pulled together.
For a more collected, vintage feel, mix frame styles but stick to two or three finishes, like black plus gold plus natural wood. Also repeat something in the art: maybe most prints share a color, or mix family photos with travel shots. My trick is 70/30: 70 percent similar in mood or color, 30 percent wild cards that add personality.
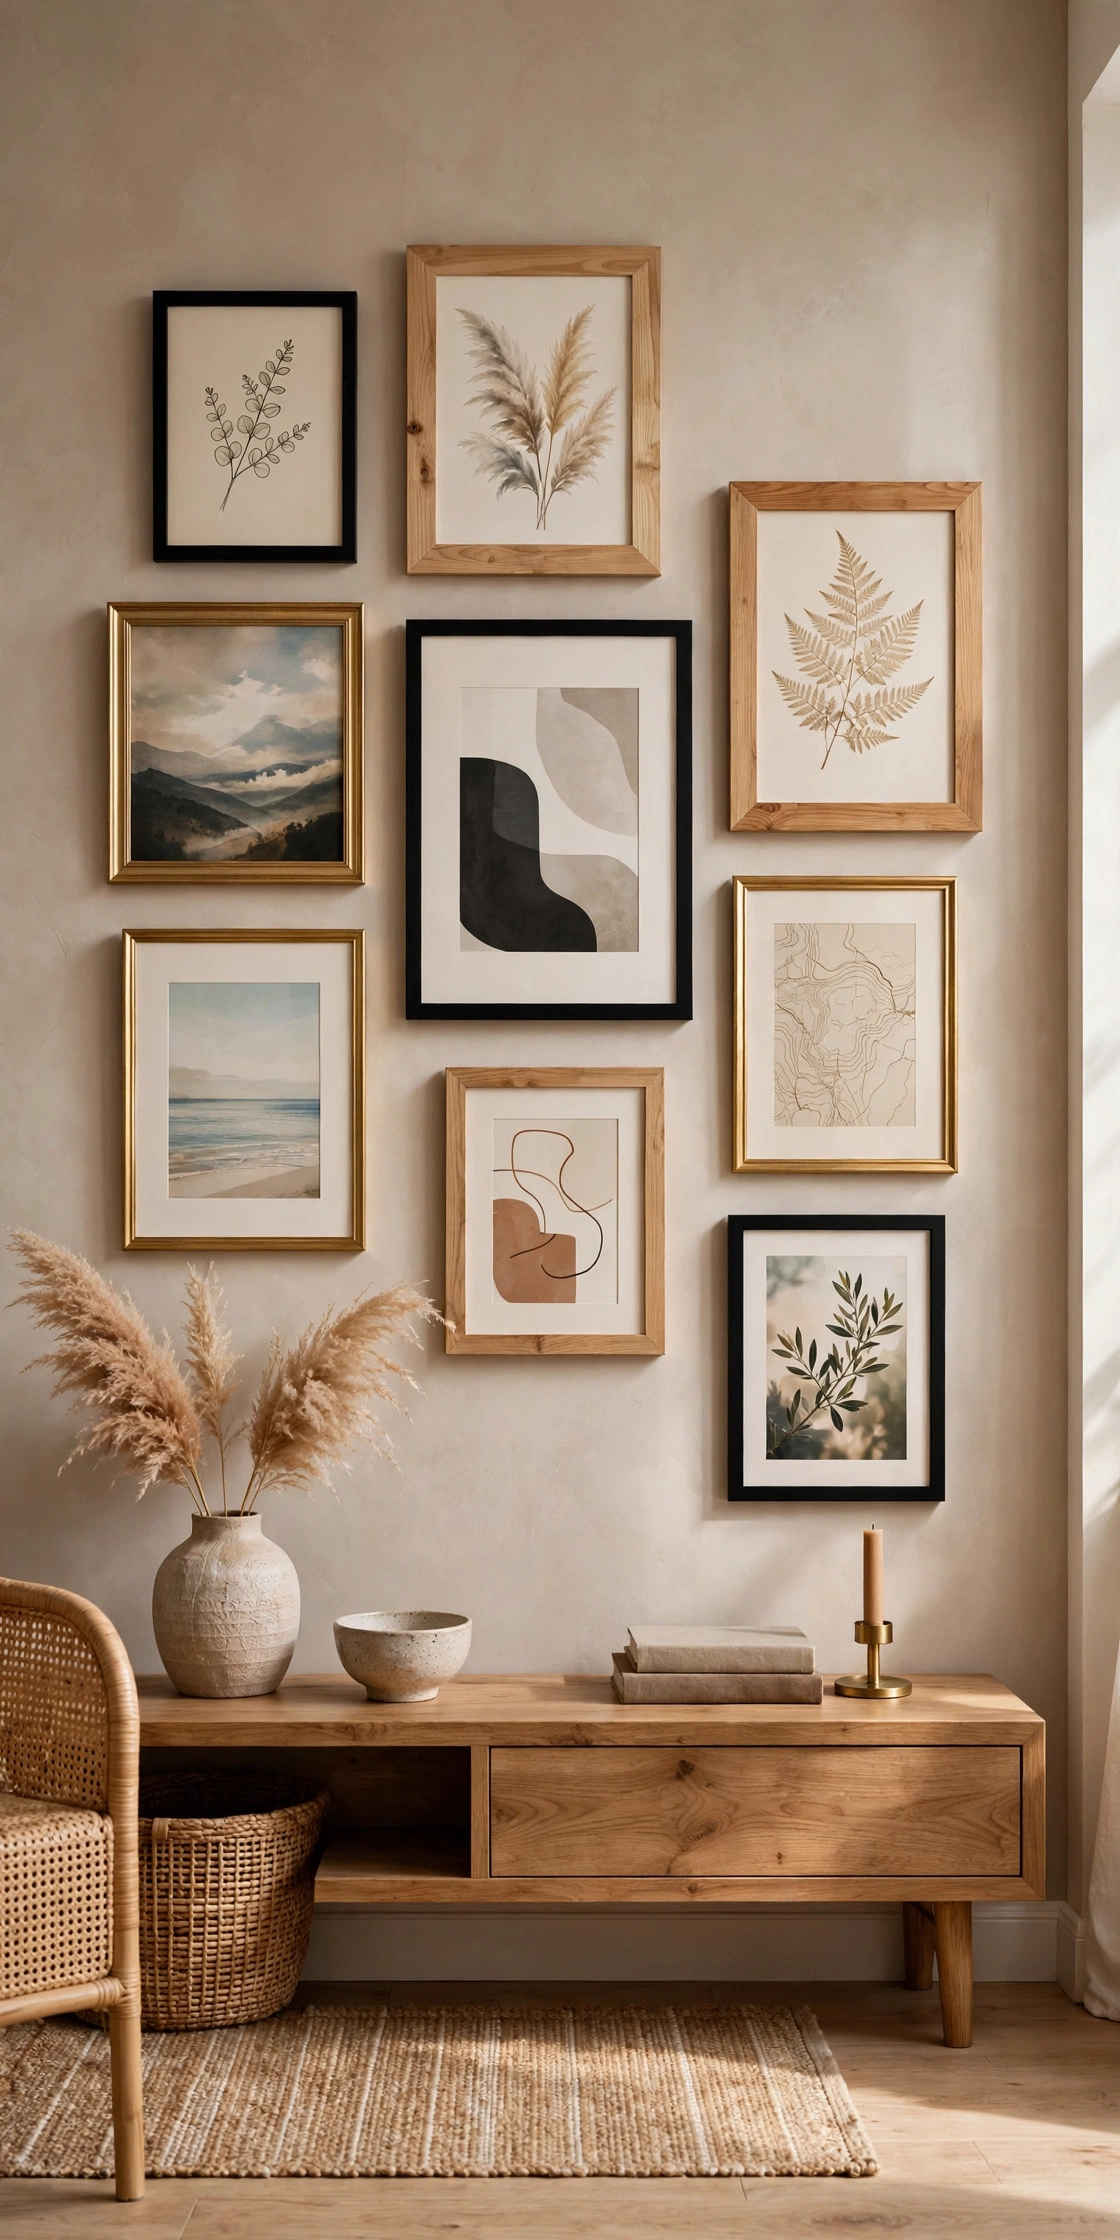
Tip: What to avoid: every frame a different color, style, and finish with nothing in common. That’s when it reads as thrift-store wall instead of gallery wall. One repeated element is the whole difference.
7. Hang Like a Pro on Hanging Day
Once your templates are exactly where you want them, the actual hanging is the easy part. Hammer the nail right through the paper template, then tear the paper away. Every nail lands exactly where you planned it, which is the entire point of the templates.
Start with the center anchor piece, your biggest frame. Check it with the level, then build outward. Check the level on every single frame; it takes five seconds and it’s the difference between “nice” and “wow.” Step back after every three or four frames, because small shifts add up and catching drift early beats fixing it at the end.
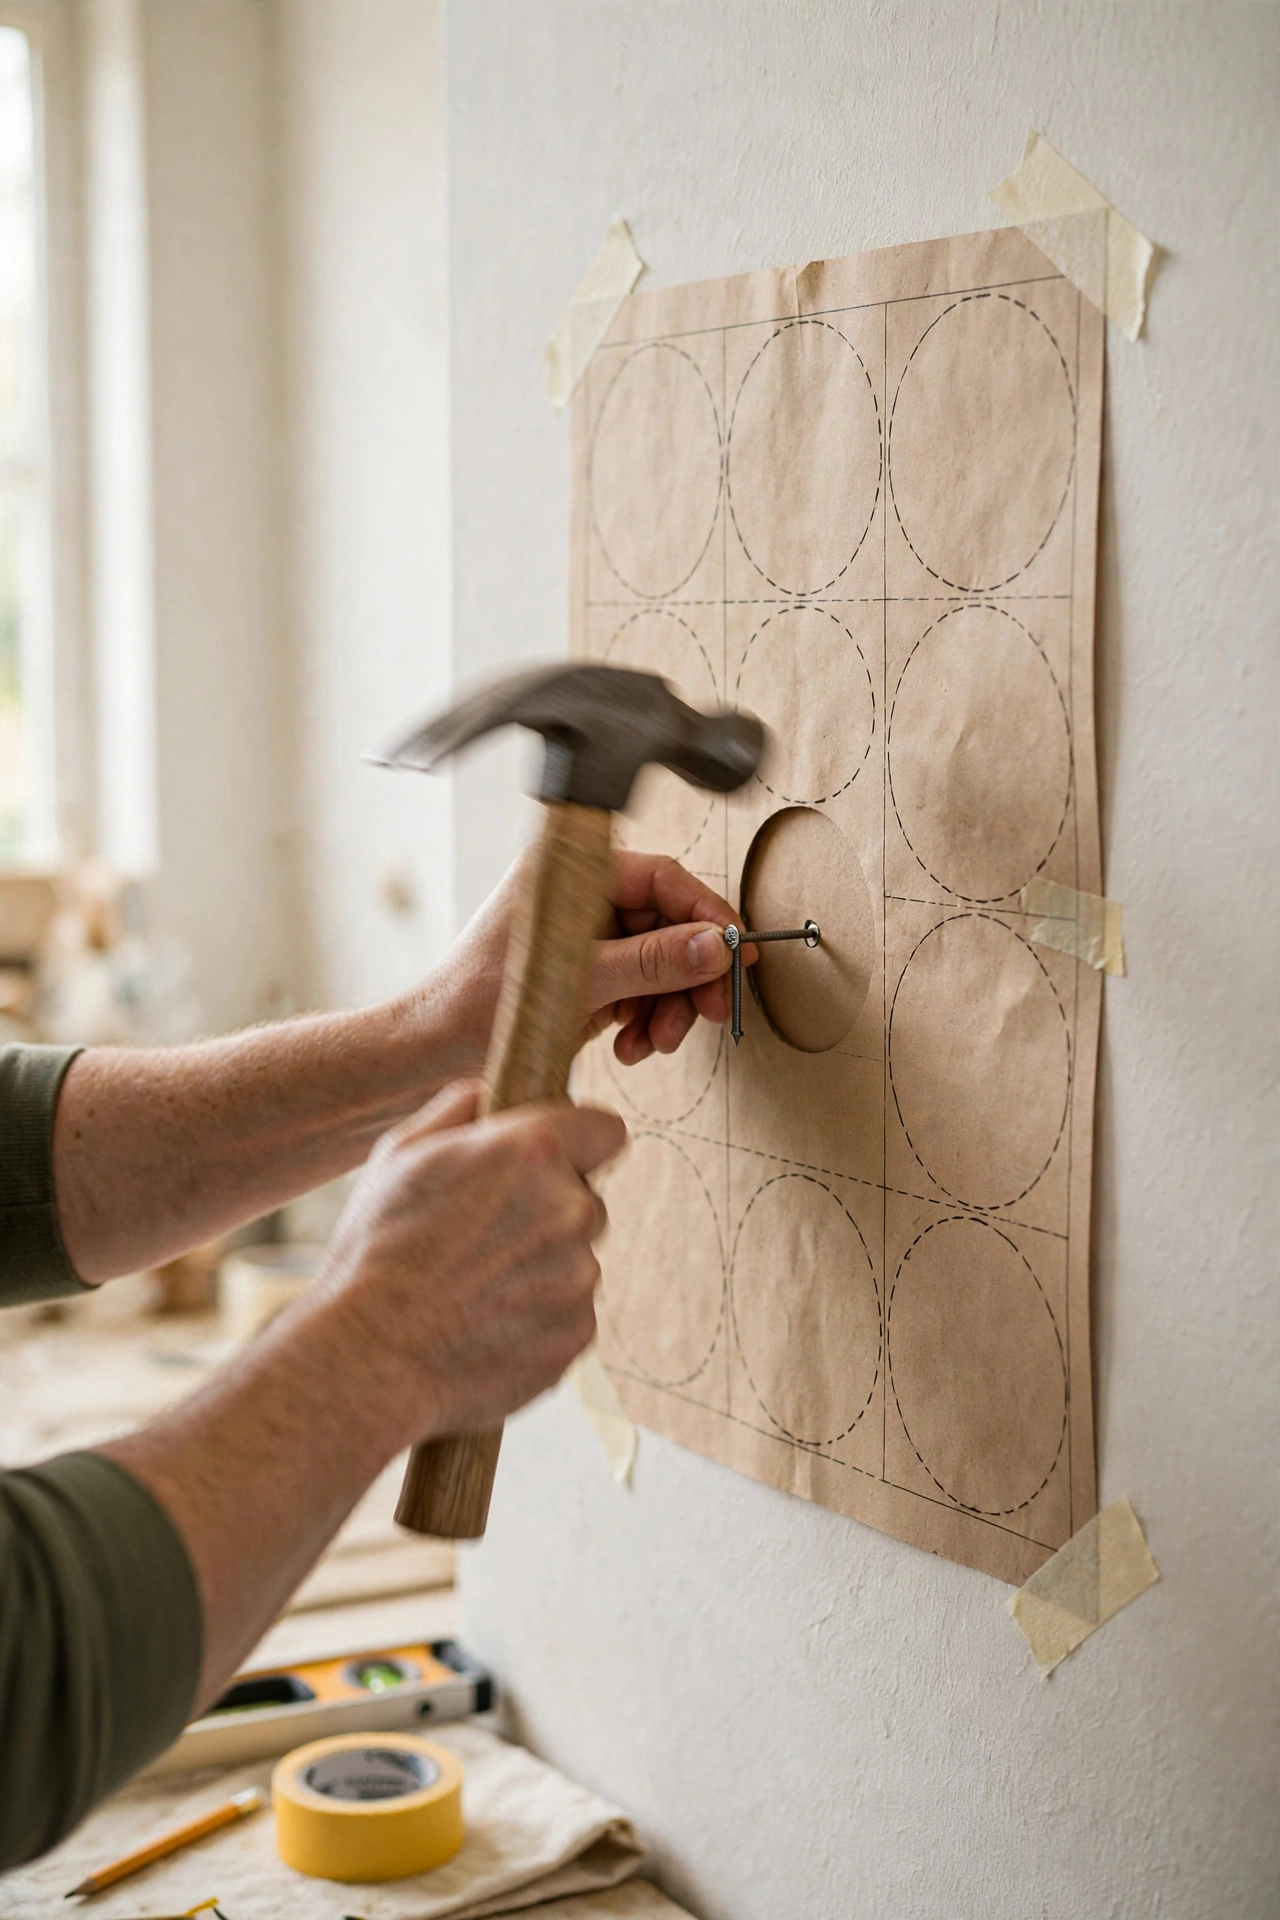
Tip: Put on music, make some tea, and take your time. A gallery wall should be fun, not stressful. Rushing the hanging is how frames end up crooked and templates end up ignored.
8. Go Renter-Friendly With Zero Damage
If you rent, or just don’t want holes, you have great options. Adhesive picture-hanging strips are my top pick: they hold frames up to 16 pounds per set and come off cleanly when you pull the tab the right way. The key is following the instructions exactly. Clean the wall with rubbing alcohol first, press firmly for 30 seconds, and wait a full hour before hanging. Most failures happen because people skip the waiting.
For a bigger statement with almost no holes, try a picture ledge: slim shelves, usually 4 to 6 inches deep, that you mount once and lean frames on. Layer frames in front of each other, swap art whenever you want. When you move, you patch two or three holes instead of twenty. My renter-friendly living room tour shows damage-free decorating all through the house.

Tip: Test one adhesive strip with your heaviest frame for 24 hours before committing the whole wall. If it holds overnight, the rest will too. Confidence first, gallery second.
9. Avoid the Classic Mistakes
Let me save you some trouble. These are the mistakes I made on my first gallery wall so you don’t have to: hanging everything too high (remember 57 inches), inconsistent spacing, starting on the wall instead of the floor, using only small frames (include at least one 11×14 or larger anchor), forgetting the level, and hanging where direct sun hits all day (sunlight fades art fast; use UV-protective glass if the wall is sunny).
A wall of only tiny 5×7 frames looks lost and timid, and a frame off by even half an inch is noticeable from across the room. Run through this list before you pick up the hammer and you’ll skip my entire first attempt.

Tip: Do a final walk-past test the next day before you call it done. Fresh eyes catch a tilted frame or a gap that felt fine yesterday. Small fixes now beat living with “almost right” for a year.
Which Step Matters Most?
If you’re short on time, prioritize the steps with the biggest payoff:
| Step | Difficulty | Best for |
|---|---|---|
| Paper templates on the wall | Easy | Everyone, prevents all regret |
| 2-to-3-inch spacing | Easy | Walls that look random |
| Center at 57 inches | Easy | Art hung too high |
| Renter-friendly strips | Easy | Renters, zero damage |
| Mix frames with one repeat | Easy | Collected, personal look |
| Hanging day process | Medium | First-timers who want it straight |
Frequently Asked Questions
How many frames do I need for a gallery wall?
Five to fifteen for a first wall. Fewer than five reads as “a few pictures,” more than fifteen gets hard to plan. Start in the middle with eight or nine and add over time.
How high should it hang above a sofa?
The bottom of the lowest frame should sit 6 to 8 inches above the sofa back. Any higher and the art floats disconnected from the furniture; any lower and tall guests will graze it.
Will adhesive strips damage my walls?
Not if you follow the instructions: clean with rubbing alcohol, press 30 seconds, wait one hour before hanging, and pull the tab straight down (never outward) when removing. Most damage stories come from skipping a step.
Can I mix frame colors or should they match?
Both work. All one color is foolproof; mixing works if you limit it to two or three finishes and repeat one of them. The 70/30 rule keeps mixed walls cohesive: 70 percent similar, 30 percent wild cards.
How do I fix extra nail holes from a bad first attempt?
Fill each hole with spackling paste, let it dry, then sand it smooth and touch up with matching wall paint. For tiny holes, two thin layers of spackle work better than one thick one. Keep a small jar of your wall paint for touch-ups; it makes repairs invisible.
Can I hang a gallery wall on brick or concrete?
Yes, but skip nails and standard adhesive strips. Drill with a masonry bit and use concrete anchors for heavy frames, or use masonry-rated adhesive hooks for lighter ones. Test one spot first, since brick dust and rough texture weaken adhesive bonds.
Final Thoughts
My gallery wall is still my favorite thing in my home. It holds photos of people I love, art that makes me happy, and a couple of silly things that make me laugh. Every time I walk past it, it feels like me. Yours will too. So clear some floor space, put on your favorite playlist, and start tracing those templates. It’s easier than you think, and the result is so worth it. And if the wall above your sofa needs the full treatment, my living room guide pairs perfectly with a fresh gallery wall. Realtor.com’s gallery wall layout ideas show more arrangements recommended by design pros. This master class on how to hang artwork covers the same museum-height rule.