10 Small Kitchen Big Style Open Shelf Ideas


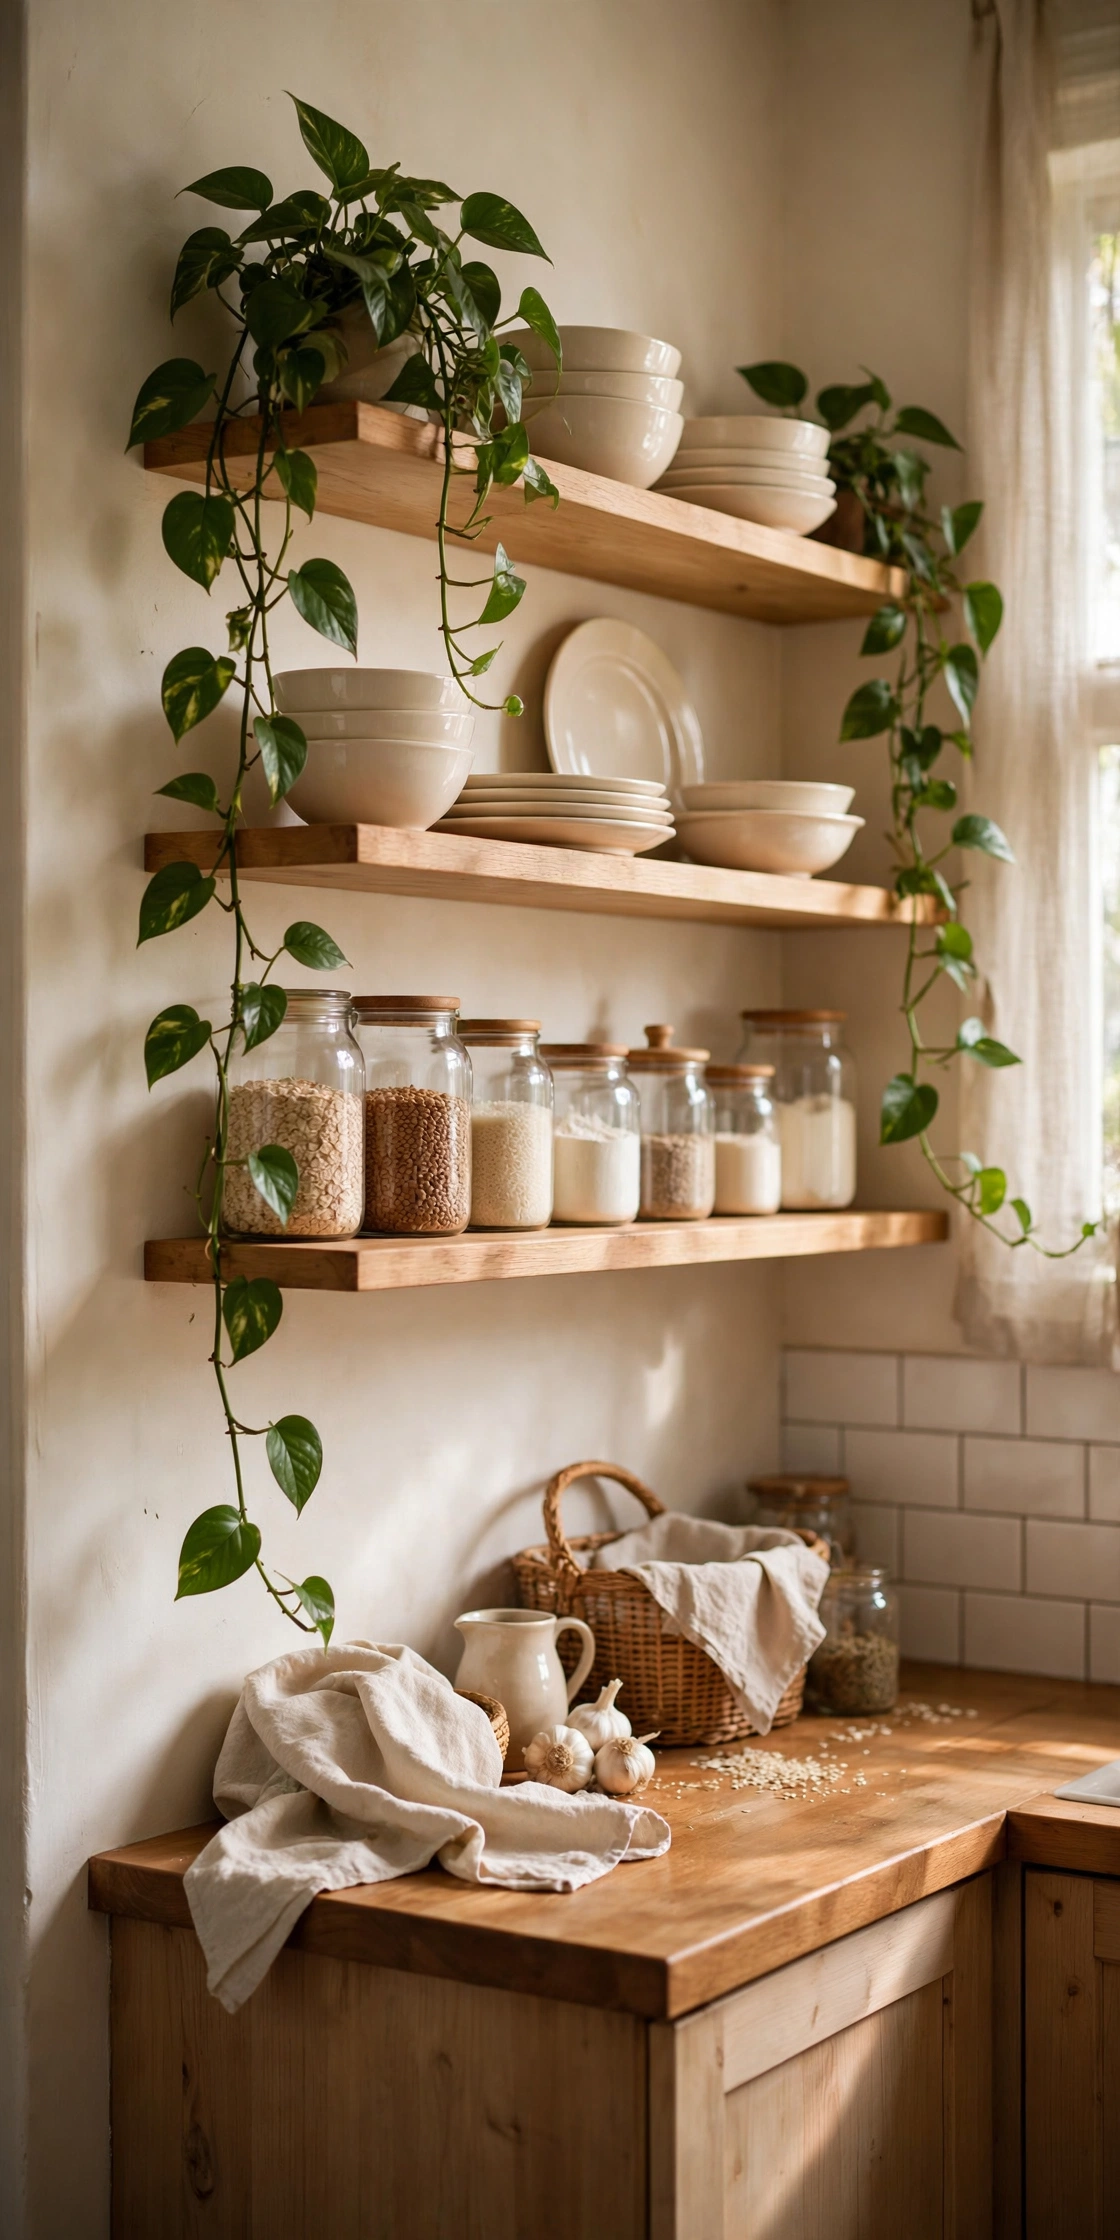
There is a particular joy in a tiny kitchen where everything you reach for daily is right at your fingertips. Cream bowls stacked in neat piles, glass jars of pasta and lentils catching the light, a trailing pothos spilling over the edge. No more digging through dark cabinets.
Open shelves might be the best thing you ever do to a small kitchen, and you don’t need a renovation or a big budget. This guide gives you 10 ideas in order, from the structural changes to the styling tricks, plus the honest answer on dust and grease.
Start with idea #1 this weekend. It’s free and it changes how the kitchen feels instantly. And if you want the full build details, my DIY open kitchen shelves guide walks through the whole project step by step.
1. Take the Cabinet Doors Off
The cheapest kitchen transformation in existence: unscrew your upper cabinet doors, paint the boxes if they’re tired, and you have instant open shelving for zero dollars. That’s exactly how my kitchen started. It was a hallway with a stove, two tiny upper cabinets, and a countertop the size of a cutting board. Removing the doors made it feel twice as wide overnight.
Before you commit, live with one door off for a week. You’ll quickly learn whether you love the open look or whether you prefer some things hidden, and that tells you which cabinets to convert and which to leave alone.
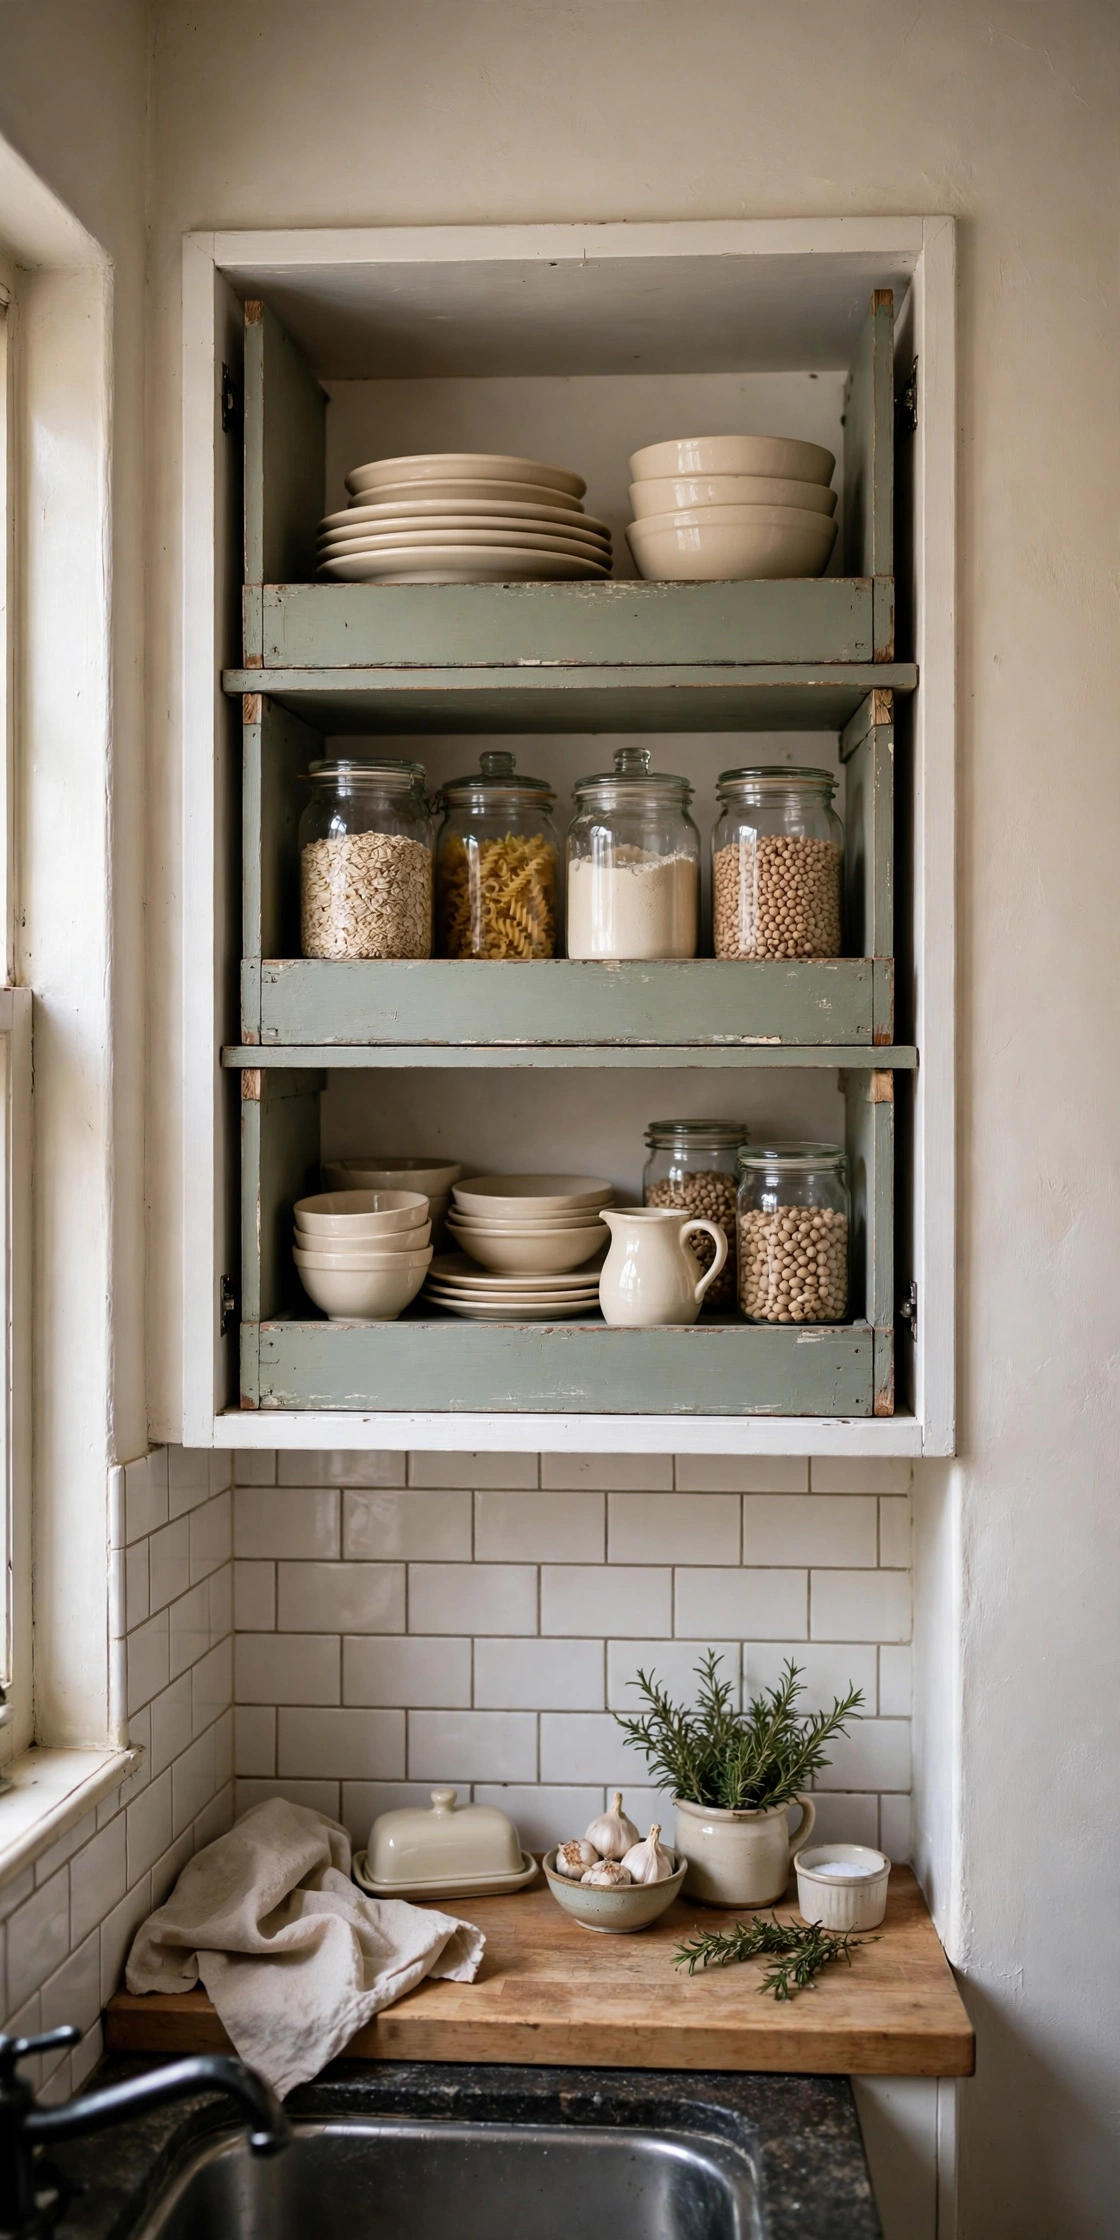
Tip: Save every screw and hinge in a labeled bag taped inside the cabinet box. If you ever want the doors back, or when you move out, rehanging takes twenty minutes instead of a hardware-store scavenger hunt.
2. Add Two Floating Wood Shelves
If you have an empty wall, two floating pine shelves are the highest-impact $40 you’ll spend on your kitchen. Two boards at about $12 each plus $16 for brackets and screws, and suddenly you have display space where there was dead wall. Everyone who visits my kitchen asks who designed it. Nobody believes the shelves cost less than a nice dinner out.
Mount them where they work hardest: the wall beside the stove (not above it) for cooking oils and spices, or near the sink for everyday glasses and mugs. Keep the lowest shelf a few inches above counter height so you can see and grab without stretching.

Tip: Always anchor into studs or use wall anchors rated for the weight. A shelf full of dishes is heavy, and “it seemed sturdy” is not a mounting strategy. The right anchors cost under $10 at any hardware store, and the staff will help you pick them.
3. Display Only What You Use Daily
The golden rule of open shelving: display what you use daily, hide what you don’t. Open shelves aren’t a museum, they’re your kitchen’s front row. If something sits on a shelf, you should be reaching for it at least a few times a week.
This is also the secret to the dust problem. Things you use constantly don’t have time to get dusty. Your everyday bowls, plates, mugs, and glasses never sit still long enough to collect anything, because they’re always either in use or in the wash.
Tip: Behind closed doors keep the plastic containers, mismatched novelty mugs, once-a-month appliances, and anything chipped. No shame in hidden storage. Open shelves are the highlight reel, not the whole archive.
4. Style With the 3-2-1 Rule
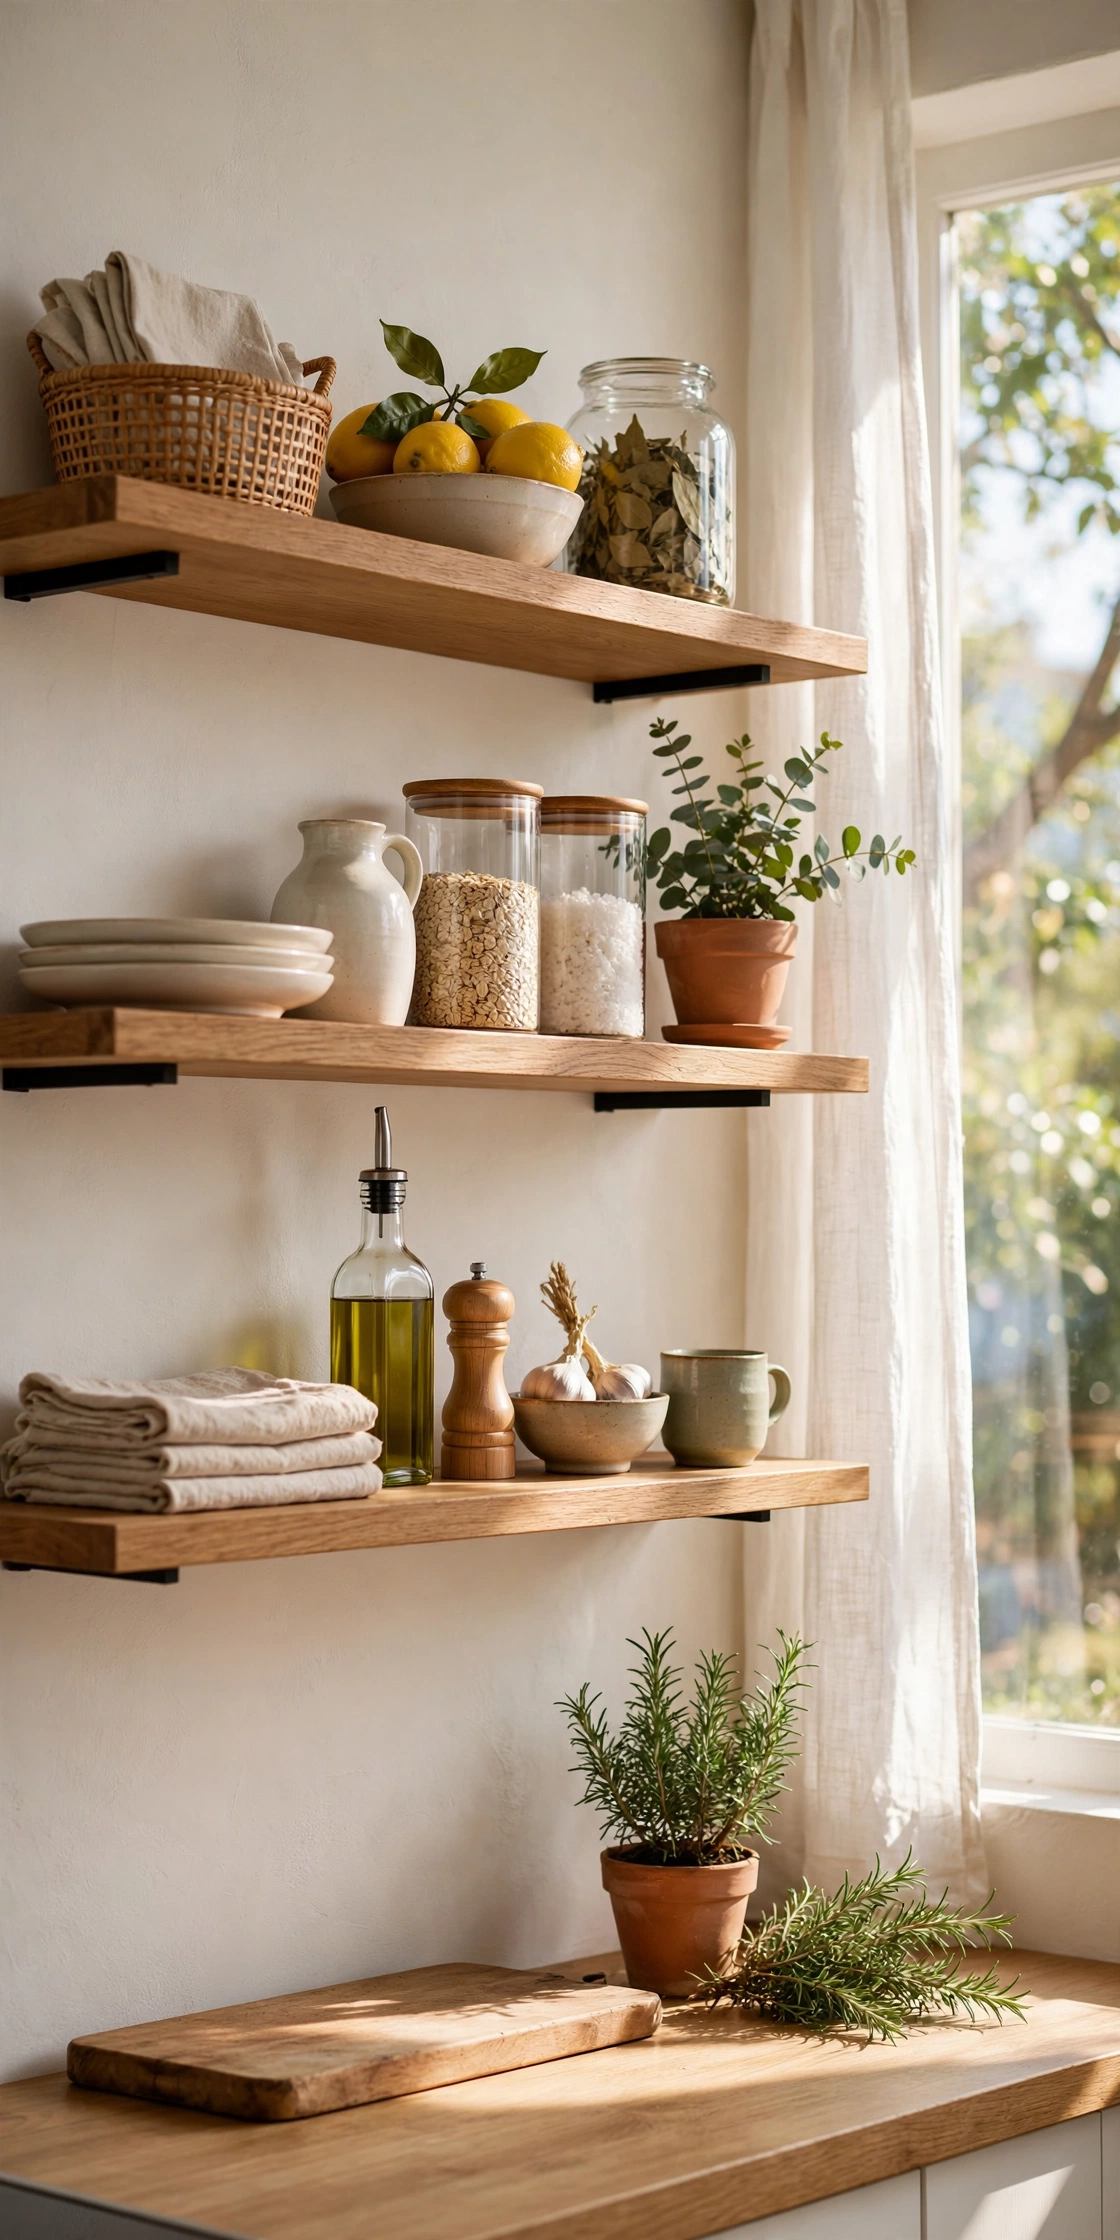
Staring at an empty shelf is intimidating, so use a formula. I call it 3-2-1: three of something stacked (bowls nested, plates piled, jars in a row), two of something grouped (two mugs side by side, two small plants), and one statement piece (a cutting board, a vase, a pretty pitcher, a trailing plant). The statement piece is the jewelry of the shelf, the thing your eye lands on.
Arrange each shelf as its own little composition, then step back and look at all the shelves together. Vary the heights in a zigzag: tall on the left up top, low on the left in the middle. And leave breathing room. Every shelf should be about two-thirds full at most.
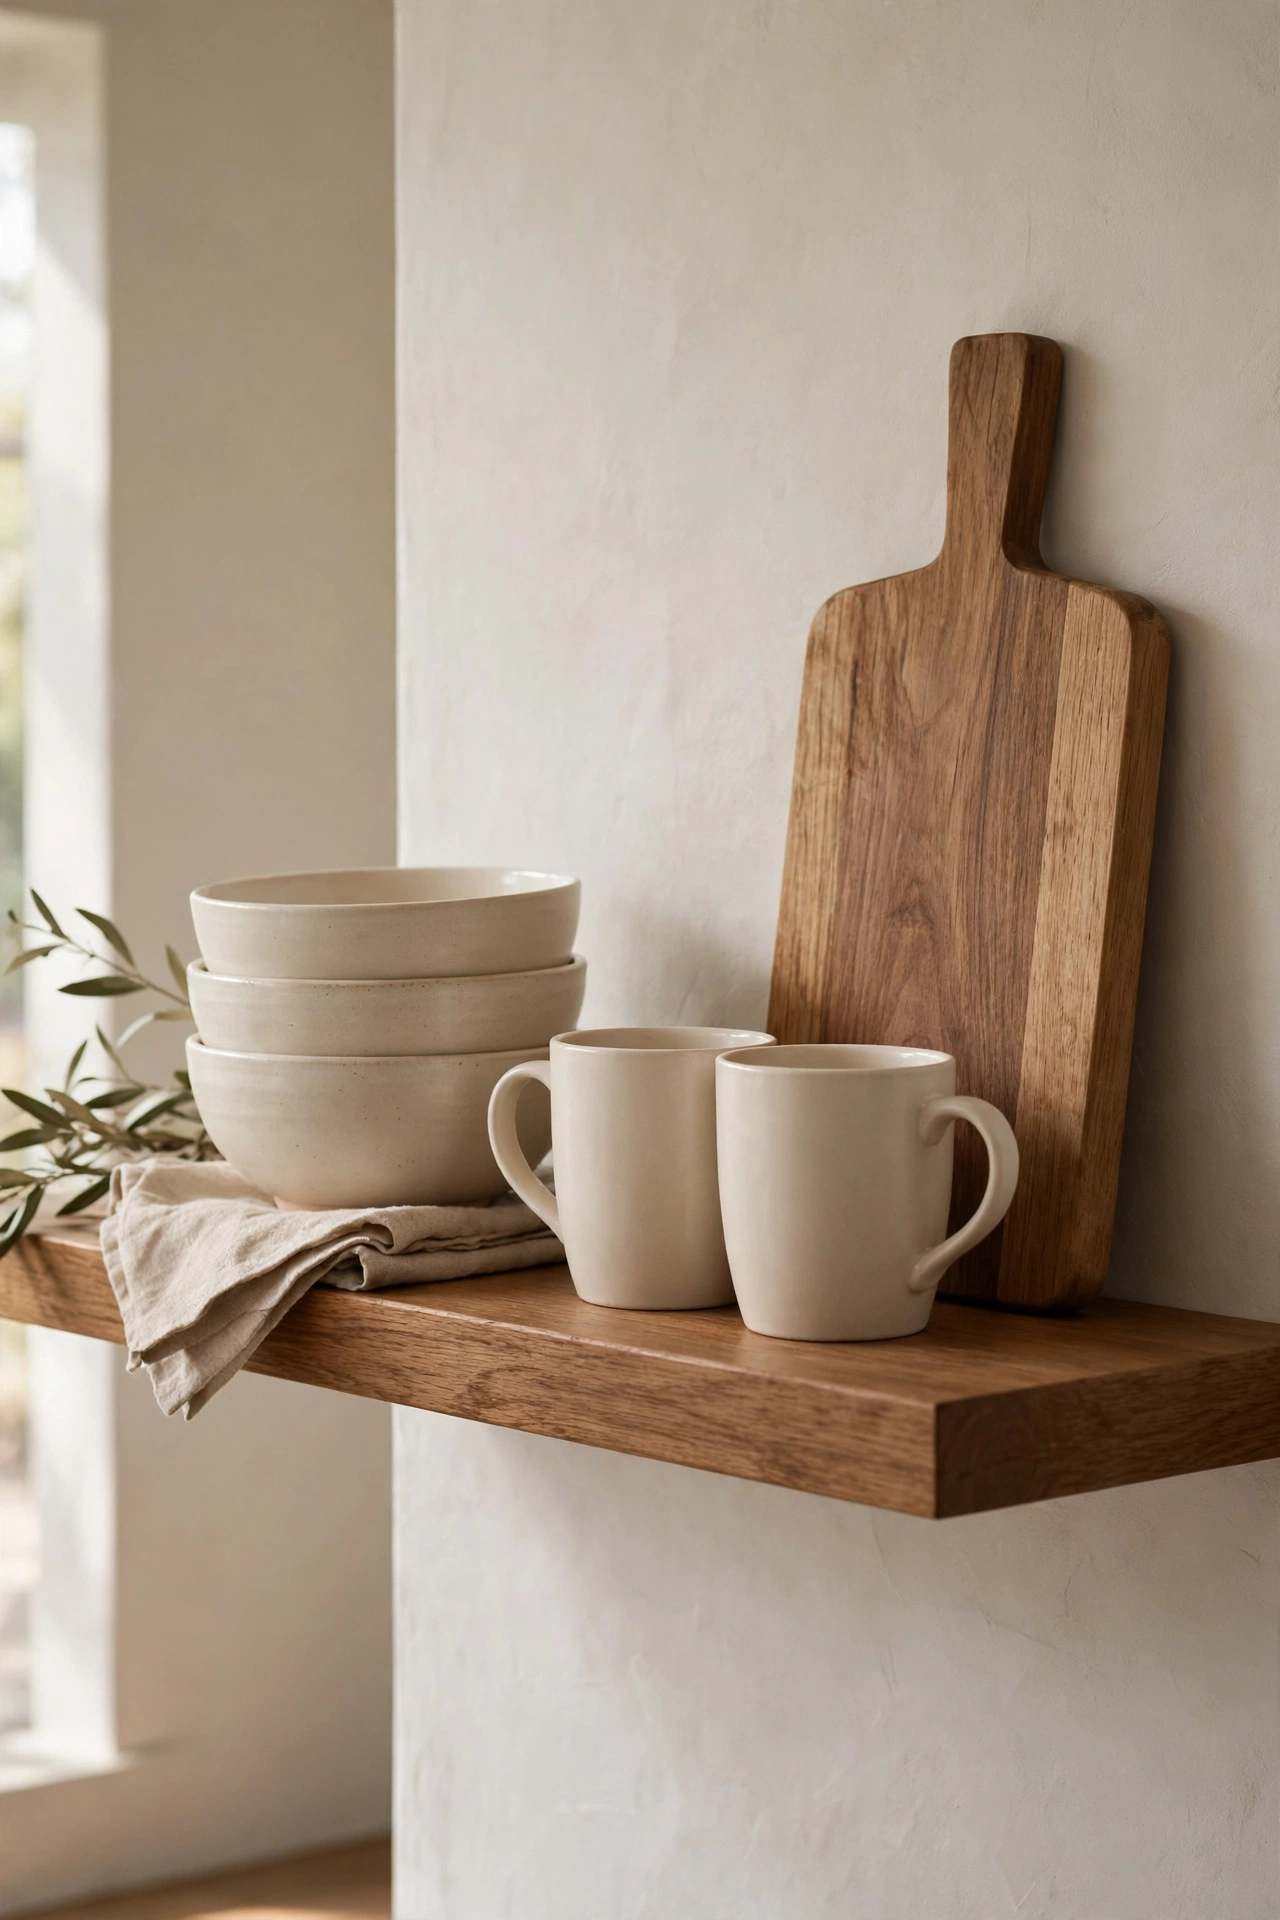
Tip: Odd numbers and repetition look naturally pleasing to the eye, which is why the 3-2-1 ratio works. If a shelf looks “off” and you can’t say why, count the groupings. There’s usually an even number fighting you somewhere.
5. Stick to Two Colors
The difference between cluttered shelves and styled shelves is almost always color. If your dishes are every color of the rainbow, the shelves look busy no matter how neatly you arrange them. You don’t need a new dish set. Just choose two colors and let them dominate.
Mine are cream and warm wood, with green from plants as the free bonus third. Everyday bowls and plates in cream, jars with wooden lids, wooden cutting boards, and the plants add green. Everything else, the red mug, the blue water bottle, lives in the closed cabinet. When 80% of what’s visible is two harmonious colors, the shelves look calm and expensive.
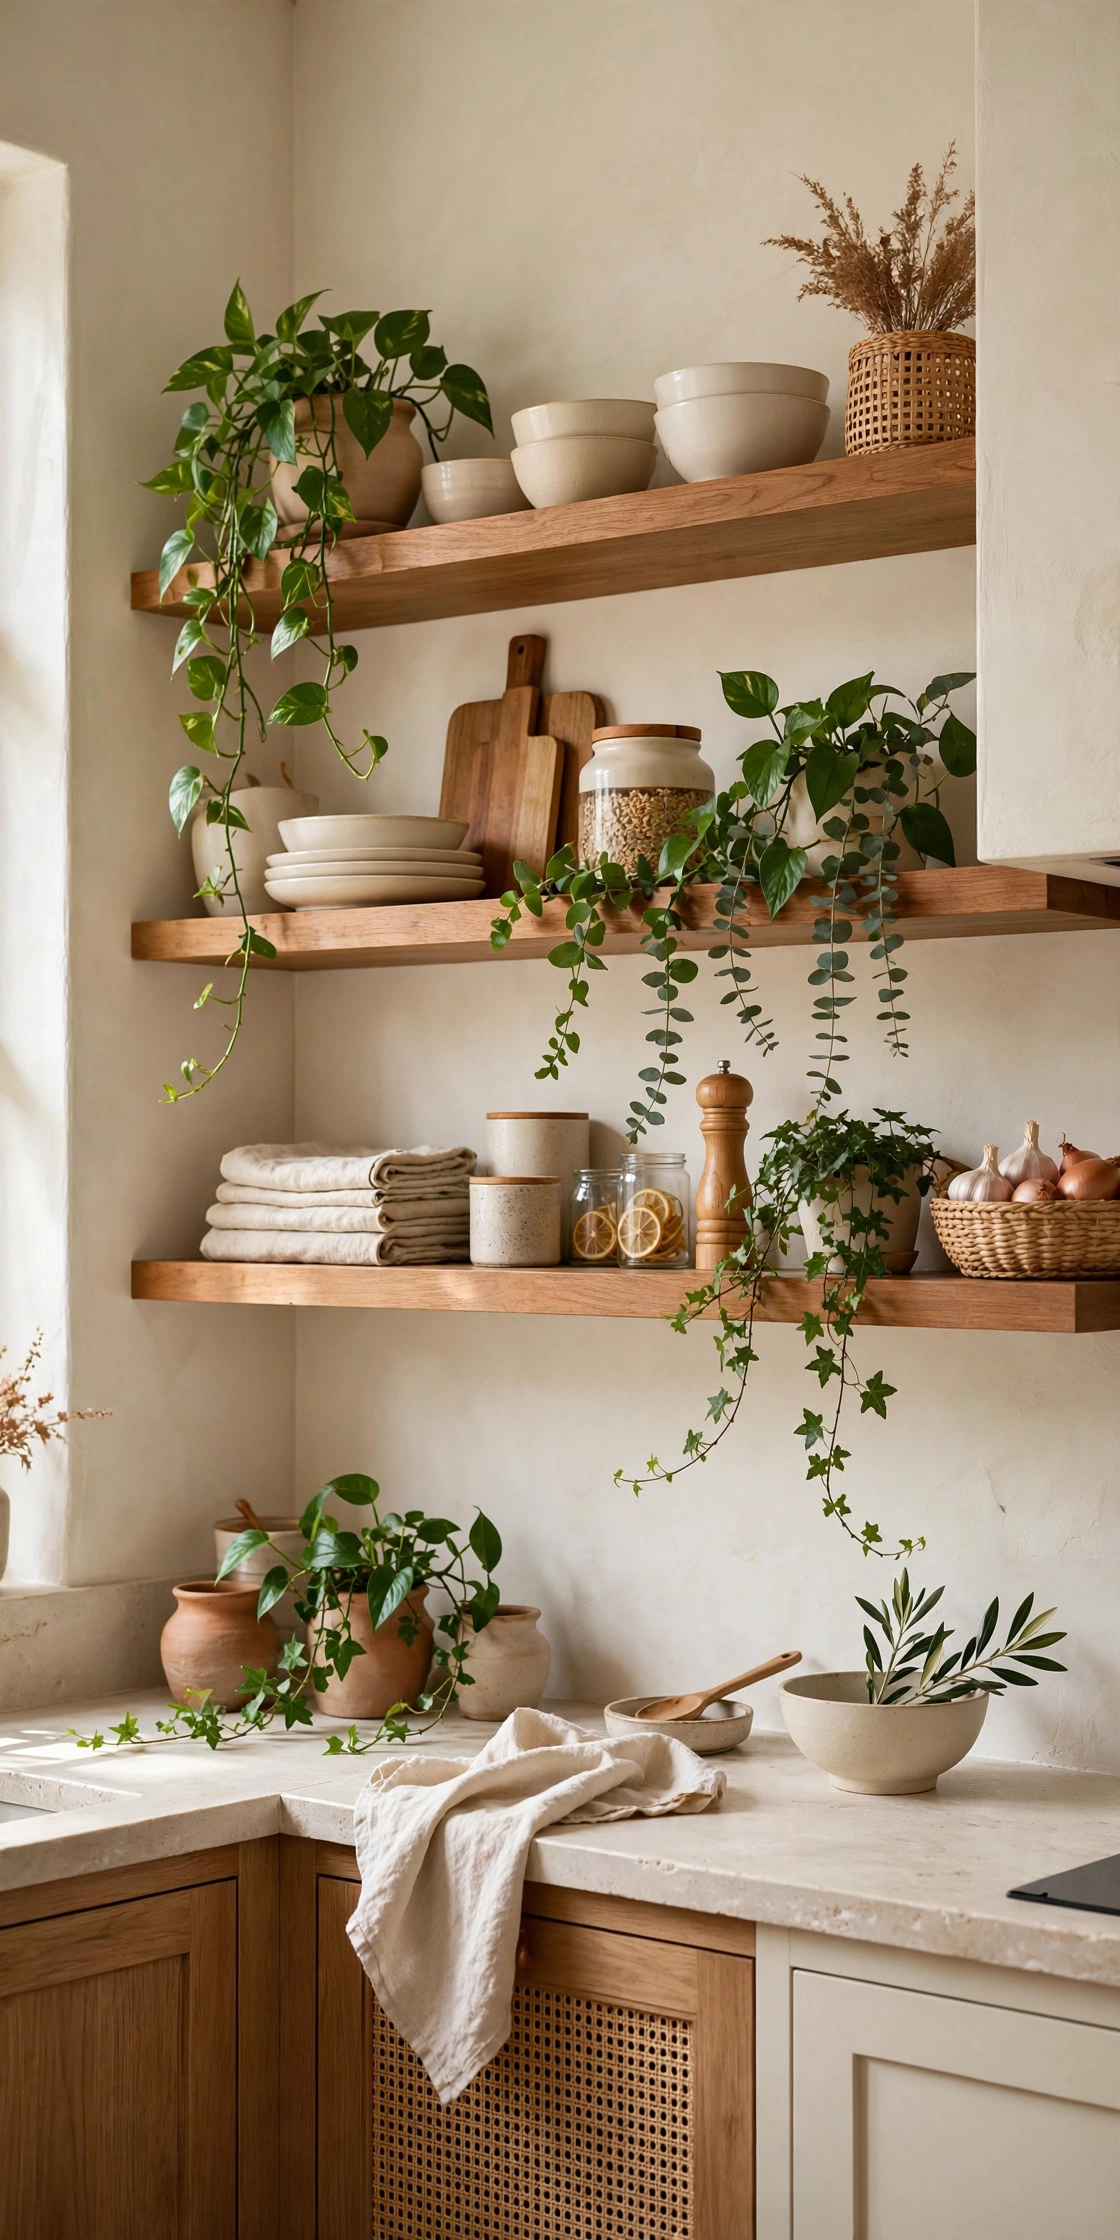
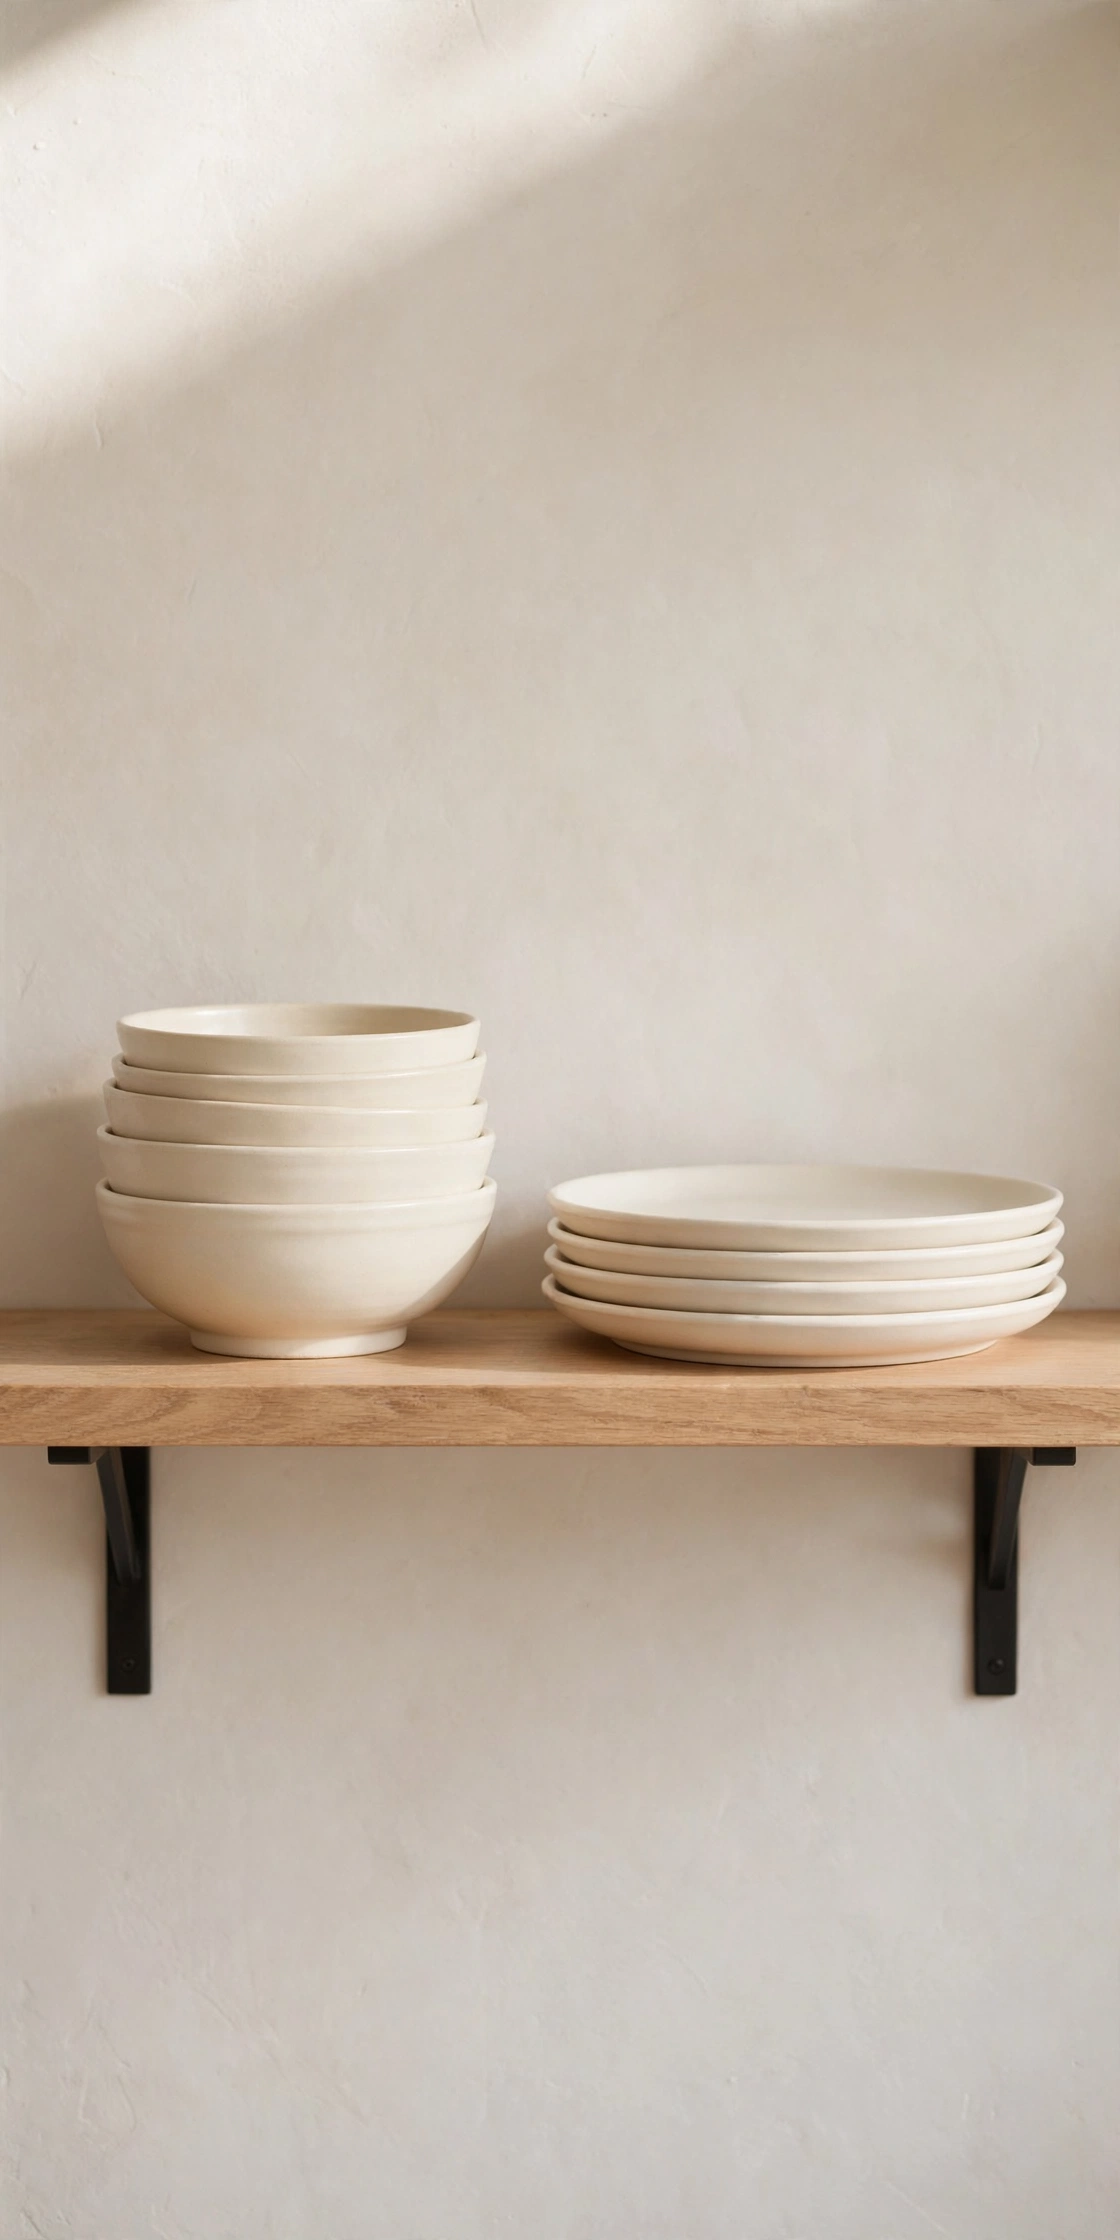
Tip: You don’t need twelve matching place settings on display. One neat stack of four to six plates and bowls is plenty for daily life and looks better than a towering pile. Slowly replace odd pieces with $2 thrift-store finds in your two colors.
6. Decant Dry Goods Into Matching Jars
Decanting pasta, rice, lentils, flour, oats, and coffee beans into matching glass jars is the fastest single styling win for open shelves. A set of six jars cost me $18, and the visual change was instant: chaos became calm, and the shelves suddenly looked designed instead of stored.
Uniform jars turn your pantry staples into decor. The contents become the color story, golden pasta, red lentils, dark coffee beans, all lined up like a little grocery display. It’s the one trick that makes guests assume you hired someone.

Tip: Thrift the jars instead of buying new. Mason jars and old pickle jars cost $0.50 to $2 each. Soak the labels off in hot soapy water, and nobody will ever know the difference. Just make sure lids seal properly for flour and grains.
7. Add Something Living
One or two plants change shelves from “storage” to “styled.” A trailing pothos spilling over the edge of a top shelf is the classic for a reason: it’s nearly indestructible, it loves the humidity kitchens produce, and those trailing vines soften all the hard lines of dishes and jars.
Even better, grow what you cook with. Small pots of basil, mint, and rosemary on a shelf near your prep area are genuinely useful. Snipping fresh herbs mid-recipe never gets old, and they earn their shelf space twice over.

Tip: Keep plants off the shelf directly beside the stove. Heat and grease film are hard on leaves. An adjacent wall or the shelf nearest the window keeps them happy, and you, reaching for them constantly.
8. Hunt the Thrift Store First
You don’t need to buy new things to style shelves beautifully. Thrifted pieces often look better because they have character. My entire shelf styling, jars, boards, two vases, a basket, and four extra bowls, cost $31 at thrift stores. My thrift hit-list: cream stoneware bowls and plates ($1-3 each), glass jars ($0.50-2), wooden cutting boards ($2-5), ceramic vases and pitchers ($3-8), cookbooks ($1-3), and small baskets ($2-4).
One more budget trick: if a shelf looks bare between arrangements, lean a framed print at the back of it. A $2 thrifted frame with a free printable fills visual gaps beautifully and adds personality no new purchase can match.
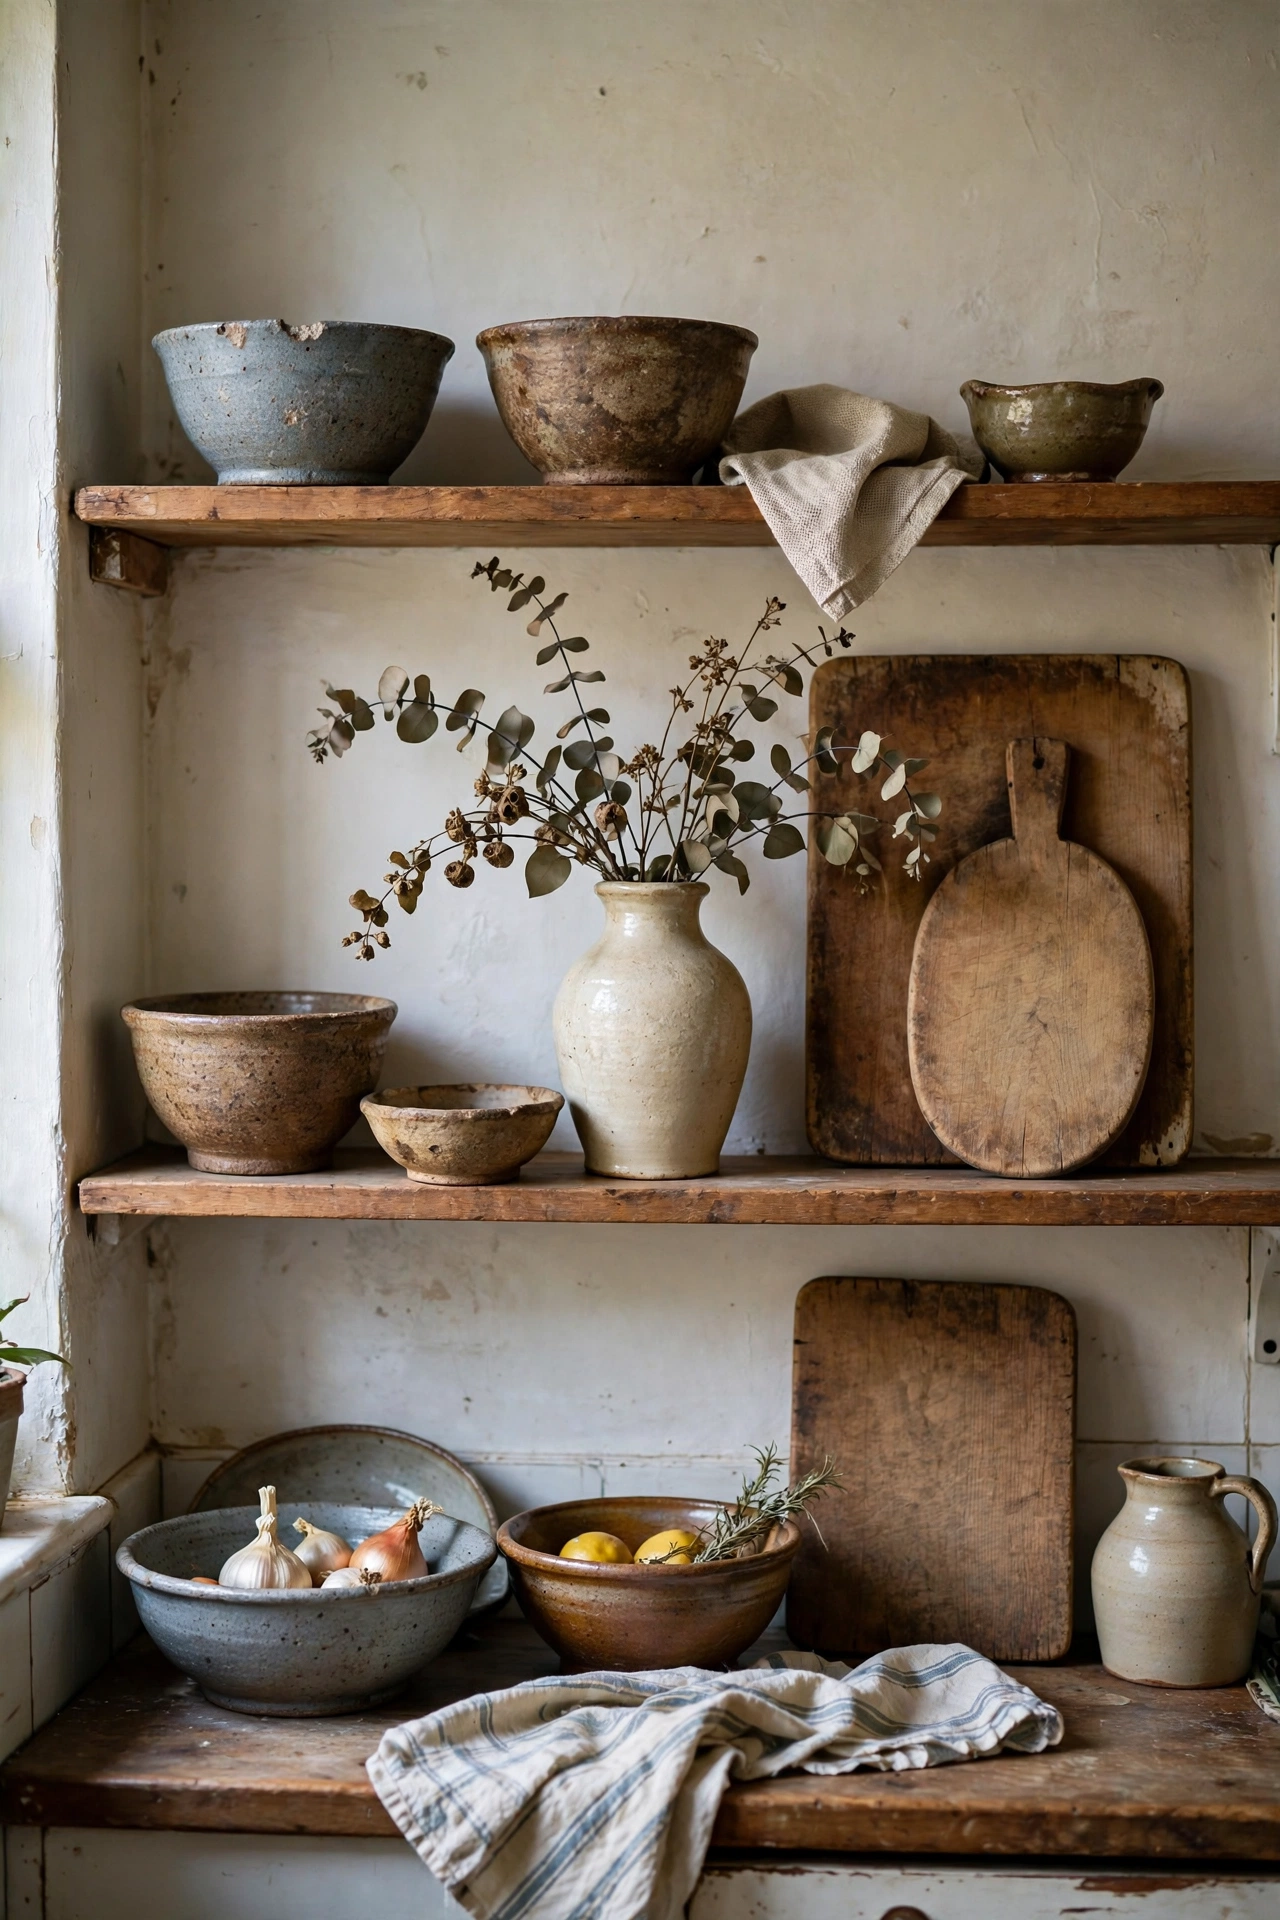
Tip: My thrift store decor guide covers exactly what to buy and what to skip. The short version for shelves: buy stoneware, wood, and glass. Skip anything chipped, stained, or in a color outside your two-color palette.
9. Outsmart Dust and Grease
Let’s be honest: open shelves collect dust and a fine film of cooking grease. But it’s a five-minute problem, not a reason to avoid shelves. Items you touch daily get washed naturally. Once a week, run a damp microfiber cloth along the shelf surfaces while your coffee brews. Two minutes, done. Decorative pieces get a quick rinse monthly.
Location matters more than cleaning, though. Don’t put open shelves directly above the stove if you can avoid it; that’s where grease lands. Mine are on the adjacent wall and the difference is huge. And keep a small $15 step stool nearby, because a shelf you can’t reach becomes a shelf you never clean.
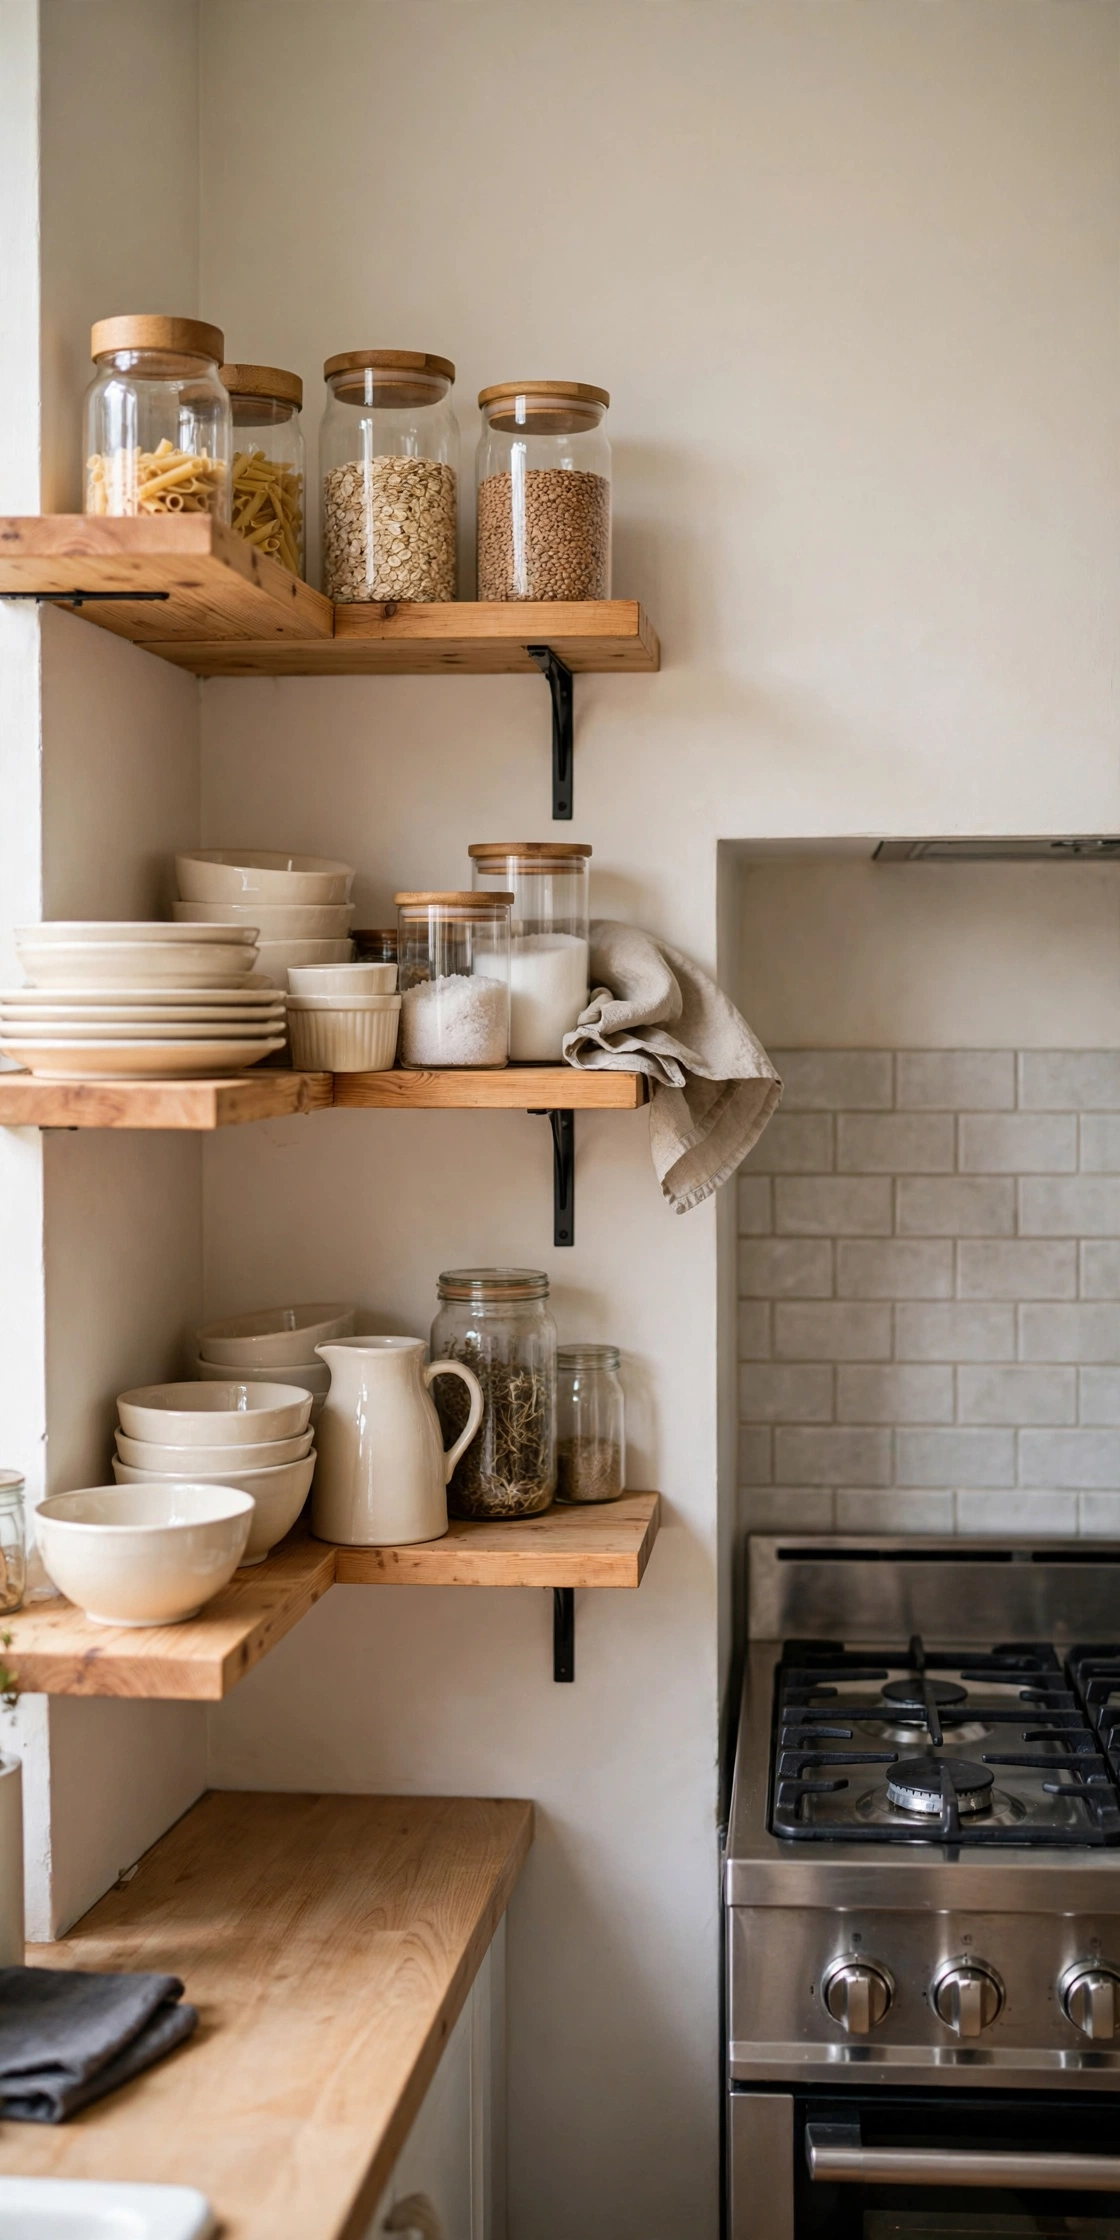
Tip: Put everyday dishes on any shelf near the stove and decor further away. The dishes get washed constantly anyway, so grease never gets a foothold, while your pretty pieces stay pristine on the cleaner wall.
10. Do the Sunday 5-Minute Reset
Styled shelves stay beautiful with almost no effort if you build in a tiny routine. Mine happens Sunday morning while the kettle boils: wipe each shelf with a damp cloth, left to right, top to bottom. Straighten the stacks, bowls nested, jars lined up, labels facing forward. Check the plant, water if dry, snip yellow leaves. Put back anything that migrated. The olive oil always wanders.
Then step back and admire. Five minutes, once a week, and the shelves always look intentional instead of slowly drifting into chaos.
Tip: Stack the reset onto something you already do every Sunday, like making coffee or meal planning. A routine attached to an existing habit survives; a standalone “clean the shelves” chore quietly dies by week three.
Which Shelf Upgrade Should You Start With?
Not every change pays off equally. Pick your first move here:
| Project | Difficulty | Best for |
|---|---|---|
| Take cabinet doors off | Easy | Everyone, free, instant change |
| Two floating wood shelves | Medium | Empty walls, biggest storage gain |
| Decant into matching jars | Easy | Fastest visual win for $18 |
| 3-2-1 styling refresh | Easy | Shelves that look cluttered |
| Thrifted styling haul | Easy | The tightest budgets |
| Herb pots on the shelf | Easy | Cooks who want useful decor |
Frequently Asked Questions
Are open shelves practical if I cook every day?
More practical, honestly. Your everyday dishes live at arm’s reach instead of behind doors, and constant use keeps them cleaner than dishes sitting in a dark cabinet. I cook daily and wouldn’t go back.
Won’t everything get dusty and greasy?
Daily-use items don’t sit long enough to get dusty. A two-minute weekly wipe handles the shelves, and keeping shelves off the wall directly above the stove avoids most grease. It’s maintenance, not a dealbreaker.
How deep should kitchen shelves be?
Ten to twelve inches (25-30 cm) is the sweet spot. Deep enough for dinner plates, shallow enough that nothing hides in the back and disappears for months.
Can renters do open shelving?
Taking cabinet doors off usually needs landlord permission, so ask first and keep the hardware. Floating shelves need holes too. The renter-safe version: a freestanding shelf unit or baker’s rack styled with the same 3-2-1 rules, as I show in my renter-friendly living room tour.
How much weight can floating kitchen shelves hold?
It depends entirely on the mounting. Shelves anchored into wall studs hold a full set of dishes with ease; drywall anchors must be rated for the load. When in doubt, ask at the hardware store and choose anchors rated well above what you plan to store.
What should I never put on open shelves?
Anything you rarely use, anything chipped or mismatched, and anything ugly-but-useful like plastic containers. Open shelves are the highlight reel, not the archive. If it would not look good in a photo, it belongs behind a closed door.
Final Thoughts
Open shelves aren’t about showing off perfect things. They’re about making your small kitchen work harder and feel bigger by putting your real, everyday life on display: the bowls you eat from, the jars you cook with, the little plant you’re keeping alive against the odds. Style them with the 3-2-1 rule, keep the colors calm, wipe them down on Sundays, and your tiny kitchen will feel like the heart of your home. Mine certainly does, and it all started with taking two cabinet doors off their hinges. For the rest of the house on the same budget, my room refresh ideas under $50 keep the momentum going. For more styles, from farmhouse to industrial, see these open shelving kitchen ideas. The Kitchn’s open shelving styling tips, including Ina Garten’s five rules, pair well with the 3-2-1 method.